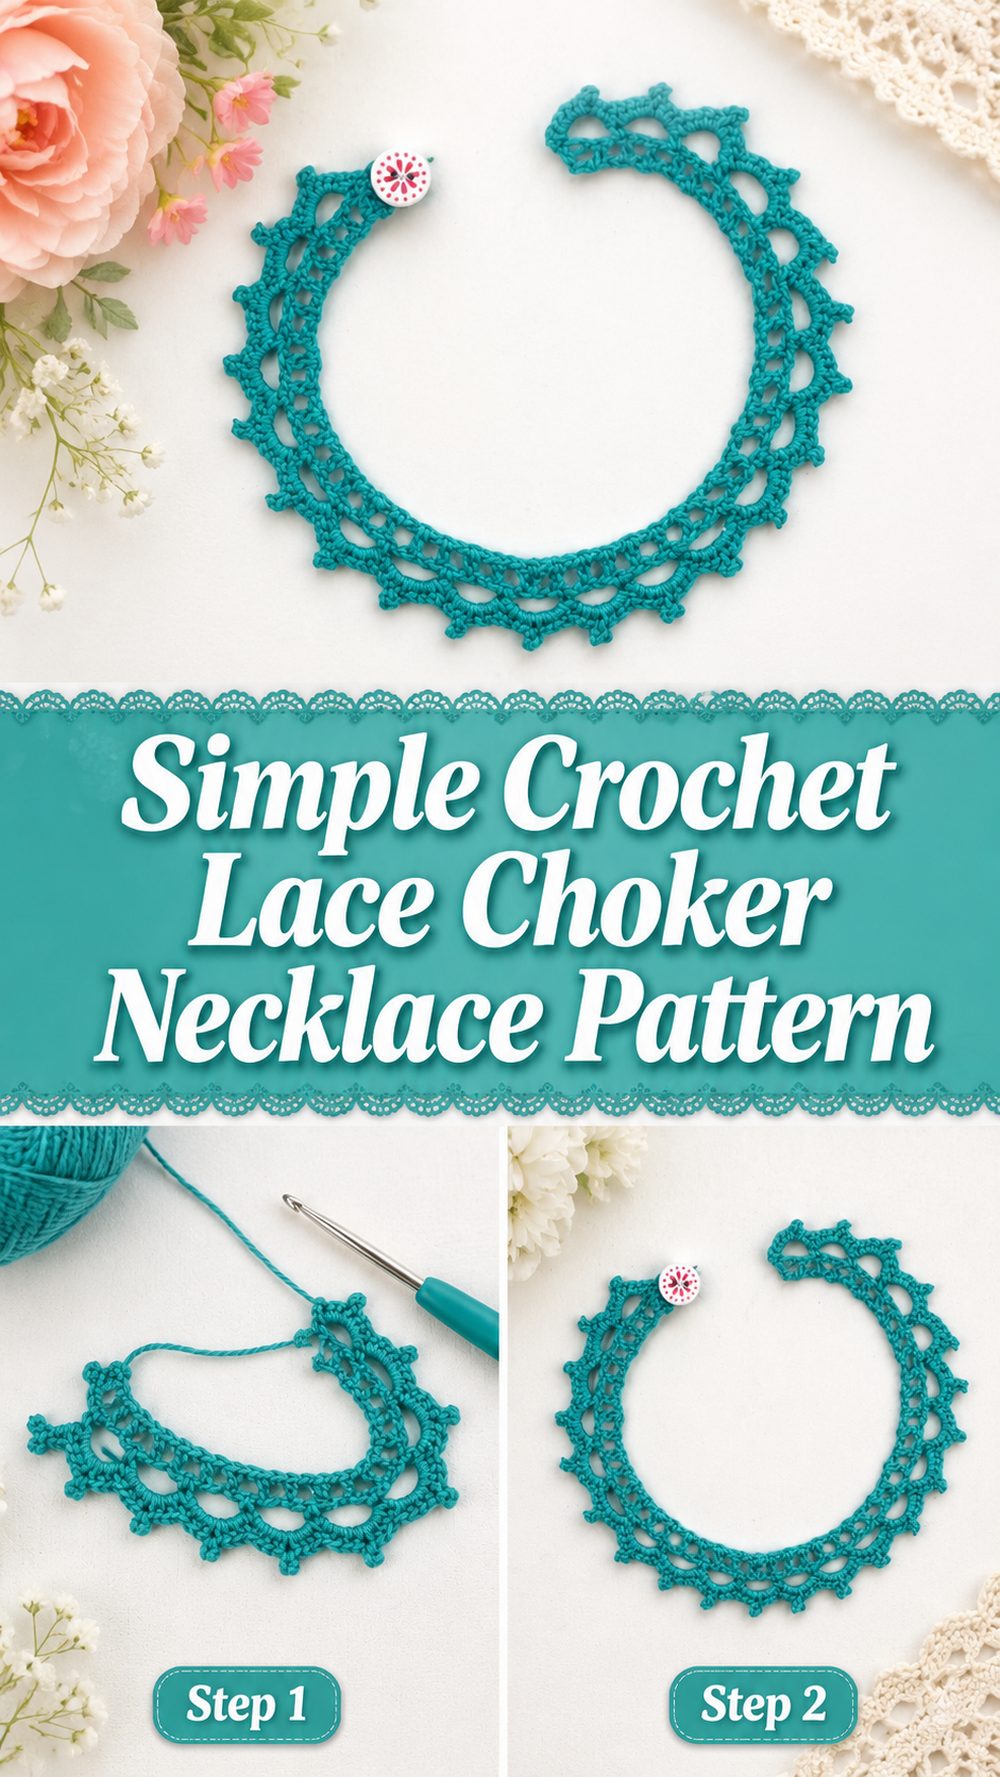
A crochet lace choker is one of those small projects that feels instantly satisfying. It works up quickly, uses only a little yarn or thread, and gives you something pretty you can actually wear right away. This style has a soft handmade look that can feel romantic, vintage, boho, or modern depending on the color and finish you choose. It is also a lovely project for anyone who wants to make crochet jewelry without getting into anything too heavy or complicated. The tutorial I selected shows a simple lace design that is beginner-friendly and built with basic crochet stitches, so it is a nice choice for newer crocheters as well as anyone looking for a quick gift or a lightweight accessory.
Why You’ll Love This Project
This project is fun because it gives you that lace look without feeling too advanced. It is small, stylish, easy to customize, and perfect when you want a quick crochet finish that still looks special. The chosen tutorial presents it as a step-by-step beginner-friendly design made with basic stitches, which makes it very approachable.
Materials Needed
- Crochet thread or lightweight yarn
- Crochet hook suited to your yarn or thread
- Scissors
- Yarn needle
- Measuring tape
- Stitch marker if you like marking the start or key points
- Optional clasp, ribbon tie, or cord tie for fastening
Use a yarn and hook size that matches your desired fit and texture.
Best Yarn for This Project
For a lace choker, lighter yarns usually look best. Crochet thread, fine cotton, or a soft lightweight yarn can help the stitch pattern stand out and keep the necklace from feeling bulky. If you want a crisp, neat lace look, cotton is usually a great choice because it holds shape well. If you want something softer against the skin, a smooth bamboo blend or soft cotton blend can also work nicely.
Skill Level
Beginner-friendly to easy
The selected tutorial describes the design as beginner-friendly and made with basic crochet stitches. That makes this a good first jewelry project for someone who already knows how to chain and work simple stitches, or for a newer crocheter ready to try a decorative lace effect.
Size and Fit Guide
Measure around your neck where you want the choker to sit. A lace choker usually looks nicest when it sits comfortably close to the neck without pulling.
As you crochet, keep checking the length before finishing. You can make it shorter for a snug fit or longer if you want a looser drape. If your project uses a repeat pattern, simply work more or fewer repeats until the size feels right. If you are adding ties or a clasp, remember to account for that in the final fit.
Stitches Used
The tutorial is described as using basic crochet stitches.
That likely includes:
- Chain
- Slip stitch
- One or more simple foundation stitches such as single crochet or double crochet
- Repeated lace sections or openwork spaces
Since I could not reliably extract the full stitch-by-stitch transcript from YouTube, it is best to follow the video visually for the exact stitch sequence while using the guidance below for structure and fit.
How to Make It
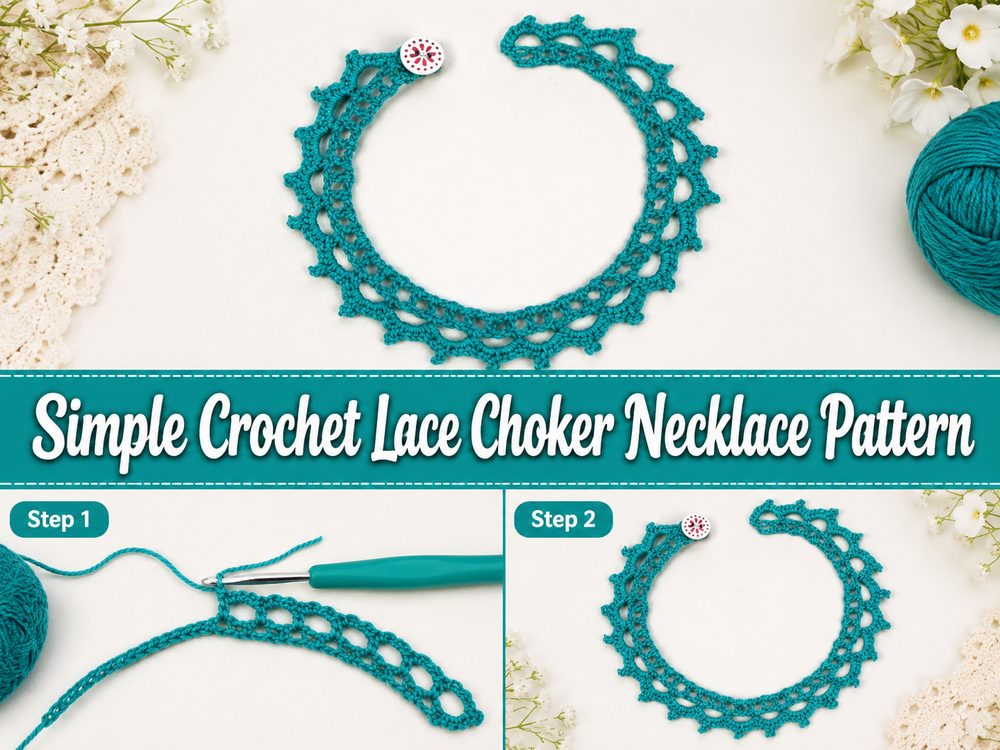
Step 1: Start the Foundation
Begin with a starting chain long enough to begin your lace pattern. For a choker, the foundation should be based on your neck measurement, but do not rush to make it exact on the first try. Lace patterns often need a repeat, so you may need to add or reduce a few chains until the pattern sits evenly and the length works for your neck.
Keep your starting chain relaxed. If the chain is too tight, the choker can feel stiff and may curve awkwardly. If needed, go up a hook size just for the foundation chain so the edge stays soft and flexible.
Step 2: Build the First Structured Row
After the chain, work the first row into the foundation to create a stable base. In a lace choker, this row usually helps set the width and gives you a clean line for the decorative stitches that come after.
Take your time here and count carefully if the video shows a repeated pattern. Even a small mistake early on can throw off the lace design later. If your stitches look too crowded, loosen your tension a little. The beauty of a lace choker is in that open, pretty texture.
Step 3: Create the Lace Pattern
This is where the choker really starts to look decorative. The selected tutorial presents a simple lace design rather than a heavy or dense necklace, so the effect is light and wearable.
Work the pattern repeat across the row, paying attention to spaces, arches, or decorative openings. In lace crochet, it helps to think in little sections instead of trying to memorize the whole row at once. Once you complete one full repeat correctly, the rest usually becomes much easier.
If your lace design starts to curl, check whether your tension is too tight. If it feels too floppy, your stitches may be a bit loose. A small swatch is not always necessary for a project this size, but it does help if you are using unfamiliar thread.
Step 4: Shape the Width
Some chokers stay narrow all the way across, while others build slightly with one or two decorative rows to create a more finished lace band. Keep following the visible pattern in the tutorial and stop once you reach the width that looks balanced on the neck.
For a more delicate look, keep it narrow and airy. For a more dramatic statement piece, continue the lace pattern for another row or repeat if it still feels light enough to wear comfortably.
Step 5: Check the Fit Before Finishing
Before fastening off, wrap the choker gently around your neck or lay it against a measuring tape. This is the best moment to decide whether it needs one more repeat, a shorter finish, or longer ties.
A choker should feel secure but not restrictive. You should be able to move comfortably and fasten it without strain. If you are making it as a gift, adding ties instead of a fixed clasp can make sizing easier.
Step 6: Add the Closure
The closure can be as simple or as polished as you like. A lace choker often looks lovely with crocheted ties, thin ribbon ties, or a small clasp. If your tutorial version finishes with ties, crochet or attach enough length to tie it neatly at the back. If you prefer a clasp, make sure both ends are reinforced well so the necklace holds its shape during wear.
This finishing step changes the whole look. Ties feel soft and romantic. A clasp gives it a more jewelry-like finish.
Step 7: Finish the Edges
Once the body is complete, fasten off neatly and weave in the ends carefully. Because this is jewelry, the finishing matters a lot. Even tiny loose tails can show.
If the lace needs help opening up, lightly block it. A gentle block can make the stitch pattern look cleaner, flatter, and more refined. Let it dry fully before wearing.
What the Finished Choker Should Look Like
The final piece should feel light, decorative, and close-fitting, with a simple lace pattern that stands out nicely across the neck. It should not feel bulky or heavy. The tutorial I selected specifically points to a beautiful, simple lace choker worked in a beginner-friendly way with basic stitches, so the overall result is elegant without being overly complicated.
Helpful Tips
- Use cotton or thread if you want a neat lace definition.
- Keep your tension even so the lace openings look balanced.
- Check the fit before adding the final closure.
- If you make ties, leave enough length for a comfortable bow or knot.
- Use stitch markers if the repeat is easy to lose.
- Block the finished choker gently for a cleaner shape.
Common Mistakes to Avoid
- Making the starting chain too tight
- Choosing yarn that is too bulky for a lace effect
- Forgetting to check the neck fit before finishing
- Losing track of the pattern repeat in the middle of the row
- Pulling the stitches too tightly so the lace cannot open up
- Leaving ends unwoven in a project where the details are very visible
Customization Ideas
You can make this choker feel completely your own with a few simple changes. Try black thread for a classic gothic look, ivory or cream for something soft and romantic, or pastel shades for a sweeter style. You can also add tiny beads, a charm in the center, ribbon ties, or a small picot-style edge if you want more detail. If you prefer a softer look, make it slightly longer so it sits more like a necklace than a true choker.
Style Ideas
A crochet lace choker looks lovely with summer dresses, off-shoulder tops, simple tanks, and layered jewelry. It can also work with cottagecore, vintage-inspired, festival, or handmade everyday outfits. If you are making gifts, this is a sweet little piece for birthdays, handmade accessory sets, or craft fair items.
Care Instructions
Hand wash gently in cool water if needed. Avoid twisting or wringing it out. Press it lightly in a towel and lay it flat to dry. If it loses shape, block it again gently. Keep it away from high heat, especially if you used a delicate blend or synthetic thread.
Time Needed
This may take a few hours depending on your speed, yarn, size, and stitch pattern.
Conclusion
If you want a small crochet project that feels pretty and wearable, a lace choker is a lovely choice. It is simple enough to enjoy without feeling overwhelming, and it gives you plenty of room to play with color, texture, and fit. Once you make one, it is easy to imagine making another in a different shade or with a slightly different finish.
FAQs
Is this beginner-friendly?
Yes. The selected tutorial describes it as beginner-friendly and made with basic crochet stitches.
What yarn is best for a crochet lace choker?
Light cotton, crochet thread, or another smooth lightweight yarn usually works best for a clean lace look.
Can I adjust the size?
Yes. Measure your neck and add or reduce repeats until the fit feels right before finishing.
Can I make it for warm weather?
Yes. A lightweight cotton or bamboo-blend yarn helps keep it breathable and comfortable.
How do I make it more comfortable?
Use soft yarn, keep the tension relaxed, and make sure the closure is not too tight around the neck.