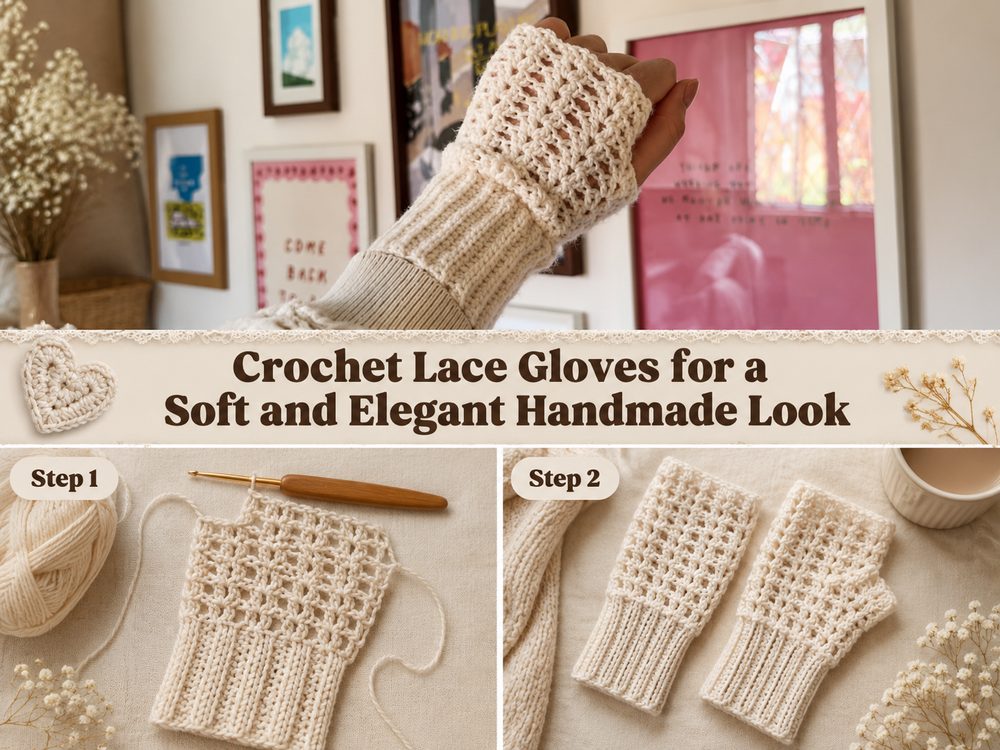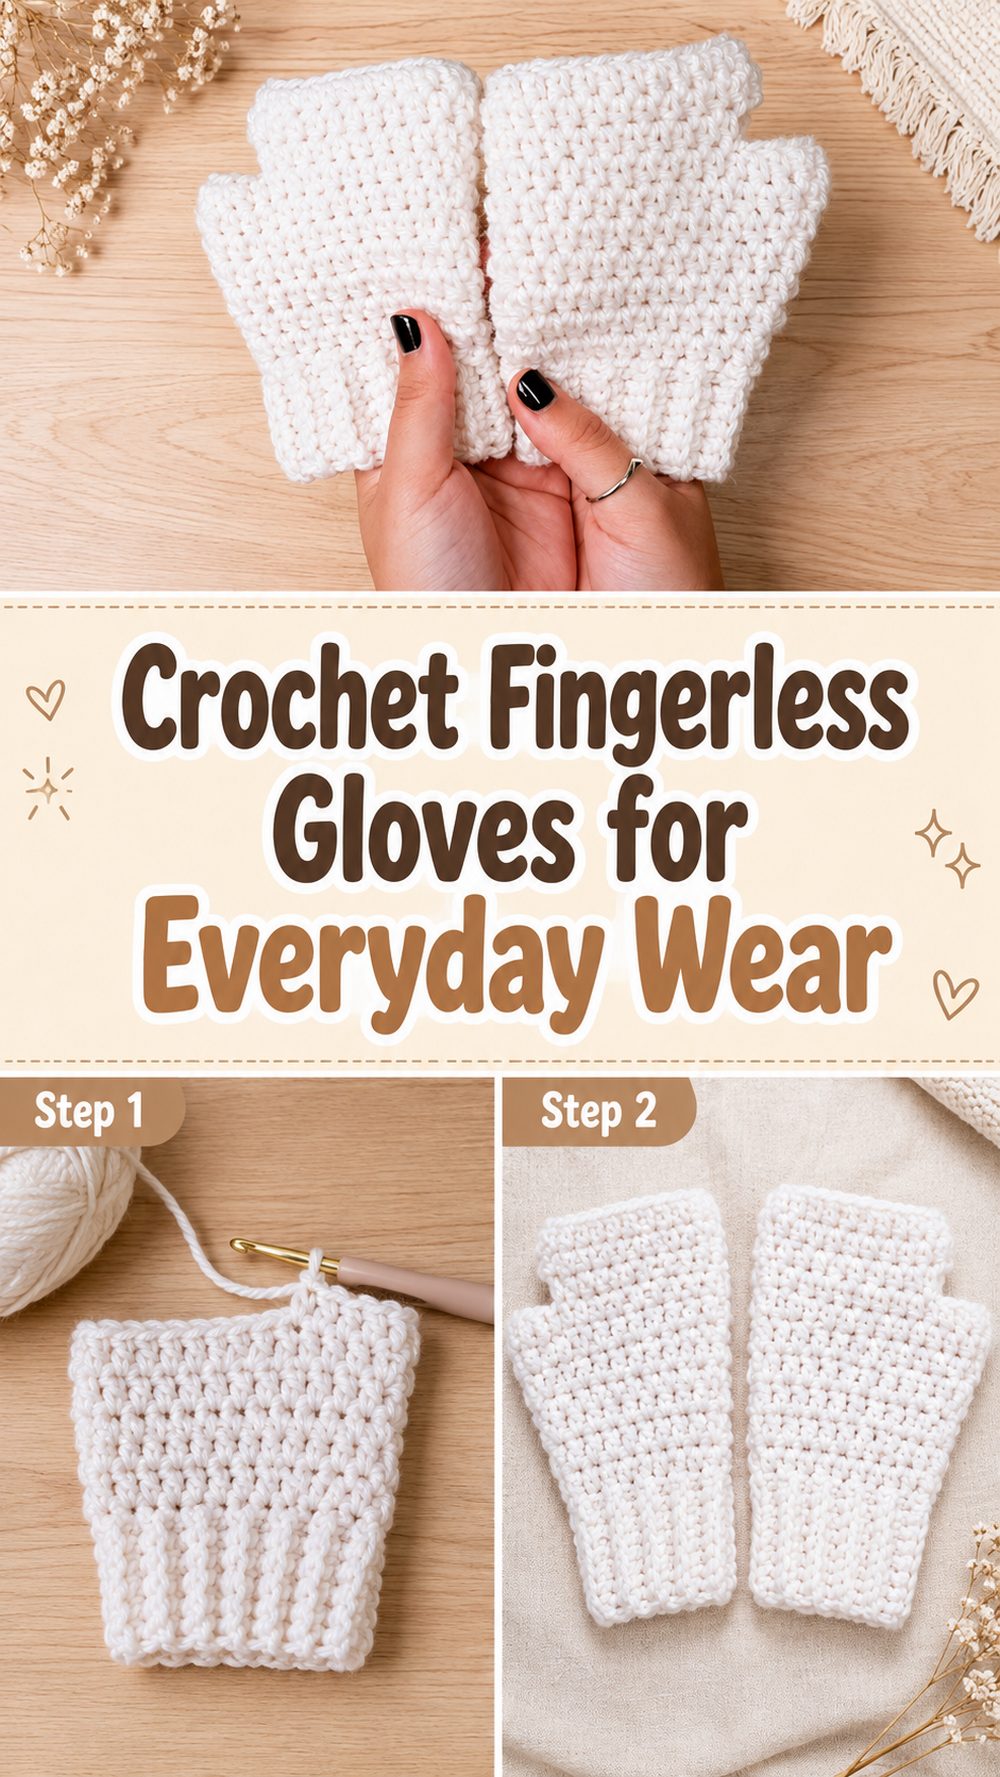
Fingerless gloves are one of those crochet projects that feel useful right away. They keep your hands warm while still letting your fingers move freely, which makes them perfect for typing, driving, reading, or just wearing around the house on chilly days. This kind of project is also great when you want something small, practical, and satisfying to finish without committing to a huge pattern. The tutorial I selected teaches a simple pair of fingerless gloves in a beginner-friendly way and uses an easy stitch combination, so it works well for newer crocheters as well as anyone who wants a quick handmade accessory. The video specifically describes the gloves as beginner-friendly and notes that the stitch pattern uses half double crochet and single crochet.
Why You’ll Love This Project
These gloves are easy to wear, easy to customize, and much quicker than larger crochet projects. They are a lovely mix of useful and stylish, and because the tutorial is aimed at beginners and walks through the stitches, it is a nice confidence-building make.
Materials Needed
- Yarn
- Crochet hook
- Scissors
- Yarn needle
- Stitch markers, if helpful for keeping edges neat
- Measuring tape
Use a yarn and hook size that matches your desired fit and texture. Since this is a wearable project, it helps to choose a yarn that feels comfortable against your skin.
Best Yarn for This Project
A soft acrylic or acrylic blend works really well for fingerless gloves because it is warm, easy to care for, and usually gives a nice amount of stretch. If you want a lighter pair for cool spring or autumn weather, you can also use a softer cotton blend, though it may feel less warm and less stretchy than acrylic. Try to avoid yarn that feels stiff, scratchy, or overly bulky unless you want a very chunky look.
Skill Level
Easy / beginner-friendly
The selected tutorial presents the gloves as a beginner project and works through the stitches step by step. That makes this a good pattern for confident beginners who are comfortable making chains and basic stitches, and also a nice relaxed project for more experienced crocheters.
Size and Fit Guide
The easiest way to size fingerless gloves is to measure around your hand and check the fit as you work. You can make the piece wider or narrower depending on how snug you want the glove to feel. You can also adjust the length to cover more or less of the wrist and hand. Before joining, wrap the crocheted piece around your hand to see whether it feels comfortable. That simple check makes a big difference with wearables.
Stitches Used
Based on the selected tutorial, the gloves use:
- Chain
- Single crochet
- Half double crochet
The video snippet specifically mentions half double crochet and single crochet as the main stitches used.
How to Make It
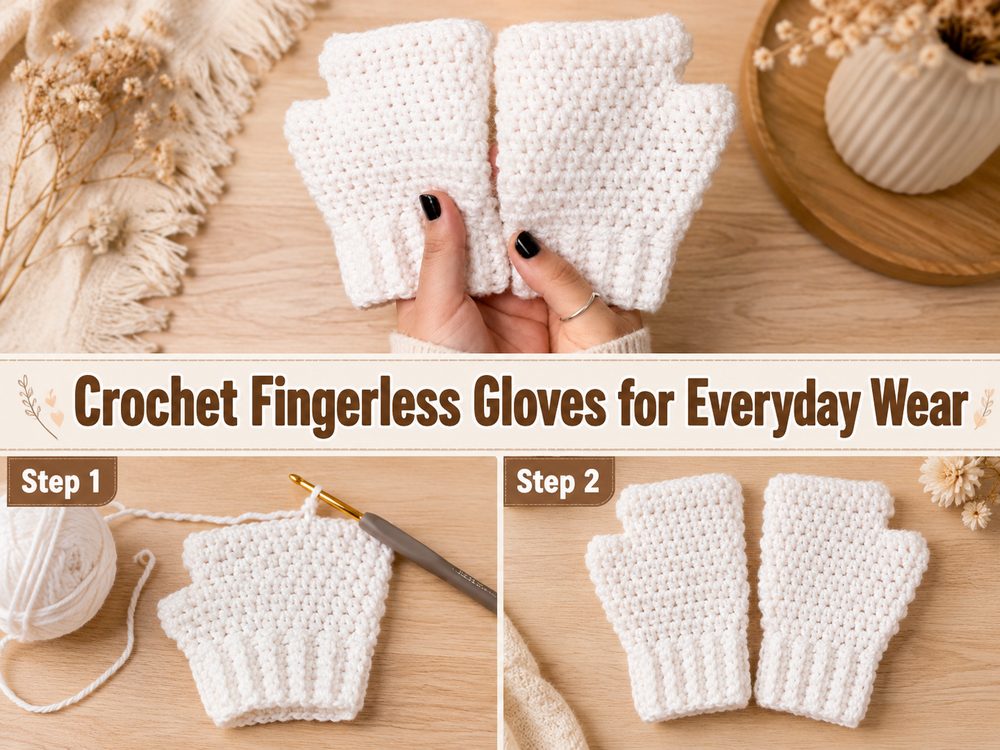
Step 1: Start the Foundation
Begin by making your starting chain. Since exact counts can vary depending on yarn, hook, and the fit you want, it is best to chain to a length that suits your hand or wrist measurement. This project is meant to be simple, so the starting section should feel straightforward and easy to control as you begin.
Step 2: Build the First Rows
Work into the foundation chain using the basic stitch pattern shown in the tutorial. Since the selected video uses single crochet and half double crochet, the fabric builds with a nice balance of structure and softness rather than feeling too lacy or too stiff.
As you crochet the first few rows, pay attention to the texture. Half double crochet usually gives a slightly fuller, warmer fabric, while single crochet can help create a neater edge and a more secure shape. Together, they make a glove that looks simple but still feels nicely finished.
Step 3: Continue the Main Body
Keep repeating the stitch pattern until the piece is large enough to wrap around your hand. This is the main body of the glove, and it is where you can really customize the fit. If you want a close, snug glove, keep the fabric just fitted enough to sit comfortably around your hand. If you prefer a more relaxed style, add a little more width before joining.
Because fingerless gloves are worn often, it is worth pausing every so often to hold the piece against your hand. That quick check helps you avoid making the glove too loose or too tight.
Step 4: Shape the Glove by Folding and Joining
Once the rectangle is the right size, fold it so it forms a tube around your hand. Leave an opening for the thumb. This is one of the simplest and most practical ways to make fingerless gloves, and it is part of why this style is so beginner-friendly. The goal is not complicated shaping. Instead, you create a comfortable hand opening and a thumb gap by joining the edges carefully.
When deciding where to leave the thumb opening, think about where your thumb naturally sits when your hand is relaxed. You want enough space for movement, but not such a large opening that the glove loses its shape.
Step 5: Check the Fit Before Finishing
Before you weave in your ends, try the glove on. This is the best moment to make small adjustments. If the glove feels too tight, you may want a slightly wider piece next time. If the thumb gap feels too small, leave a little more space when joining the second glove. Since this is a pair, use the first glove as your guide so the second one matches in size and shape.
A nice detail with simple fingerless gloves is that they are very wearable even without fancy shaping. The clean, practical style makes them easy to pair with coats, sweaters, or casual everyday outfits.
Step 6: Make the Second Glove
Crochet the second glove the same way as the first. Try to match the width, length, and thumb opening placement as closely as you can. Laying the first glove flat beside your work while making the second one helps a lot.
Step 7: Finish the Edges
Weave in all ends neatly with a yarn needle. If you want, you can lightly shape the gloves with your hands after finishing so the edges sit more smoothly. The final result should be a soft, simple pair of fingerless gloves with a clean texture and an easy everyday fit. The selected tutorial presents this as a straightforward beginner make, which fits that simple finished look very well.
Helpful Tips
- Check the fit before you join the side seam.
- Keep your tension as even as possible so both gloves match.
- Use a soft yarn that feels comfortable on your hands.
- Count rows if you want the second glove to come out the same size.
- Try on the first glove before finishing the second.
- Use stitch markers if the row edges are hard to track.
Common Mistakes to Avoid
- Making the starting chain too tight
- Forgetting to check the fit before joining
- Leaving the thumb opening too small
- Making one glove longer than the other
- Crocheting too loosely if you want a snug fit
- Choosing yarn that feels rough for something worn on the hands
Customization Ideas
You can keep these gloves plain and classic, or make them more personal with a few easy changes. Try a solid neutral color for everyday wear, or use a brighter shade if you want them to stand out. You can make them shorter for a light wrist-warmer style or longer for extra warmth. A simple edging can also change the look nicely. If you enjoy small decorative details, a button, bow, or contrasting trim can make the gloves feel more unique.
Style Ideas
These gloves look lovely with sweaters, coats, scarves, and casual winter layers. They also make sweet handmade gifts because they are useful and easy to personalize in color. A simple pair in black, cream, gray, or brown will match almost anything, while a brighter pair can add a cheerful handmade touch to an everyday outfit.
Care Instructions
Hand wash gently in cool or lukewarm water if possible, especially if you want the gloves to keep their shape well. Lay them flat to dry and avoid high heat. If you use acrylic yarn, always check the yarn label for the best care method.
Time Needed
This may take a few hours depending on your speed, yarn, size, and stitch pattern.
Conclusion
These crochet fingerless gloves are a lovely project when you want something simple, useful, and enjoyable to make. They are beginner-friendly, easy to adjust, and practical enough to wear often. You can keep them plain, make them cozy, or personalize them with your favorite yarn and color choices. Once you finish one pair, it is easy to imagine making more for gifts too.
FAQs
Is this project beginner-friendly?
Yes. The selected tutorial describes the gloves as beginner-friendly and walks through the stitches in a simple way.
What yarn is best for crochet fingerless gloves?
Soft acrylic or an acrylic blend is a great choice for warmth, comfort, and easy care.
Can I adjust the size?
Yes. You can change the width and length as you go and check the fit before joining.
What stitches are used in this tutorial?
The selected video mentions single crochet and half double crochet.
Can I make these as a gift?
Yes. They are a practical handmade gift and easy to customize by color, length, and fit.