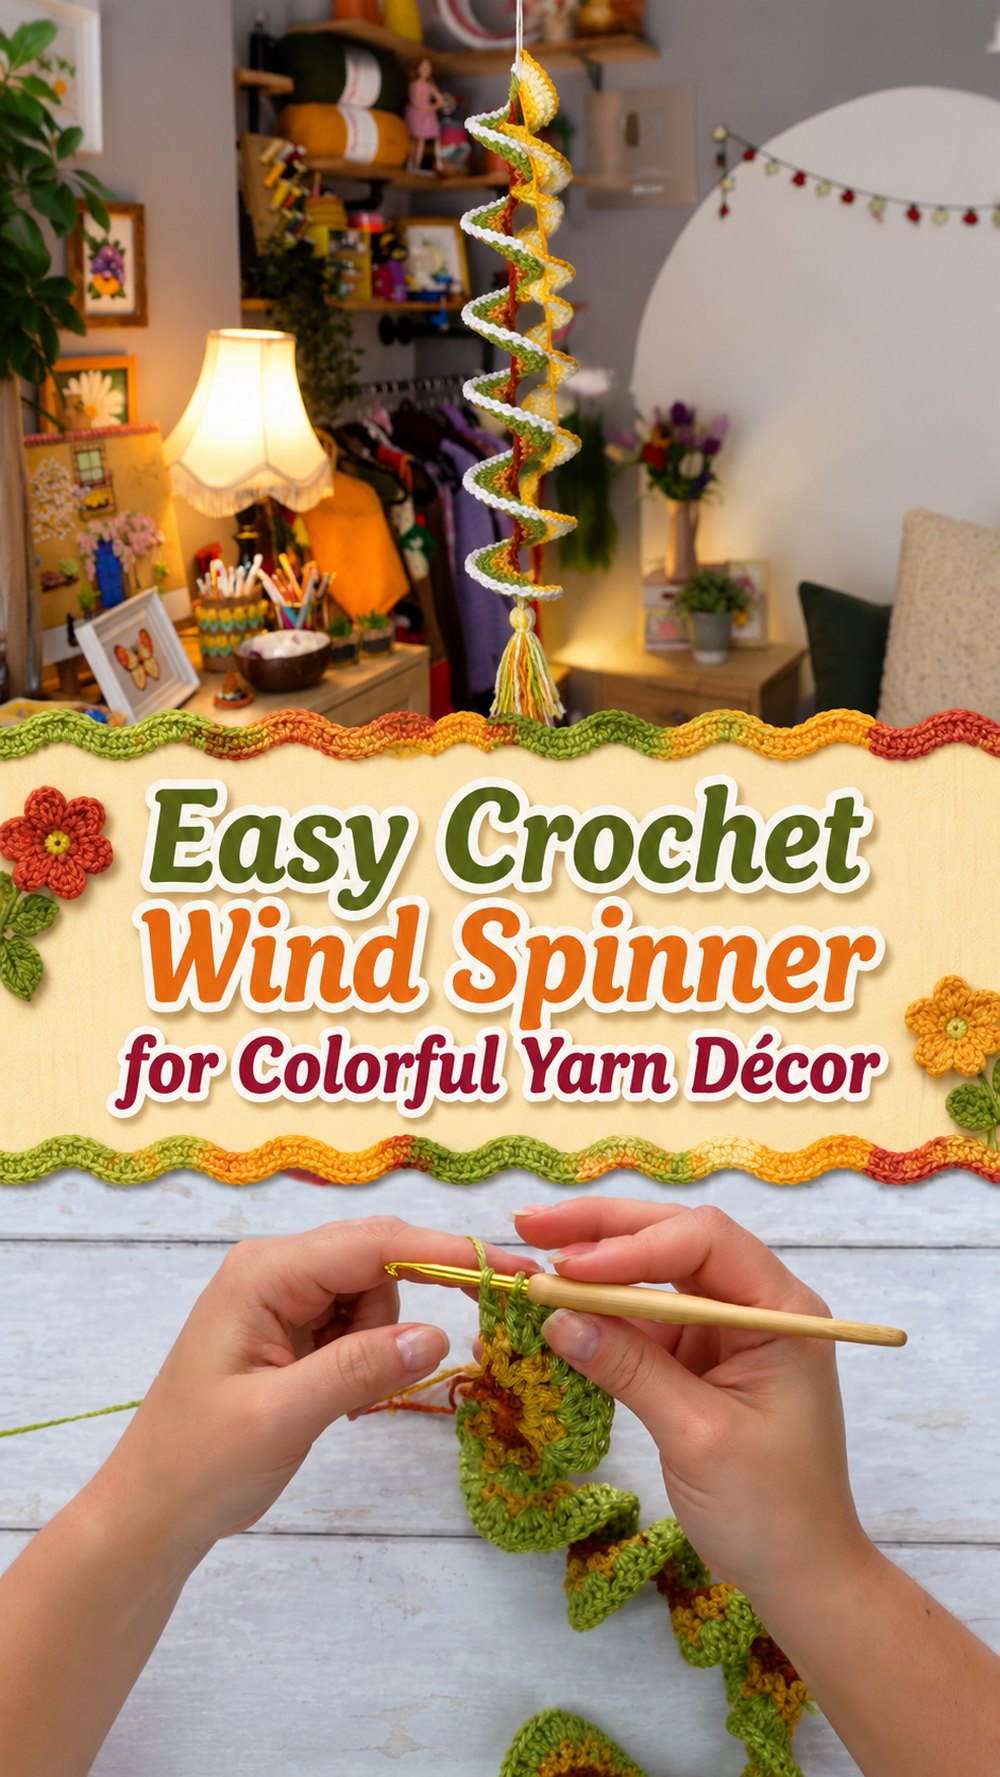
Crochet Wind Spinner With a crochet wind spinner, you can turn leftover yarn into something bright and cheerful.
This project is quick, rewarding, and lovely for porches, gardens, craft fairs or little handmade gifts. It has that cute spiral shape that looks playful even before it catches the breeze.
Why we love this project:
This is a simple crochet project that works up quickly and will give you a really eye catching result. It’s also a nice way to use up scrap yarn and play around with colour without committing to a big project.
Materials Required
- Thread
- Crochet needle
- Scissors
- Yarn needle
- Suspended loop or yarn for suspending
Choose a yarn and hook size that will give you the fit and texture you want.
Best Yarn for This Project
For this kind of decoration a smooth yarn with a bit of structure works well because it helps the spiral keep its shape. Cotton is great for a crisp look and acrylic is good for colourful scrap-yarn versions.
Level of Skill
Good for novices.
Size & Fit Guide
To alter the length of your wind spinner, change the beginning chain and continue until you obtain the desired length. You can also change colours to make the spiral bolder or softer.
Chain stitch Used
- sc single crochet}
- Halfdc Half double stitch
How to Make It
Start the Foundation
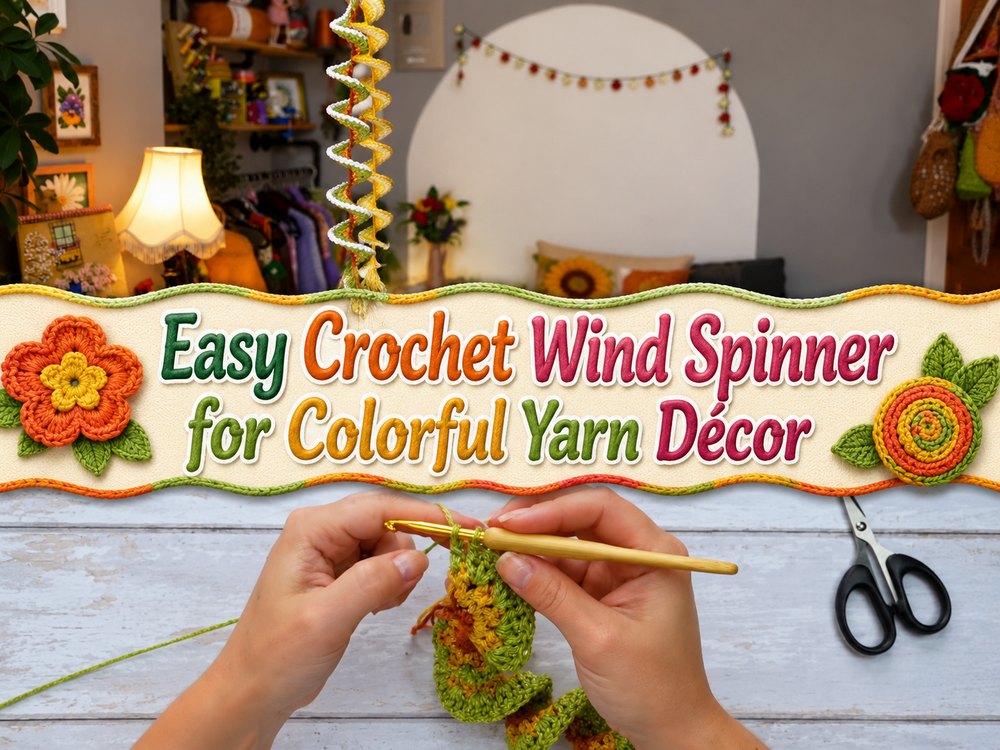
Start with a long starting chain. This is the base length of your spinner.
Work for the Main Section
Work a row of single crochet along the chain to create a firm strip. Then, with a fuller, more open pattern, crochet into each stitch so the strip begins to ruffle and curl into a spiral.
Change the Size
Repeat this until the strip reaches the length you want. The longer the strip the longer the hanging spinner.
Ends Closure
Fasten off and weave in the ends and add a loop for hanging. If you want a little more movement you can also add a small tassel or extra yarn to the bottom.
Tips and Tricks
If you are prone to losing the first or last stitch of a row, use stitch markers. Keep your tension even so that the spiral twists smoothly. If you’re changing colours, weave in the ends nicely, so that the finished piece looks clean from every angle.
Mistakes NOT to Make
- Overtightening the starting chain
- Base row with missing stitches
- Under very unequal strain
- Cutting the strip too short for the look you want
- Missing to add a secure hanging loop
Customisation Idea
Experiment with rainbow scraps, soft pastel shades or just two contrasting colours. You can make a larger one for outdoor decor or a smaller one for gifts. A cute finishing touch can be a tassel, beads or a simple bow.
Style Inspiration
Hang it from a porch, balcony, garden hook, window or door knob. And makes a great handmade gift for anyone who enjoys colourful home decor.
Care Instructions
If it needs cleaning, wash by hand carefully in cool water, and reshape when damp. Lay flat or hang to dry completely. Avoid extreme heat that can alter the shape.
Time Required
Depending on your speed, yarn, size and stitch pattern this can take a few hours.
Summary Conclusion
This crochet wind spinner is one of those little projects that feels immediately satisfying. It is easy, colourful, and a lovely way to use yarn you already have.
FAQs
Can beginners make this?
Yes, this is a very approachable project with simple stitches and an easy shape.
Can I use scrap yarn?
Yes, scrap yarn works especially well for this project.
How do I make it bigger?
Start with a longer chain and keep the strip going until you reach your desired size.
Does it need stiffening?
Not always. A yarn with a bit of structure can hold the spiral nicely on its own.
Can I use it indoors too?
Yes, it looks lovely near a window, on a wall hook, or as a colorful room accent.