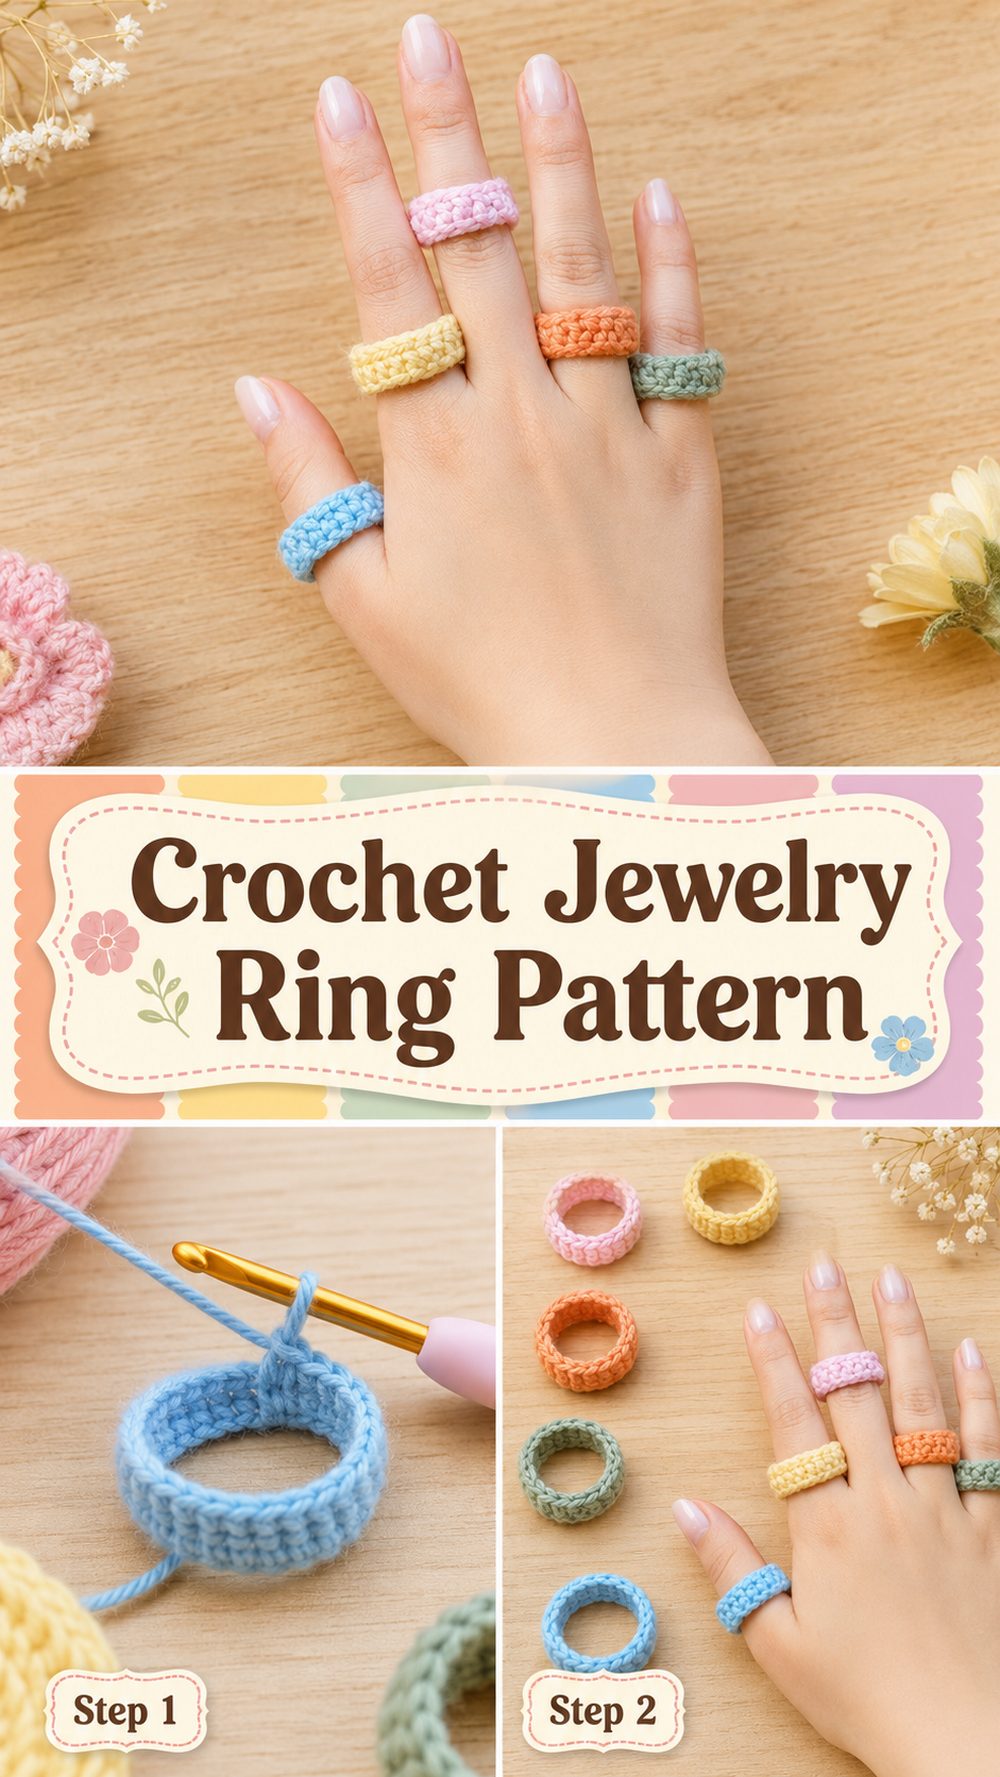
A crochet ring is such a fun little project when you want to make something quick, cute, and wearable without using much yarn. It is the kind of project that feels playful and creative, but still practical enough to turn into a small gift, a market item, or a sweet handmade accessory for yourself. The tutorial I selected teaches a crochet jewelry ring and describes it as a very easy, beginner-friendly pattern, which makes it a lovely choice for anyone who wants to try crochet jewelry in a simple way.
What makes a crochet ring especially nice is how flexible it can be. You can keep it soft and minimal, turn it into something decorative, or make several in different colors to match different outfits. Since it is such a small project, it is also a great way to enjoy crochet when you do not want to commit to a larger piece. This selected tutorial focuses on an easy crochet jewelry ring rather than a display-only project, so it is a good fit for someone who wants to actually follow along and make one.
Why You’ll Love This Project
This project is satisfying because it is quick to make, beginner-friendly, and easy to customize. The selected YouTube tutorial specifically presents it as a very easy crochet jewelry ring pattern, so it works well for newer crocheters who want a small success project that still feels special and wearable.
Materials Needed
- Yarn or thread for the ring
- Crochet hook that suits your yarn or thread
- Scissors
- Yarn needle
- Measuring tape
- Optional bead, button, or decorative center if you want to personalize it
Use a yarn and hook size that matches your desired fit and texture.
Best Yarn for This Project
For a crochet ring, smooth yarn or thread usually works best. A cotton yarn or crochet thread can give the stitches a neat and clean look, which helps the ring keep its shape better. If you want a softer finish, a lightweight smooth yarn can also work nicely. Try to avoid very fuzzy or bulky yarns, because they can make such a small accessory look too thick and may hide the stitch detail.
Skill Level
Beginner-friendly
The selected tutorial is described as a very easy and beginner-friendly crochet ring pattern. That makes it a great choice for someone who already knows basic crochet stitches and wants to try a quick jewelry project without a lot of complexity.
Size and Fit Guide
Measure the finger where you want to wear the ring before you begin. Crochet rings can stretch a little depending on the yarn and stitch pattern, so it helps to check the fit as you go instead of relying only on your first measurement.
If the ring is worked as a band, you can usually make it longer or shorter before joining. If it includes a decorative top section, make sure the band feels comfortable first, then place the decorative part where it sits nicely on the finger. A ring should feel secure without being tight.
Stitches Used
The YouTube result confirms that this is a crochet jewelry ring tutorial and that it is beginner friendly, but it does not list every stitch used.
So the safest stitch list is:
- Chain
- Slip stitch
- Basic crochet stitches for the ring band
- Simple shaping or decorative stitches for the top if included
For the exact stitch sequence, it is best to follow the tutorial visually.
How to Make It
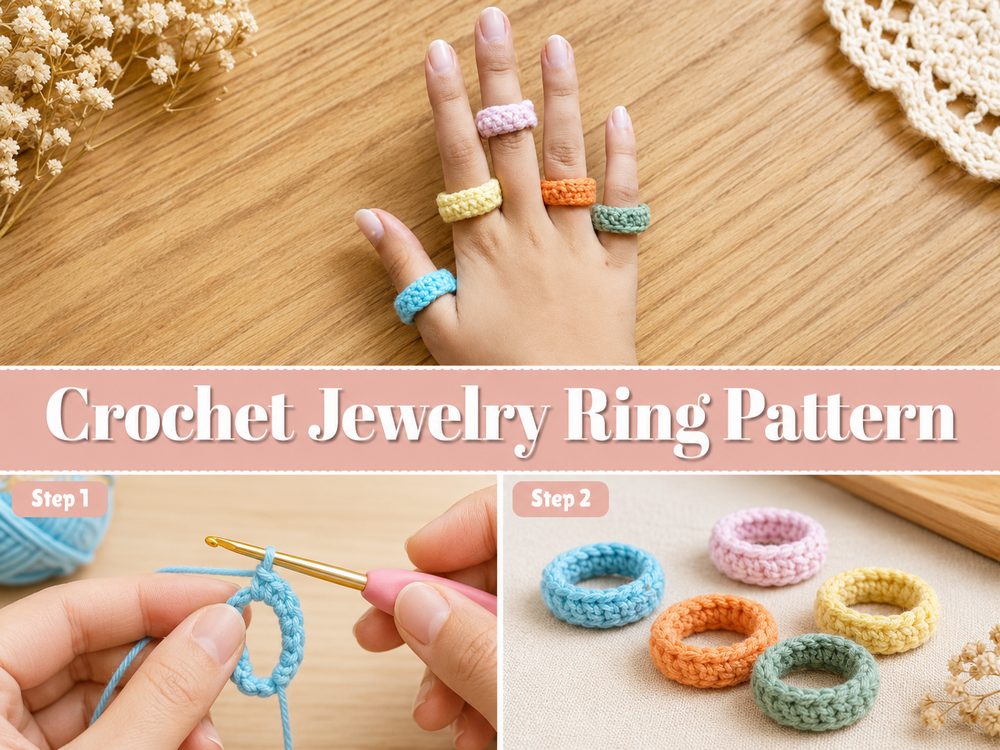
Step 1: Start the Ring Band
Begin by creating the base of the ring. In a project like this, the band is the most important part because it decides the fit and comfort. Start with a simple foundation that can wrap around your finger neatly.
Keep your tension relaxed but even. If the stitches are too tight, the ring may feel stiff and uncomfortable. If they are too loose, the ring may stretch out too much once worn.
Step 2: Build the Length to Fit Your Finger
As you work the band, keep checking it around the finger you measured. This is the easiest way to get a comfortable fit. Since ring sizing can vary depending on yarn, hook, and tension, trying it gently as you go is more helpful than guessing.
If the band feels too loose, remove a little length before joining. If it feels too snug, add a bit more. The goal is a ring that sits comfortably and stays in place without digging in.
Step 3: Join the Band
Once the length feels right, join the ring band to form a circle. This step should be neat and secure because it creates the finished shape of the ring.
Take your time here. A tidy join makes a big difference on a small accessory like this. If the join looks bulky, it may show more than it would on a larger crochet project.
Step 4: Add the Decorative Section
Many crochet rings include a small decorative top, center detail, or textured finish. Since this is presented as a crochet jewelry ring tutorial, the ring is meant to look like a wearable accessory rather than just a plain yarn loop.
If the tutorial adds a small motif or raised detail, work it carefully so it stays centered on the band. On a ring, even tiny design elements stand out, so neat placement matters a lot. If you want to personalize it, this is also the stage where a bead or small embellishment could be added if the design allows.
Step 5: Check the Shape and Fit Again
Before fastening off fully, try the ring on one more time. Make sure the band still feels comfortable and that the decorative section sits where you want it.
A crochet ring should feel light and soft against the skin. If it twists too much, the top may need to be centered better or the band may need a firmer finish. Small adjustments here can really improve the finished look.
Step 6: Finish the Ends Neatly
Fasten off and weave in the ends carefully. This is especially important with jewelry, because there is not much fabric to hide loose ends. A neat finish makes the ring feel polished and more durable for repeated wear.
If needed, gently shape the ring with your fingers so the band sits smoothly and the decorative section lies nicely on top.
What the Finished Ring Should Look Like
The final ring should feel soft, lightweight, and comfortable, with a neat crochet band and a simple jewelry-style finish. Since the selected tutorial describes it as a crochet jewelry ring and emphasizes that it is easy and beginner friendly, the finished result should be decorative without feeling overly complicated or bulky.
Helpful Tips
- Use smooth yarn or thread so the stitches show clearly.
- Check the fit often while making the band.
- Keep your tension even for a neater shape.
- Make the join as tidy as possible.
- Add a small embellishment only if it stays comfortable to wear.
- Weave in the ends very carefully because they are easy to notice on small projects.
Common Mistakes to Avoid
- Making the band too tight for comfortable wear
- Making the ring too loose so it slips off
- Using bulky yarn that makes the ring thick and awkward
- Joining the band with a bulky seam
- Forgetting to center the decorative top section
- Leaving loose ends visible inside the ring
Customization Ideas
You can have a lot of fun with this project. Try making several rings in different colors, adding a tiny bead in the center, or using cotton thread for a neater jewelry-style finish. You could also create a simple plain band for everyday wear or make the top a little more decorative if you want a playful statement piece. Matching ring sets in soft colors can look especially sweet.
Style Ideas
A crochet ring works nicely as a casual handmade accessory and can be worn on its own or paired with other crochet jewelry. It is cute for summer outfits, market-style accessories, festival looks, or simple everyday wear. It also makes a charming gift, especially as part of a handmade jewelry set.
Care Instructions
Handle the ring gently and keep it dry when possible. If it needs cleaning, hand wash lightly in cool water and reshape it with your fingers. Lay it flat to dry and avoid high heat. Store it somewhere it will not be crushed so the shape stays neat.
Time Needed
This may take a short amount of time, depending on your speed, the ring design, and the yarn or thread you choose.
Conclusion
A crochet ring is a lovely little project when you want something fun, fast, and wearable. It is beginner-friendly, easy to personalize, and perfect for using basic crochet skills in a creative way. Once you make one, it is easy to imagine making more in different colors and styles. This selected tutorial is a great starting point because it focuses on a crochet jewelry ring that is described as very easy and beginner friendly.
FAQs
Is this beginner-friendly?
Yes. The selected tutorial specifically describes the crochet ring pattern as very easy and beginner friendly.
What yarn is best for a crochet ring?
Smooth cotton yarn, lightweight yarn, or crochet thread usually works best for a neat and comfortable finish.
Can I adjust the size?
Yes. You can adjust the band length and check the fit on your finger as you work.
Can I add a bead or decoration?
Yes, as long as it stays comfortable and does not make the ring too bulky.
Is this a quick project?
Yes. A crochet ring is a small project, so it can usually be finished fairly quickly.