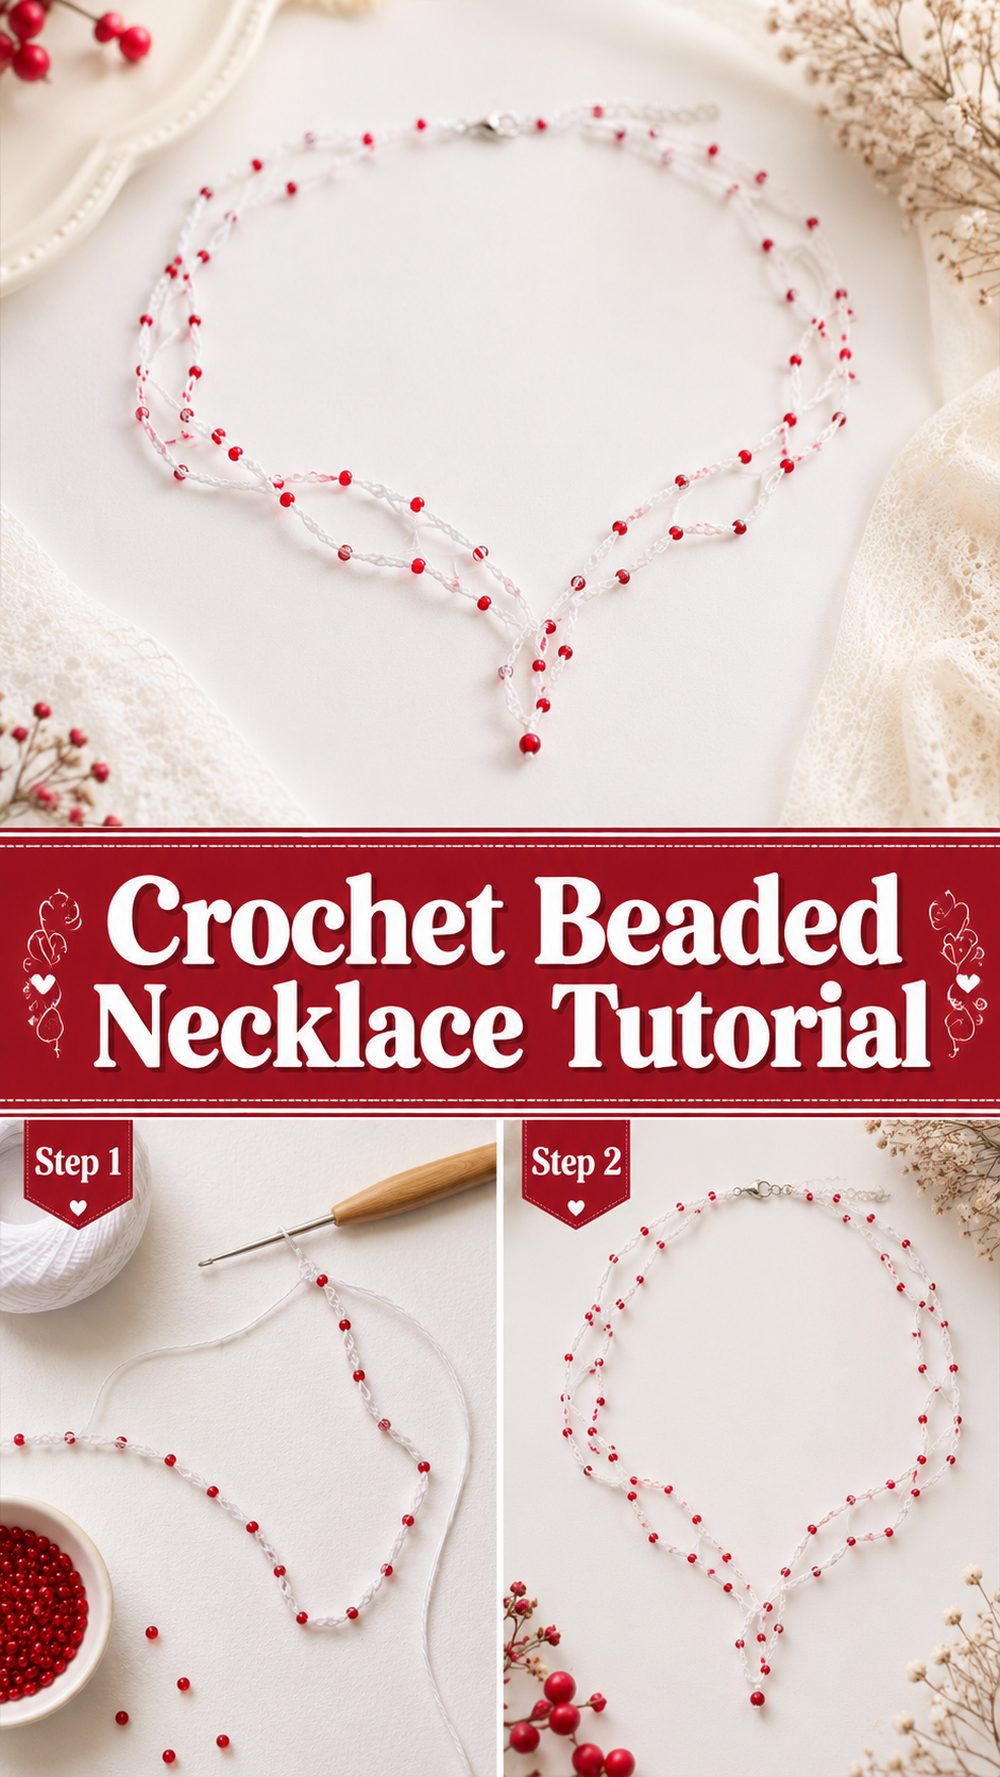
A crochet beaded necklace is such a nice project when you want something small, pretty, and satisfying to make without needing a lot of yarn. It has that handmade softness of crochet, but the beads give it extra shine and a more finished jewelry feel. The YouTube tutorial I selected is an easy, beginner-friendly beaded necklace project shown step by step, so it works well for anyone who wants to try crochet jewelry without jumping into something too complicated.
This kind of necklace is also wonderfully flexible. You can keep it simple for everyday wear, dress it up with pearl-like beads, or make it playful with bright colors. Since it is a small project, it is a lovely choice for gifts, craft fairs, or just using up a little thread or lightweight yarn in a creative way. The selected tutorial focuses on an elegant beaded crochet necklace rather than a large statement piece, which makes it feel wearable and approachable.
Why You’ll Love This Project
This project is fun because it is quick, decorative, and easy to personalize. The chosen YouTube tutorial presents it as an easy and elegant beginner-friendly beaded crochet necklace, so it is a nice way to make something pretty without needing an advanced pattern.
Materials Needed
- Lightweight yarn, crochet thread, or embroidery thread
- Crochet hook that suits your thread or yarn
- Beads
- Scissors
- Yarn needle
- Measuring tape
- Optional clasp, button, or tie closure
Use a yarn and hook size that matches your desired fit and texture.
Best Yarn for This Project
For a beaded necklace, smooth lightweight materials usually work best. Fine cotton crochet thread is especially nice because it gives clean stitch definition and helps the beads stand out clearly. Embroidery thread or a thin soft yarn can also work well if you want a slightly softer look. Try to avoid thick or fuzzy yarns, because they can make the necklace feel bulky and hide the bead detail.
Skill Level
Beginner-friendly
The selected video is described as an easy and beautiful beginner crochet beaded necklace tutorial, which makes this a very approachable project for newer crocheters.
Even so, adding beads can take a little extra patience, so it helps if you already feel comfortable with simple stitches and keeping your tension fairly even.
Size and Fit Guide
Measure around your neck first and decide how you want the necklace to sit. You might want it close like a choker, slightly relaxed at the collarbone, or longer for a softer drape.
As you work, keep checking the length before fastening off. If the design uses a repeated section, simply continue until it reaches the length you like. If you are adding a clasp, leave enough room for comfortable fastening. If you are making ties instead, you have more flexibility in the fit.
Stitches Used
The search result confirms this is a step-by-step beginner-friendly crochet beaded necklace tutorial, but it does not list every stitch used.
So the safest way to describe it is:
- Chain
- Slip stitch
- Basic crochet stitches for the necklace body
- Bead placement as part of the design
For the exact stitch order, bead placement, and repeat structure, follow the tutorial visually.
How to Make It
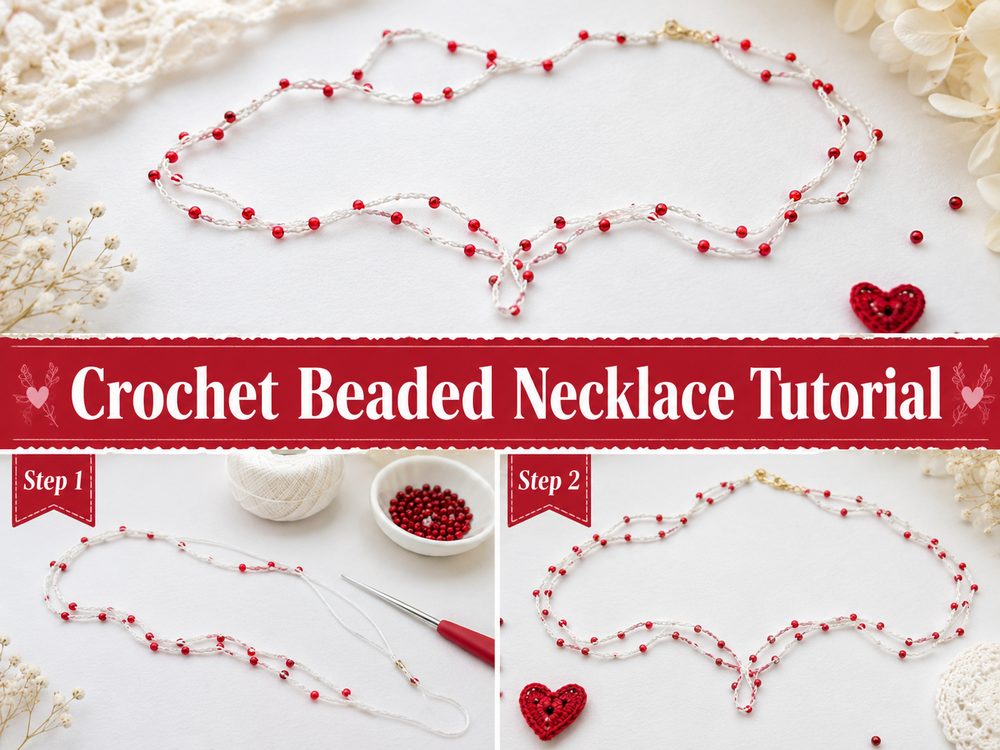
Step 1: Get the Beads and Thread Ready
Before you begin crocheting, make sure your beads and thread work nicely together. The bead holes need to be large enough for the thread or method used in the tutorial. On a project like this, it really helps to prepare everything first so the crocheting feels smooth instead of fussy.
Since this is a lightweight necklace, choose materials that feel comfortable and not too heavy. The beads should decorate the necklace, not weigh it down too much.
Step 2: Start the Foundation
Begin with the starting section of the necklace. This is usually a foundation chain or another simple opening structure that creates the base for the rest of the piece.
Keep this first section relaxed. If the starting chain is too tight, the necklace may feel stiff or curve oddly. Small crochet jewelry looks best when the stitches feel neat but still flexible.
Step 3: Build the Necklace Body
Once the foundation is ready, continue into the main body of the necklace. The selected tutorial is specifically presented as an easy beaded crochet necklace, so the structure is meant to stay simple enough for beginners while still looking elegant.
Work steadily and keep your tension even. On jewelry projects, little tension changes show up more clearly than they do on larger projects like scarves or blankets. If the edges begin looking uneven, slow down and check the start and end of each row or repeat.
Step 4: Add the Beads
This is the part that gives the necklace its special look. As you add the beads, try to keep the spacing balanced so the design looks intentional and neat.
If the tutorial places beads at repeated intervals, pay close attention to that rhythm. If the beads are grouped in decorative sections, make sure those sections stay centered and even. It is better to crochet a little more slowly here so the finished necklace looks polished and comfortable to wear.
Step 5: Continue Until the Length Feels Right
As the necklace grows, check the fit against your neck or a measuring tape. Stop once it reaches your preferred length. This is one of the easiest parts of a crochet necklace to customize, so do not feel locked into one size.
A shorter length gives a more dressy or choker-like look. A slightly longer one feels softer and more casual. Because the selected tutorial is beginner-friendly, it is a good style for adjusting to your own preference without overcomplicating the project.
Step 6: Add a Closure
Finish the necklace with the closure style you prefer. A clasp makes it feel more like traditional jewelry, while ties can keep it softer and more handmade. You can also use a loop-and-button style if that suits the design better.
Whatever method you choose, make sure the ends are secure. Necklaces get handled a lot, so a neat and strong finish matters.
Step 7: Weave In Ends and Finish Neatly
Fasten off carefully and weave in all ends so nothing pokes out or distracts from the beadwork. On a project this small, finishing details matter a lot.
If the necklace needs a little shaping, you can gently lay it flat and smooth it into place. Once finished, it should feel light, flexible, and decorative, with the beads adding just enough sparkle to stand out.
What the Finished Necklace Should Look Like
The final piece should look elegant, lightweight, and easy to wear. The selected tutorial specifically describes it as an easy and beautiful beaded crochet necklace for beginners, so the finished result should feel decorative without being too bulky or complicated.
Helpful Tips
- Use smooth thread or yarn so the beads show clearly.
- Check the fit before adding the closure.
- Keep bead spacing even for a cleaner finished look.
- Do not pull too tightly around the beads.
- Use lightweight beads so the necklace stays comfortable.
- Weave in ends carefully because jewelry details are very visible.
Common Mistakes to Avoid
- Making the foundation chain too tight
- Using yarn that is too thick for a delicate necklace
- Choosing beads that are too heavy
- Spacing beads unevenly across the design
- Forgetting to test the necklace length before finishing
- Leaving ends bulky or visible near the closure
Customization Ideas
You can change the whole mood of this necklace just by switching colors and bead styles. Try pearl beads for something soft and elegant, bright glass beads for a more playful look, or metallic tones for a dressier finish. You can also make it shorter like a choker, longer like a necklace strand, or even turn the same idea into a bracelet or anklet-inspired accessory.
Style Ideas
A crochet beaded necklace looks lovely with dresses, blouses, simple tops, and handmade or boho-inspired outfits. It can be worn on its own for a delicate accent or layered with other jewelry for a more styled look. It also makes a sweet handmade gift because it is pretty, personal, and easy to customize.
Care Instructions
Handle it gently, especially if the beads are delicate. Hand wash only when needed using cool water and mild soap. Do not wring it out. Press out extra moisture with a towel and lay it flat to dry. Keep it away from high heat and store it carefully so it does not tangle.
Time Needed
This may take a few hours depending on your speed, the necklace length, the bead placement, and the materials you choose.
Conclusion
A crochet beaded necklace is a lovely little project when you want something quick, wearable, and creative. It gives you the softness of crochet with the shine of beads, and it is easy to personalize for your own taste. The selected tutorial keeps the project approachable and beginner-friendly, which makes it a great choice for trying crochet jewelry in a simple but stylish way.
FAQs
Is this beginner-friendly?
Yes. The selected tutorial is specifically described as beginner-friendly.
What yarn works best?
Lightweight crochet thread, cotton thread, or another smooth fine yarn usually works best.
Can I adjust the length?
Yes. You can simply continue the necklace until it reaches the fit you want.
What kind of beads should I use?
Use beads that are light enough to stay comfortable and that work well with your thread and hook size.
Can I make this as a gift?
Yes. It is a great gift project because it is small, stylish, and easy to customize with different colors and beads.