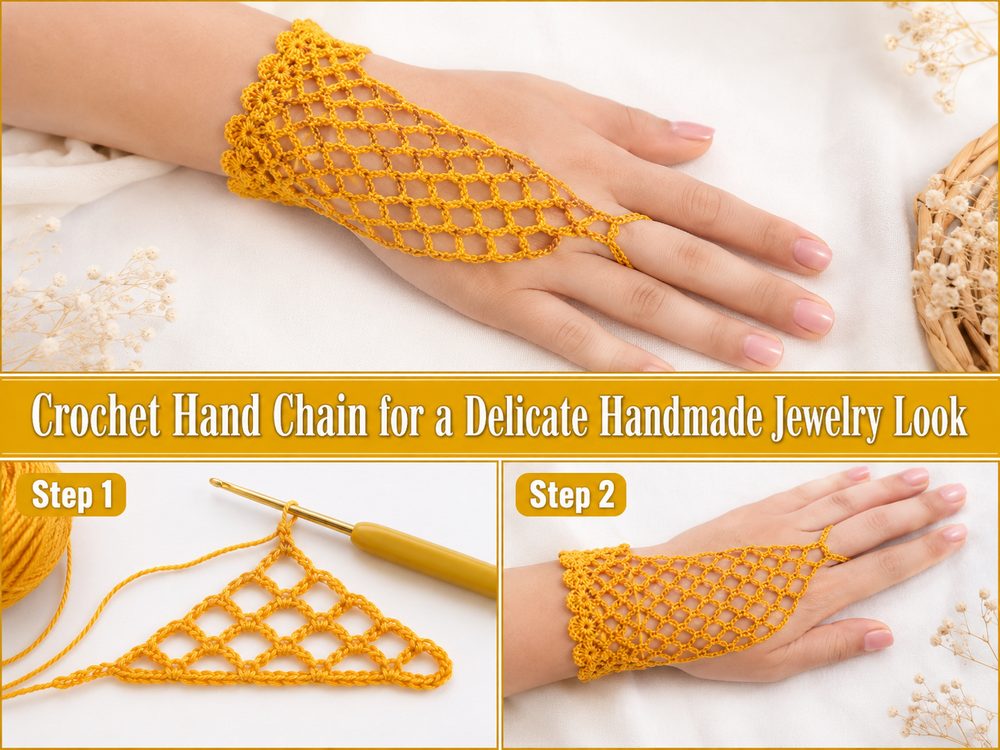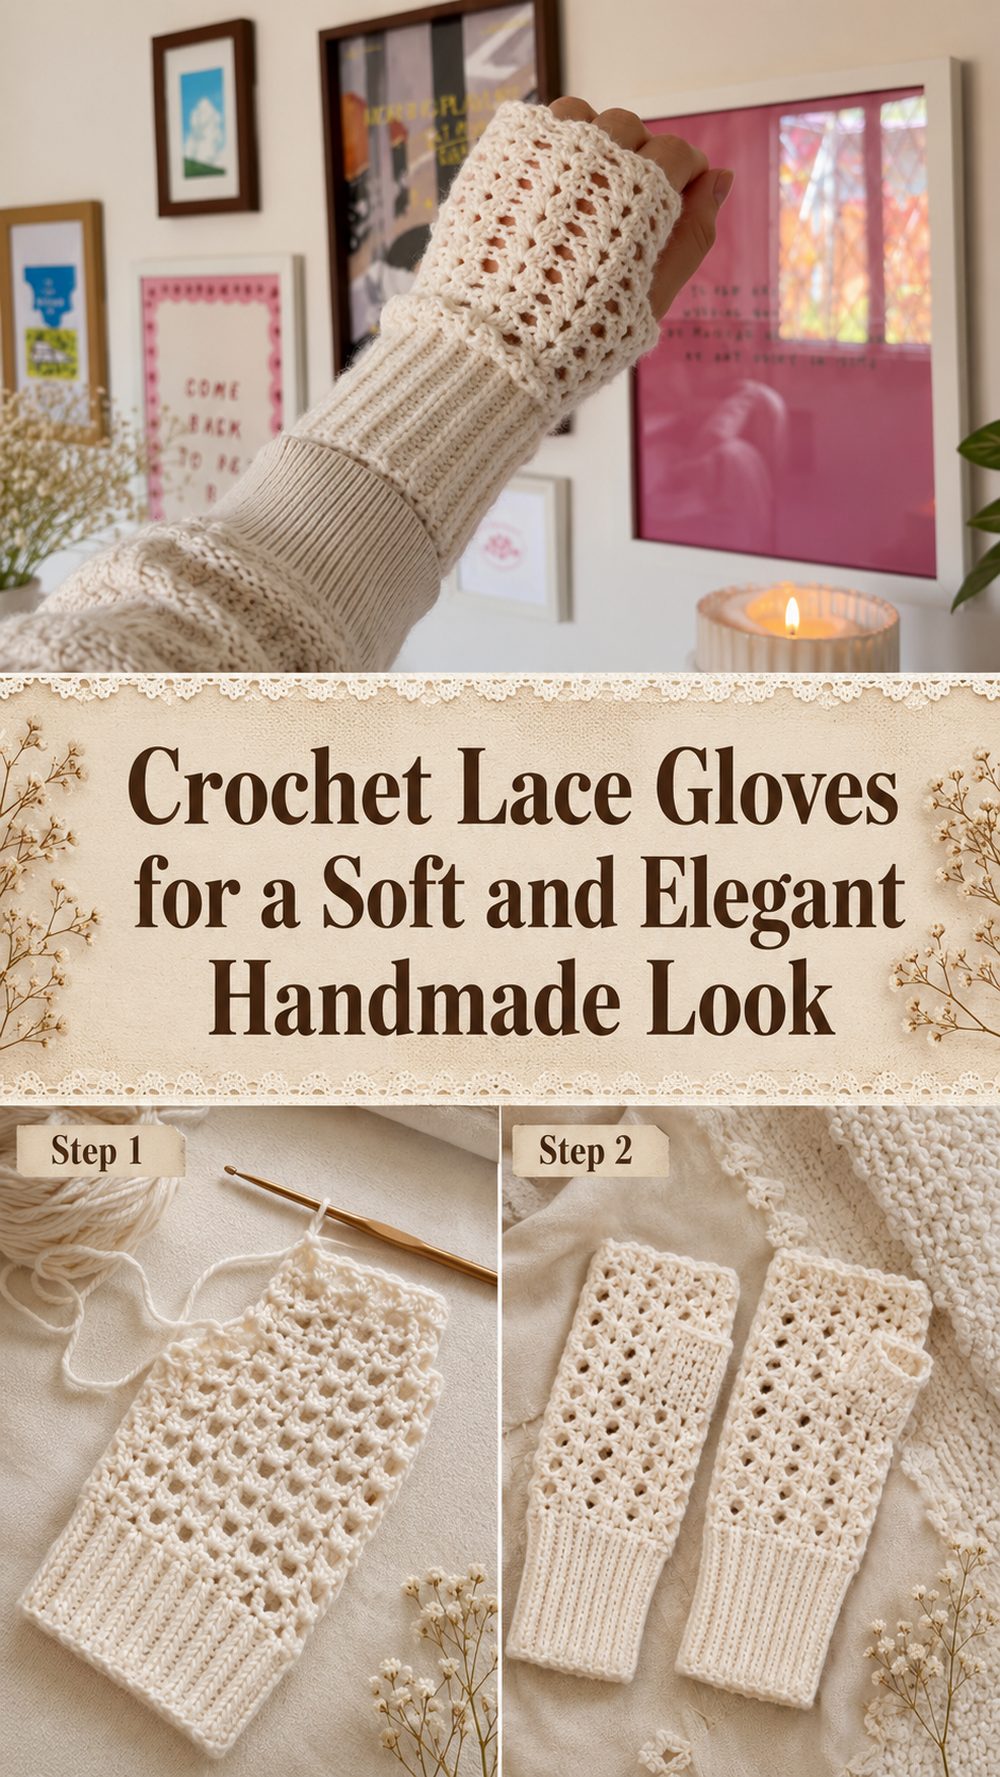
Crochet lace gloves are such a lovely project when you want something feminine, lightweight, and a little bit special. They have that pretty vintage feel, but they are still practical enough to wear for everyday outfits, dressy occasions, or layered seasonal looks. The tutorial I selected teaches a pair of lace fingerless gloves with a soft, stylish appearance and presents the project as beginner-friendly, which makes it a nice choice for anyone who wants to try a wearable piece without feeling overwhelmed. The video also clearly walks through the stitch work rather than only showing the finished gloves, so it feels much more useful when you are actually ready to make a pair for yourself.
Why You’ll Love This Project
This project has a really pretty finished look without needing to feel too fussy or too heavy. Because the gloves are fingerless, they are comfortable to wear while keeping your hands free, and the lace style gives them a softer, dressier look than basic winter mitts. The selected tutorial also presents them as beginner-friendly, so they are a nice step into wearable crochet if you want something more delicate.
Materials Needed
- Yarn
- Crochet hook
- Scissors
- Yarn needle
- Stitch markers if you like using them for cleaner edges
- Measuring tape
Use a yarn and hook size that matches your desired fit and texture.
Best Yarn for This Project
For lace gloves, a smoother and lighter yarn usually gives the prettiest finish. A soft cotton blend, bamboo blend, or fine acrylic can work nicely if you want the stitches to look neat and the gloves to feel light on the hands. If you want a more romantic and airy result, choose a yarn that drapes well rather than something very bulky or stiff. Since this project is lace-inspired, the yarn looks best when it allows the stitch texture to stay visible and elegant. The selected tutorial emphasizes a soft, stylish lace look, so a lighter and cleaner yarn choice suits that finish well.
Skill Level
Beginner-friendly to easy
The selected tutorial is labeled beginner-friendly, which is encouraging if you are still building confidence with wearables. It helps to be comfortable with chaining, working basic stitches, and keeping an even tension, but you do not need to treat this like an advanced heirloom project.
Size and Fit Guide
The easiest way to size crochet lace gloves is to measure around your hand and wrist before you begin, then keep checking the fit as you work. If you want a snug pair, make the fabric sit close to your hand without pulling too tightly. If you prefer a softer, more relaxed fit, leave a little extra ease. For a longer glove, continue until it reaches your preferred height on the wrist or lower arm. For a shorter pair, stop once the glove looks balanced and comfortable on your hand. Since lace-style gloves can stretch and settle a little, it is always worth trying them on before finishing the last steps.
Stitches Used
The tutorial clearly shows chain and single crochet, and it demonstrates how to make the single crochet stitch during the lesson. Because the full pattern details are not fully listed in the search preview, it is best to follow the video closely for the exact stitch flow and repeats used to create the lace effect.
How to Make It
Step 1: Start the Foundation
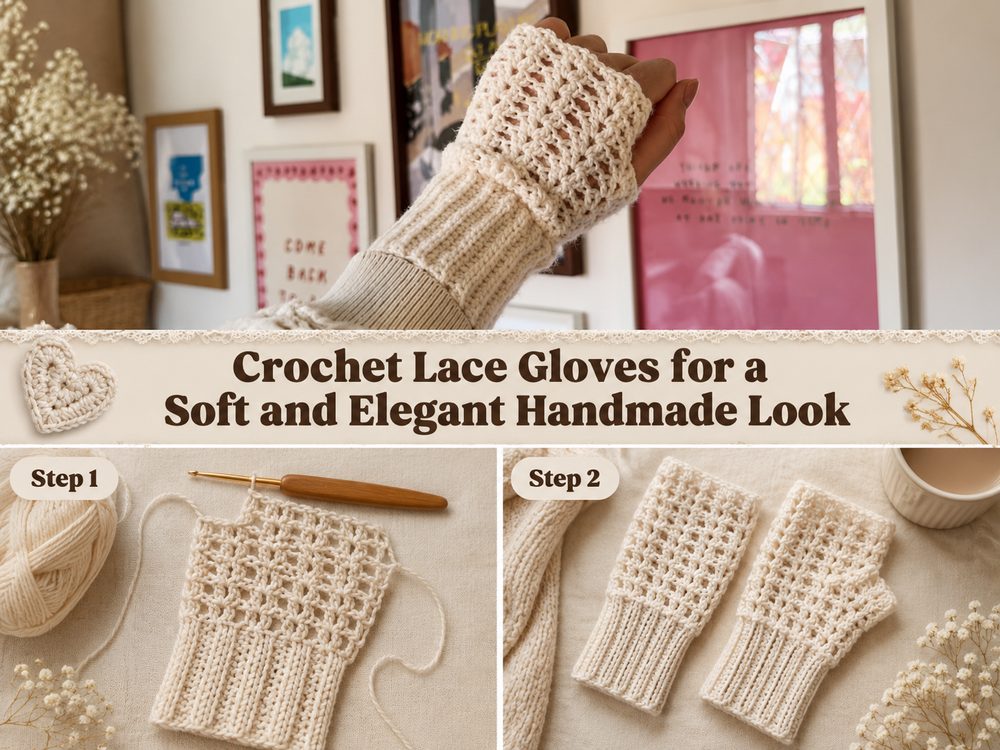
Begin by making your starting chain. For gloves, this first section is important because it sets up the width or circumference you will build from, depending on how you follow the tutorial. Keep your foundation flexible rather than too tight, since gloves need a little stretch to slide on comfortably. If your chain feels stiff, go up a hook size or loosen your tension slightly.
Step 2: Build the Lace Texture
Once the foundation is made, start working the main stitch pattern shown in the tutorial. The selected video is specifically for lace fingerless gloves and presents the project in a simple, beginner-friendly way, so the stitch work is meant to be approachable rather than overly complicated. The lace look comes from the overall texture and lightness of the fabric, so try to keep your stitches even and relaxed as you go.
As the pattern begins to grow, you will start to see that soft, delicate appearance take shape. This is one of the nicest parts of the project, because even a simple repeated stitch pattern can look dressy and refined when worked in a lighter yarn.
Step 3: Form the Hand Section
Keep repeating the main pattern until the glove is tall enough to cover the part of the hand and wrist you want. At this stage, stop every so often and wrap the work around your hand to check the fit. You want the glove to sit smoothly without twisting or bunching too much. Since this is a fingerless design, comfort matters just as much as appearance.
If the glove feels too wide, reduce slightly on your next try. If it feels too tight, add a little more width or loosen your tension. Wearable crochet usually improves a lot when you give yourself permission to check the fit often.
Step 4: Leave Space for the Thumb
As you shape or join the glove, be sure to leave a comfortable opening for the thumb. This opening should feel natural when you put your hand through it. Too small, and the glove can feel tight and awkward. Too large, and it may stretch out of shape. A good thumb opening allows movement while still keeping the glove neat around the hand.
For lace gloves especially, this part is worth checking before weaving in the ends. The gloves should feel delicate, but they should still stay secure when worn.
Step 5: Continue Until the Length Looks Right
Work the glove until it reaches the hand length you like. Some people prefer a shorter glove that sits mainly around the wrist and lower hand, while others like a slightly longer style with a more elegant arm-warming look. Lace gloves are easy to personalize this way. You can keep them sweet and simple or make them a bit more dramatic by adding length.
The finished style from the selected tutorial is described as soft, vintage, and stylish, so this is a great project for adjusting to your own wardrobe and taste.
Step 6: Join and Finish Neatly
Once the glove is the right size, finish the joining or edge work as shown in the tutorial. After that, weave in the yarn ends carefully so the gloves look polished. Since lace projects show the fabric more openly, tidy finishing makes a real difference. Stretch the glove gently with your hands and smooth the edges so the shape looks clean.
Step 7: Make the Second Glove to Match
Use your first glove as a guide while making the second one. Count your rows if needed, compare the thumb opening placement, and lay the pieces side by side from time to time. Matching pairs always look better when you check them during the process instead of waiting until the end.
Helpful Tips
- Use a light, smooth yarn so the lace texture stays visible.
- Keep your starting chain loose enough for comfort.
- Check the fit before finishing the thumb area.
- Try the glove on as you work instead of guessing the size.
- Make the second glove right after the first so your tension stays similar.
- Weave in ends neatly because open textures show finishing details more clearly.
Common Mistakes to Avoid
- Making the foundation chain too tight
- Choosing yarn that is too bulky for a lace look
- Forgetting to test the fit around the hand
- Leaving the thumb opening too tight
- Making one glove longer than the other
- Pulling the stitches too tightly and losing that soft drape
Customization Ideas
These gloves are easy to personalize. You can use a soft cream or blush shade for a romantic look, a black or charcoal yarn for something more elegant, or a pastel tone for a gentle vintage feel. You could also make them a bit longer for extra drama, add a simple edging, or sew on a tiny bow or button for decoration. If you want them to feel more seasonal, choose breathable yarn for spring and autumn or a slightly warmer soft blend for cooler weather.
Style Ideas
Crochet lace gloves look beautiful with dresses, cardigans, shawls, coats, and simple long-sleeve tops. They can lean cottage-style, vintage-inspired, or softly modern depending on the yarn color you choose. They also make lovely gifts for birthdays, bridal events, handmade winter boxes, or anyone who enjoys pretty accessories with a handmade touch.
Care Instructions
Hand wash gently in cool water when possible, especially if you used a delicate yarn or want the gloves to keep their shape. Lay them flat to dry and avoid high heat. If the fabric needs a little smoothing after washing, reshape it lightly with your hands while damp.
Time Needed
This may take a few hours depending on your speed, yarn, size, and stitch pattern.
Conclusion
Crochet lace gloves are such a pretty way to make something wearable, useful, and personal. They have that delicate handmade charm that makes even a simple outfit feel more special, and they are a satisfying project when you want a finished pair without making something huge. You can keep them soft and classic or adjust the yarn, color, and length to suit your own style. Once you finish one pair, they are the kind of project you will probably want to make again.
FAQs
Is this beginner-friendly?
Yes. The selected tutorial is labeled beginner-friendly.
What yarn works best for crochet lace gloves?
A light, soft yarn with good drape works best, such as cotton blend, bamboo blend, or fine acrylic.
Can I adjust the size?
Yes. You can adjust the fit by measuring your hand and checking the glove as you work.
Are these gloves warm enough for winter?
They are better for light warmth and layering than for very harsh cold, especially because the style is lace-inspired and fingerless.
How do I make both gloves match?
Compare the length, width, and thumb opening as you work, and keep note of your rows or repeats.