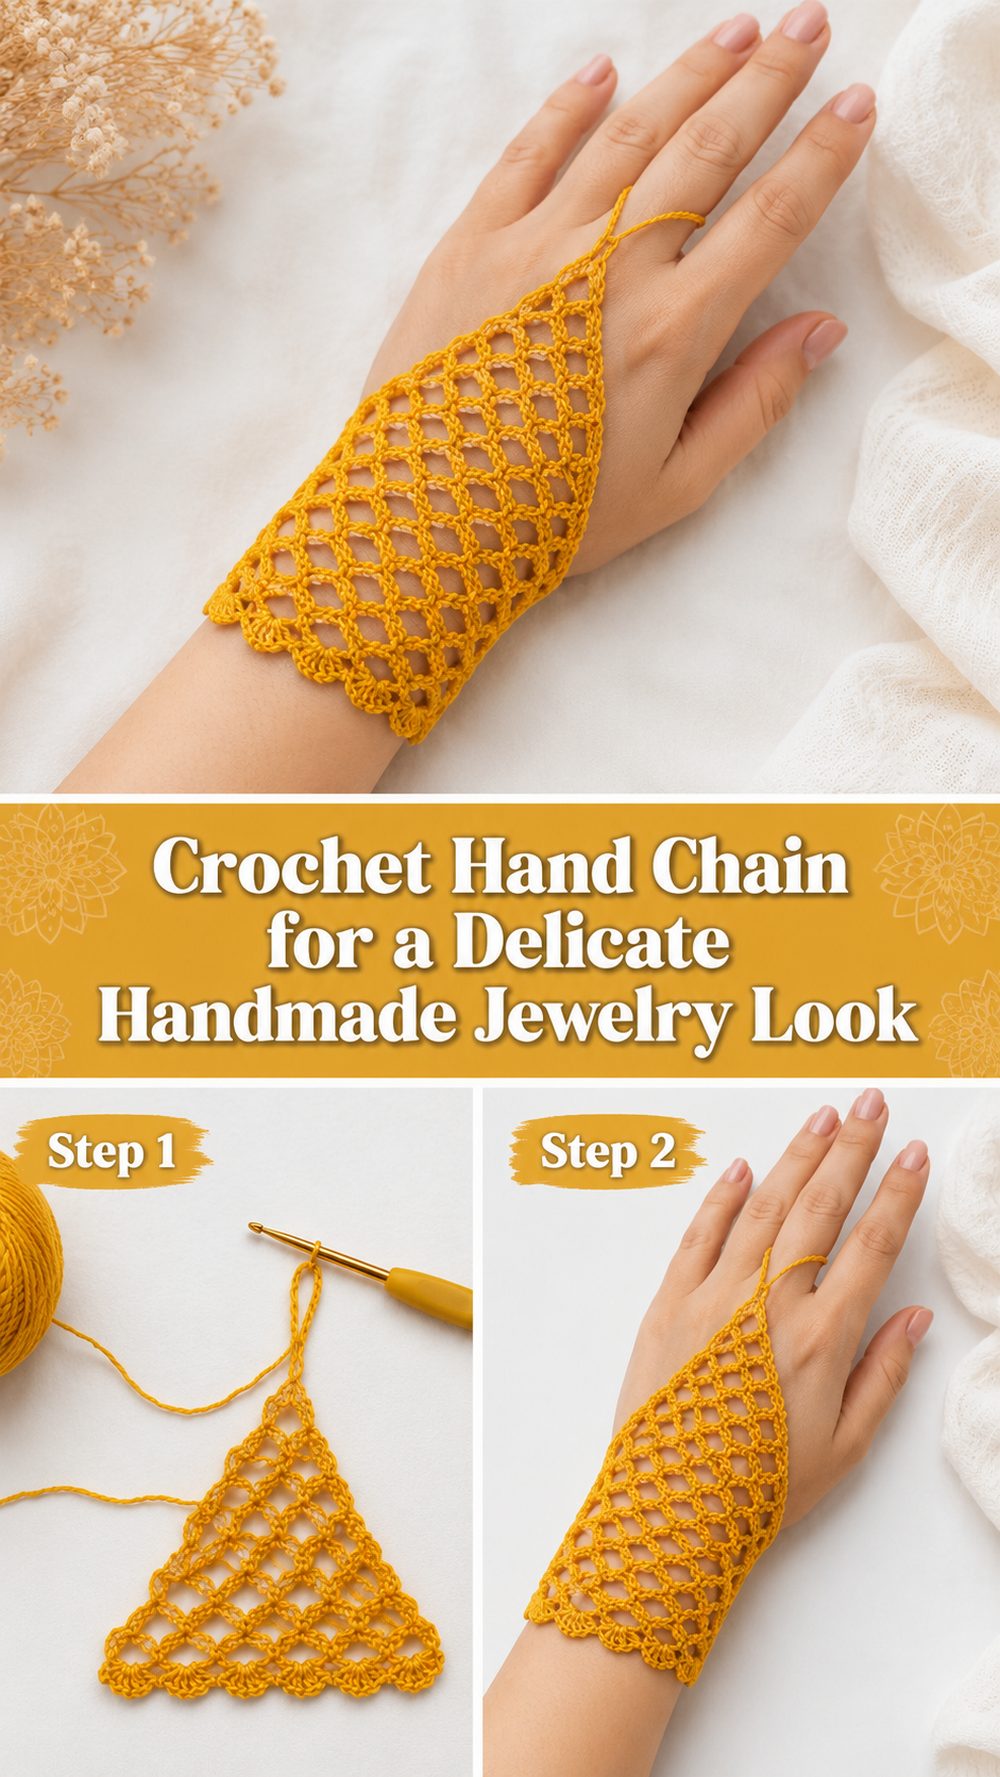
A crochet hand chain is such a fun little project when you want to make something pretty without spending all day on it. It has that lovely jewelry-inspired look, with a bracelet section connected to a finger ring, so it feels both elegant and playful at the same time. This style works beautifully for summer outfits, festival looks, beachwear, gifts, or just adding something a little different to your handmade accessories. The tutorial I chose teaches a crochet finger bracelet and is presented for absolute beginners, which makes it a nice pick if you want a small project that still feels special. It is the kind of make that lets you enjoy crochet in a lighter, more decorative way while still being simple enough to finish in one sitting.
Why You’ll Love This Project
This project is quick, pretty, and easy to personalize. It gives you that jewelry-style look without needing a large amount of yarn, and because the selected tutorial is beginner-focused, it is a lovely way to make something wearable even if you are still new to crochet.
Materials Needed
- Yarn or crochet thread
- Crochet hook
- Scissors
- Yarn needle
- Measuring tape
- Beads, if you want to dress it up
Use a yarn and hook size that matches your desired fit and texture.
Best Yarn for This Project
For a crochet hand chain, lighter yarn usually works best. Crochet thread, fine cotton, or a smooth lightweight yarn can help the piece look neat and jewelry-like instead of bulky. If you want a soft boho style, cotton is a lovely choice because it holds its shape well and keeps the stitches clean. If you prefer something a bit more delicate-looking, a finer thread can give the finished hand chain a daintier feel. Try to avoid thick yarn here, because this project usually looks nicest when it stays light, slim, and comfortable on the hand.
Skill Level
Beginner-friendly
The selected tutorial is described as a finger bracelet tutorial for absolute beginners, so this project suits newer crocheters very well. It is especially nice if you want to practice simple stitches on a small item that works up quickly.
Size and Fit Guide
To size a hand chain, measure gently around your wrist and also check the distance from the bracelet section to the finger loop. You want it to sit neatly on the hand without pulling too tightly when you move your fingers. The easiest way to adjust the size is to change the bracelet length, the connecting chain length, or the finger ring size as you work. Try it on before finishing so it feels comfortable both when your hand is relaxed and when your fingers move.
Stitches Used
Because the selected tutorial is aimed at absolute beginners and shows a simple crochet finger bracelet, the project is best treated as a basic stitch accessory. Follow the video closely for the exact stitch flow and repeats used in the design.
How to Make It
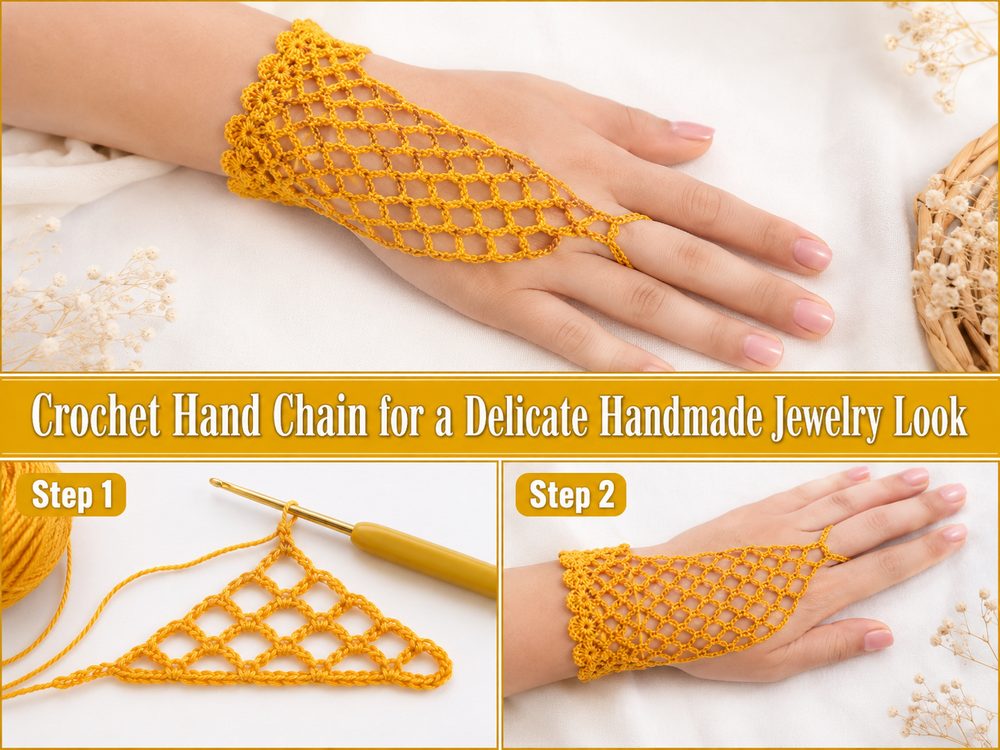
Step 1: Start the Bracelet Section
Begin with the part that wraps around the wrist. This is the foundation of the whole hand chain, so it helps to decide early whether you want a closer fit or a looser, more decorative drape. Make your beginning section long enough to sit comfortably around the wrist, but not so loose that it slips around too much.
Since this is jewelry-style crochet, the piece usually looks best when it feels neat and light rather than thick and heavy. Keep your stitches even, and pay attention to how the band sits against your skin.
Step 2: Build the Main Wrist Band
Work the bracelet section in the simple stitch pattern shown in the tutorial. Because the selected video is beginner-focused, the construction is meant to stay approachable and easy to follow rather than overly detailed or complicated. That makes this a very enjoyable little project when you want something calming and quick.
As the wrist section grows, check that it lies flat and feels comfortable. If you want a cleaner, more delicate look, keep your tension steady so the stitches stay even from end to end.
Step 3: Create the Hand Connection
Once the bracelet part is ready, start the chain or connecting section that runs from the wrist to the finger. This part is what gives the project its hand-chain look. It should be long enough to rest gently across the back of the hand without straining when you move.
This section is worth testing before you finish it. Place the bracelet on your wrist, stretch the connecting part toward your chosen finger, and see how it sits. A good fit will look graceful while still feeling wearable.
Step 4: Make the Finger Loop
After the hand connection is the right length, form the finger ring. This loop should fit comfortably over the finger you want to wear it on. It should not feel tight, and it should not slip off too easily either. Since fingers vary in size, trying it on before closing the loop is the easiest way to get a nice result.
For a softer jewelry feel, keep the finger loop simple and neat. For a more decorative style, you can later add a small bead or embellishment if you like.
Step 5: Join and Adjust
Once the bracelet, hand connection, and finger loop are all in place, check the whole piece on your hand before doing the final finish. This is the best time to make small changes. If the bracelet is too loose, shorten it slightly. If the connection across the hand pulls too much, add a bit more length. If the finger loop feels awkward, adjust that part before weaving in ends.
Small wearables like this always turn out better when you test the fit before calling them done.
Step 6: Finish the Piece
When everything fits well, fasten off neatly and weave in all ends with a yarn needle. Because this is a small accessory, tidy finishing really matters. A clean finish makes the hand chain feel more polished and more like a proper handmade accessory instead of just a practice piece.
The final result should look light, decorative, and easy to wear. The selected tutorial presents it as a crochet finger bracelet for beginners, which fits this simple, delicate style very well.
Helpful Tips
- Use lightweight yarn or thread for a more elegant result.
- Check the hand connection length before finishing.
- Make sure the finger loop is comfortable, not tight.
- Keep your stitches even so the piece looks neat.
- Try it on during the process instead of waiting until the end.
- Add beads only after you are happy with the basic fit.
Common Mistakes to Avoid
- Making the bracelet section too loose
- Making the finger loop too tight
- Using yarn that is too bulky for a jewelry-style piece
- Forgetting to test the length across the hand
- Pulling your stitches too tightly
- Leaving ends untidy on such a small visible project
Customization Ideas
There are so many easy ways to personalize a crochet hand chain. You can make it plain and minimal, or add beads for a dressier finish. Try white or cream for a soft bridal look, bright colors for summer, or black for a more bold and modern style. You could also make the bracelet section slightly wider if you want it to stand out more, or keep everything very slim for a delicate everyday accessory.
Style Ideas
A crochet hand chain looks beautiful with summer dresses, beachwear, festival outfits, and casual boho looks. It can also work as a sweet handmade accessory for special events, photos, or gifts. If you enjoy layered jewelry, you can wear it with simple rings or bracelets for a fuller styled look without losing that handmade charm.
Care Instructions
Hand wash gently if needed and lay flat to dry. Avoid rough pulling, especially around the finger loop and connecting chain. If you add beads or use delicate thread, handle it a little more carefully so the shape stays neat.
Time Needed
This may take a short amount of time depending on your speed, yarn, and the details you want to add.
Conclusion
A crochet hand chain is a lovely small project that feels creative, stylish, and a little different from everyday crochet makes. It is quick enough for an afternoon project, easy to customize, and fun to wear once finished. You can keep it simple, dress it up with beads, or make it in colors that match your own style. If you enjoy small wearable accessories, this is a really charming one to try.
FAQs
Is this beginner-friendly?
Yes. The selected tutorial is described for absolute beginners.
What yarn works best for a crochet hand chain?
A lightweight cotton, crochet thread, or fine smooth yarn usually works best.
Can I adjust the size?
Yes. You can adjust the wrist band, the length across the hand, and the finger loop.
Can I add beads?
Yes. Beads can give it a dressier and more decorative finish.
How do I make it more comfortable?
Check the fit while working and make sure the bracelet and finger loop are not too tight.