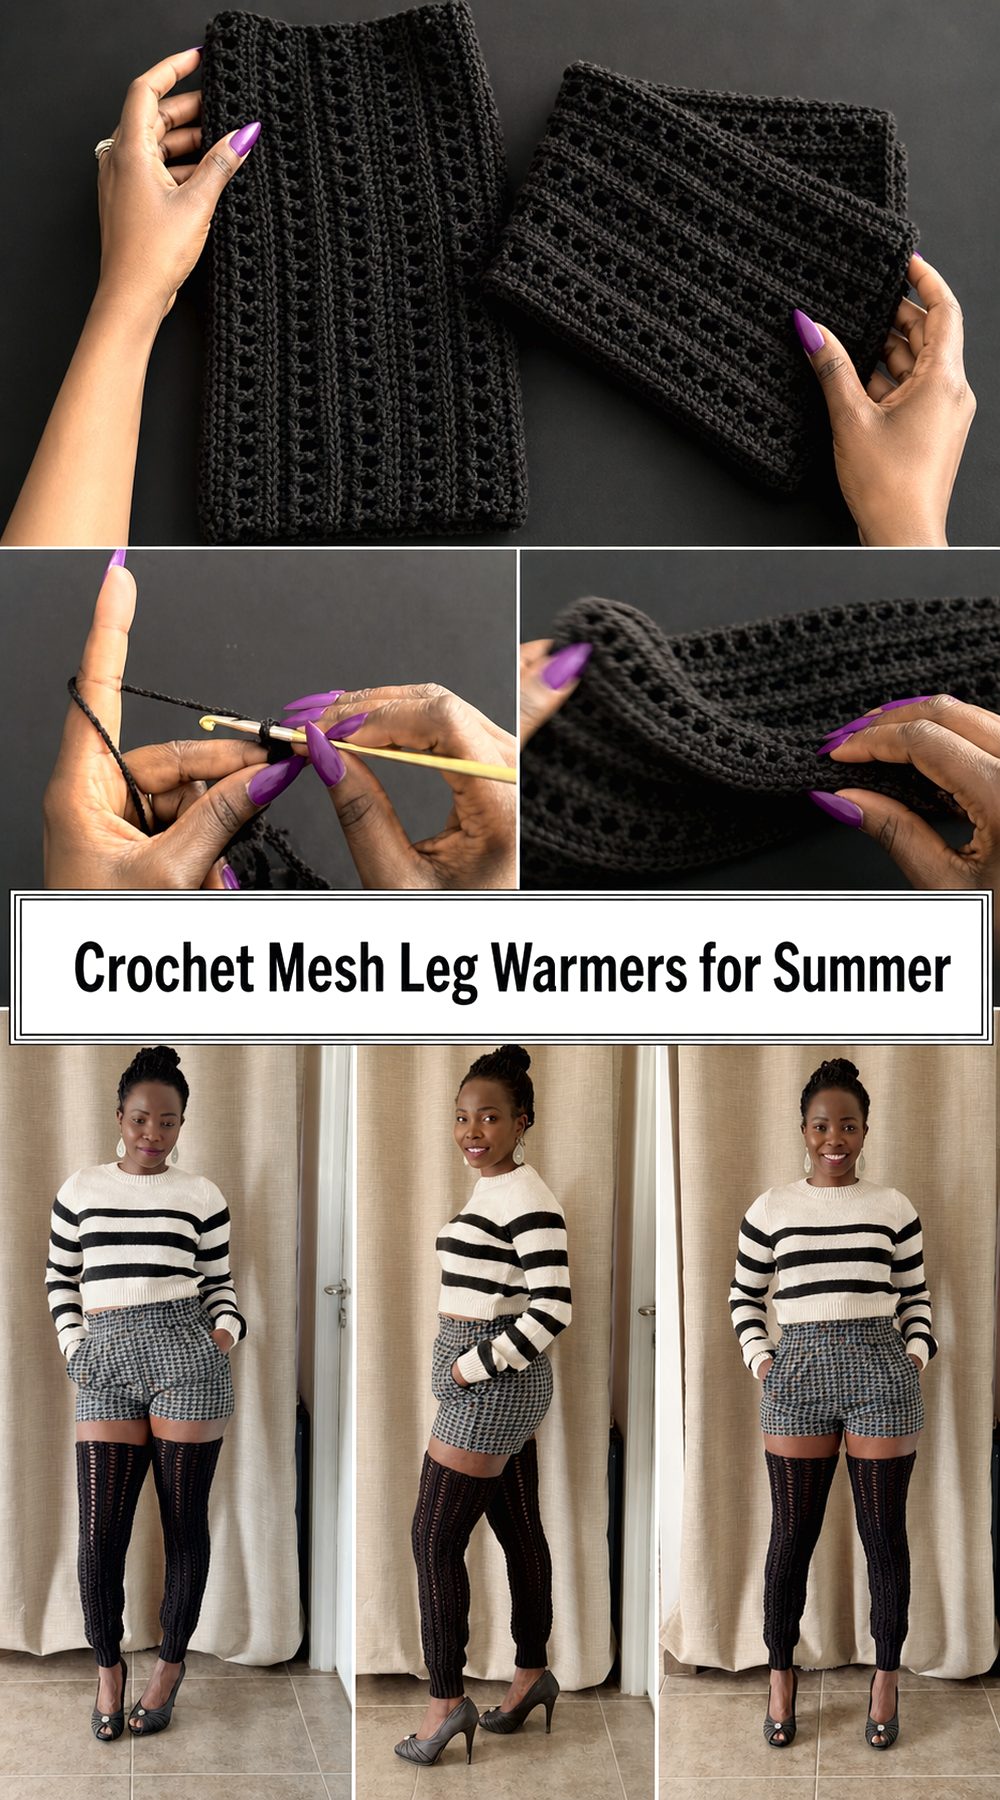
If you want leg warmers that feel stylish without being too heavy, a mesh crochet version is a great choice. This kind of project gives you that fun layered look while still feeling lighter and more breathable than thick winter leg warmers. It is especially nice for transitional weather, dancewear, festival outfits, or anyone who loves handmade accessories with a relaxed feel. Because the fabric is open and airy, you can also adjust the fit and length more easily as you go. This makes the project approachable for beginners and satisfying for more experienced crocheters too. Whether you want a short slouchy pair or something a little longer, this design is easy to personalize with your favorite yarn, preferred texture, and the amount of stretch or drape you like.
Materials Needed:
- Yarn
- Crochet hook
- Scissors
- Yarn needle
- Stitch markers
- Measuring tape
- Use a yarn and hook size that matches your desired fit and texture.
Stitches Used:
- Chain
- Slip stitch
- A simple mesh repeat worked with basic crochet stitches
How to Make It:
Step 1: Start the Foundation
Begin by measuring around the part of the leg where you want the warmer to sit. Decide whether you want it closer to the calf, knee, or lower leg. Make a starting chain that suits that measurement, keeping in mind that the fabric should feel comfortable rather than tight. For summer, avoid making it too dense. A softer, lighter foundation helps the finished piece feel more breathable.
Step 2: Create the Mesh Pattern
Work into the foundation using the simple open pattern shown in the tutorial. The goal is to build a mesh fabric rather than a solid one, so the leg warmer stays airy and flexible. Continue repeating the same mesh sequence across each row or round, depending on how you prefer to construct it. Keep your tension even so the holes stay consistent and the fabric looks neat.
Step 3: Build the Main Body
Keep repeating the mesh pattern until the piece reaches your desired length. You can make it shorter for a light summer accessory or longer for a more dramatic look. As you work, wrap the piece around your leg now and then to check the fit. It should sit comfortably and stretch enough to stay in place without digging in.
Step 4: Adjust the Size
This style is very easy to customize. If you want a snugger fit, make the width slightly smaller before joining. If you want a looser or slouchier look, add a little more width or length. For summer wear, a slightly relaxed fit often feels better and allows more airflow. You can also make the top and bottom sit differently depending on how you plan to wear them with shoes, sandals, or boots.
Step 5: Join the Piece
Once the rectangle is the right size, bring the edges together and seam them neatly. Use a clean joining method so the seam feels flat against the leg. Try it on before fully finishing the second one so you can make small adjustments if needed. When making the pair, use the same measurements and repeat the same process so both leg warmers match.
Step 6: Finish the Edges
Add a tidy finishing edge if the top or bottom needs a cleaner look. Keep it simple so the leg warmer stays lightweight. Weave in all ends carefully. The finished pair should look open, stretchy, and soft, with a breathable mesh texture that works well in warmer weather.
Helpful Tips:
- Choose cotton or another lighter yarn for a cooler summer feel.
- Try the piece on as you go.
- Use stitch markers to keep the edges even.
- Keep your tension relaxed so the mesh stays open.
- Make the second leg warmer right after the first so they match.
- Block the finished pair for a neater shape.
Common Mistakes to Avoid:
- Making the foundation too tight
- Using heavy yarn for a warm-weather project
- Pulling stitches too tight and closing up the mesh
- Forgetting to check fit before seaming
- Making one leg warmer longer than the other
- Skipping end weaving and leaving a bulky seam
Customization Ideas:
- Make them ankle length or knee length
- Use striped yarn or color changes
- Add a simple edging at the top or bottom
- Make them more fitted for everyday wear
- Make them looser for a slouchy look
- Use a finer yarn for an even lighter fabric
Conclusion:
These crochet mesh leg warmers are a fun way to make something wearable, stylish, and easy to adapt to your own taste. You can change the length, fit, and yarn to suit the season and your outfit. If you want a lightweight project with a handmade look, this is a lovely one to try.
FAQs:
Is this beginner-friendly?
Yes, especially if you are comfortable with basic crochet and simple repeats.
What yarn is best for summer?
Cotton or another lighter yarn is a good choice for breathability.
Can I adjust the size?
Yes, you can adjust both the width and length as you go.
Can I make them less warm?
Yes, use lighter yarn and keep the mesh open and airy.
How do I make them more comfortable?
Check the fit often and avoid making the starting chain too tight.