Crochet + safety pins = quick, giftable flair you can wear on jackets, bags, hats, and lanyards. I’ve curated ten clear tutorials—mostly flowers and tiny motifs that finish fast—plus two that specifically use actual safety pins in the design. Each pick notes yarn weight, hook, and a couple of practical tips so you can stitch confidently and pin with a professional finish. Make a handful in an afternoon—then mix, match, and pin everywhere.
Crochet Safety-Pin Brooch

Turn a safety pin into the star! This quick project crochets a stylized safety-pin shape you can wear as a brooch, hairpin, or bag charm. Work it in sturdy cotton so it holds a crisp outline, then sew or glue a brooch/safety-pin finding to the back. Tip: lightly block the finished piece under a mug to flatten any curl before mounting. Simple, fast, and super “punk-meets-cute.” See the short step-by-step video and copy the finishing exactly.
Supplies: DK/Worsted cotton, 3.5–4.0 mm hook, brooch or safety-pin back, yarn needle, fabric glue (optional)
Why it’s great: A literal crochet safety pin—fun conversation starter.
Safety-Pin Crochet Earrings
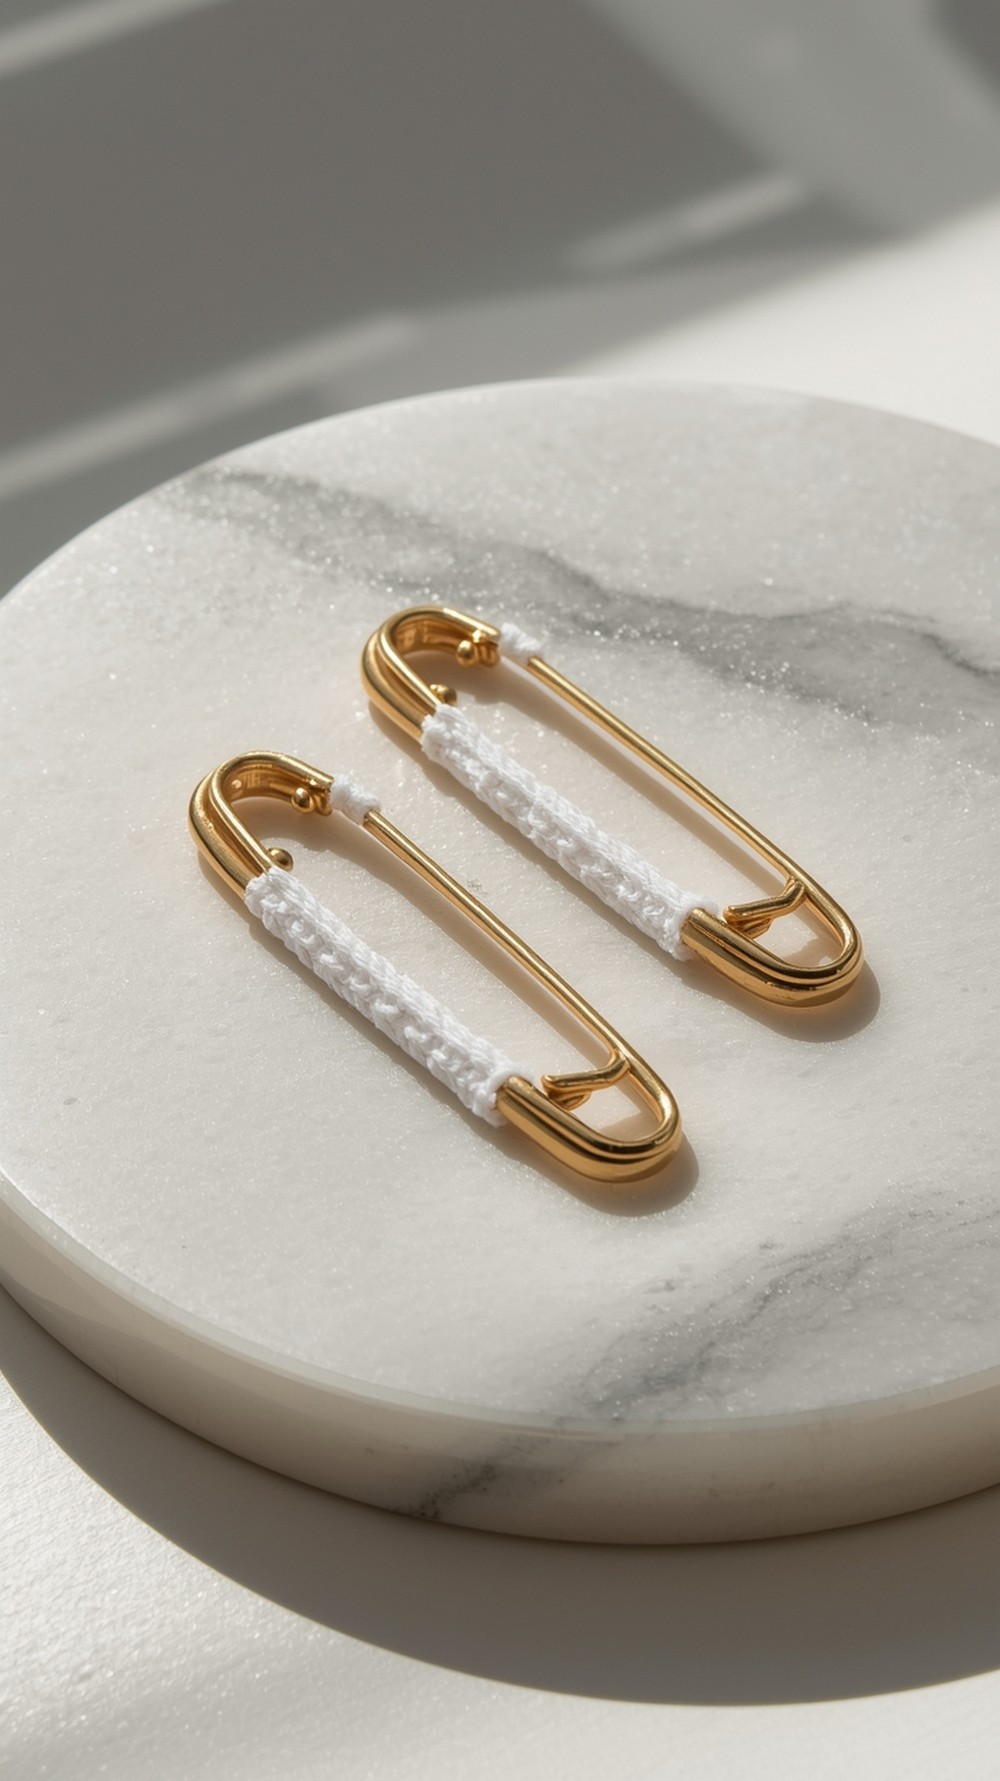
These earrings use real safety pins as the hardware and add delicate crochet detail for a minimalist statement. Work tiny trims around the pin or add a dangling crochet motif—either way, you’ll finish in under an hour. Tip: choose nickel-free gold or silver pins and seal thread ends with a tiny dab of clear fabric glue. Chic, lightweight, and beginner-friendly. Follow the video to copy the exact method and proportions.
Supplies: Size 10 cotton thread, 1.25–1.5 mm steel hook, 2 small safety pins + ear wires, jump rings, jewelry pliers
Why it’s great: Real safety pins + Crochet = edgy, ultra-light earrings.
DROPS Petite Flower Pin
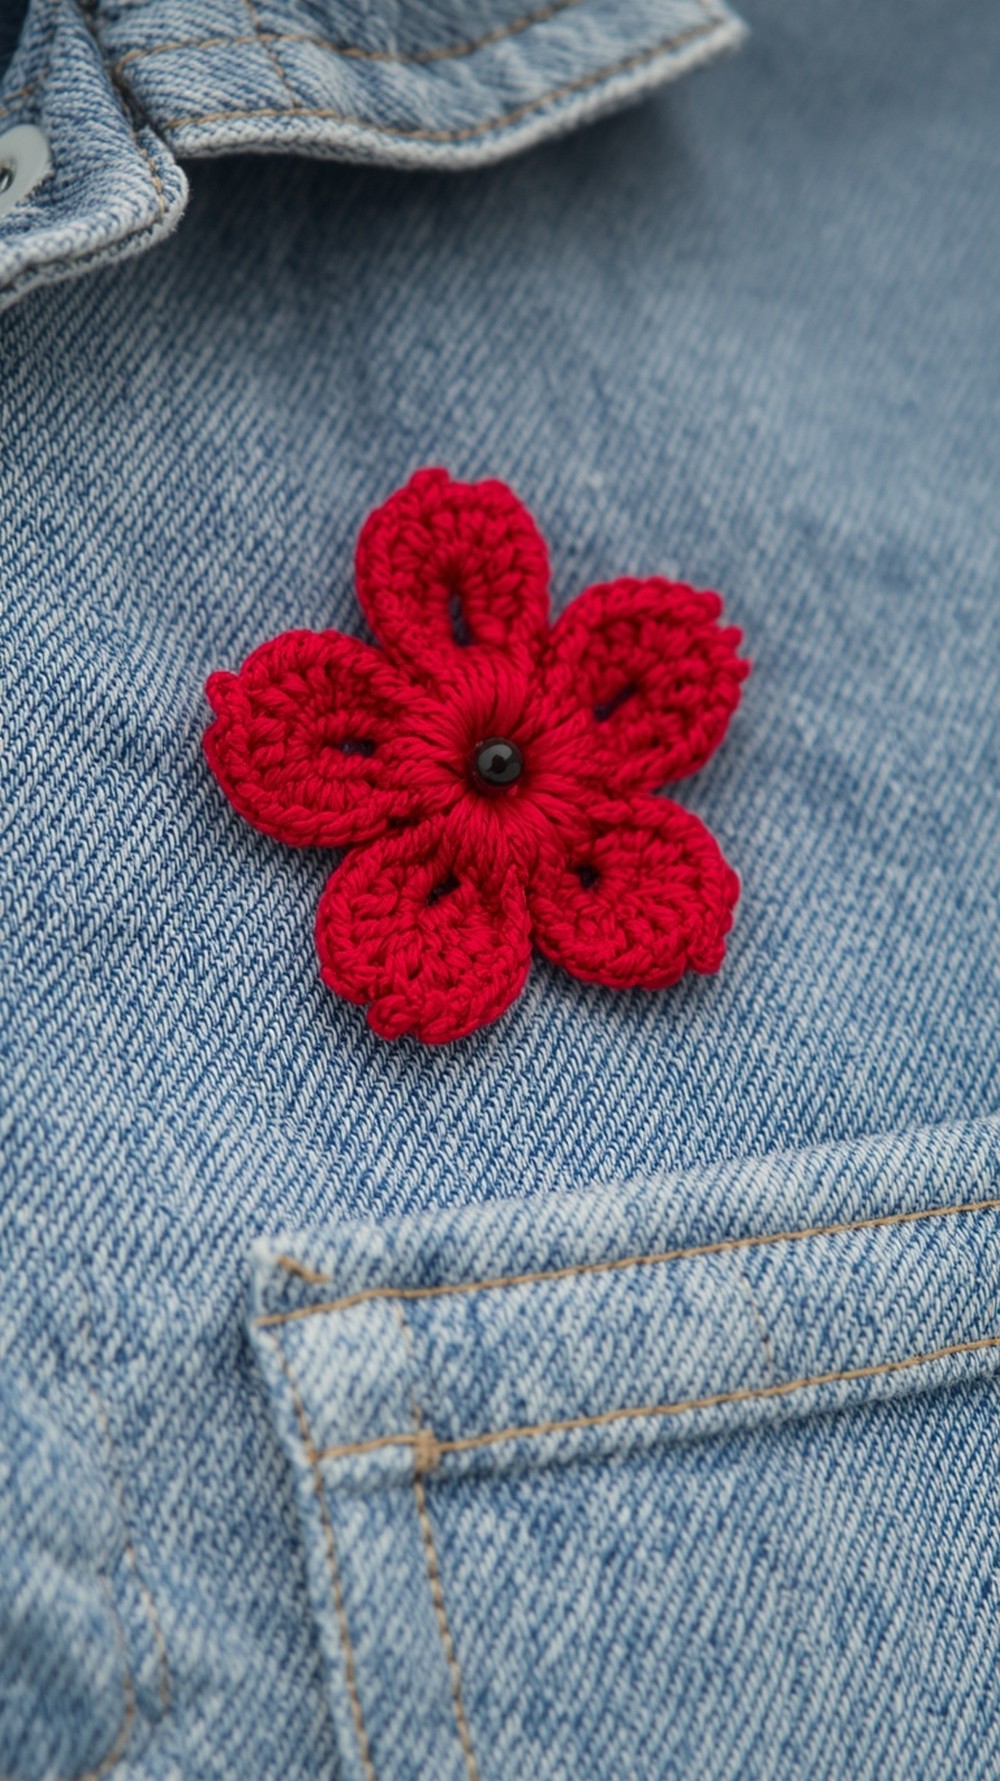
A classic five-petal flower you can whip up from scraps—DROPS even tells you to “sew a safety pin to the back to use as a brooch.” Make several in different colors for lapels and backpacks. Tip: stitch the bar side of the safety pin so it doesn’t open while wearing. Add a tiny bead center for sparkle. Clear, short instructions—perfect stash buster. Tutorial
Supplies: Worsted cotton or wool, 4.0 mm hook, safety pin or pin back, yarn needle, small bead (optional)
Why it’s great: Official pattern that expects a safety-pin finish.
Sunflower Safety-Pin Brooch
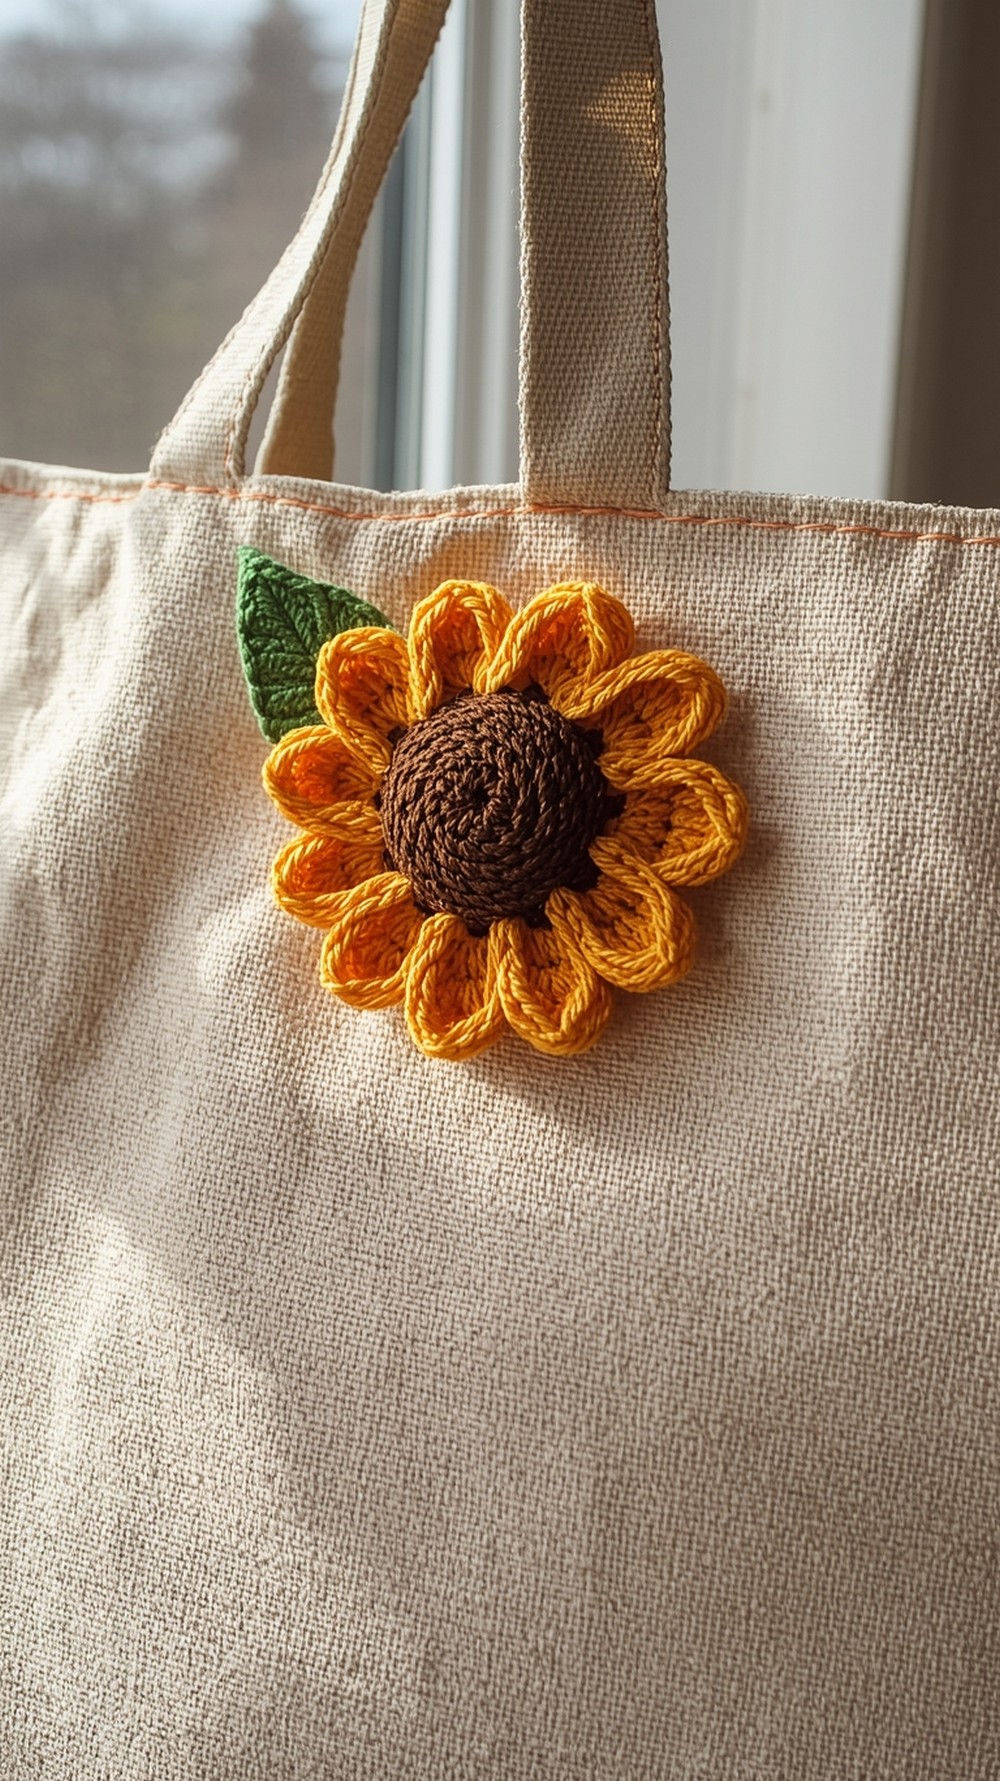
Sunny petals, dark center, and optional leaf—then mount to a safety pin or brooch back. The Crochet Crowd’s tutorial links to a full pattern and shows step photos so you can nail the petal shaping. Tip: steam the petals lightly so they splay evenly before attaching the pin. Great for jackets, market totes, or lanyards. Tutorial
Supplies: DK or worsted cotton (yellow, brown/black, green), 3–4 mm hook, safety pin/pin back, tapestry needle
Why it’s great: Iconic flower + easy finishing makes instant wearable joy.
Lapel Rose with Pin Back

A tidy lapel rose reads dressy or punk depending on the jacket. This video builds petite petals, stacks layers, and stitches them to a lapel-pin finding. Use fine cotton or silk-blend thread for crisp, couture-style petals. Tip: weave a long tail and use it to sew the pin directly through the base for durability. Great for formalwear, wedding favors, and everyday jackets.
Supplies: #1 superfine thread, 2.75 mm hook, lapel pin or small safety pin, needle, scissors
Why it’s great: Petite, polished rose with a true pin-back finish.
“How to Crochet a Brooch”
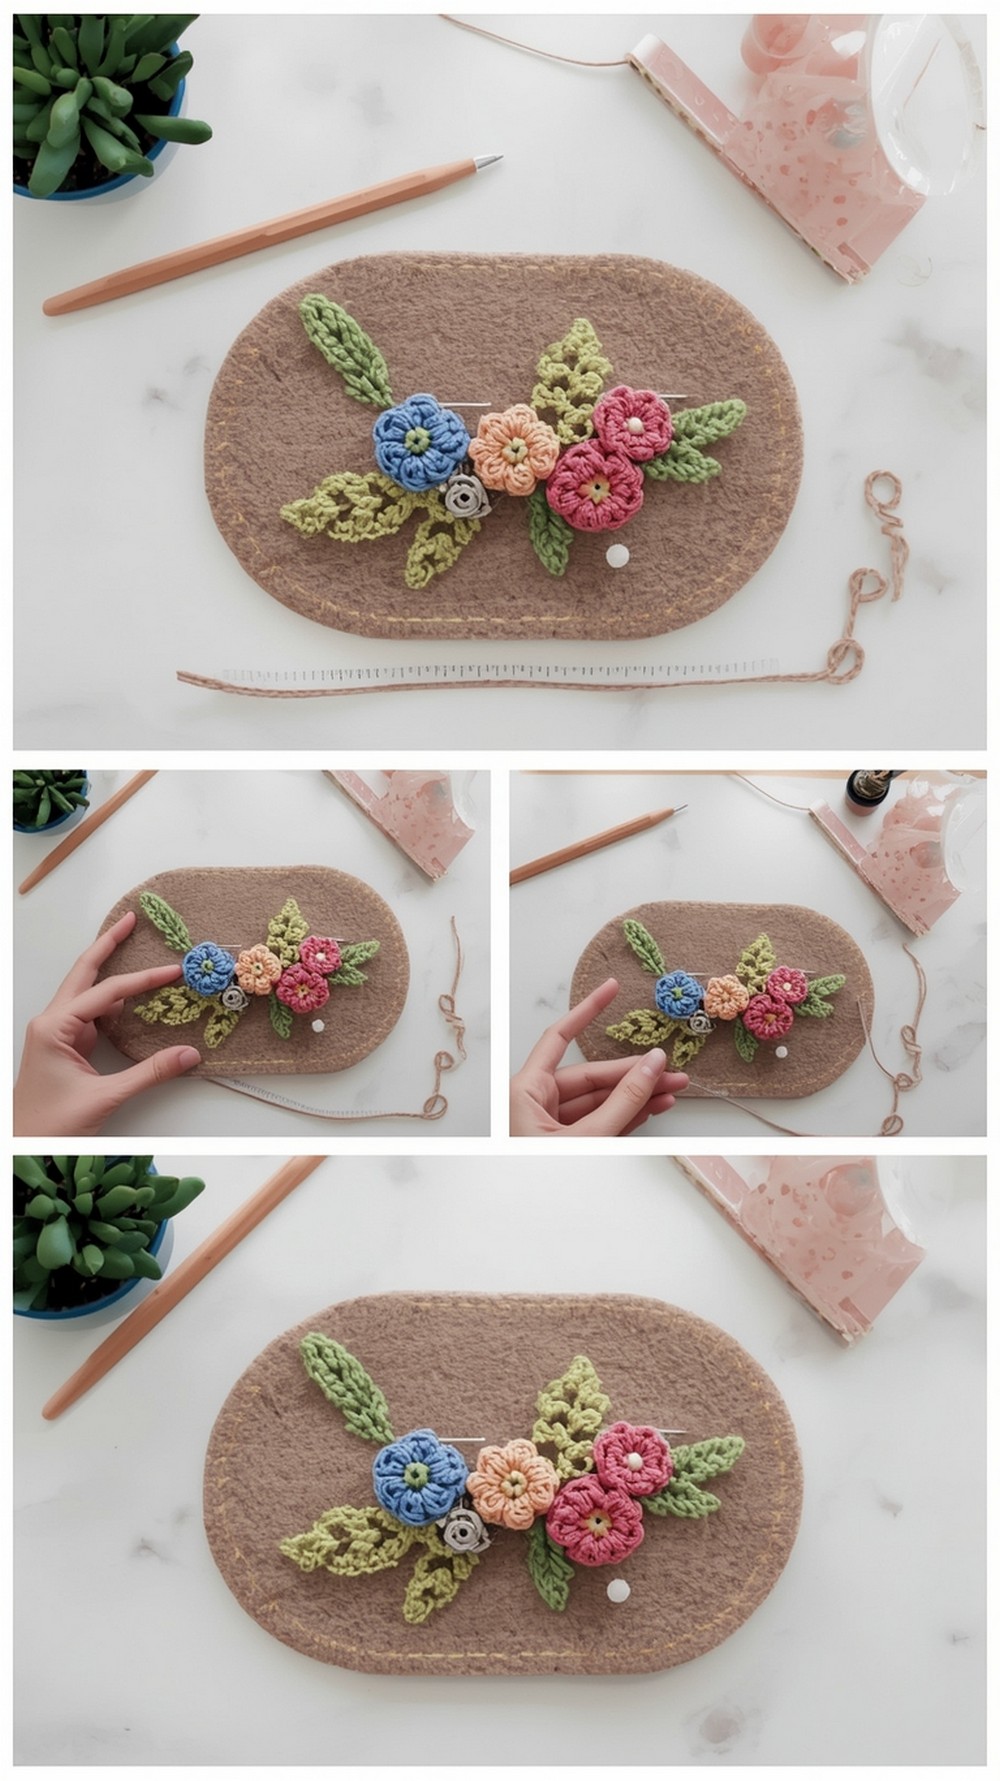
Already have crochet flowers or leaves? This post shows a clean way to assemble them into a brooch, add felt backing, and attach a pin neatly—your secret to boutique-level finish. Tip: sew the pin through the felt and the crochet base, then glue a small felt tab over the stitches to hide threads. Great for any motif that needs a safety-pin mount. Tutorial
Supplies: Any small crochet motifs, matching felt, brooch or safety-pin back, needle & strong thread, fabric glue
Why it’s great: Teaches the neatest, most durable pin-back install.
Tiny Shamrock Pin

Make the cutest 2-minute shamrock, then whipstitch a safety pin to the back for an instant lapel pin. Repeat Crafter Me’s tiny motif is perfect for classroom gifts, parades, or bag flair. Tip: crochet two shamrocks and sandwich the pin between them for a tidy back. Fast, festive, and great for using green scraps. Tutorial
Supplies: Worsted cotton/acrylic (green), 4.0–5.0 mm hook, small safety pin, needle, felt scrap (optional)
Why it’s great: Speedy make that wears perfectly as a pin.
Double Starflower + Lilypad Pin
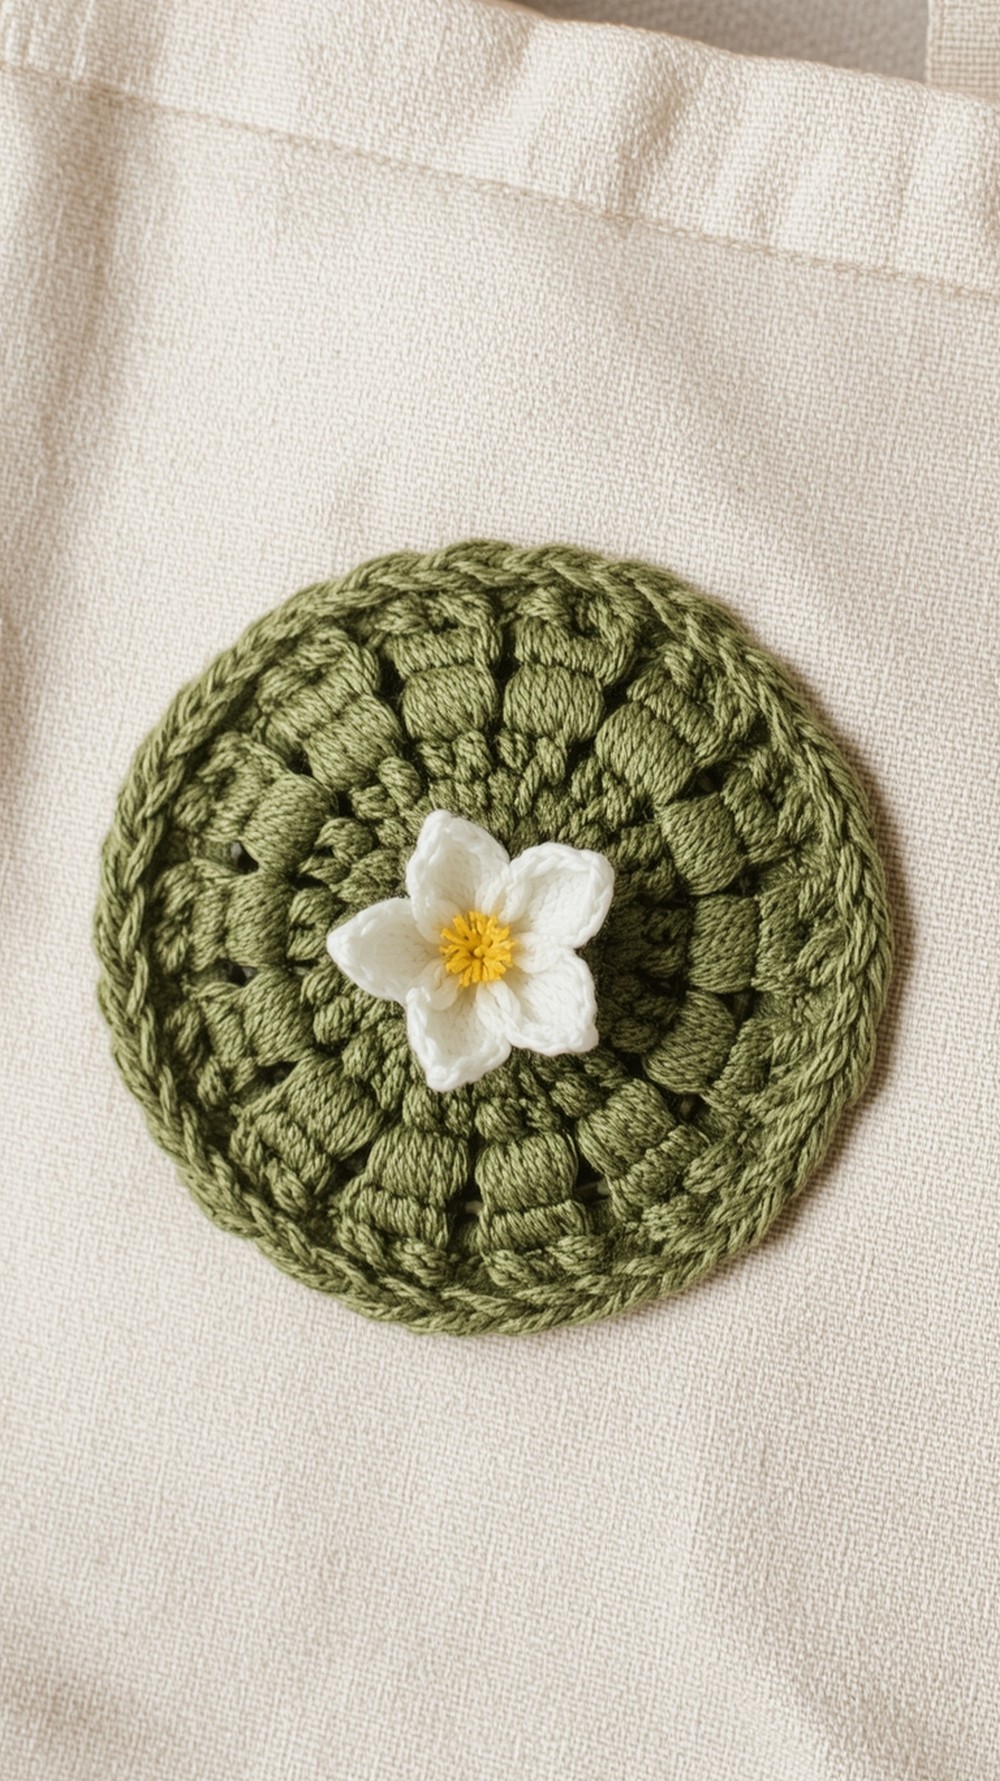
A layered lily-pad brooch with starflower top—then attach a pinback or safety pin under the lilypad (the designer even cautions which side to stitch so it won’t open). Lovely as a jacket or bag pin, and very beginner-friendly. Tip: add a seed-bead stamen for pop. Tutorial
Supplies: DK cotton (leaf green, white, yellow), 3.5–4.0 mm hook, safety pin/pin back, beads (optional), needle
Why it’s great: Clear safety-pin mounting instructions built into the pattern.
Five-Minute Poppy Pin
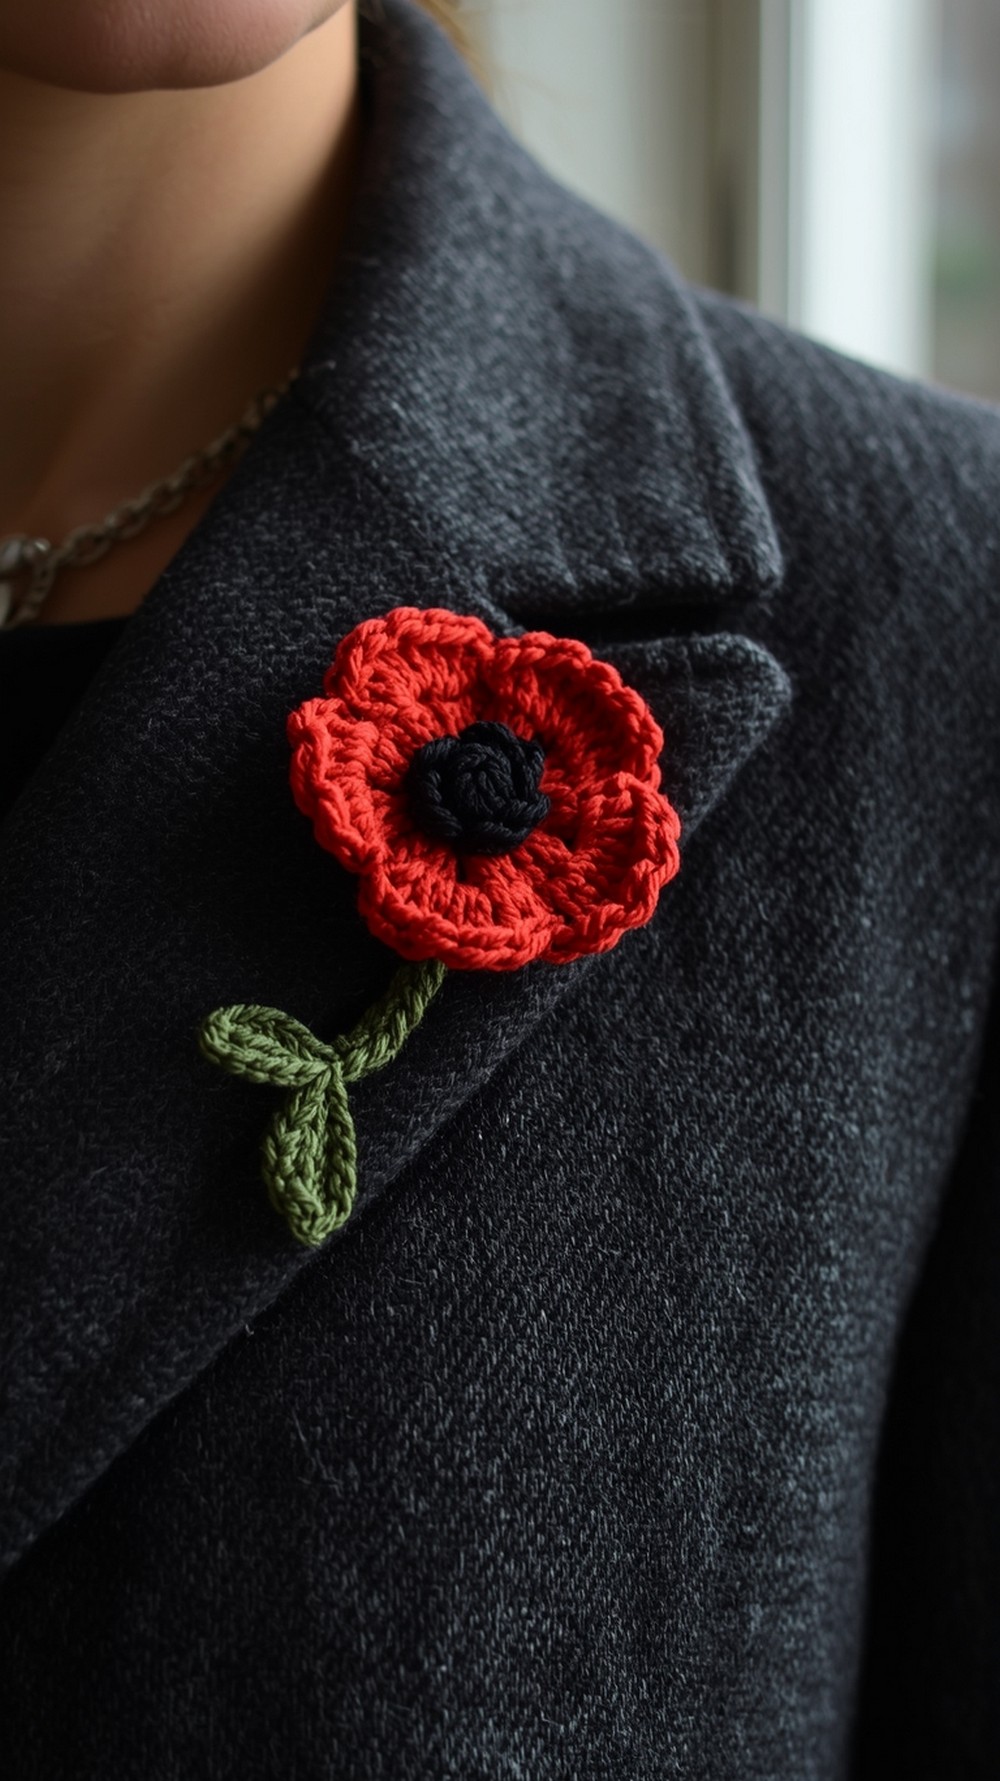
Need dozens fast? This poppy takes minutes and is designed to become a wearable pin—stitch a safety pin to the back (the post explains exactly how to attach the bar side). Ideal for fundraisers and remembrance events. Tip: cut a tiny felt circle to hide stitches after attaching the pin. Tutorial
Supplies: Worsted (red/black), 4.0 mm hook, safety pin/pin back, felt scrap, needle
Why it’s great: Ultra-quick pattern with explicit safety-pin finishing.
Crochet a Sloth Pin
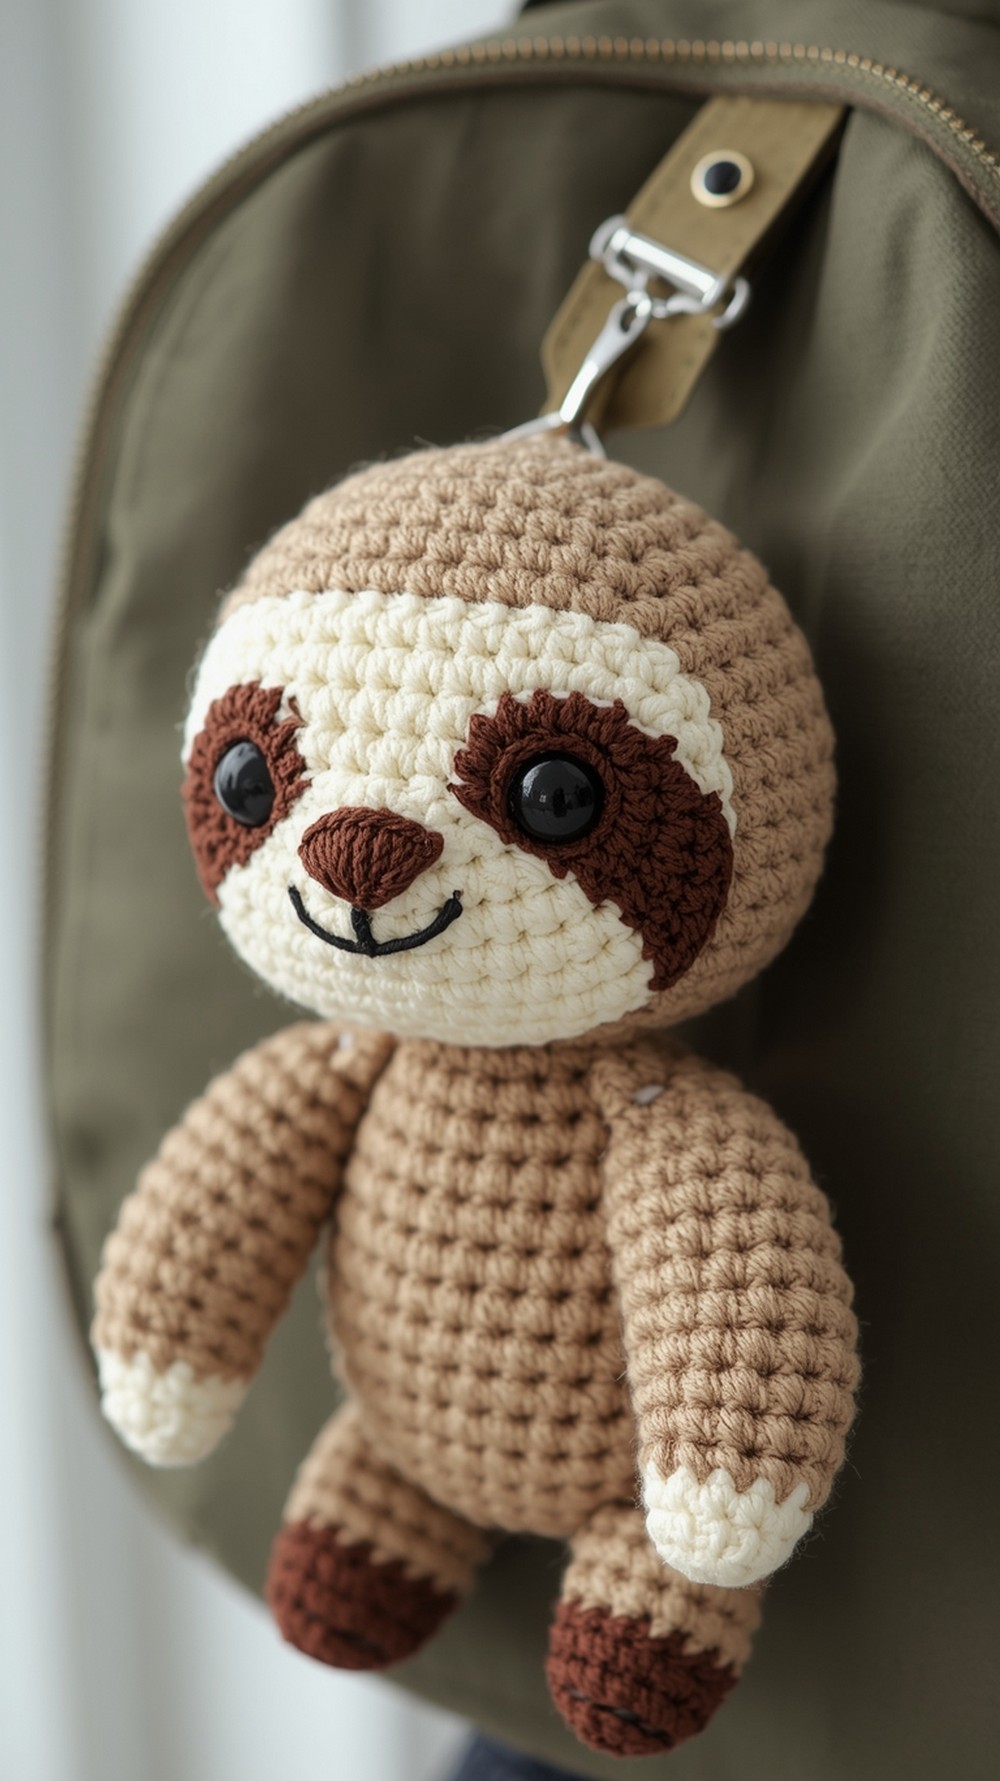
Tiny amigurumi circle + face details = adorable sloth you can wear. The tutorial shows exactly how to sew the pin back securely (safety pin or pinback) and recommends stitching through multiple layers for strength. Tip: add felt backing for a smooth reverse against clothing. Cute on backpacks and lanyards! Tutorial
Supplies: Worsted acrylic (tan, brown, cream), 3.5–4.0 mm hook, safety pin/pin back, needle, felt (optional)
Why it’s great: Teaches secure pin attachment on a small amigurumi.
Conclusion
Start with the shamrock or five-minute poppy for instant wins, then try the sunflower or lapel rose for dressier days. For edgy flair, make the literal safety-pin brooch or earrings. Always stitch the bar side of a safety pin to your crochet and cover the stitches with felt for comfort. Bookmark this list and whip up wearable gifts all year.
FAQs
Best yarns for pin-style jewelry?
Cotton or tightly spun acrylic in DK–worsted holds shape and resists fuzz; size-10 thread gives crisp, petite motifs.
Machine wash vs hand wash and drying tips?
Treat like jewelry: spot clean, then pat dry. If you must wash, place the piece in a mesh bag, cold rinse, and lay flat. Avoid dryers.
How do I scale patterns?
Go up or down a hook/yarn size; add or remove rounds on simple motifs. For amigurumi pins, increase in even rounds to keep circles flat.
Safe fibers near skin/heat?
Cotton is safest and breathable. Keep acrylic pins away from high heat (heaters, irons) to prevent softening.
Joins/edgings for durability?
Sew pin backs through crochet and a felt patch; use strong sewing thread; finish raw backs by gluing a second felt oval over stitches.
Typical time and yardage?
Tiny pins: 10–30 minutes, scraps only. Layered flowers: 30–60 minutes, <30 g yarn. Amigurumi pins: 45–90 minutes, ~20–40 g yarn.
Photographing projects nicely?
Use window light and neutral backgrounds. Pin to denim, canvas totes, or wool coats for texture contrast; shoot one macro of stitches and one lifestyle shot.
Fixing curling, stretching, or wavy edges?
Light steam-blocking flattens petals; add a round of single crochet to stabilize. If the pin droops, stiffen with diluted fabric glue or add a felt backing.