Faux-cable headbands give you the drama of knit cables with the speed of Crochet. Most of these use post stitches, short-row shaping, braids, or Jacob’s ladders to mimic cables—perfect TV crafting and quick gifts. You’ll find slim, chunky, and twisted styles sized from kids to adults, plus one Tunisian option if you want a new skill. I’ve prioritized tutorials with clear step photos and yardage notes, so you can pick yarn from your stash and finish in an evening or two. Tip: solid or heathered yarns show off crossings best, while gentle gradients add depth without hiding texture. Grab a soft wool or acrylic blend, match gauge for a snug but comfy fit, and block lightly to sharpen those “cables.” Ready to twist and cross some stitches?
Warm Cabled Headwarmer

This cozy ear warmer uses bold front-post stitches crossed to form classic faux cables—quick to memorize and great practice if you’re new to post work. Worked flat and seamed, it fits most adults and looks especially crisp in solids. Plan ~120–150 yds for one band; add a row or two for extra height. Moogly’s tutorial explains the crossings and gives a tidy seam so the cable flows. Tip: steam-block just the cable panel to open the texture without growing width. See the Warm Cabled Headwarmer on Moogly for the full walkthrough. Tutorial.
Supplies:
- Worsted wool blend (#4)
- 5.0 mm (H) hook
- Yarn needle, scissors
Why it’s great: Classic, high-definition faux cables with a friendly photo tutorial.
Cable Twist Headband
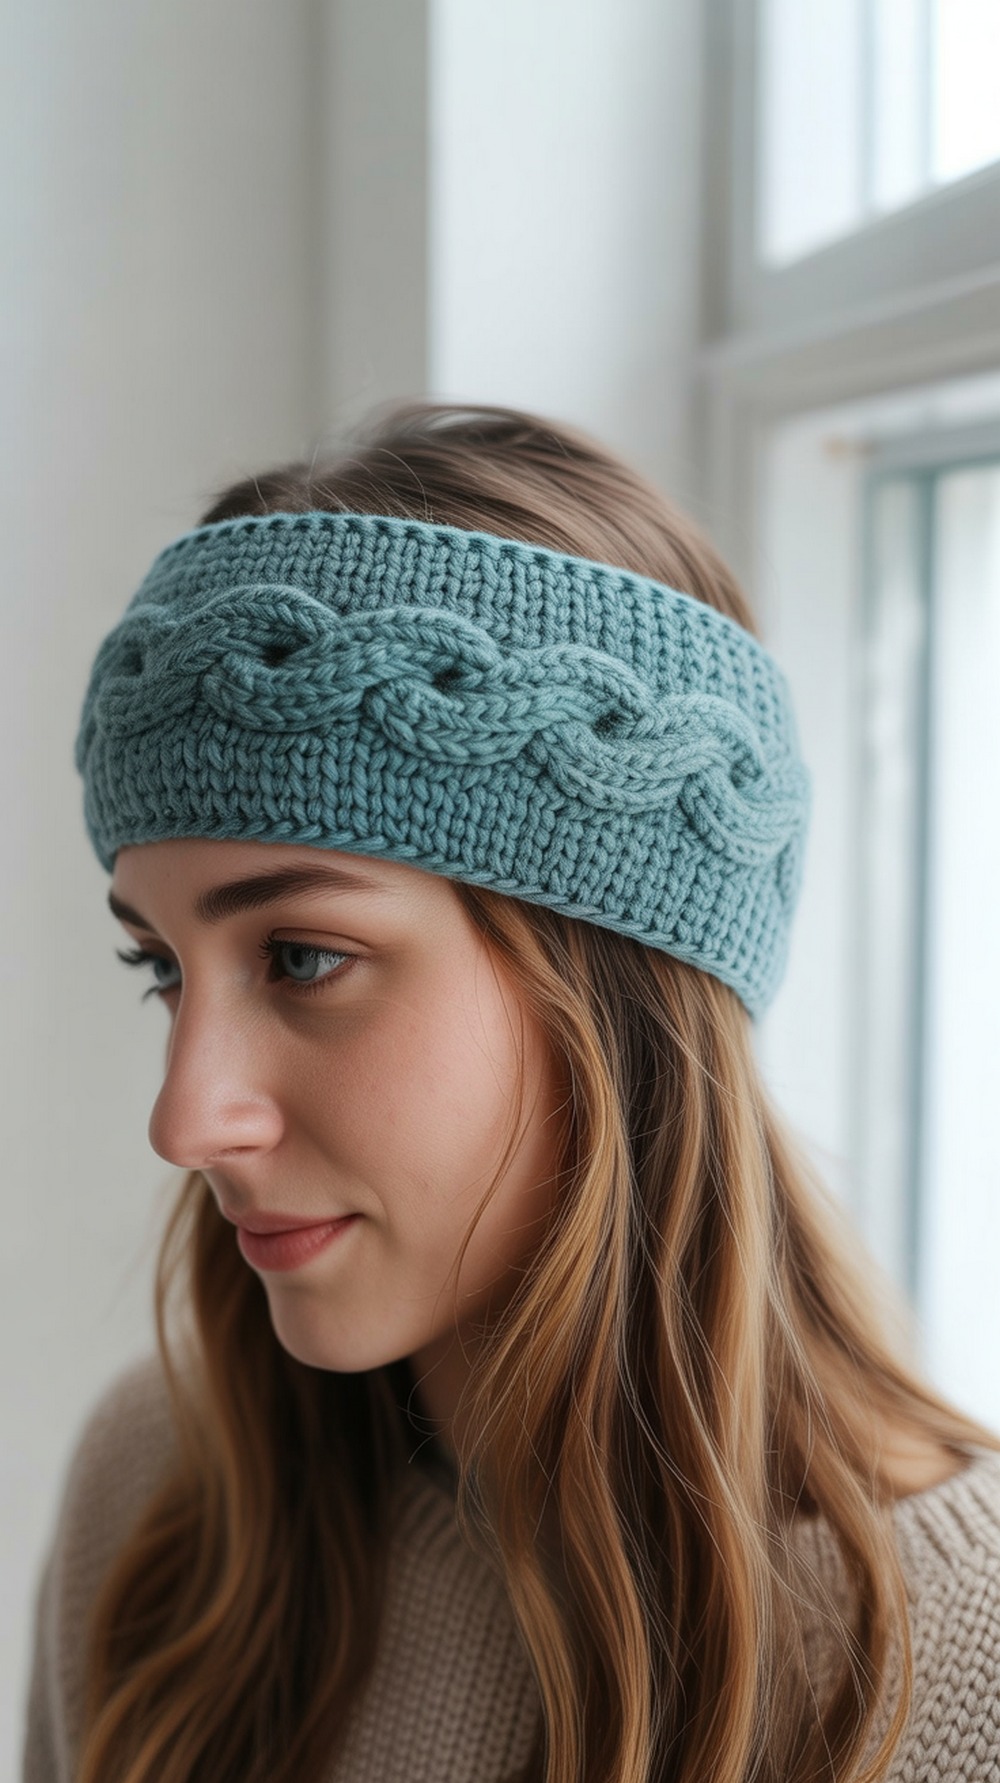
Julie King’s easy twist cable uses front-post trebles to cross stitches without charts—ideal for a first cable project. The bulky yarn works up fast, and the slim profile layers well under a hood. Expect ~65 yds for adult size; the pattern includes gauge so you can size up or down. Pro tip: choose a slightly firm fiber to keep the twist defined. Work flat, seam, and wear. The step-by-step photos and video on Gleeful Things make it smooth sailing. Tutorial.
Supplies:
- Bulky alpaca blend (#5)
- 6.0 mm (J) hook
- Measuring tape, yarn needle, scissors
Why it’s great: Fast, beginner-friendly cabling with a chic single cable.
Twisted Crochet Headband with Deidra Faux Cables
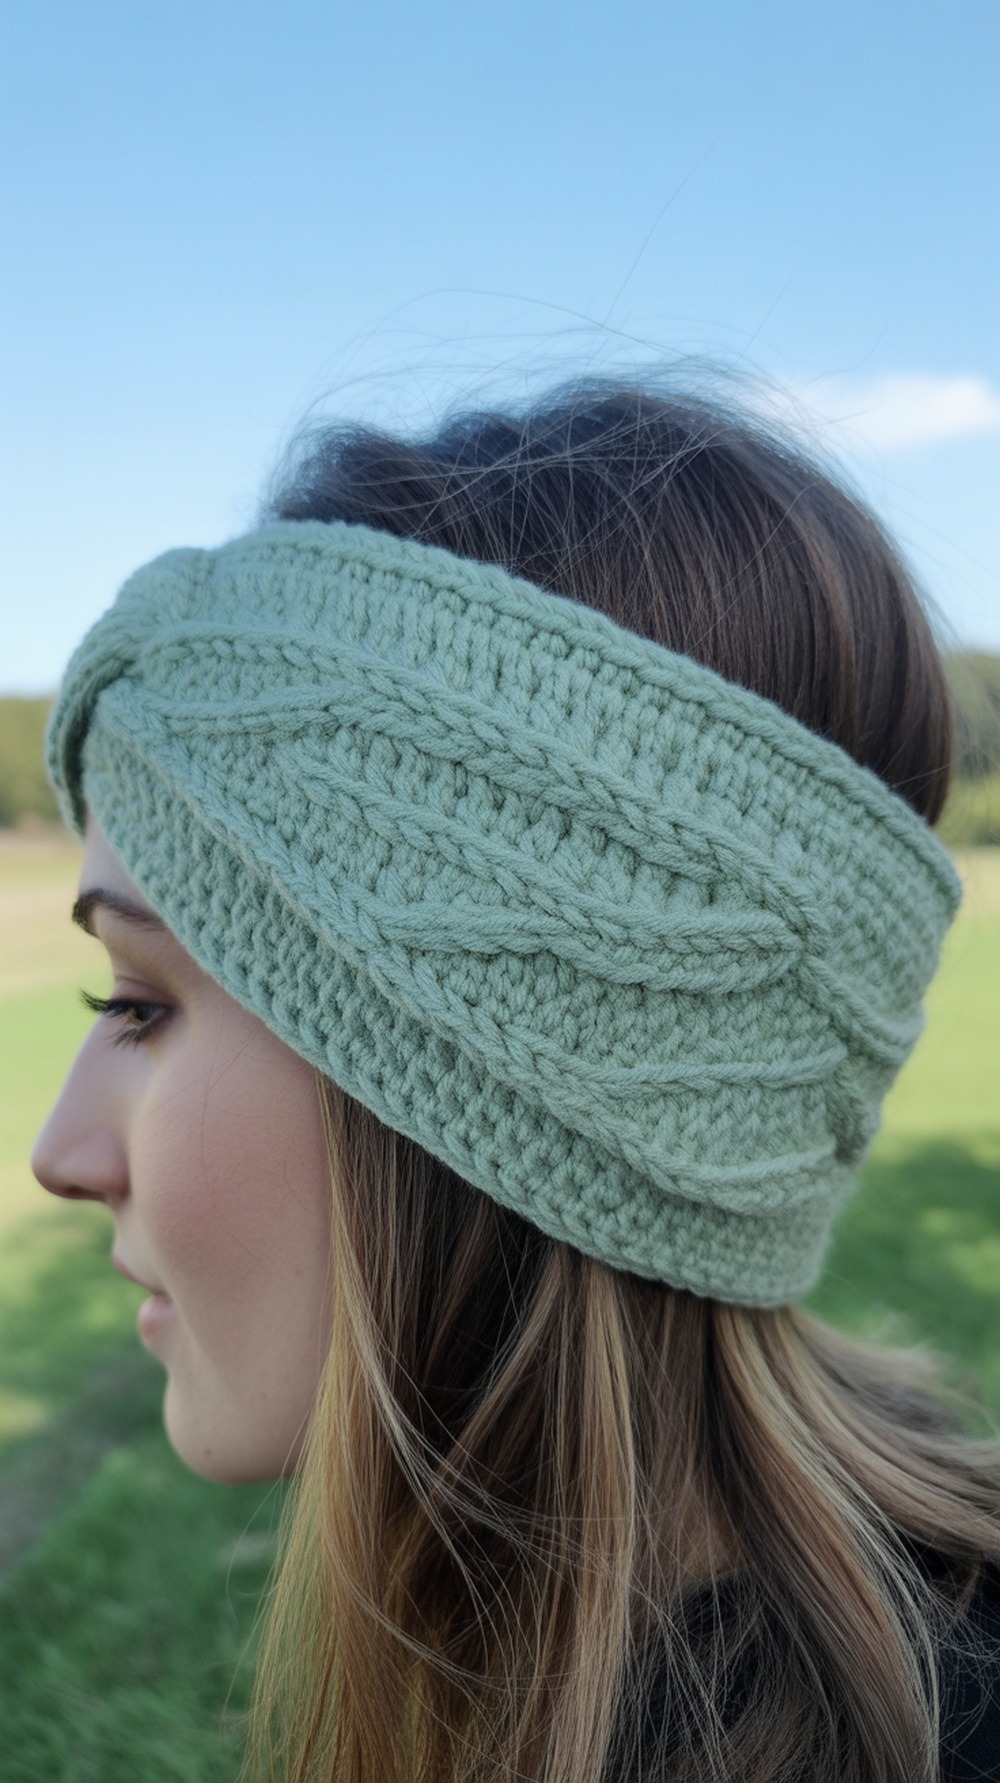
Short-row “faux cables” form a braided look across a twisted rectangle—no post stitches required. Sized newborn to large adult, it’s a stash-buster that uses ~70–165 yds depending on size. Work the short-row motifs, twist the band, and seam. Tip: keep your turning chains loose so the cable ridges lay flat. Hannah’s tutorial includes video support and yarn shade notes to match your palette. Tutorial.
Supplies:
- Sport wool (#2)
- Recommended hook per pattern
- Stitch markers, yarn needle, scissors
Why it’s great: Faux-cable drama via simple short rows—super comfy and stretchy.
Celtic Winters Ear Warmer
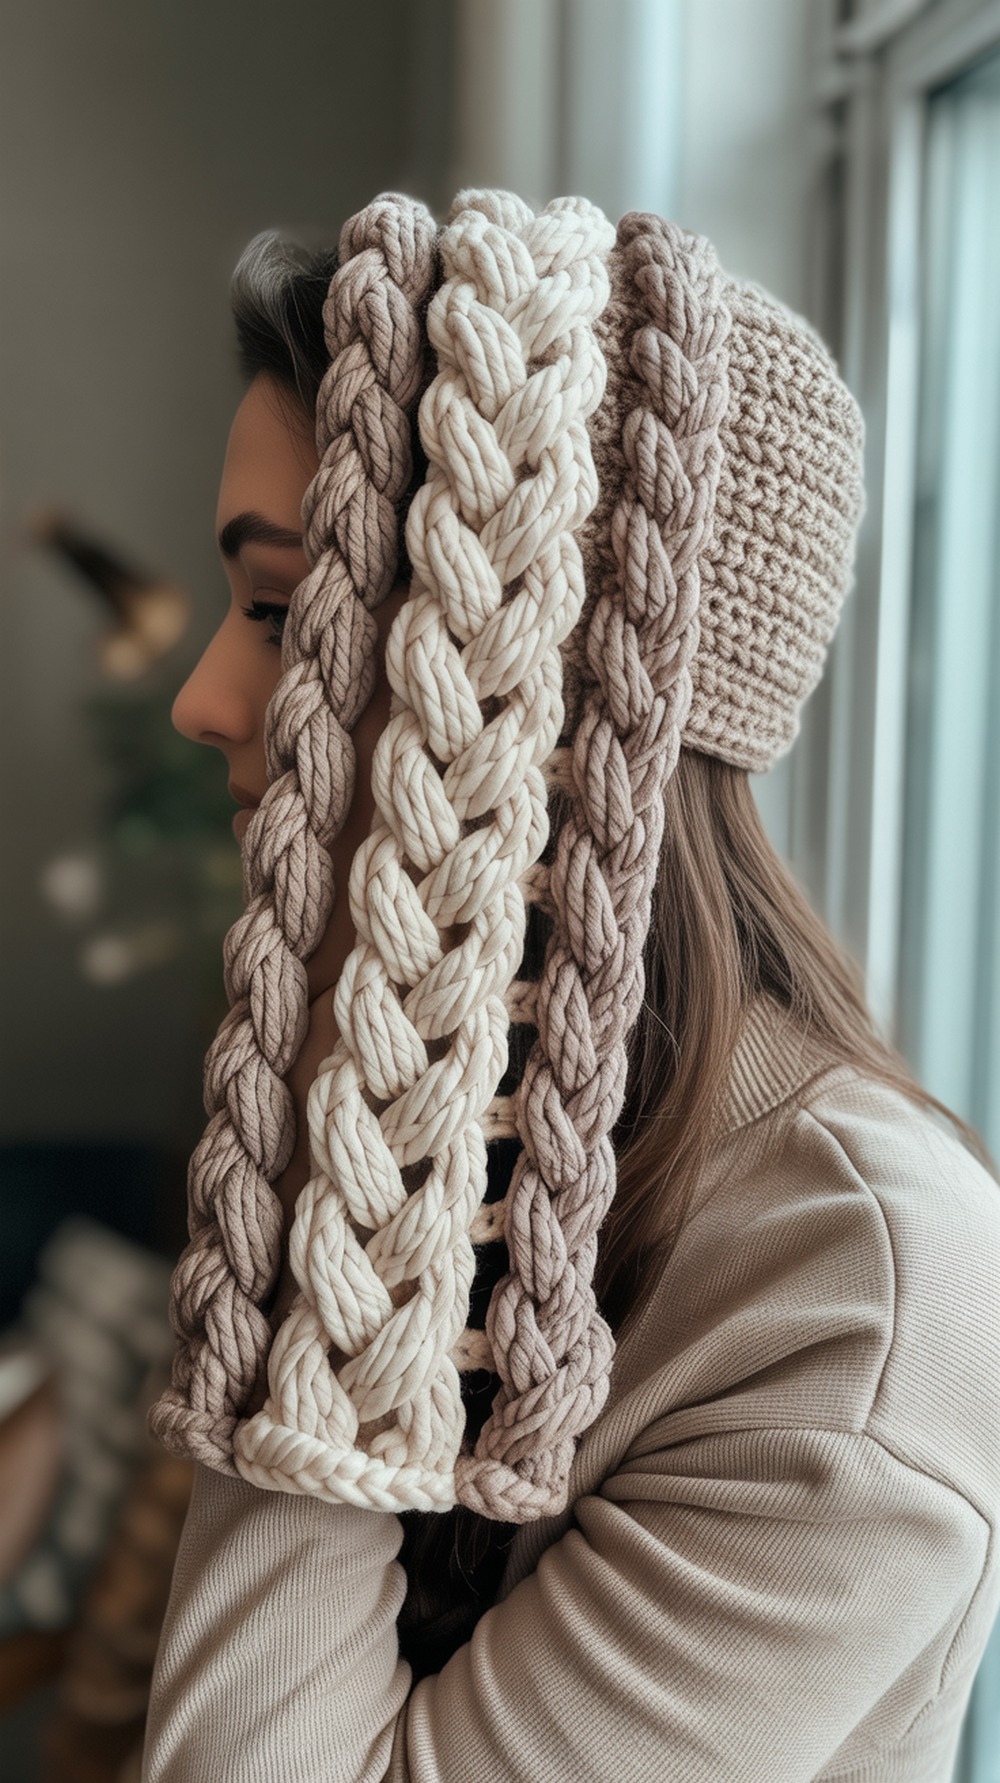
The Celtic weave stitch crosses tall post stitches to create a richly braided band that looks complex but repeats nicely. Worked flat with bulky yarn, it’s warm without bulk under a ponytail. Plan ~1/3 skein of Scarfie. Tip: keep an even tension on post stitches to avoid “leaning” cables. Megan’s pattern pairs well with her matching cowl and hat if you want a set. Tutorial.
Supplies:
- Bulky wool-acrylic gradient (#5)
- 6.5 mm (K) hook
- Yarn needle, scissors, tape
Why it’s great: Striking Celtic texture with minimal yardage.
Celtic Weave Earwarmer
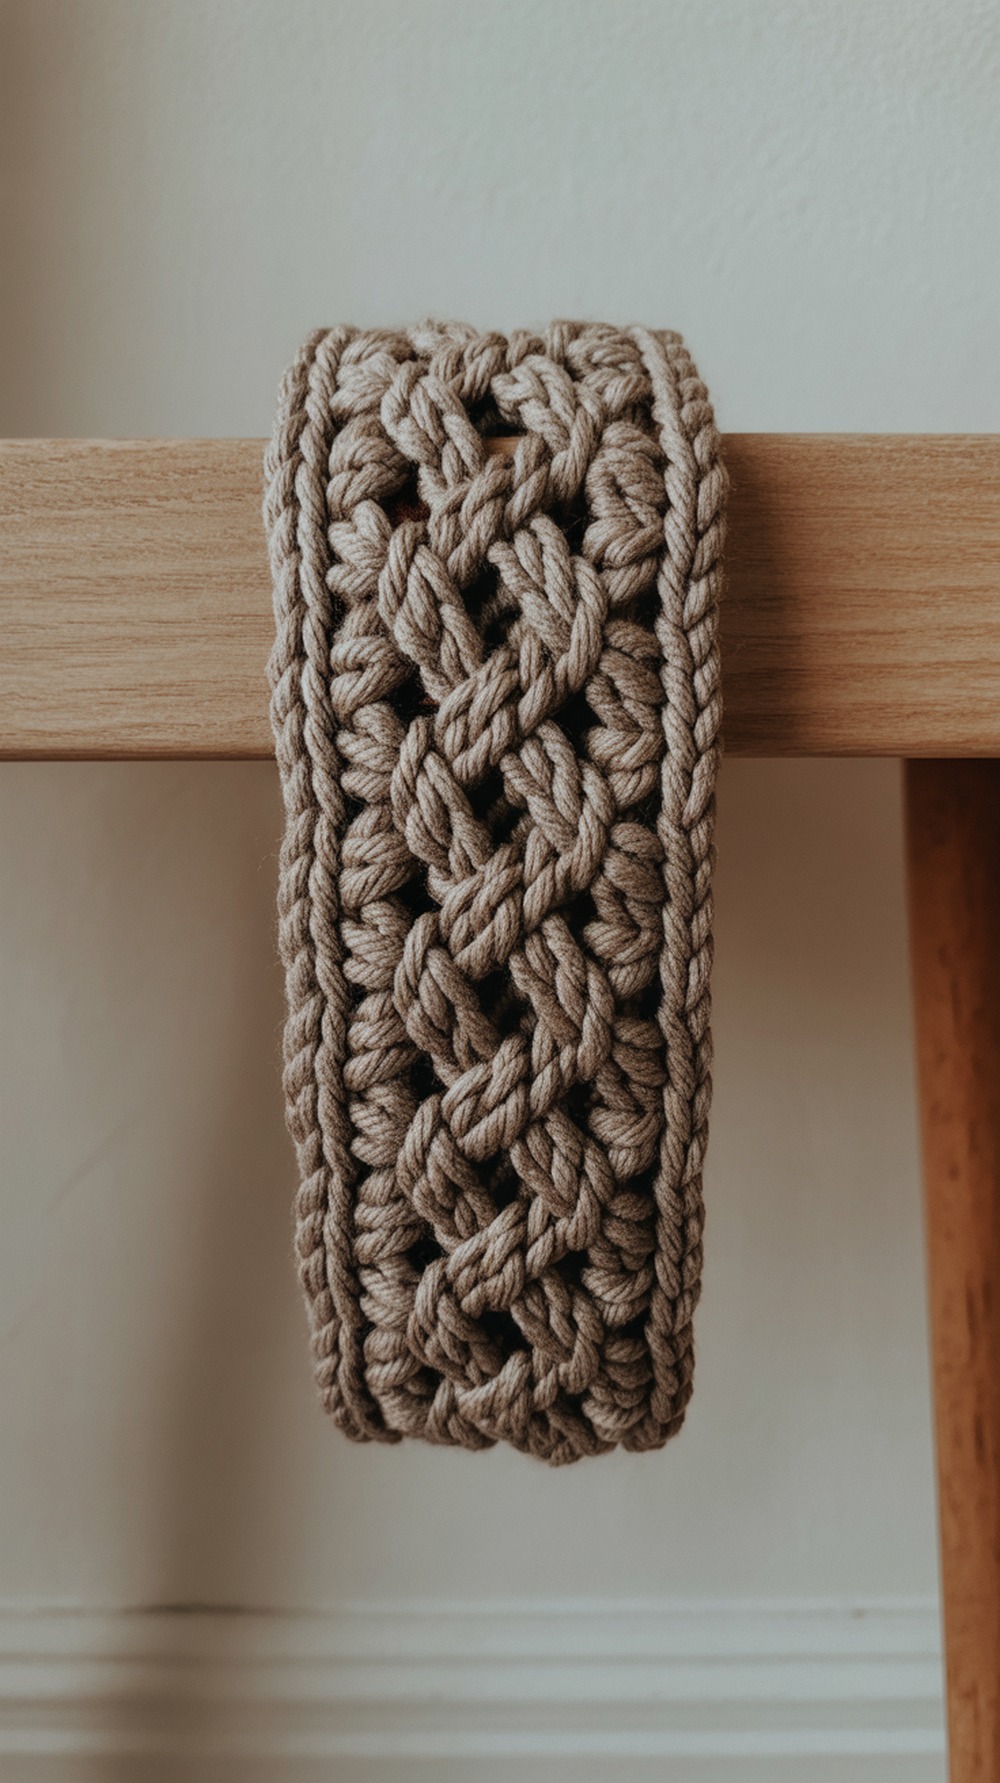
Michelle’s free pattern uses the classic Celtic weave to deliver thick, cozy faux-cables with a tidy straight edge. It’s easy to adjust length for custom fit; expect ~100–120 yds of worsted. Tip: block gently and seam invisibly so the cable flow isn’t interrupted. The post also links video help for the stitch. Tutorial.
Supplies:
- Worsted wool or blend (#4)
- 5.0–5.5 mm hook
- Yarn needle, clips, scissors
Why it’s great: A clean, customizable Celtic weave band with great stitch support.
Celtic Ear Warmer

This version spotlights just three cable rows—enough to learn crossings and keep the band flexible. It uses Scarfie in Cream/Taupe for subtle shading and warmth. You’ll seam the ends with an interlocking “twist” join for a polished look. Plan ~100 yds. Tip: mark the cable rows so the spacing stays even. Tutorial.
Supplies:
- Bulky wool-acrylic gradient (#5)
- 6.5 mm (K) hook
- Yarn needle
Why it’s great: Quick cable taste with a sleek, wearable profile.
Braided Cable Ear Warmer
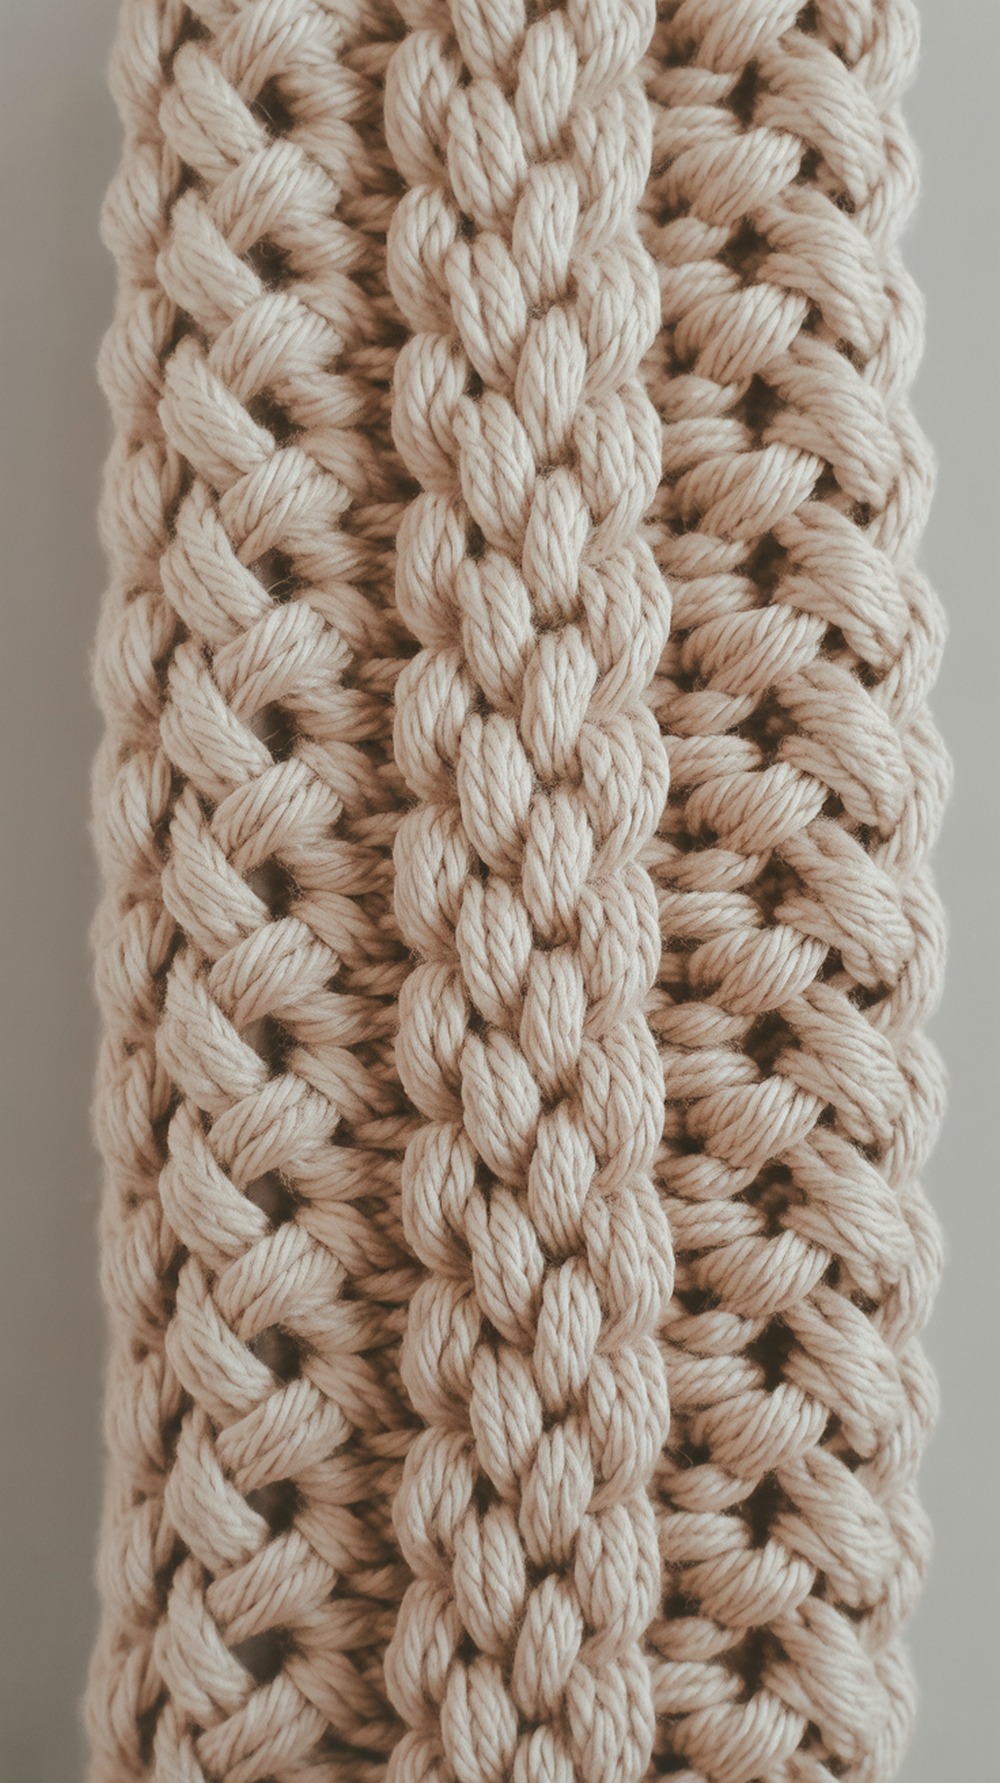
A braided-cable panel anchors this adult-sized band worked flat with worsted wool for crisp stitch definition. The repeat is rhythmic: cable rows alternate with relief rows so the braid pops. Gauge notes and a video help you nail sizing. Tip: keep post tension consistent across the braid to avoid rippling edges. Tutorial.
Supplies:
- Worsted wool (#4)
- 5.0 mm (H) hook
- Yarn needle, scissors
Why it’s great: Braided look, sturdy edges, and detailed instructions.
Diamond Cable Ear Warmer

If you love geometric texture, this diamond-cable motif is gorgeous on a headband. Worked in worsted wool with post stitches, it hugs the head without squeezing. Plan ~150 yds; block lightly to square the diamonds. Tip: place markers at each diamond start so your crossings line up. Tutorial.
Supplies:
- Worsted wool (#4)
- 5.0 mm (H) hook
- Markers, yarn needle
Why it’s great: Eye-catching diamonds that hold shape and warmth.
Alicia Ear Warmer
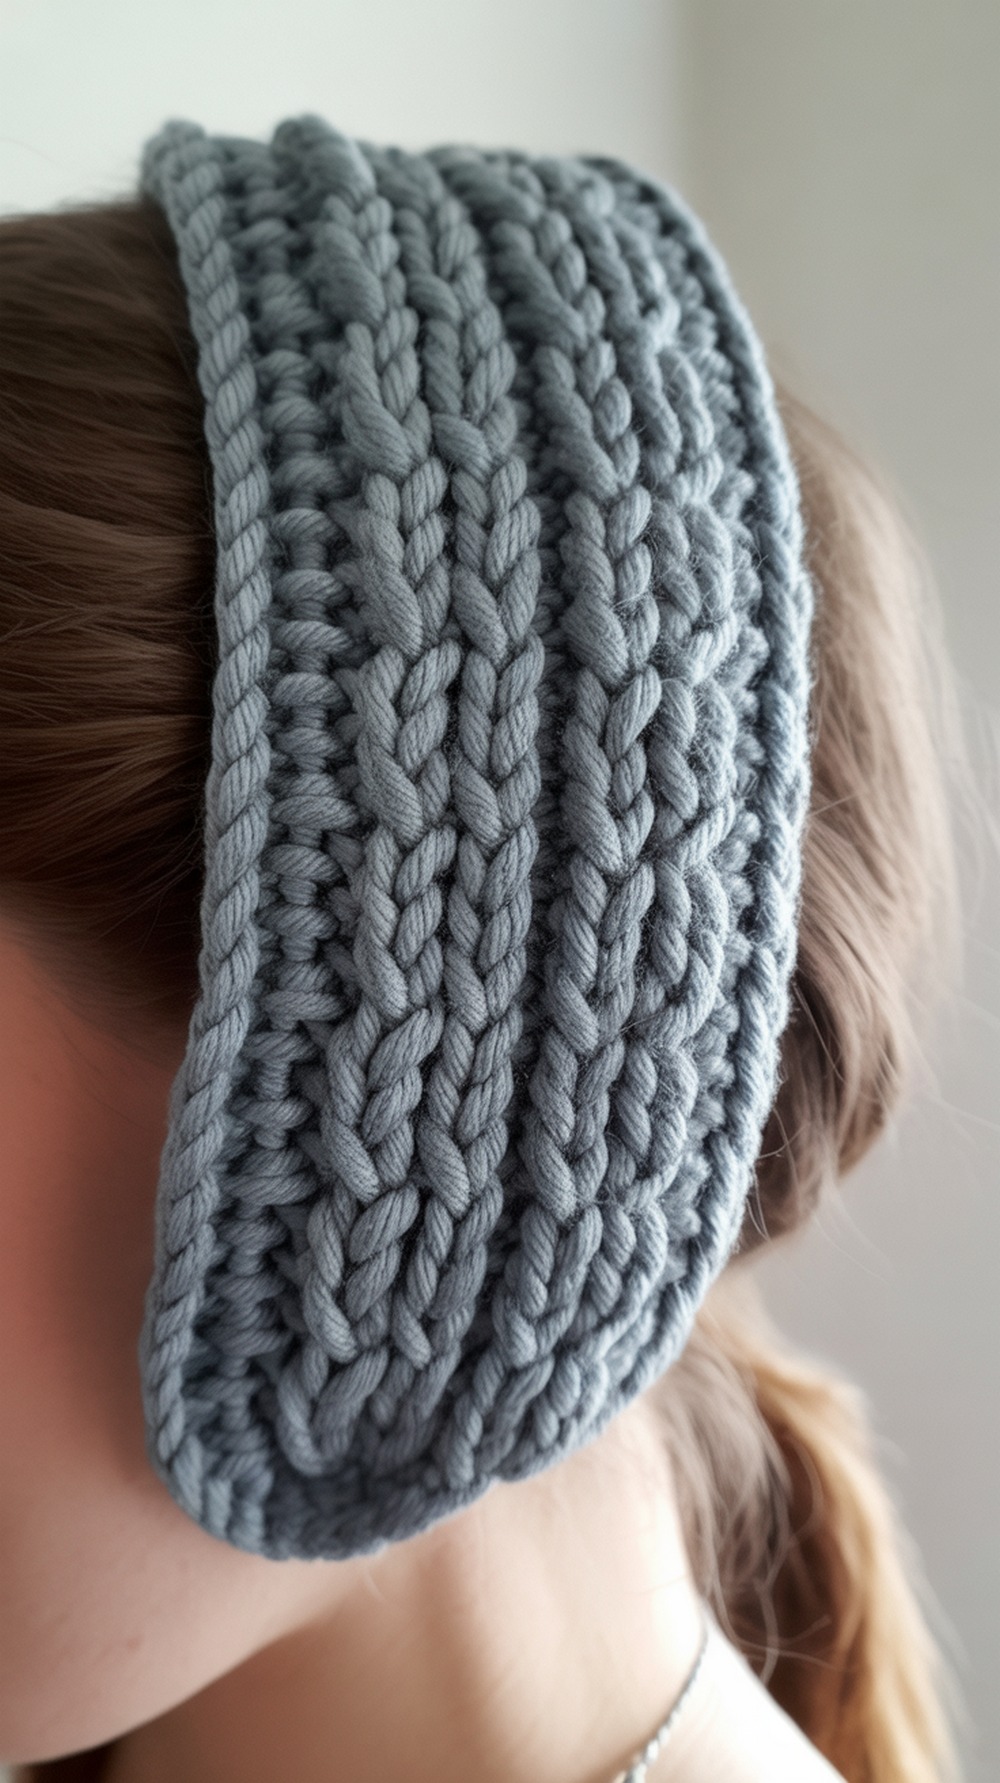
A deceptively simple faux-cable band made from easy crossings and relief stitches. It’s wide, warm, and perfect for gift sets. Yardage is modest (≈120 yds), and Alicia’s tutorial shows placement clearly. Tip: keep edge stitches even so the band stays flat when blocked. Tutorial.
Supplies:
- Worsted acrylic (#4)
- 5.0–5.5 mm hook
- Yarn needle, tape
Why it’s great: Beginner-friendly cable look with clear photos.
Estrella Crochet Cable Stitch Headband
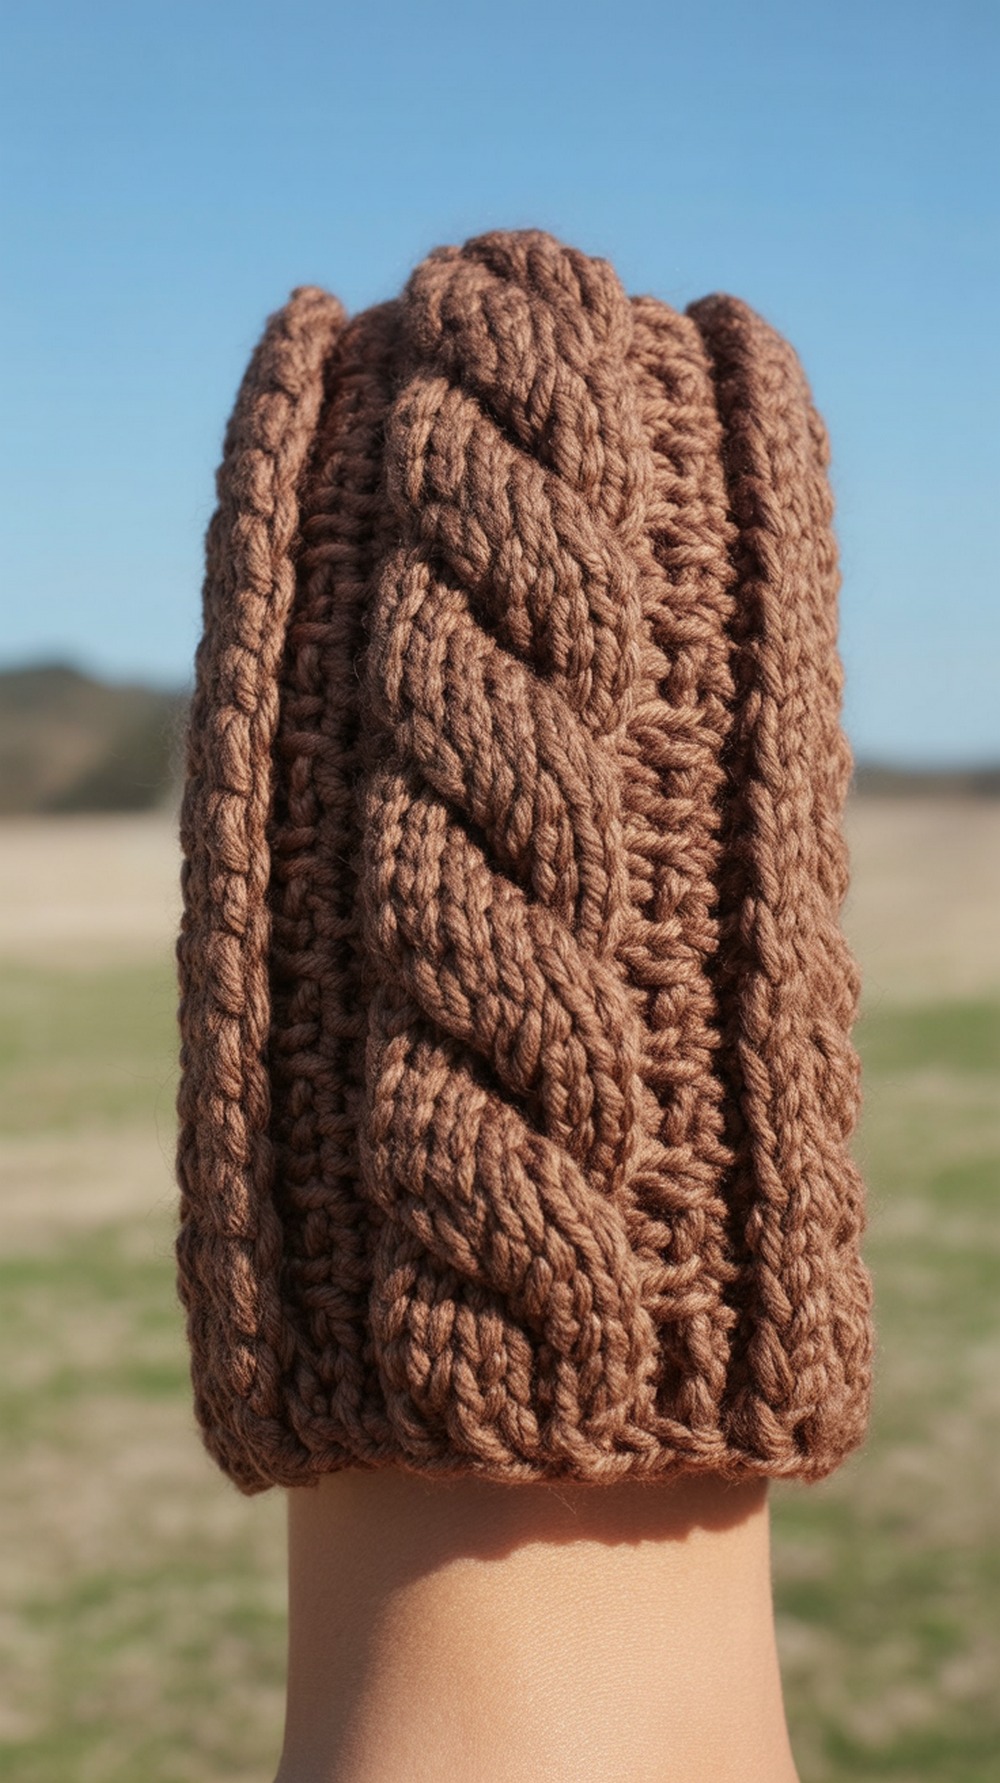
This boho-leaning cable band can be worn with or without braided tails. The post-stitch crossings create layered braids that look intricate but repeat cleanly. Worked in DK-ish Stone Washed yarn, it has beautiful stitch definition. Expect ~185–200 yds. Tip: block before adding optional braided ties for a neat finish. Tutorial.
Supplies:
- DK cotton/acrylic blend (#3)
- 4.0 mm (G) hook
- Stitch markers, yarn needle, scissors
Why it’s great: Statement cables with versatile styling (tie-on or seamed).
Crochet Cable Headband for Beginners
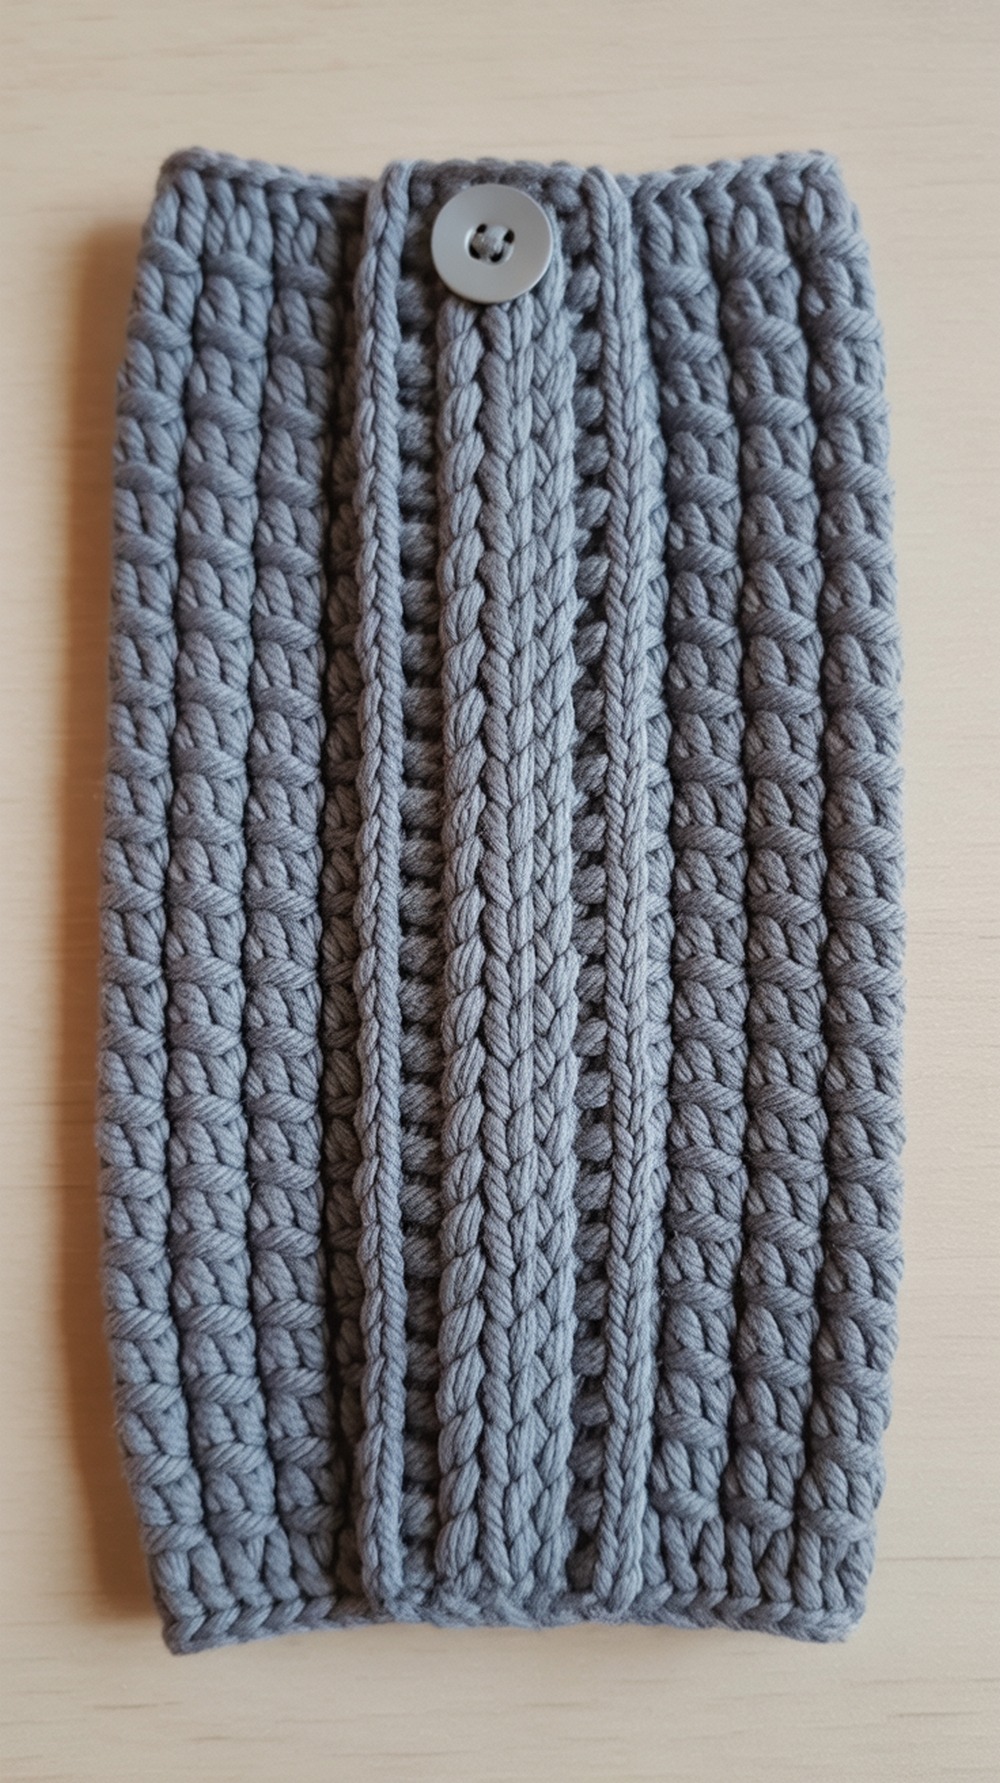
A friendly two-row repeat builds a classic cable panel framed by simple stitches, then finishes with a neat button closure. Great stash-buster at ~65–80 yds of worsted. The post explains fptr crossings clearly and includes a video. Tip: choose a flat, two-hole button so it sits comfortably under hair. Tutorial.
Supplies:
- Worsted acrylic/wool (#4)
- 5.5 mm (I) hook
- 1.25–1.5″ button, yarn needle, scissors
Why it’s great: Beginner-paced cable with adjustable length and button finish.
Twisted Cable Headband
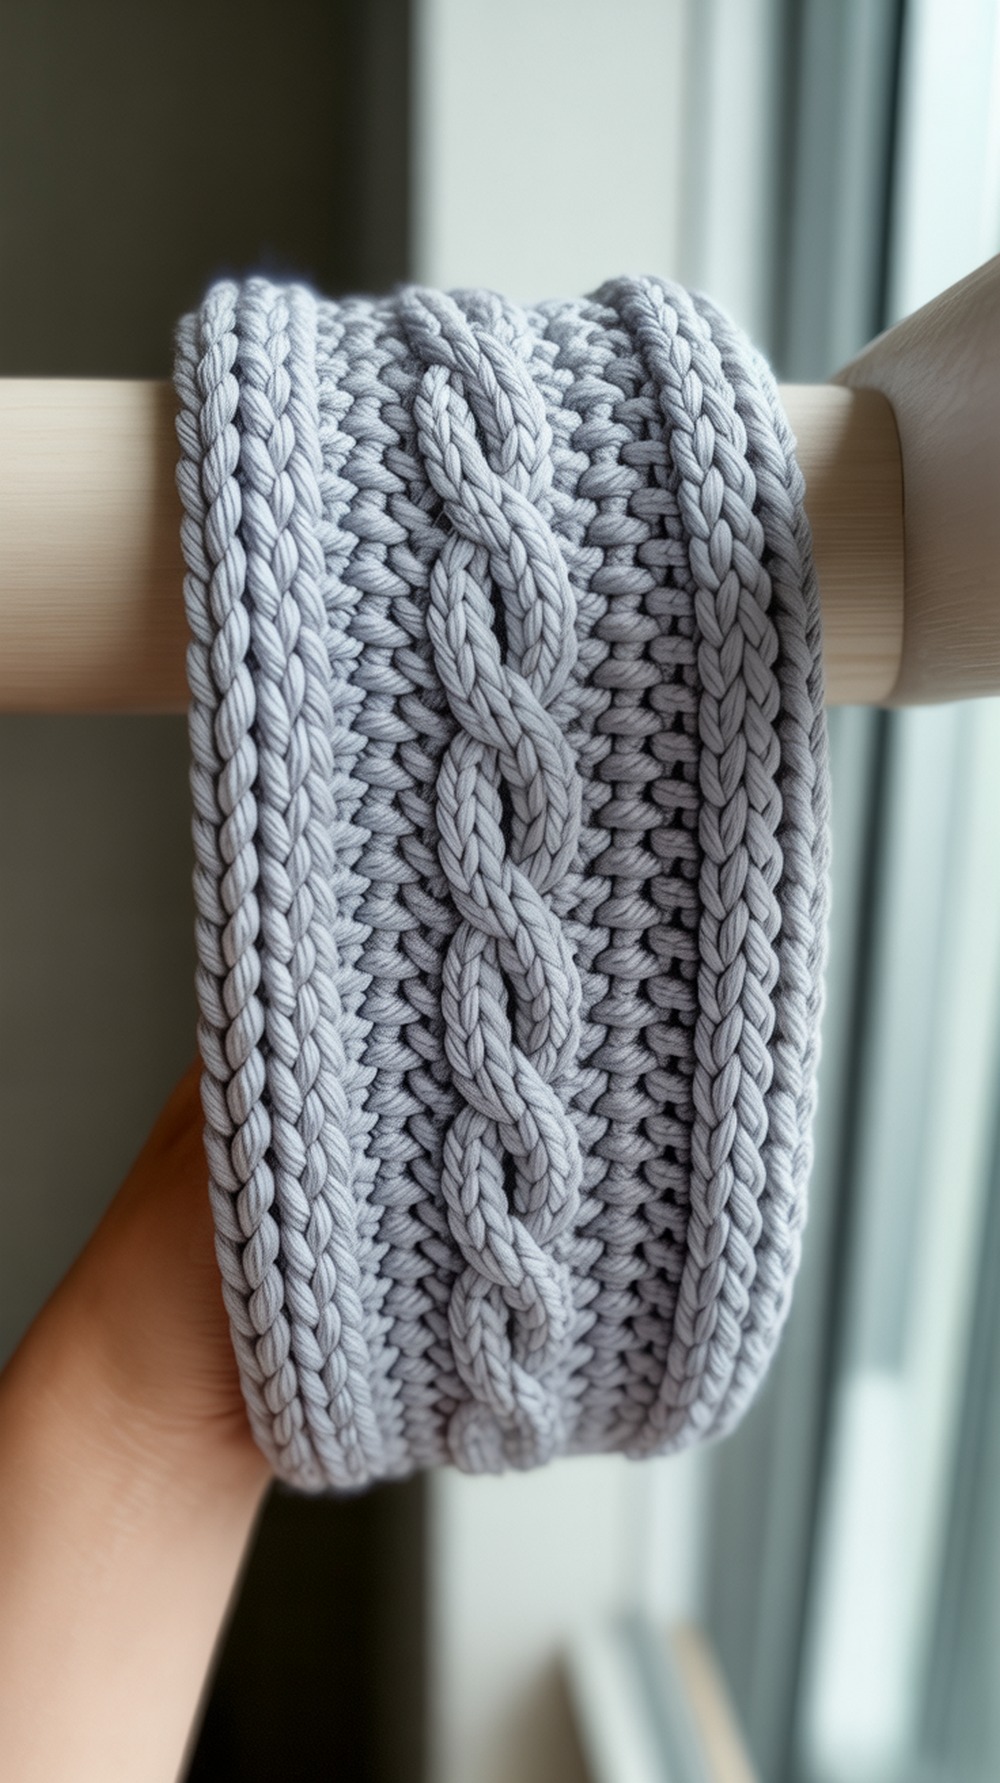
Ready to try Tunisian? This headband uses Tunisian knit/purl plus a simple cable crossing for a knit-look texture, then a twist and seam. Worked in worsted acrylic, it’s warm and quick. Plan ~120 yds. Tip: if your auxiliary hook for crossings feels tight, go up a size to avoid tugging. Full photo tutorial included. Tutorial.
Supplies:
- Worsted acrylic (#4)
- 6.0 mm Tunisian hook + 4.0 mm regular hook
- Measuring tape, yarn needle
Why it’s great: Knit-look faux cable without knitting—great Tunisian intro.
Chunky Cable Headband

A chunky, knit-looking faux cable made with FPDC crossings gives this ear warmer serious squish factor. Worked flat and sized for 20–23″, it uses ~120 yds of worsted. The post includes stitch definitions and a video. Tip: alternate blocking and gentle steaming to relax crossings without losing loft. Tutorial.
Supplies:
- Worsted acrylic (#4)
- 4.0 mm (G) hook
- Yarn needle, scissors
Why it’s great: Thick, cozy cable texture with beginner-friendly steps.
Easy Crochet Cable Headband Ear Warmer
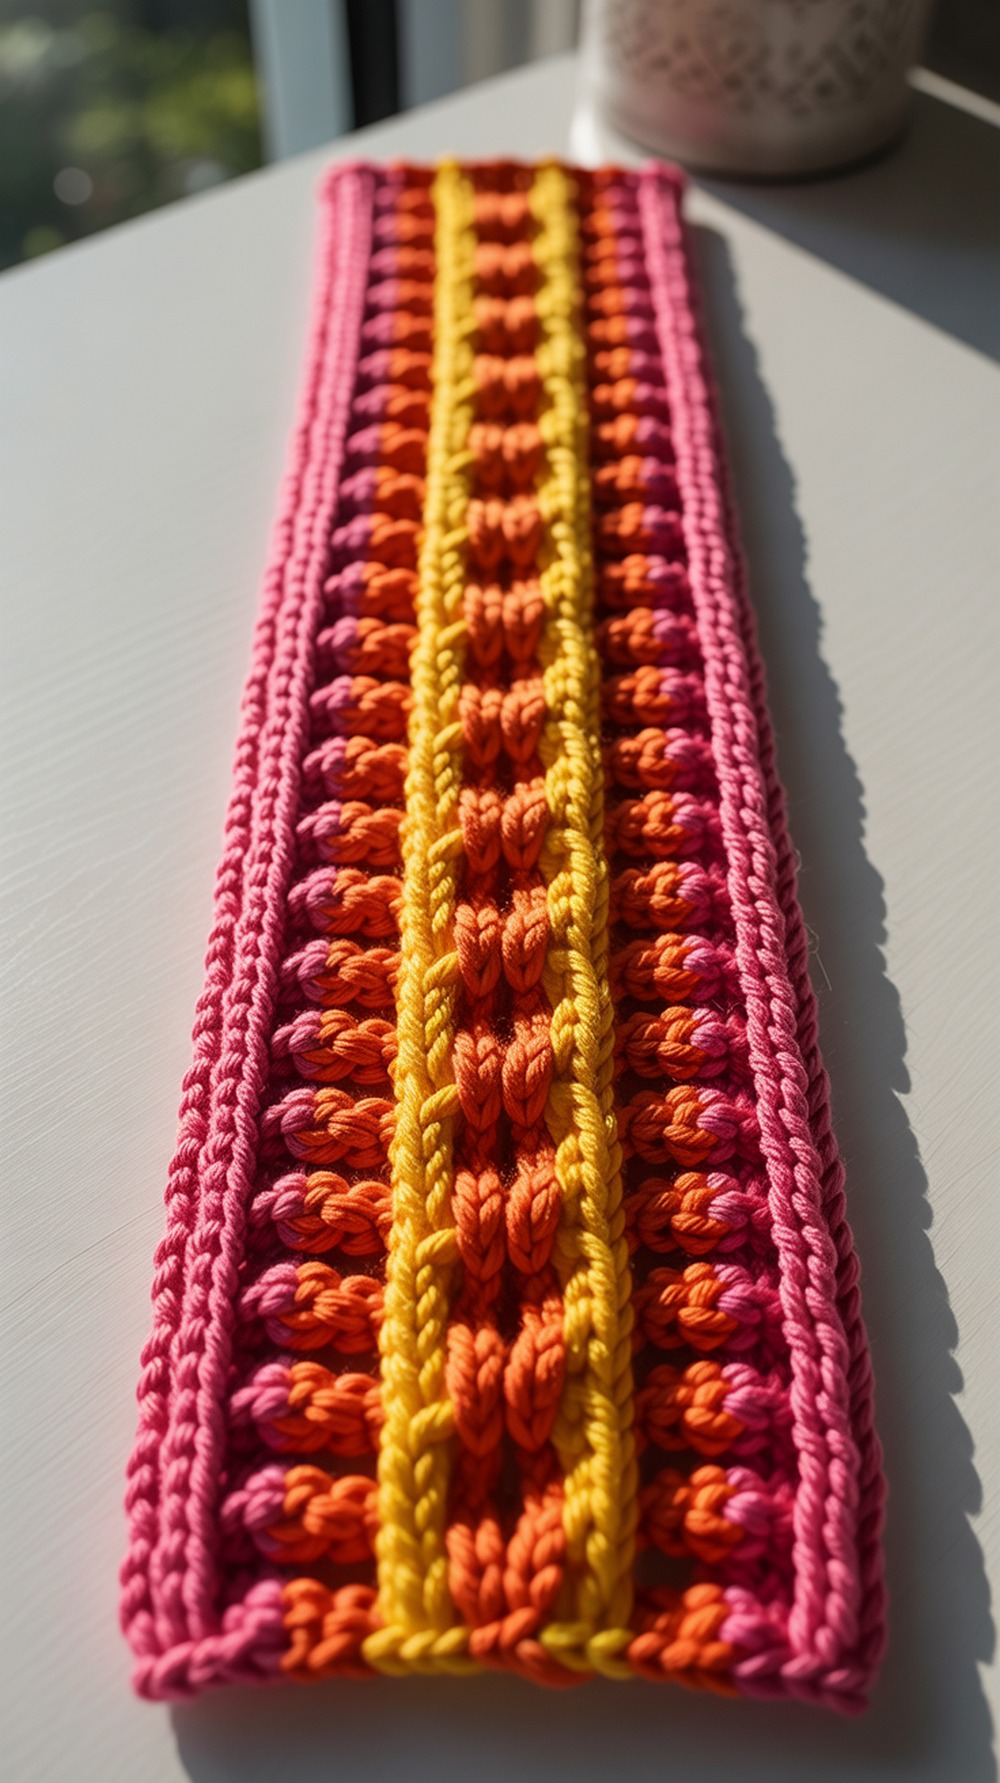
A mock-cable created with Jacob’s ladder loops gives cable vibes without post stitches. It’s speedy, stash-friendly, and perfect for market makes. Self-striping yarn adds movement across the “cables.” Expect ~100 yds. Tip: ladder up the chains evenly at the end for neat, consistent braids. Tutorial.
Supplies:
- Worsted self-striping acrylic (#4)
- 5.0 mm (H) hook
- Yarn needle, scissors, markers
Why it’s great: Cable look with ultra-simple construction—great confidence booster.
Conclusion
Faux-cable headbands are quick wins with big texture payoffs. Start with a two-row repeat or short-row faux cable, then try Celtic crosses or a Tunisian twist—each teaches a skill you’ll reuse in hats and scarves. Pick one today, match yarn from your stash, and you’ll have a gift-ready accessory by tonight. Bookmark this list for winter making, and share it with a crafty friend who loves cozy stitches. Happy hooking!
FAQs
What yarns show faux-cables best?
Smooth, non-fuzzy yarns with good stitch definition—wool or wool blends for warmth, acrylic for easy care. Solids and heathers make crossings pop; subtle gradients also work.
Machine wash or hand wash? Drying tips?
Check the ball band. Most acrylics: machine wash cold, lay flat. Wool/wool blends: hand wash cool, press in a towel, lay flat. Avoid hanging to prevent stretching.
How do I scale patterns for different sizes?
Measure head circumference, subtract 1–1.5″ for negative ease, and adjust row count or foundation chains per pattern multiples. Always check height so ears are covered.
Safe fibers for kitchen/bath or heat?
For spa bands or sauna use, cotton is breathable and washable. Avoid synthetics near heat sources—acrylic can deform.
Best joins/edgings for durability?
Use mattress stitch or slip-stitch seam through both layers. Add a single-crochet or reverse-single-crochet (crab stitch) edging to reinforce edges.
Typical time and yardage?
Slim bands: 60–90 yds, ~1–2 hours. Wide Celtic/braided bands: 100–200 yds, ~2–4 hours. Super-bulky versions are fastest.
Photo tips for your projects?
Use natural window light, neutral backdrop, and shoot at a slight angle to emphasize relief. Get a macro of the cable crossings.
Fixing curling, stretching, or waves?
Curling: block gently; add an edging row. Stretching: use smaller hook or tighter rib sections. Wavy edges: verify stitch counts and even tension; steam lightly to relax.