Filet crochet is perfect for slim, heirloom-style bookmarks—clean grids, crisp letters, and endless personalization. In this collection, you’ll find 15 ways to turn simple mesh into monograms, initials, and names. We mix true step-by-step bookmark patterns with solid alphabet/chart tutorials so you can plot any letter, then crochet a tidy rectangle with a light edging or tassel. Most use size 10 cotton thread and a steel hook so your bookmark stays flat and page-friendly. Measure a favorite book to pick length (6–8 in / 15–20 cm is common) and plan 3–5 open meshes around each letter for breathing room. Starch lightly for durability, or block and press for drapey lace. Grab a cup of tea, a tiny hook, and one of these tutorials—your next personalized gift is minutes away.
Classic “MOM” (Swap in Any Initials)
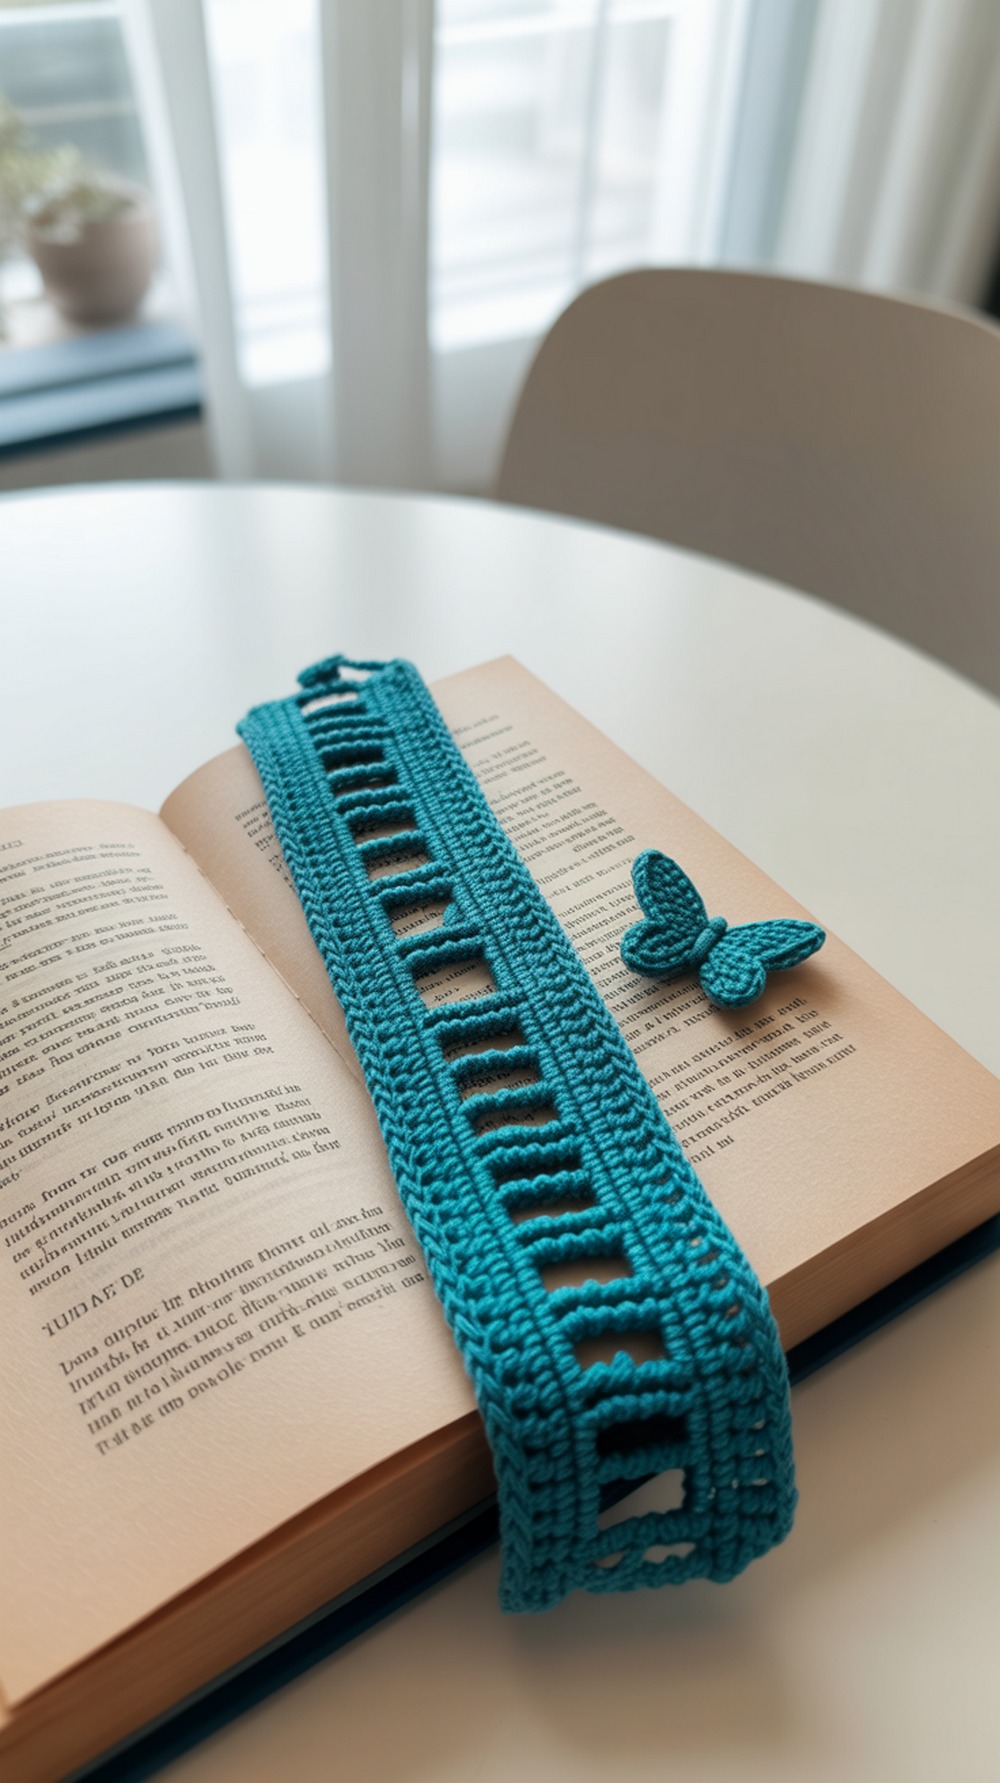
This moogly favorite teaches filet from the ground up and includes a full alphabet chart so you can replace “MOM” with any initial or monogram. The tapered ends, neat picot edging, and optional butterfly charm make it gift-ready. Keep the rectangle section and drop the butterfly if you want a slimmer page marker. Expect ~120–150 yds of thread; widen by whole-mesh increments to center wider letters like W or M. Tip: count meshes at every row turn to keep edges perfectly straight. Dive into the free pattern and video tutorial here—then customize your letters right on the included chart. Tutorial
Supplies: Size 10 cotton thread, 1.4–1.75 mm steel hook, yarn needle, blocking pins
Why it’s great: Built-in alphabet chart makes personalizing effortless.
Slim Picot Edge Initial Bookmark

This vintage-style pattern shows a narrow filet strip with a lovely picot border plus a ready-to-plot alphabet grid. Work the mesh to your desired length, then place a single large initial in the center. Because the chart is blocky and tall, it reads clearly even in fine thread. Plan about 80–110 yds for a 7″ bookmark. Tip: starch lightly (or use spray sizing) to keep the picots crisp. The blog post includes figures for edges and the filet alphabet so you can map any letter. Tutorial
Supplies: Size 10 cotton thread, 1.5 mm steel hook, tapestry needle, light starch
Why it’s great: Picot edging adds polish without bulk.
Aqua Monogram with Tapered Ends
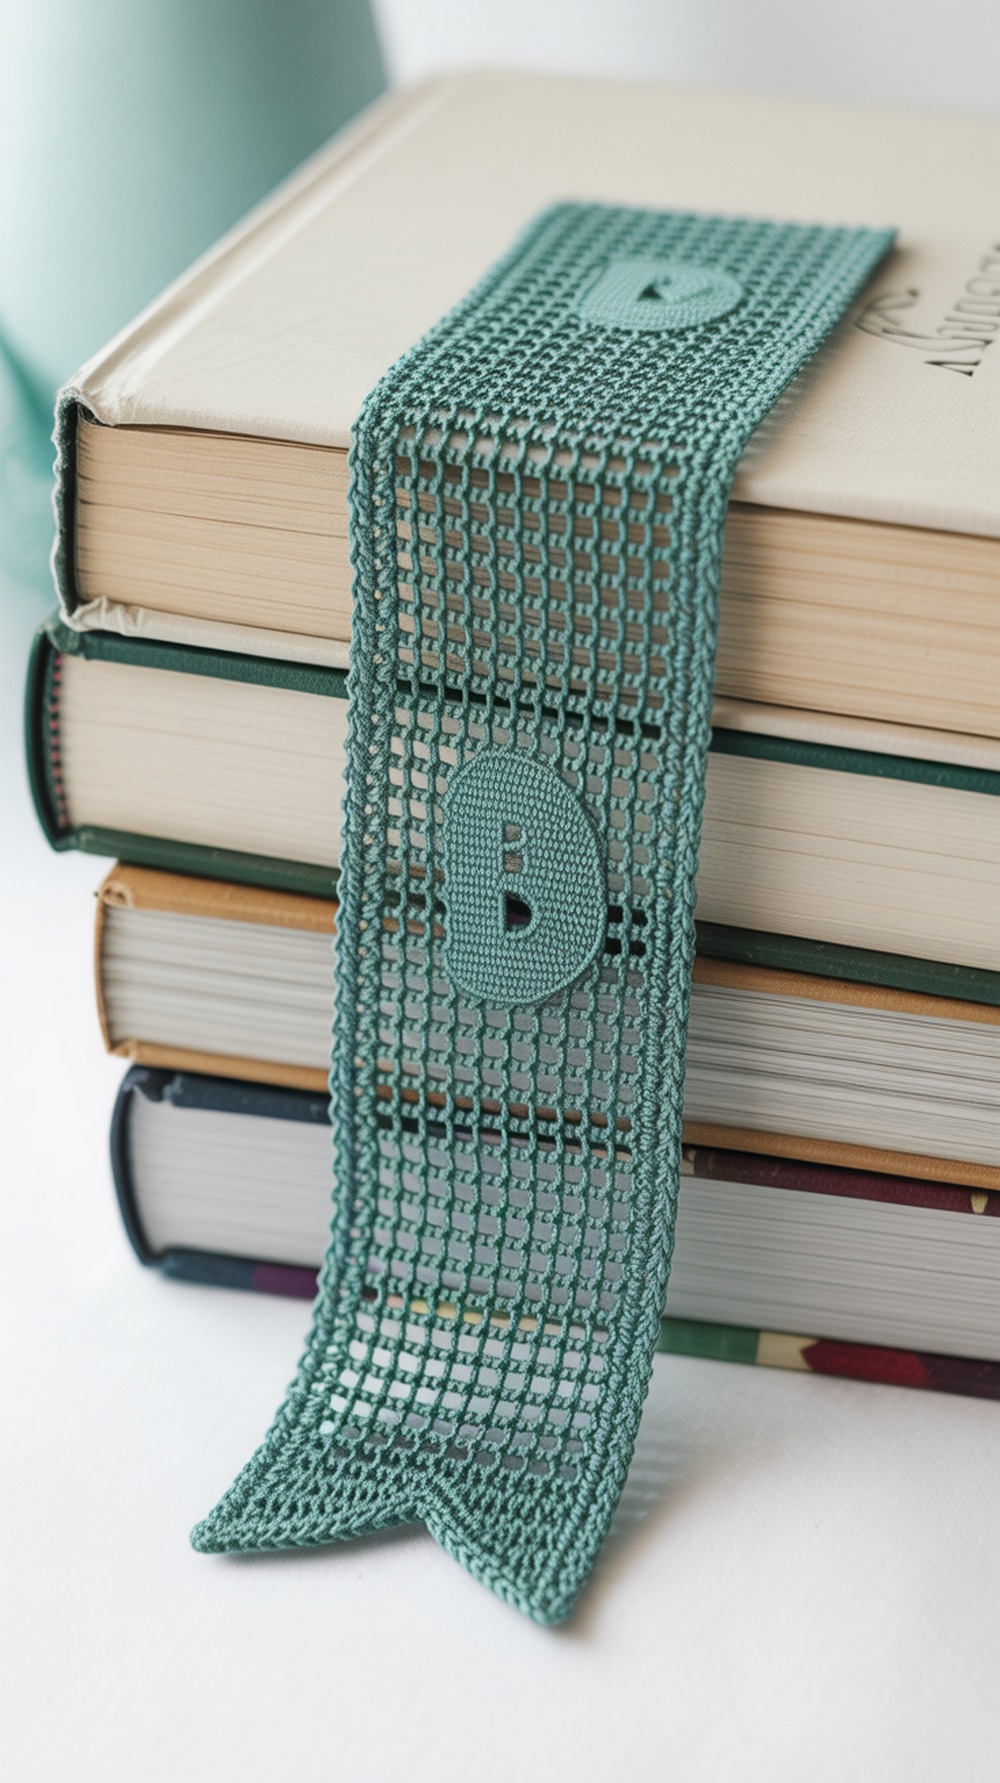
Prefer an official pattern PDF? This Yarnspirations listing hosts the free “Bookmark for Mom” pattern download, complete with alphabet chart. Use the rectangle + taper template, drop in any single letter or 2–3-letter monogram, and add the scalloped trim. The sample in Aqua shows how bold color can modernize thread lace. Yardage is small—roughly 100 yds of size 10 thread. Tip: center the letter by counting open meshes side-to-side before you start filling. Easy to gift and frame, too. Tutorial
Supplies: Aunt Lydia’s Size 10 thread, 1.4 mm steel hook, scissors, pins
Why it’s great: Free printable pattern with alphabet chart included.
Doily Style Name to Single Initial Strip

This step-by-step Instructables guide teaches you to graph letters and work them into filet—perfect skills to resize down to a slim bookmark. Use the method to chart one big initial and crochet a straight rectangle (skip the ornate ends). Expect ~90–120 yds of thread for a standard bookmark. Tip: for tall letters, add 2 rows of open mesh above and below the motif so it doesn’t crowd your edging. The photo steps demystify charting, turning, and mesh counts. Tutorial
Supplies: Size 10 cotton, 1.5 mm steel hook, graph paper, pencil, blocking board
Why it’s great: Clear, photo-rich primer on charting any letter.
Beginner’s Guide + Alphabet Charts
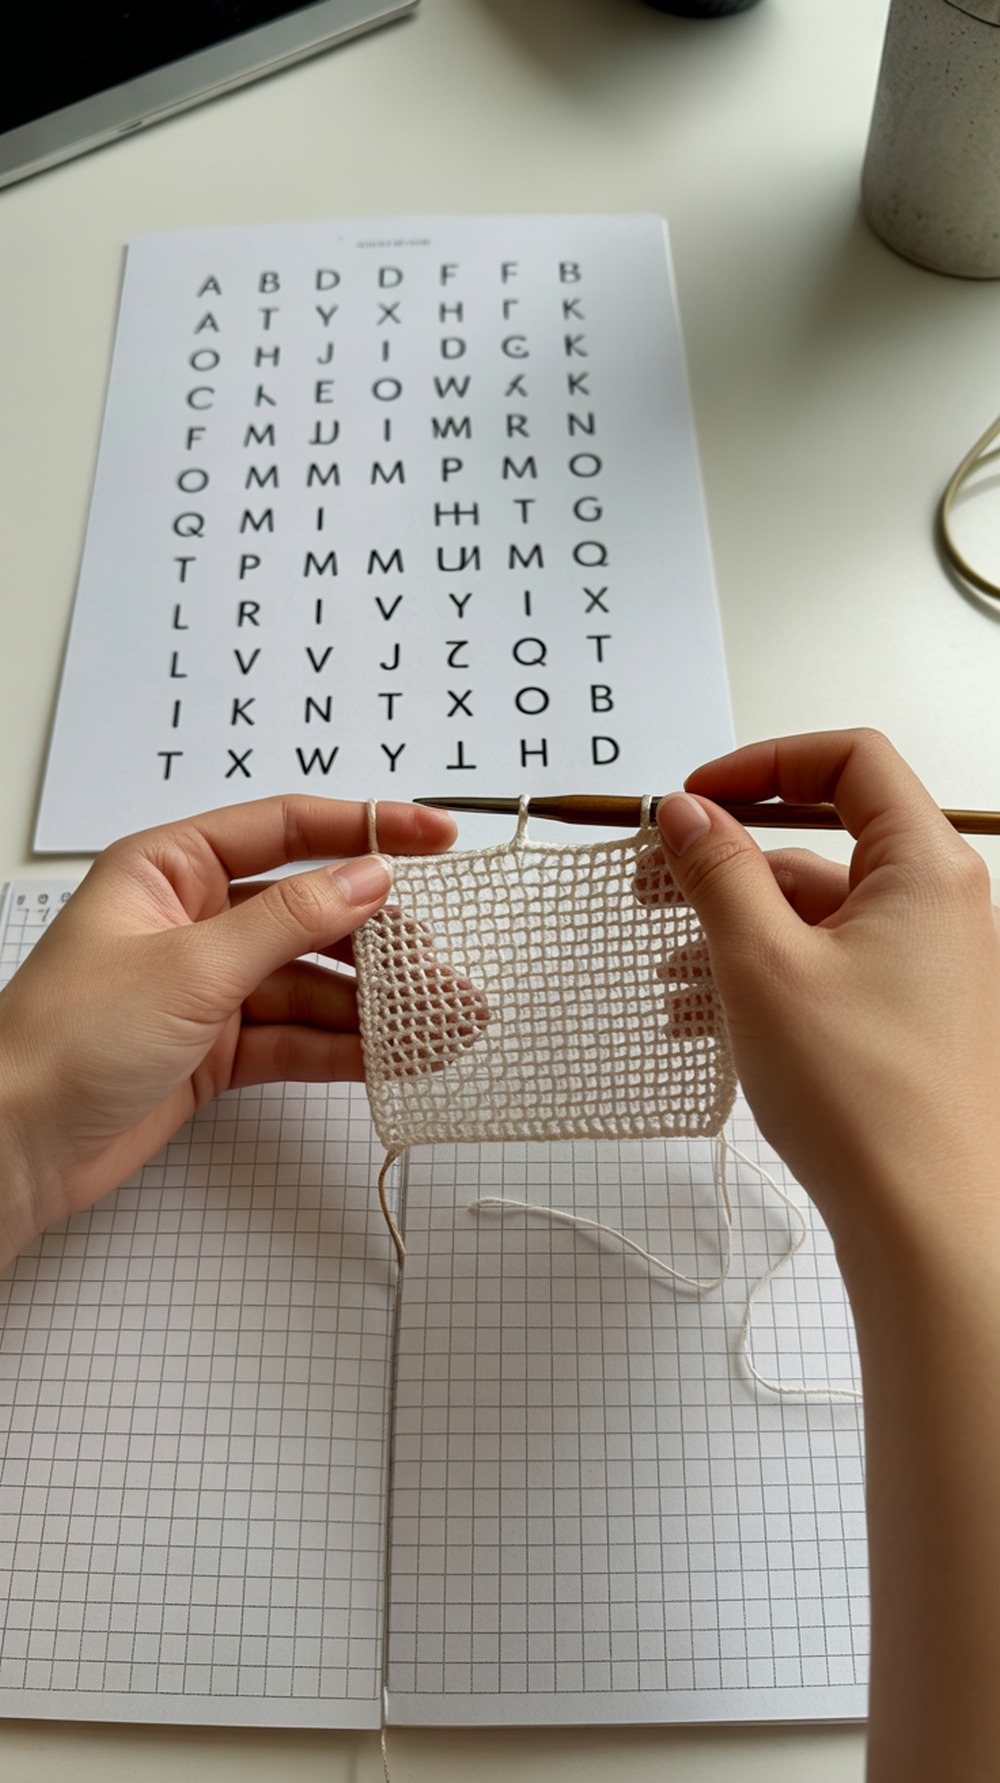
If filet is new to you, this Yarnspirations article walks through meshes, reading charts, and specifically references the free bookmark pattern with a full alphabet. Practice the rectangle swatch until tension is even, then place your chosen initial. Plan ~30–40 meshes long for most books. Tip: use markers every 10 meshes to reduce counting errors. It’s a perfect warm-up before you customize color and edging. Tutorial
Supplies: Size 10 thread or light cotton, 1.5–1.75 mm hook, markers, needle
Why it’s great: Teaches technique and points to an alphabet you can use immediately.
Wedding Gift Name Method
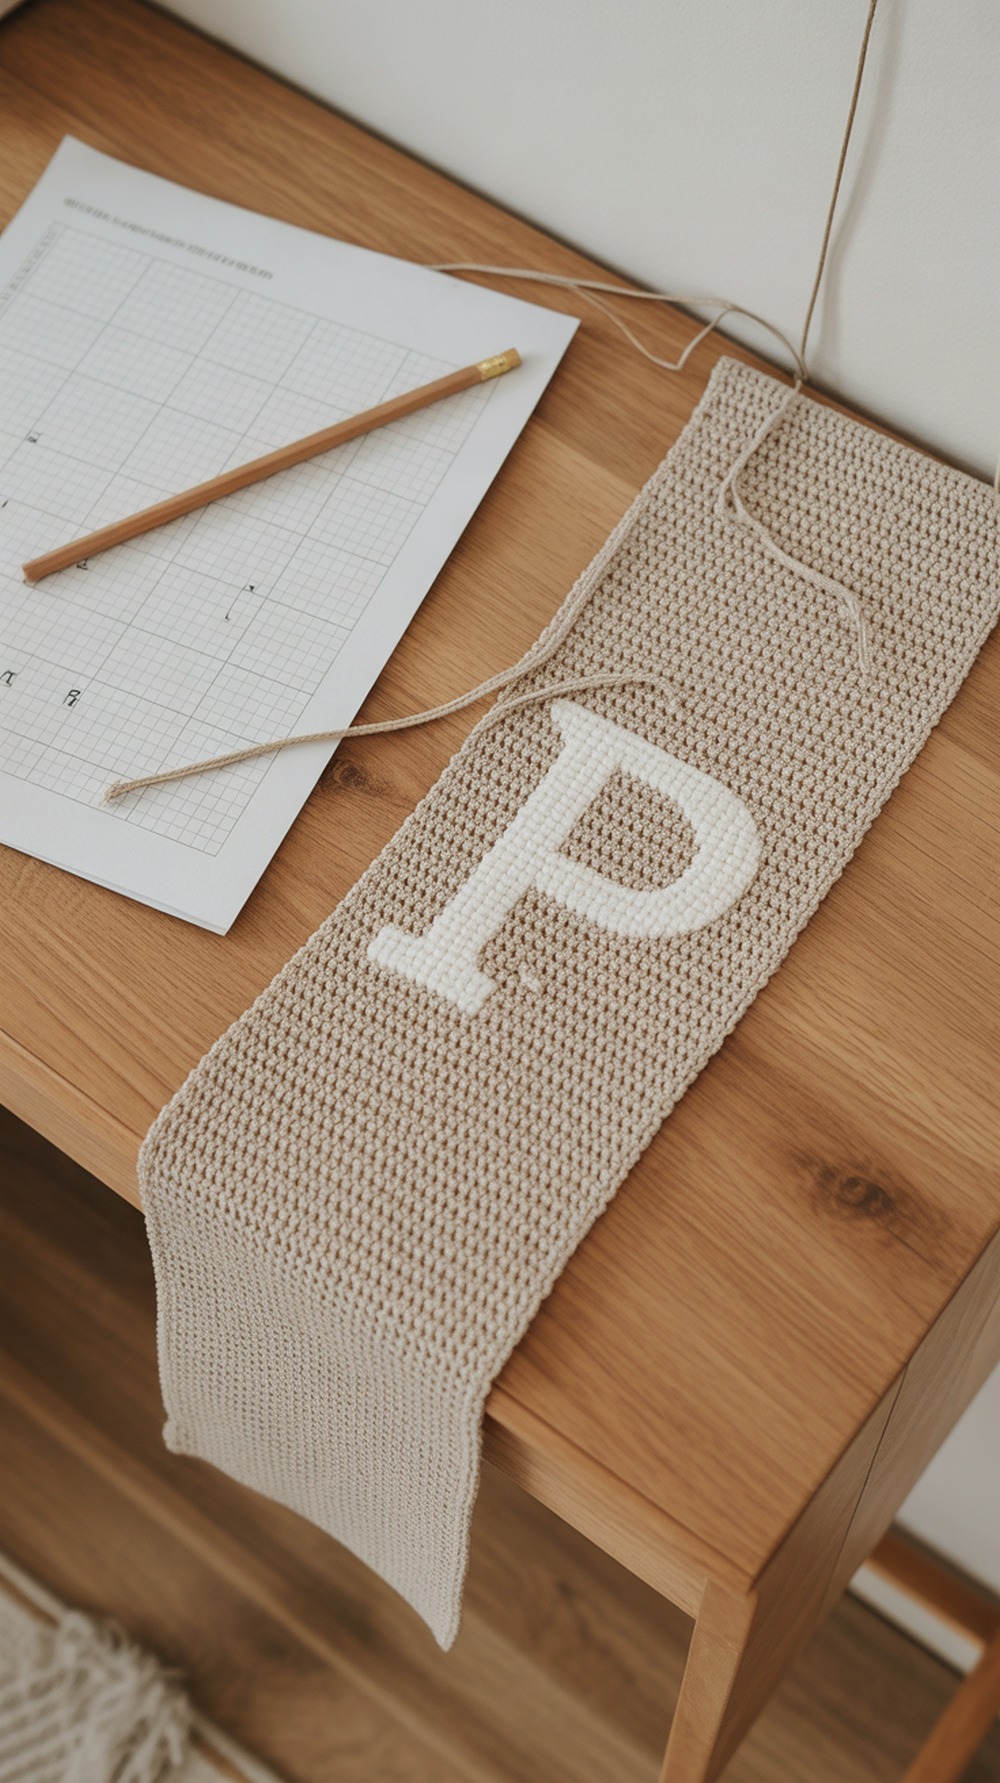
This tutorial shows two approaches to filet crochet names—plotting letters and working steady tension—ideal for converting to a one-letter bookmark. Use the same plotting steps to center a single initial in a 10–12 mesh-wide strip; add a picot or shell border. About 90–120 yds of thread per bookmark. Tip: when switching between open and filled meshes, keep turning chains consistent to avoid wavy sides. Tutorial
Supplies: Size 10 cotton, 1.5 mm hook, graph paper, washi tape, pins
Why it’s great: Practical plotting tips from a real project in progress.
Heart Framed Initial Bookmark
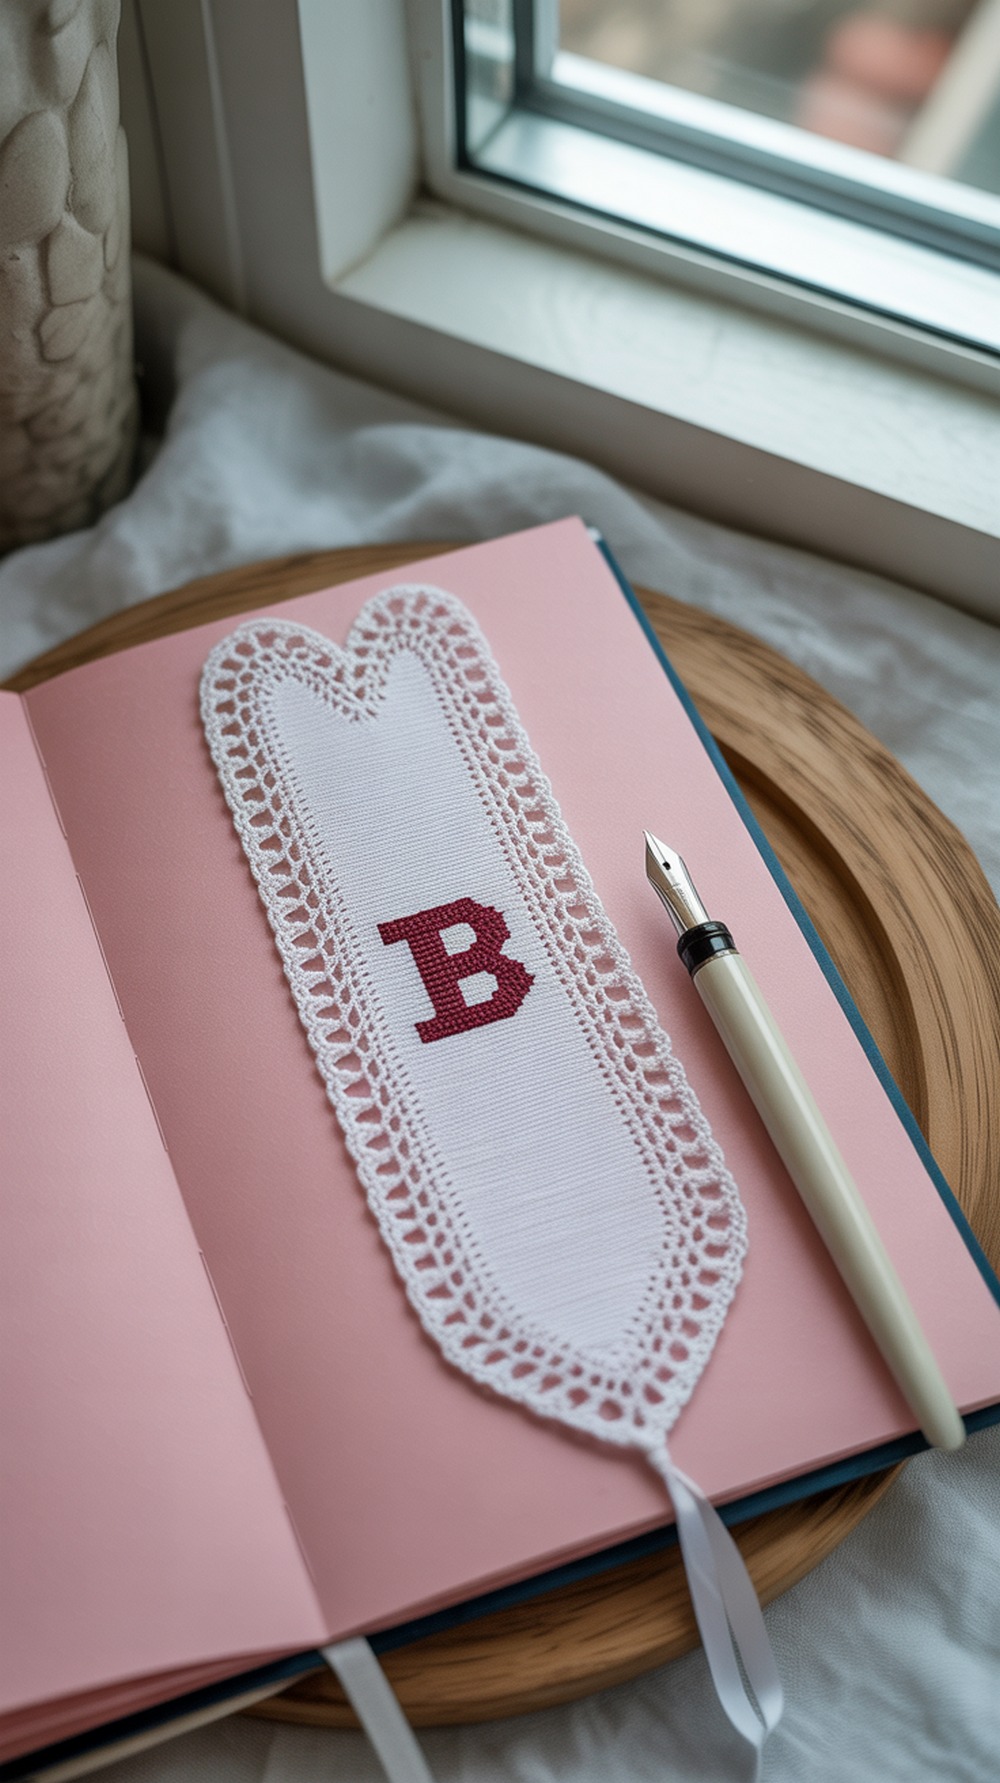
Use this filet heart chart as a frame, then replace the center motif with a single block letter from any alphabet chart. The border instructions and chart orientation are clear, and the thread specs keep it nice and flat for books. Keep total width ~10–12 meshes; test place your initial on tracing paper before stitching. Tip: if your letter touches the heart, leave one open mesh buffer for readability. Tutorial
Supplies: Size 10 cotton, 1.5 mm hook, tapestry needle, light spray starch
Why it’s great: A pretty frame that turns any initial into a giftable keepsake.
Read Filet Charts Like a Pro

Not sure how “open” vs “filled” squares become stitches? This CosyRosie UK tutorial explains chart symbols, row direction, and how each block equals three stitches—exactly what you need to place a single initial neatly. After reading, draw a 10- to 12-mesh-wide rectangle on graph paper, drop your letter, and crochet the strip in size 10 thread. Tip: highlight every fifth line on your chart to keep rows straight. Tutorial
Supplies: Size 10 cotton, 1.5 mm hook, highlighters, graph paper, needle
Why it’s great: Demystifies filet charts in minutes.
Medium’s Block by Block Filet Primer

This concise lesson clarifies that filled blocks are 3 dc (or dc + 2 dc) and open blocks are dc, ch-2, dc—core knowledge for clean initials. Practice a 10-mesh sampler, then center your chosen letter. Use 6–8 rows of open mesh above/below the motif for balance. Tip: place stitch markers at the first dc of each block to stay aligned on your first project. Tutorial
Supplies: Size 10 cotton, 1.75 mm hook, stitch markers, small scissors
Why it’s great: Straightforward explanation you can apply immediately.
Free Filet Alphabet

Grab a ready-to-use filet alphabet from MyCrochetPattern and drop a single letter into a bookmark grid. Because the charts are square and bold, letters stay legible at bookmark scale. Aim for 10–12 meshes wide and 28–34 meshes tall for most paperbacks. Tip: print the letter chart at 110–125% if you prefer larger blocks to count. Tutorial
Supplies: Size 10 cotton, 1.5–1.75 mm hook, printer, needle, pins
Why it’s great: Free alphabet charts you can plug into any bookmark template.
Antique Pattern Library Alphabets
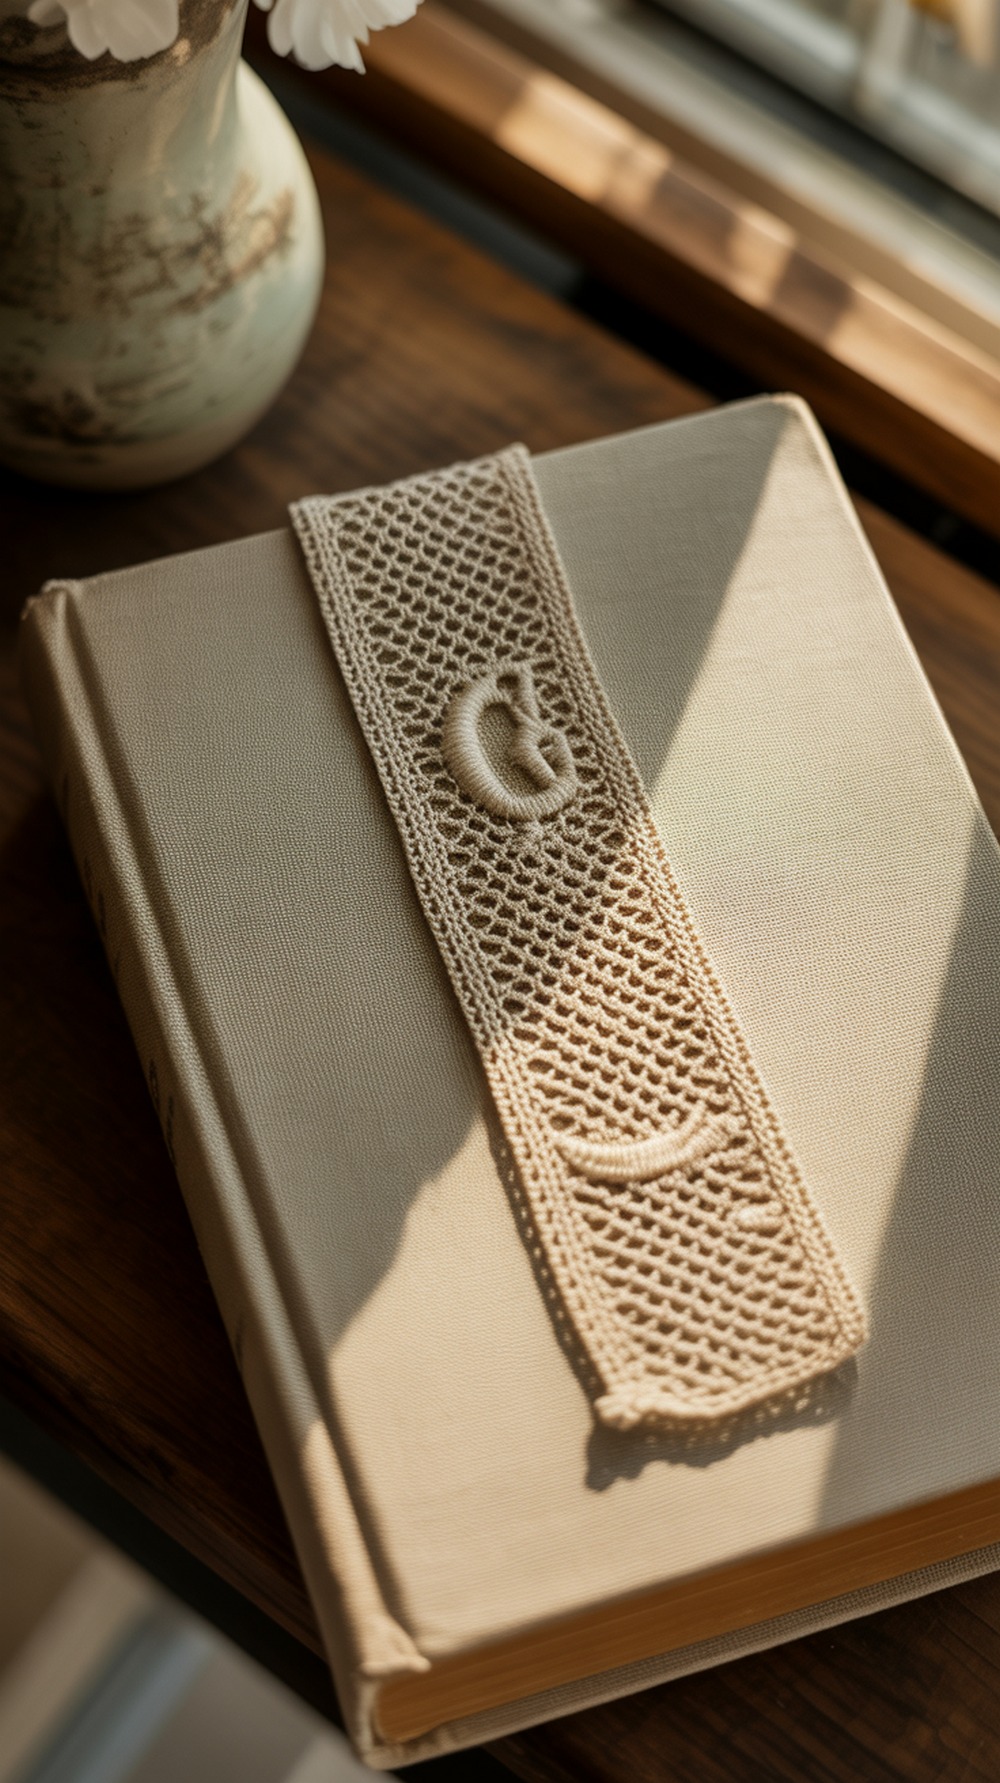
For classic monograms—script, block, or ornate—Antique Pattern Library hosts free public-domain filet alphabets. Pick a simpler set (e.g., 22–33-mesh letters) and transpose one letter into a slim rectangle bookmark. Add a 1-row single-crochet edge and a tiny tassel. Tip: when adapting ornate alphabets, reduce small flourishes so they don’t fill in at bookmark scale. Tutorial
Supplies: Size 10 cotton, 1.5 mm hook, printed PDF chart, tapestry needle
Why it’s great: Huge choice of historic alphabets to match any vibe.
Name Banner Method
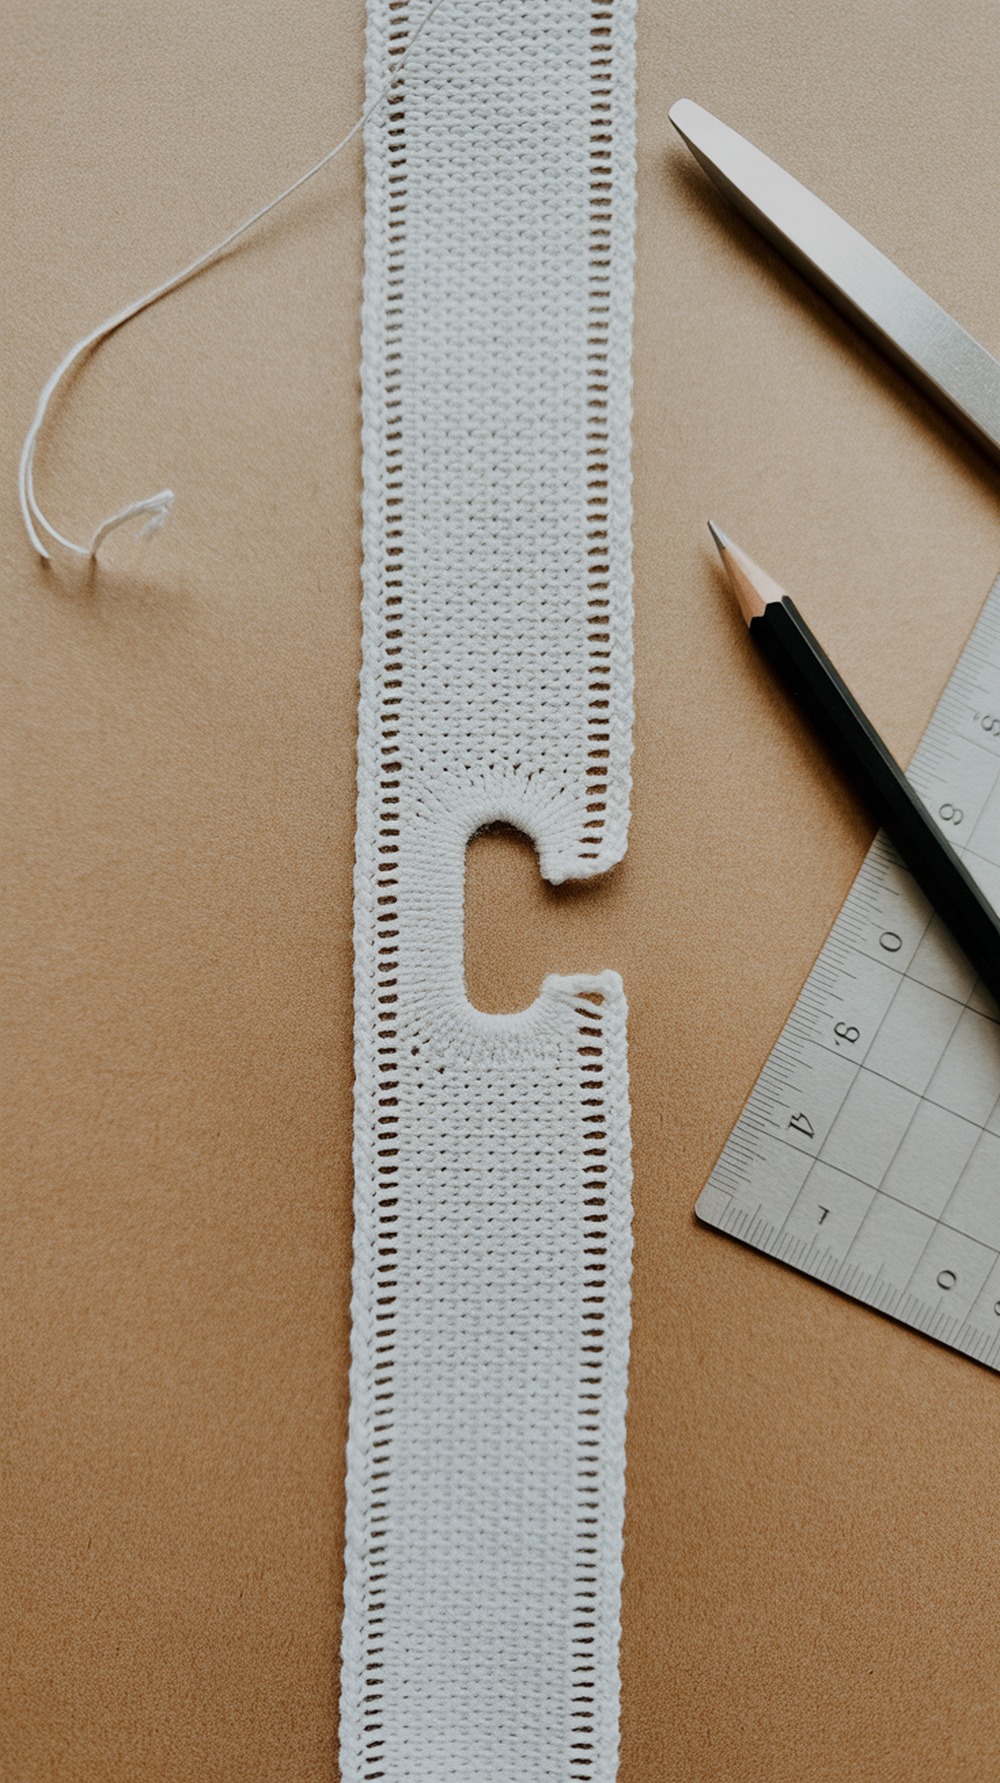
This free PDF shows a left-to-right filet method for spelling names—treat your single initial as a “mini name” and crochet a narrow strip. Because it’s worked like a banner, it’s easy to center a letter and keep rows square. Great for beginners who like written prompts. Tip: add two rows of all-dc at the end for a sturdy tassel anchor. Tutorial
Supplies: Size 10 thread, 1.5–1.75 mm hook, graph paper, needle
Why it’s great: Simple, banner-style workflow that translates well to bookmarks.
Cornish Plaque Technique
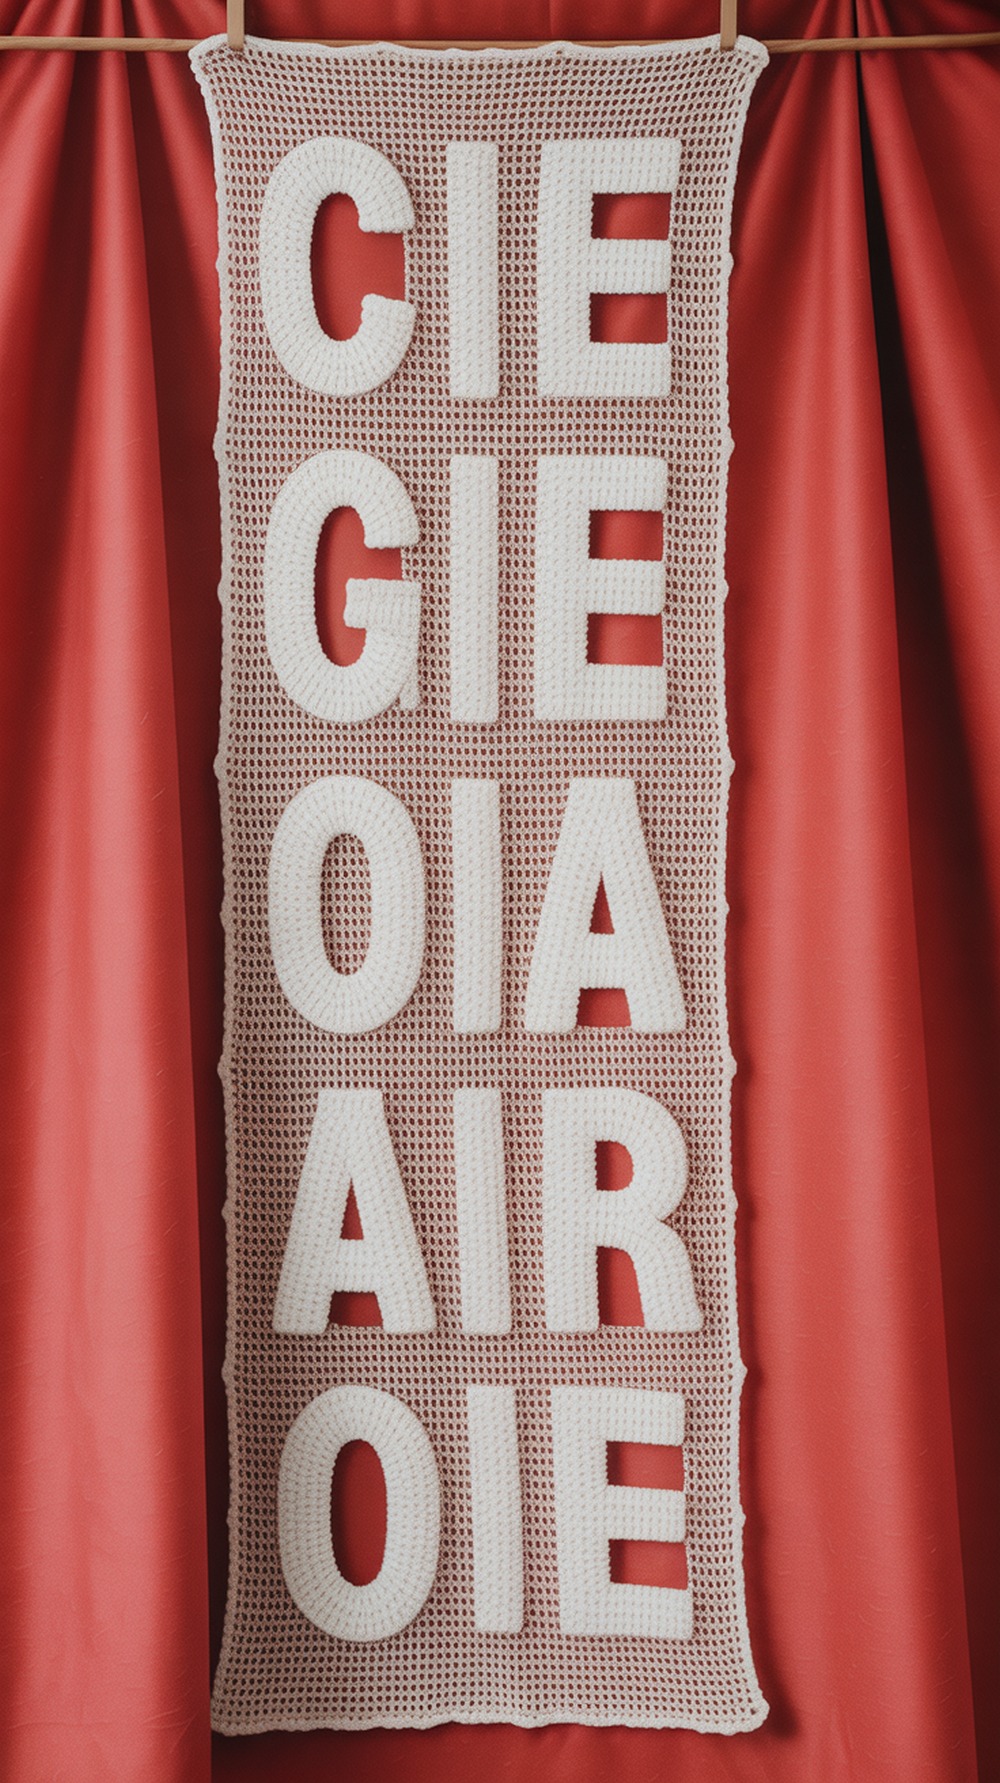
This tutorial details a classic filet plaque with explicit row counts and a neat lace edging. Use the body instructions to work a straight rectangle, then map one bold initial (letters are 5 meshes wide by 9 tall in the post’s guidance). It’s easy to scale and keeps sides tidy. Tip: block on a terry towel and press up-down (never slide) for crisp grids. Tutorial
Supplies: DMC Cébélia #20 or size 10, #9 steel hook (~1.4 mm), pins, iron
Why it’s great: Precise, vintage-style instructions that produce very square mesh.
Easter Eggs Filet Bookmark
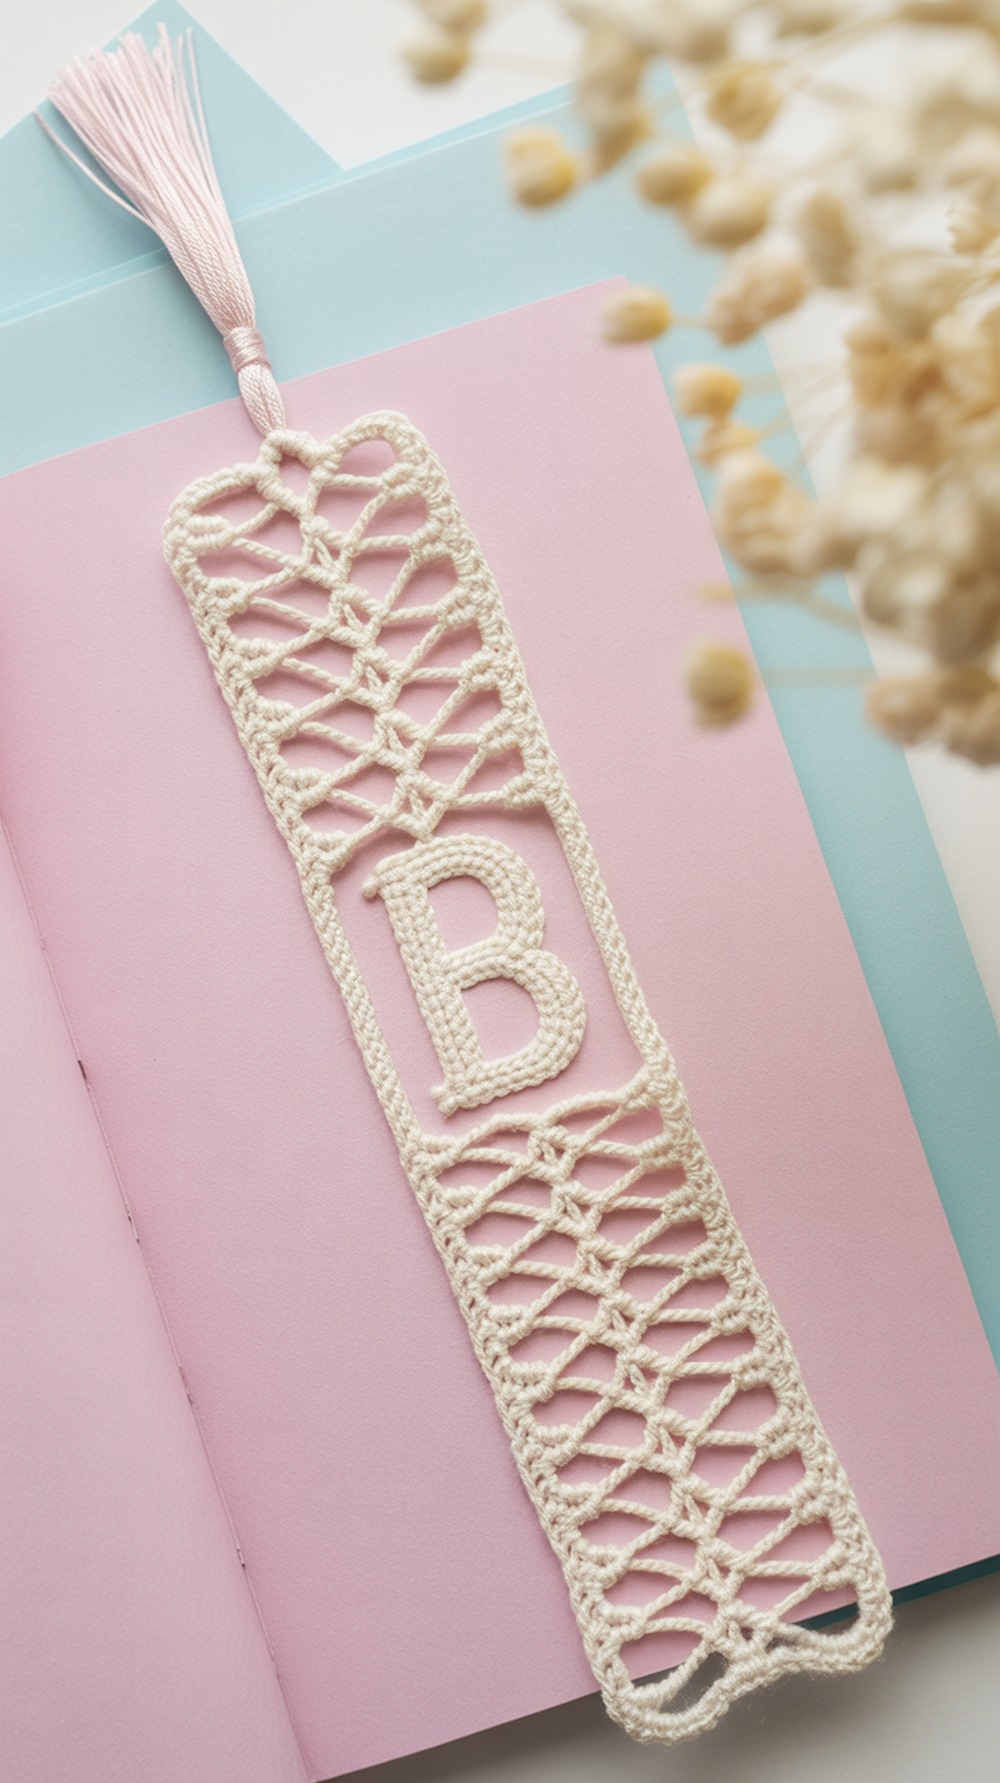
This free bookmark chart proves how nice a slim filet strip can look. Use the provided grid dimensions, but replace the egg motif with a single large letter from any alphabet chart. The post includes hook/thread notes for a flat, page-friendly finish. Tip: keep one open mesh border around the letter so curves don’t crowd the edge. Tutorial
Supplies: Size 10 cotton, 1.5 mm hook, tapestry needle, blocking pins
Why it’s great: Ready-sized bookmark template to drop an initial into.
Conclusion
Pick one path that fits your mood: a ready-made bookmark template (then swap in a letter) or an alphabet chart (then build a slim rectangle around it). Either way, you’ll get a crisp, personalized Crochet keepsake that lies flat, looks elegant, and works up fast from thread scraps. Bookmark this list for gifting seasons, teacher thank-yous, and book-club swaps. When your first initial is finished, block, tassel, and snap a photo—you’ll be ready to try a two-letter monogram next.
FAQs
What yarns work best for filet bookmarks?
Size 10 cotton thread is the classic: thin, smooth, and pressable. Mercerized cotton keeps stitches crisp; linen thread also works but is less forgiving.
Machine wash or hand wash—and how do I dry?
Hand wash in cool water with a drop of mild soap, rinse, roll in a towel, then pin out to dry. If machine-washing, place in a mesh bag and skip the dryer; press with a warm iron through a cloth.
How do I scale a pattern for different books?
Change mesh count, not stitch height. Add/subtract full open blocks on the sides and ends; keep at least one open block buffer around letters for readability.
Which fibers are safe for kitchen/bath or heat?
Cotton and linen tolerate moisture and light heat from ironing. Avoid acrylic near high heat—it can flatten or melt.
What joins/edgings improve durability?
Work turning chains consistently, add a single-crochet border to stabilize edges, and weave tails through several dc posts. A tiny tassel or loop is less snag-prone than beads.
Typical time and yardage for baskets, pillows, mats?
For bookmarks: ~60–150 yds and 1–3 hours. (Baskets/pillows/mats vary widely, but home items in thread or light cotton can range from 150 yds to several hundred.)
How do I photograph my projects nicely?
Use daylight near a window, shoot overhead on a neutral background, and include a book for context. Get close enough to show the mesh texture.
How do I fix curling, stretching, or wavy edges?
Count meshes every row, keep turning chains the same height, and block. If edges wave, you may be chaining too loosely; if they pull in, chain a touch longer or size up your hook.