A Christmas market stall does not need to be filled with large crochet projects to feel abundant. Tiny ornaments, miniature wearables, small characters, and compact holiday decorations can create a display with plenty of shape and color without every item taking up the same amount of table space.
Here, “tiny Christmas market stall ideas” means small crochet projects you could consider for a festive stall display, subject to each designer’s current permissions for selling finished makes. A public tutorial does not automatically grant commercial rights, so always check the creator’s current pattern or licensing terms before producing an item as stock.
The most useful collection also needs visual variety. A table made entirely from round amigurumi can become repetitive even if every character is different. Mixing flat wreaths and bells with miniature sweaters, narrow candy canes, dimensional mugs, stuffed characters, and classic baubles gives customers more noticeably different pieces to browse.
Quick List
- Crochet Mini Christmas Wreath
- Crochet Fair-Isle Mini Sweater
- Crochet Tiny Mitten Ornament
- Crochet Mini Beanie Ornament
- Crochet Surprise Stocking Ornament
- Crochet Openwork Christmas Bell
- Crochet Five-Point Star Ornament
- Crochet Winged Angel Ornament
- Crochet Nordic Gnome Decoration
- Crochet Top-Hat Snowman Ornament
- Crochet Gingerbread Character Ornament
- Crochet Twisted Candy Cane Ornament
- Crochet Hot Chocolate Mug Ornament
- Crochet Christmas Pudding Ornament
- Crochet Round Reindeer Ornament
- Crochet Scarf-Wearing Penguin Ornament
- Crochet Mini Christmas Tree Ornament
- Crochet Classic Christmas Bauble
- Crochet Ribboned Gift Box Ornament
Build the Stall Around Different Shapes
Tiny projects can still occupy very different amounts of display space. A star or bell can hang nearly flat, while a stuffed reindeer needs clearance for its antlers and a mug needs enough room for its handle.
That difference is useful. Hanging rails can hold flatter ornaments and miniature clothing, while baskets or shallow trays can contain soft characters. A few dimensional pieces can sit individually where their silhouettes are visible instead of disappearing in a crowded pile.
Think about the display from several feet away. Alternating circles, triangles, narrow vertical pieces, miniature garments, and characters creates stronger visual separation than relying on color changes alone.
Plan Batches Around Finishing Work, Not Just Crochet Time
Two projects of similar size can require very different amounts of finishing. A simple flat motif may mainly need ends woven in and a hanging loop, while a character can involve stuffing, facial details, separately crocheted accessories, and multiple attachment points.
When planning possible stall stock, look at the whole workflow. Crocheting ten bodies quickly does not necessarily make a project efficient if every one then needs several pieces positioned and sewn.
Batching can still help. You might crochet several main bodies first, then schedule a separate session for weaving ends, stuffing, embroidery, or assembly. Keep unfinished components together so ears, antlers, scarves, and other small pieces do not get mixed between projects.
Check Selling Permission Before Making Market Stock
The tutorials below are useful learning sources, but the presence of a public YouTube video is not permission by itself to sell finished pieces.
Check each designer’s current website, pattern listing, video description, or stated terms before making inventory. Some designers allow limited sales of finished projects with credit, while others may place different restrictions on commercial use, teaching, pattern reproduction, or mass production.
Keep the creator’s tutorial separate from your own stall presentation as well. Do not reproduce or distribute their written patterns, charts, stitch sequences, or instructional material to customers.
1. Crochet Mini Christmas Wreath
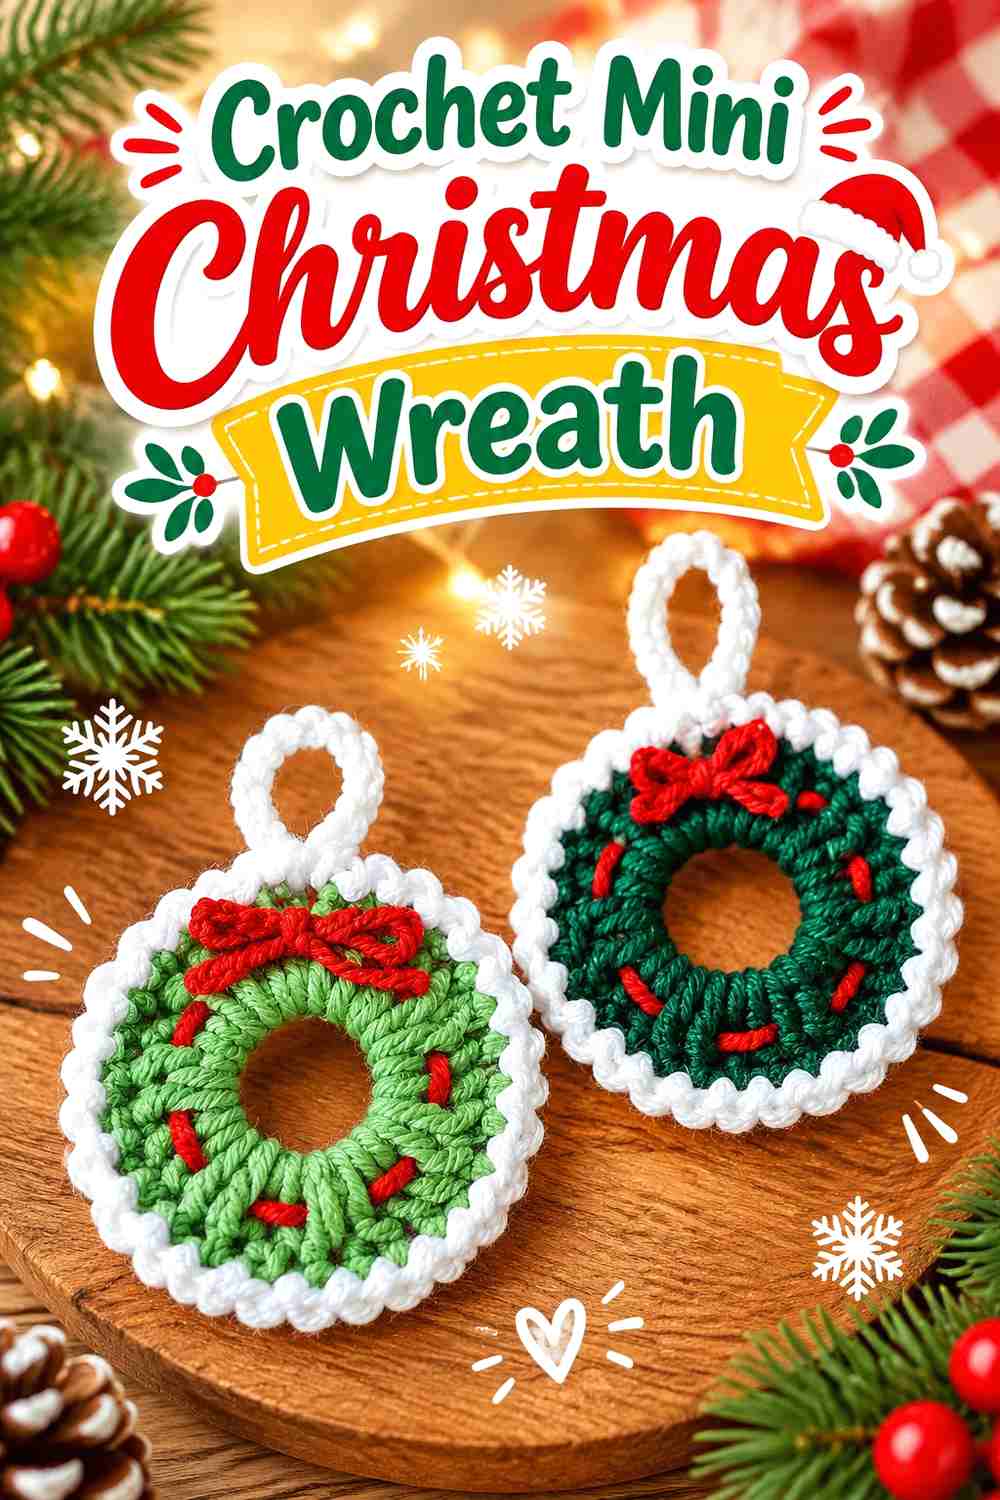
A Crochet Mini Christmas Wreath gives a stall a small circular piece without taking up the visual space of a stuffed bauble. The open center keeps the silhouette light, while green and a contrasting bow or hanging detail make the Christmas theme easy to read. Crochet Musings demonstrates a dedicated miniature wreath ornament.
This type of ornament can work particularly well on a hanging display because customers can see its overall shape without needing to pick it up and turn it around.
The Open Center Keeps a Small Display From Looking Heavy
When several tiny pieces are grouped together, solid shapes can visually merge.
A wreath introduces negative space between neighboring ornaments. Consider placing it between stuffed figures or round baubles rather than surrounding it only with other circular designs.
Bow Placement Becomes the Main Personalization Point
A small bow, hanger, or accent color can change the appearance without altering the main wreath.
If making several, compare them side by side before adding more decoration. The textured green ring may already supply enough detail.
Creator Credit: Crochet Musings
2. Crochet Fair-Isle Mini Sweater
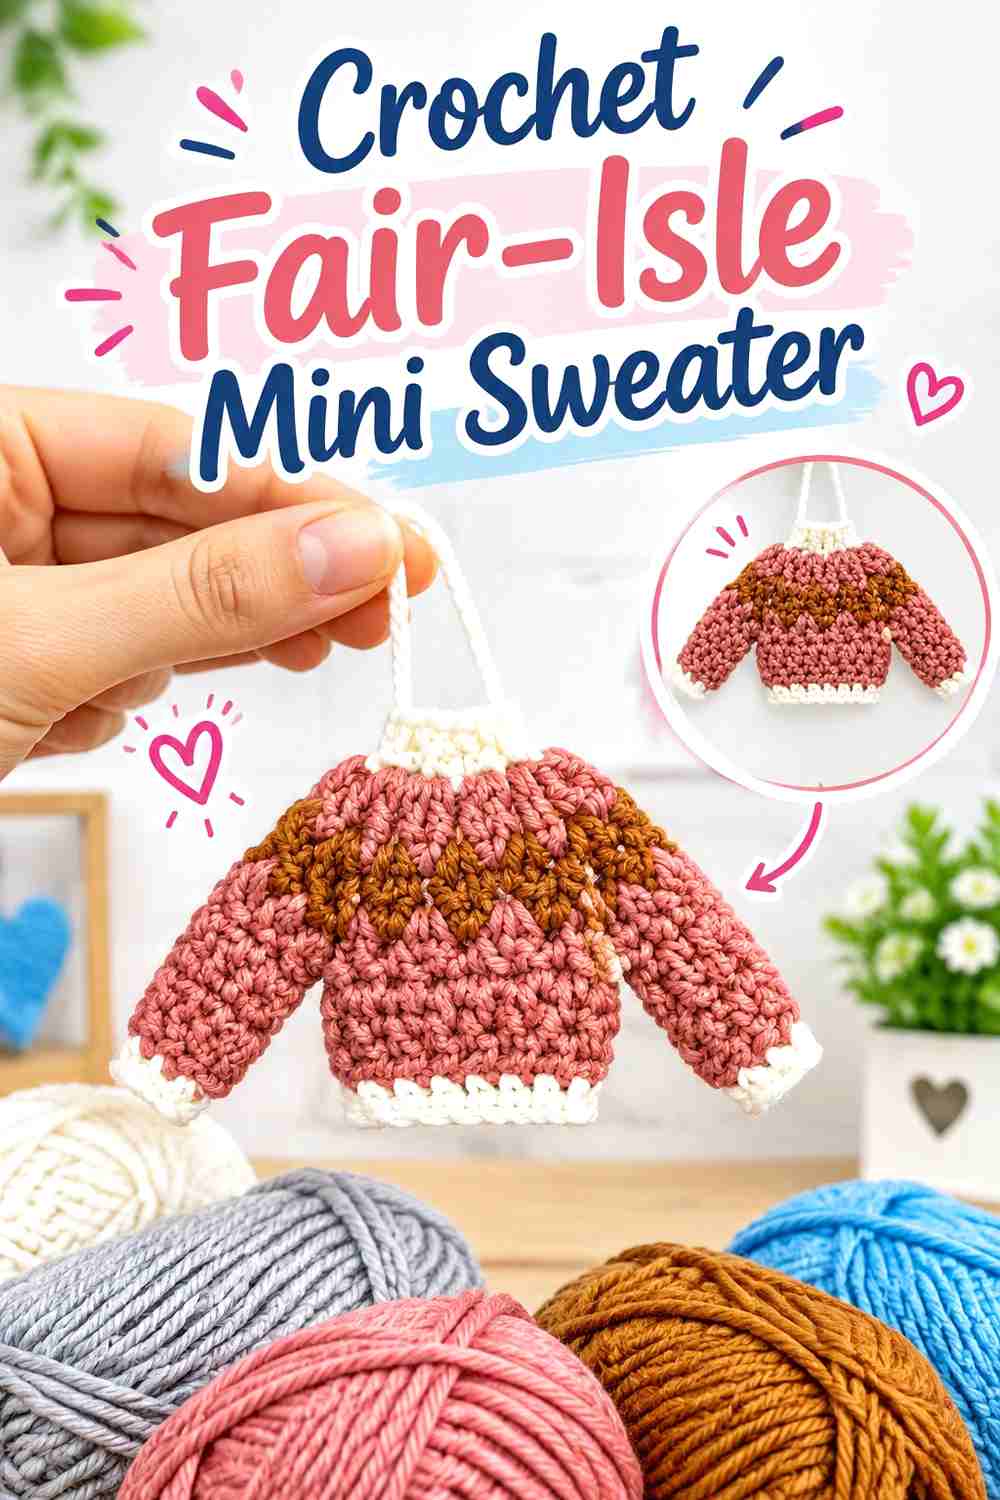
A Crochet Fair-Isle Mini Sweater gives the stall the unmistakable silhouette of a tiny garment. Sweet Softies’ design is specifically presented as a miniature Christmas sweater ornament and supports color variation across the same basic form.
This is useful when you want a coordinated series without displaying a row of identical objects. Different color combinations can make each sweater distinct while the sleeves and neckline keep the group connected.
Color Changes Provide Variety Without Extra Accessories
Mini sweaters already contain enough visual information to stand apart from simpler ornaments.
Instead of adding beads, bows, or charms to every version, let the yarn palette create the distinction. A controlled group of holiday shades can make several sweaters look intentional when hung together.
Give the Sleeves Enough Display Space
A miniature sweater becomes harder to recognize when its sleeves fold behind the body or overlap neighboring products.
Hang it where the complete garment outline can stay open. That shape is one of its strongest advantages compared with round ornaments.
Creator Credit: Sweet Softies
3. Crochet Tiny Mitten Ornament
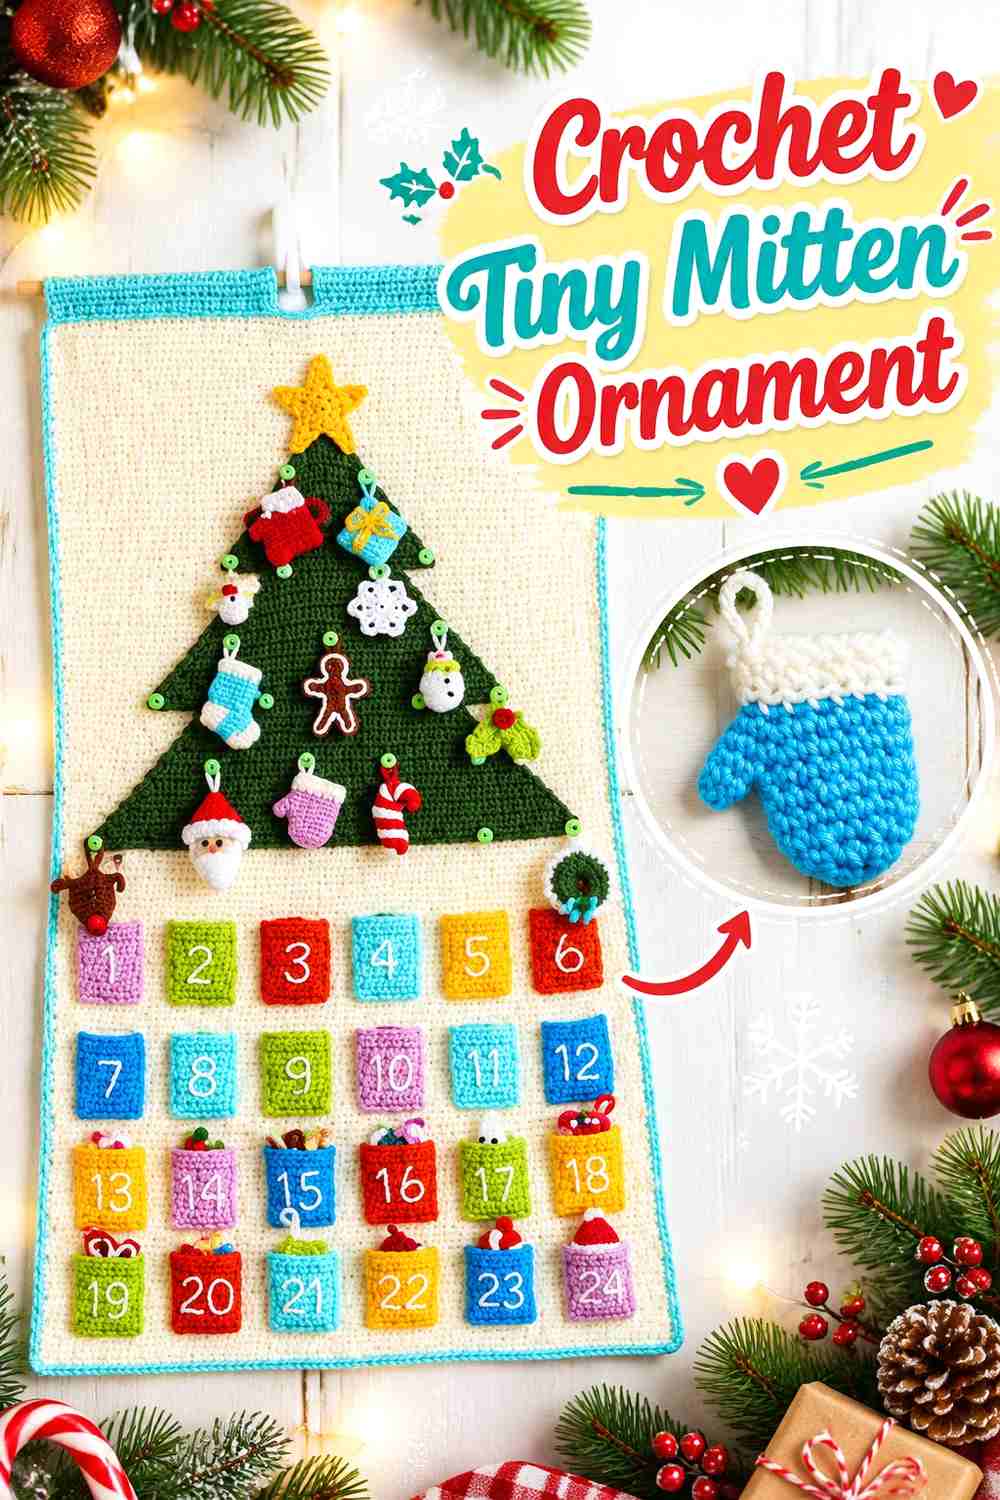
A Crochet Tiny Mitten Ornament adds an asymmetrical miniature wearable to the collection. The Crochet Crowd’s tutorial produces a small mitten with a recognizable cuff and thumb, and the project is explicitly presented for ornament and advent-calendar use.
It can sit beside the sweater without feeling redundant because its narrow vertical profile uses significantly less visual width.
The Thumb Is More Important Than Extra Decoration
At miniature scale, the thumb is what separates the mitten from a small sock or pouch.
Keep it visible when adding a tag, hanger, or neighboring display pieces. Do not let packaging flatten it behind the main body.
A Single Mitten Does Not Need a Matching Partner
For stall display, one ornament can stand on its own.
That frees you to change colors from piece to piece without worrying about producing perfectly matched pairs, which can also make a mixed display feel more playful.
Creator Credit: The Crochet Crowd
4. Crochet Mini Beanie Ornament
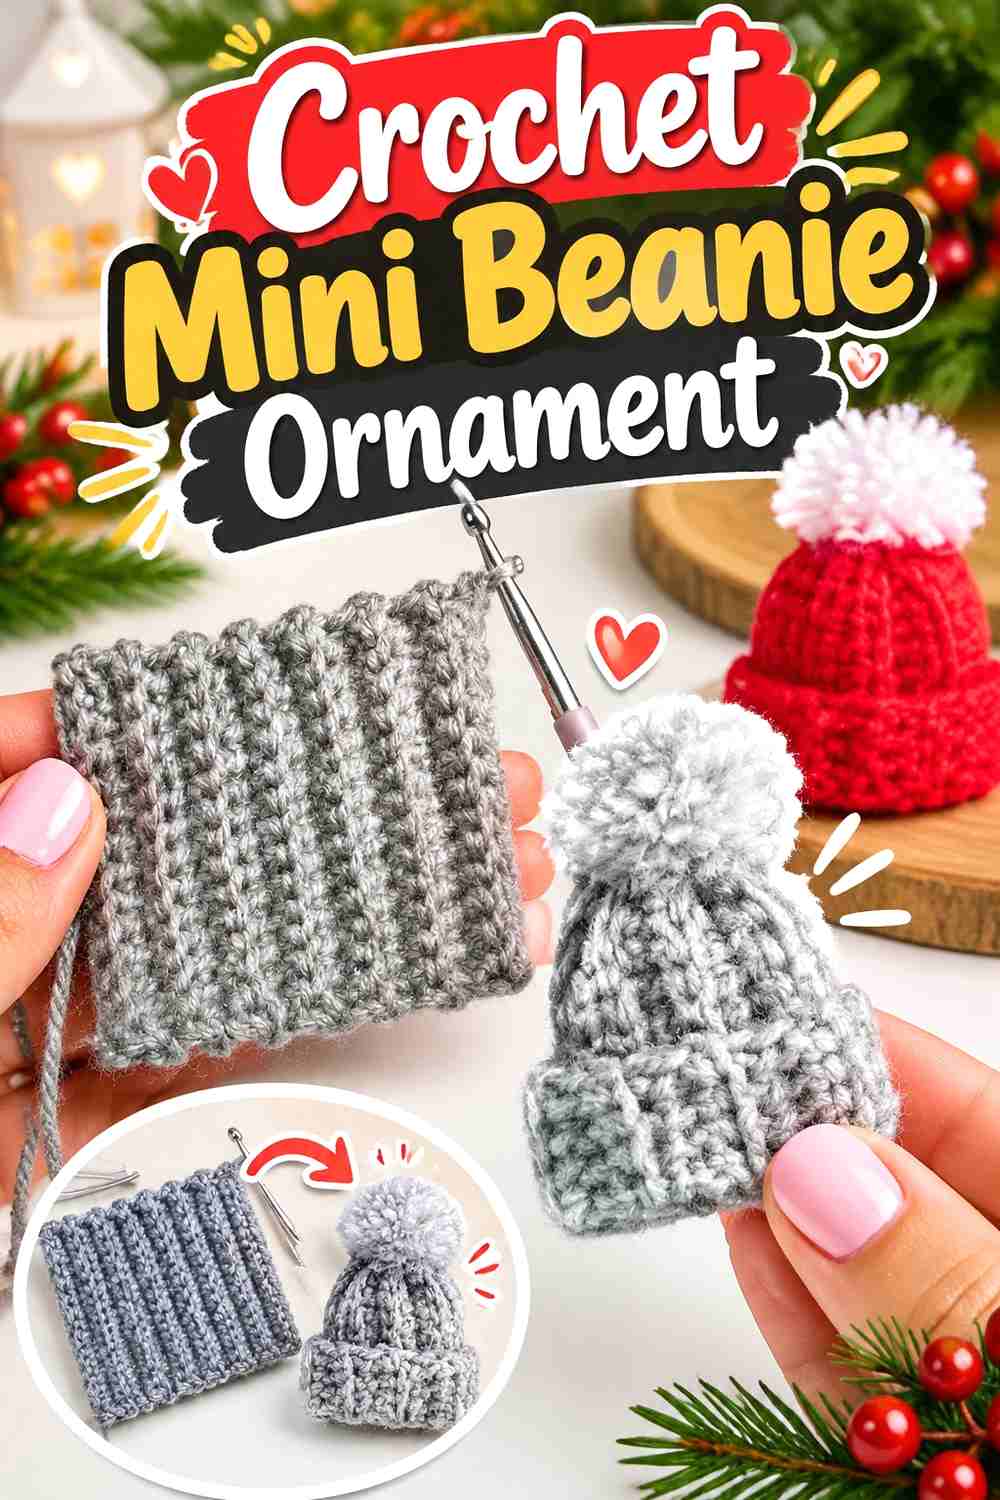
The Crochet Mini Beanie Ornament introduces a rounded miniature wearable rather than another stuffed character. Madebymara demonstrates a dedicated little hat ornament, keeping the finished form focused on the crown and brim.
Its simple recognizable profile can make it a useful visual pause between detailed character pieces.
Let the Crown Hold Its Shape on Display
If several beanies are pushed together in a deep basket, their top sections can collapse or disappear.
A shallower tray or hanging presentation can make the complete hat silhouette easier to see.
Use the Brim as the Color Anchor
The lower band naturally creates a place for contrast.
If you are making multiple versions, keeping one brim color consistent while changing the crown—or reversing that approach—can create a series that looks coordinated without appearing identical.
Creator Credit: madebymara
5. Crochet Surprise Stocking Ornament
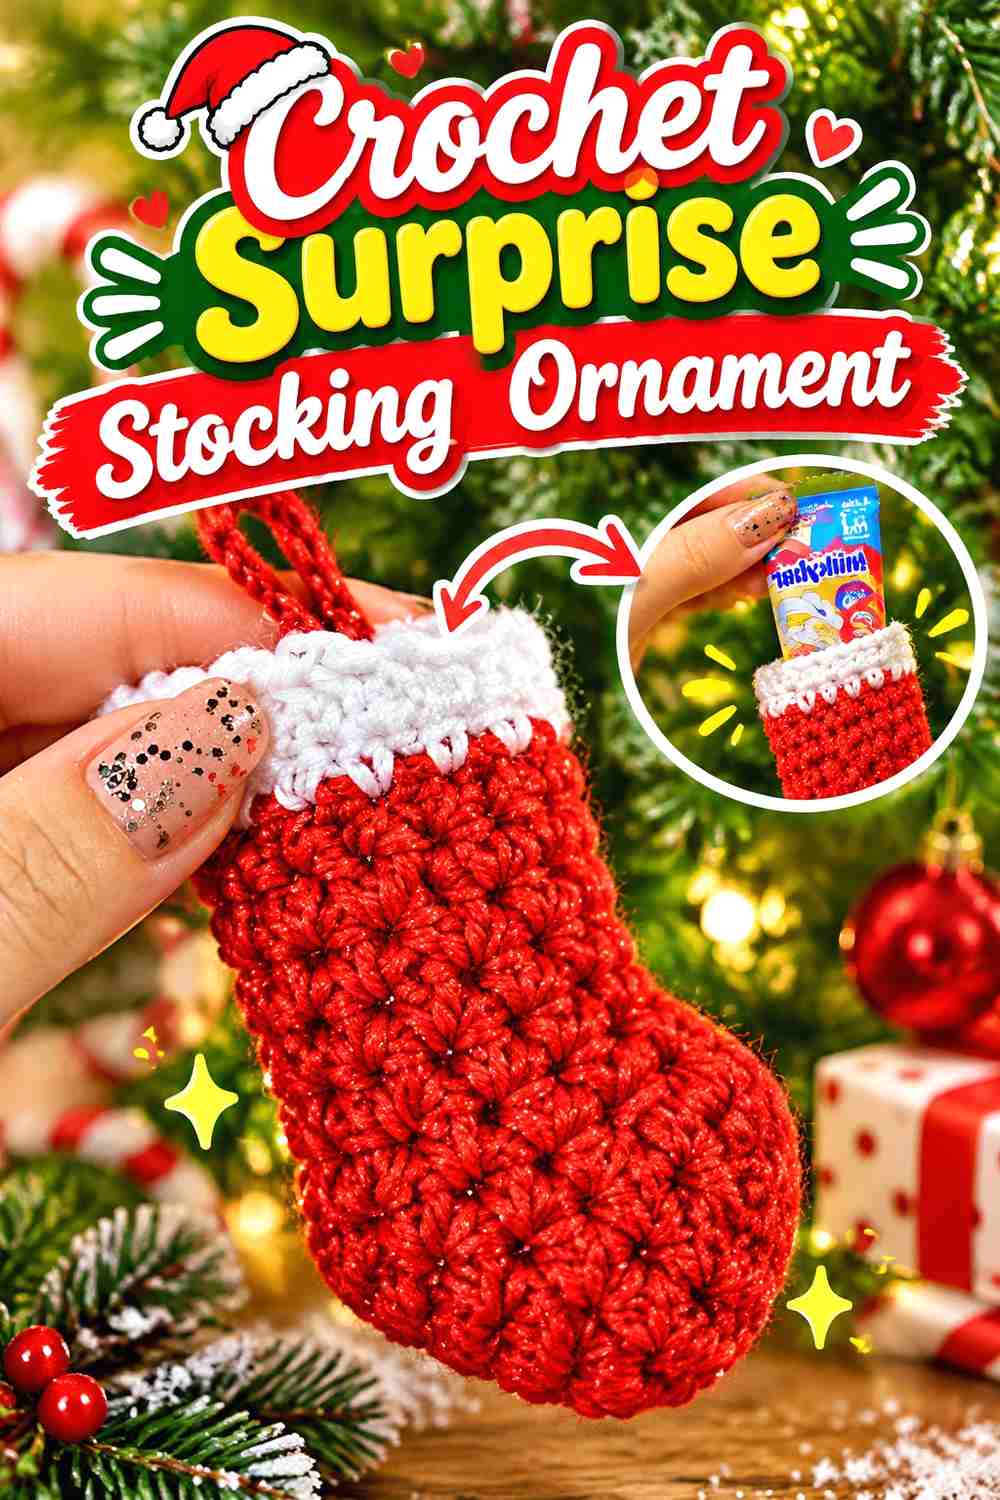
A Crochet Surprise Stocking Ornament adds both a recognizable Christmas shape and an opening at the top. Brunaticality’s stocking design is intended as a hanging ornament and has also been presented as a small container for a lightweight surprise.
That gives the project more functional-looking detail than a completely flat stocking appliqué.
Keep the Opening Visible in the Display
A stocking loses part of its charm when the cuff folds closed.
If you place several in a basket, arrange at least some upright or hang them individually so the opening, heel, and toe remain identifiable.
Do Not Assume Every Filling Suits the Crochet
If you want to display the stocking with something inside, consider both weight and stretch.
A decorative note or very lightweight insert behaves differently from a heavy object. Let the crochet maintain its shape rather than turning the ornament into a load-bearing pouch.
Creator Credit: Brunaticality
6. Crochet Openwork Christmas Bell
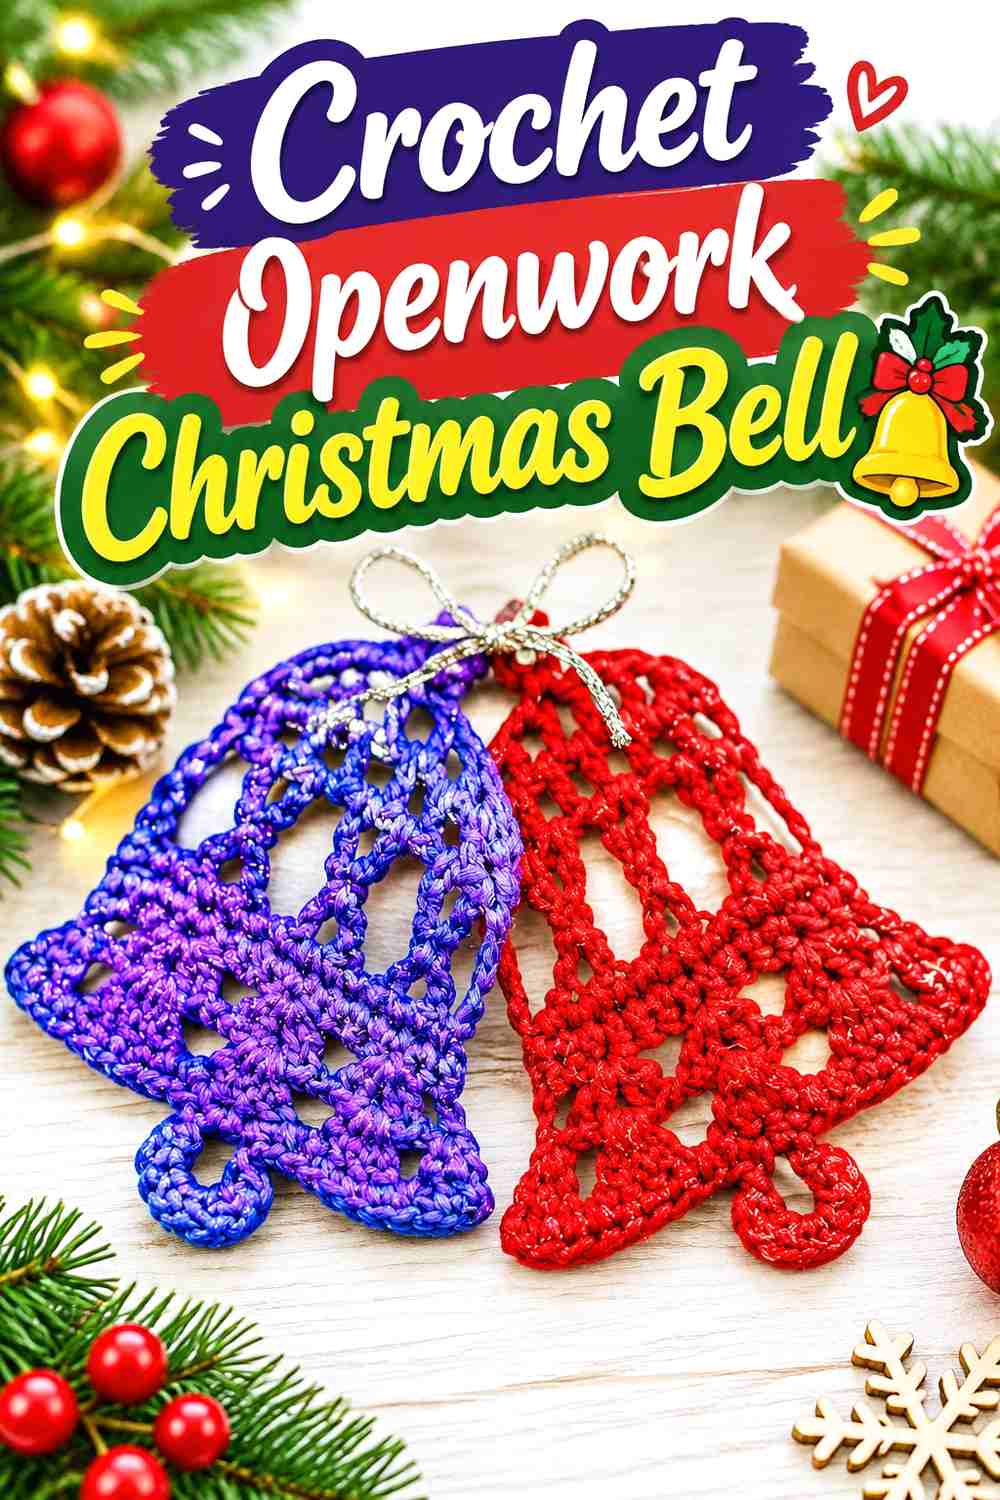
A Crochet Openwork Christmas Bell introduces a traditional holiday symbol with a flared lower edge. Crochet with Tuula Maaria’s bell is a flat ornament-style design rather than a heavily stuffed three-dimensional bell.
That makes it useful for a stall section where lightweight hanging pieces need to contrast with bulkier amigurumi.
The Flared Edge Should Stay Easy to Read
A bell looks most recognizable when the bottom remains open visually instead of folding inward.
Hang or store completed pieces in a way that preserves the lower silhouette, especially if the finishing method gives the fabric additional shape.
Flat Bells Can Fill Narrow Display Gaps
Their relatively slim profile lets them hang between deeper ornaments without pushing neighboring pieces forward.
This can help you use vertical display space that would otherwise be too tight for stuffed characters.
Creator Credit: Crochet with Tuula Maaria
7. Crochet Five-Point Star Ornament
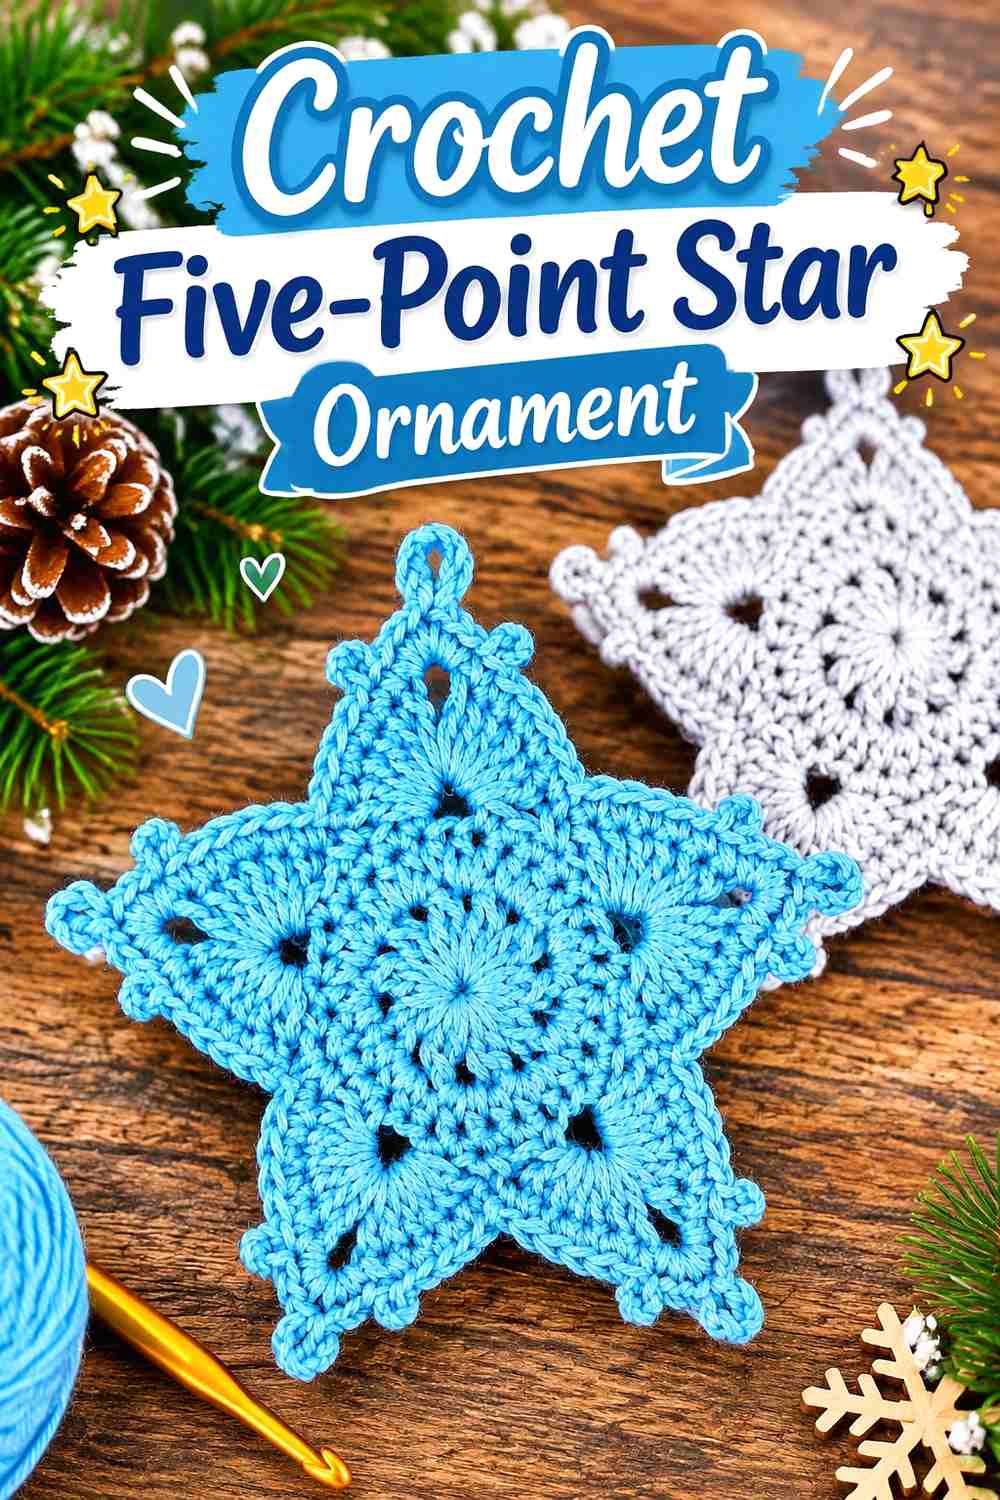
A Crochet Five-Point Star Ornament gives the stall a clear geometric form. Kristines Crochets demonstrates a five-point hanging star that relies on its outline and open crochet texture rather than facial details or dimensional accessories.
The shape works well beside miniature clothing and characters because there is almost no visual overlap in silhouette.
Symmetry Becomes the Quality Check
A star makes uneven shaping particularly obvious.
Before displaying finished pieces together, compare the points and overall outline. Small differences are natural in handmade work, but one heavily curled or stretched point can change the entire silhouette.
Stars Work Well Higher on a Hanging Rack
The broad points can remain visible even when customers are looking across a table from a distance.
Give the ornament enough space around its outer edges so neighboring hangers do not obscure two or three points.
Creator Credit: Kristines Crochets
8. Crochet Winged Angel Ornament
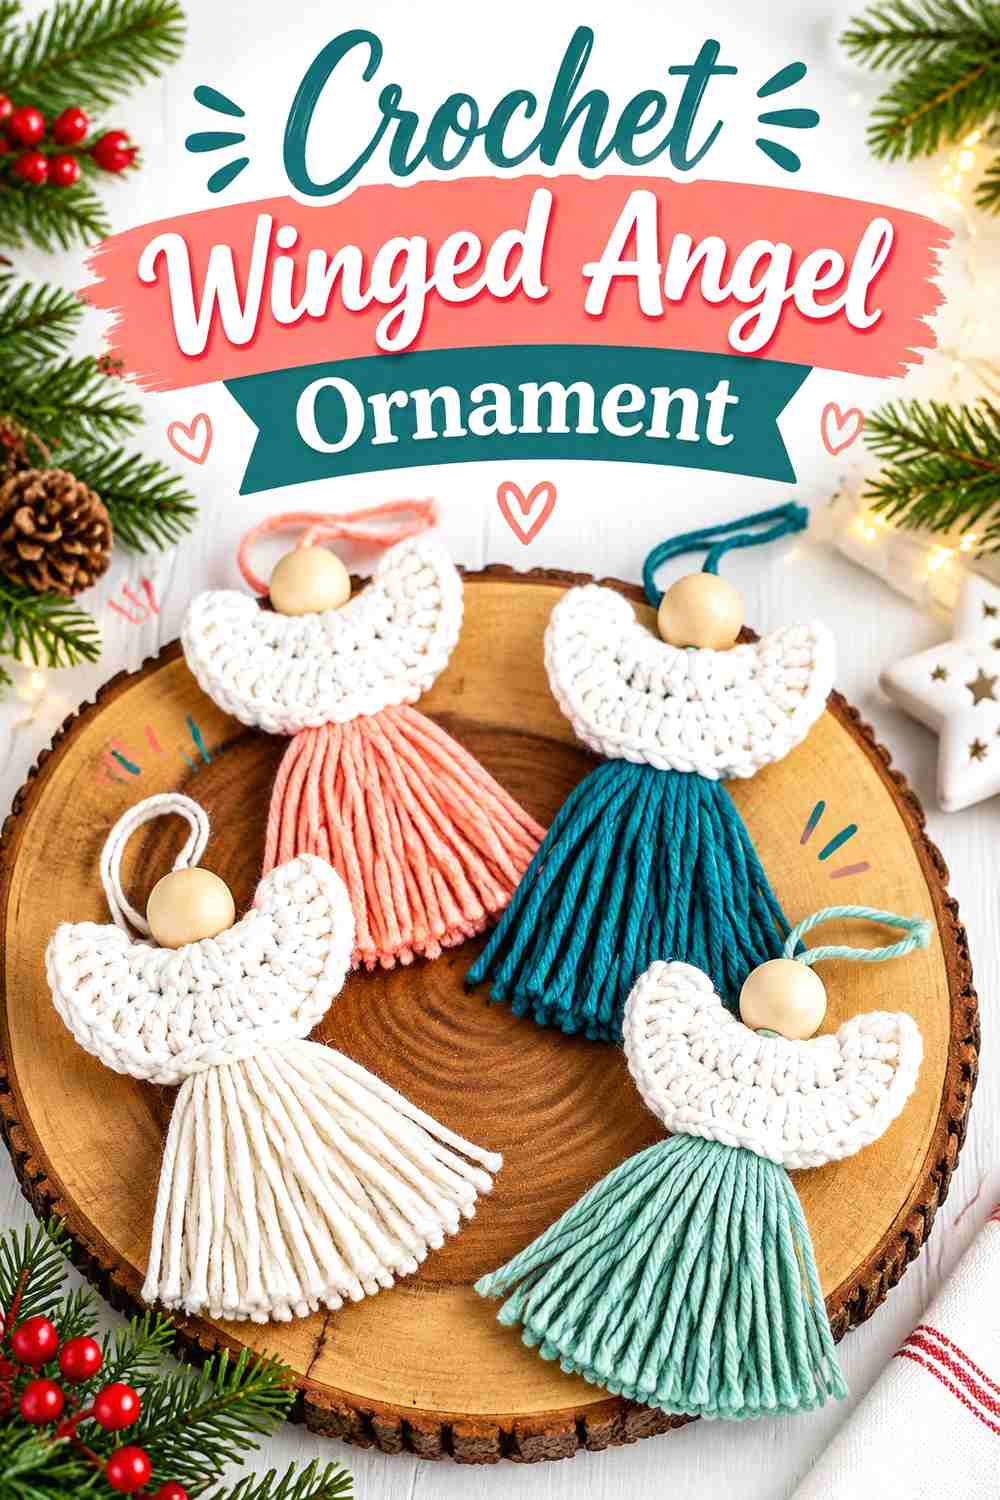
A Crochet Winged Angel Ornament brings a softer traditional shape to a Christmas stall. Winding Road Crochet provides both a pattern and video tutorial for a hanging angel in which the body and wings create the main silhouette.
Compared with a stuffed snowman or reindeer, the angel can look lighter and more vertical on a display.
Wings Need More Side Clearance Than the Body Suggests
The central body may be narrow, but the finished ornament extends outward once the wings are included.
Allow enough room between adjacent products for both sides to remain visible instead of folding behind another ornament.
Display Light-Colored Angels Against Contrast
Cream, white, or pale yarn can disappear against equally light stall fabric.
Consider the backing behind the hanging rack. A contrasting surface can help delicate crochet outlines remain visible without altering the ornament itself.
Creator Credit: Winding Road Crochet
9. Crochet Nordic Gnome Decoration
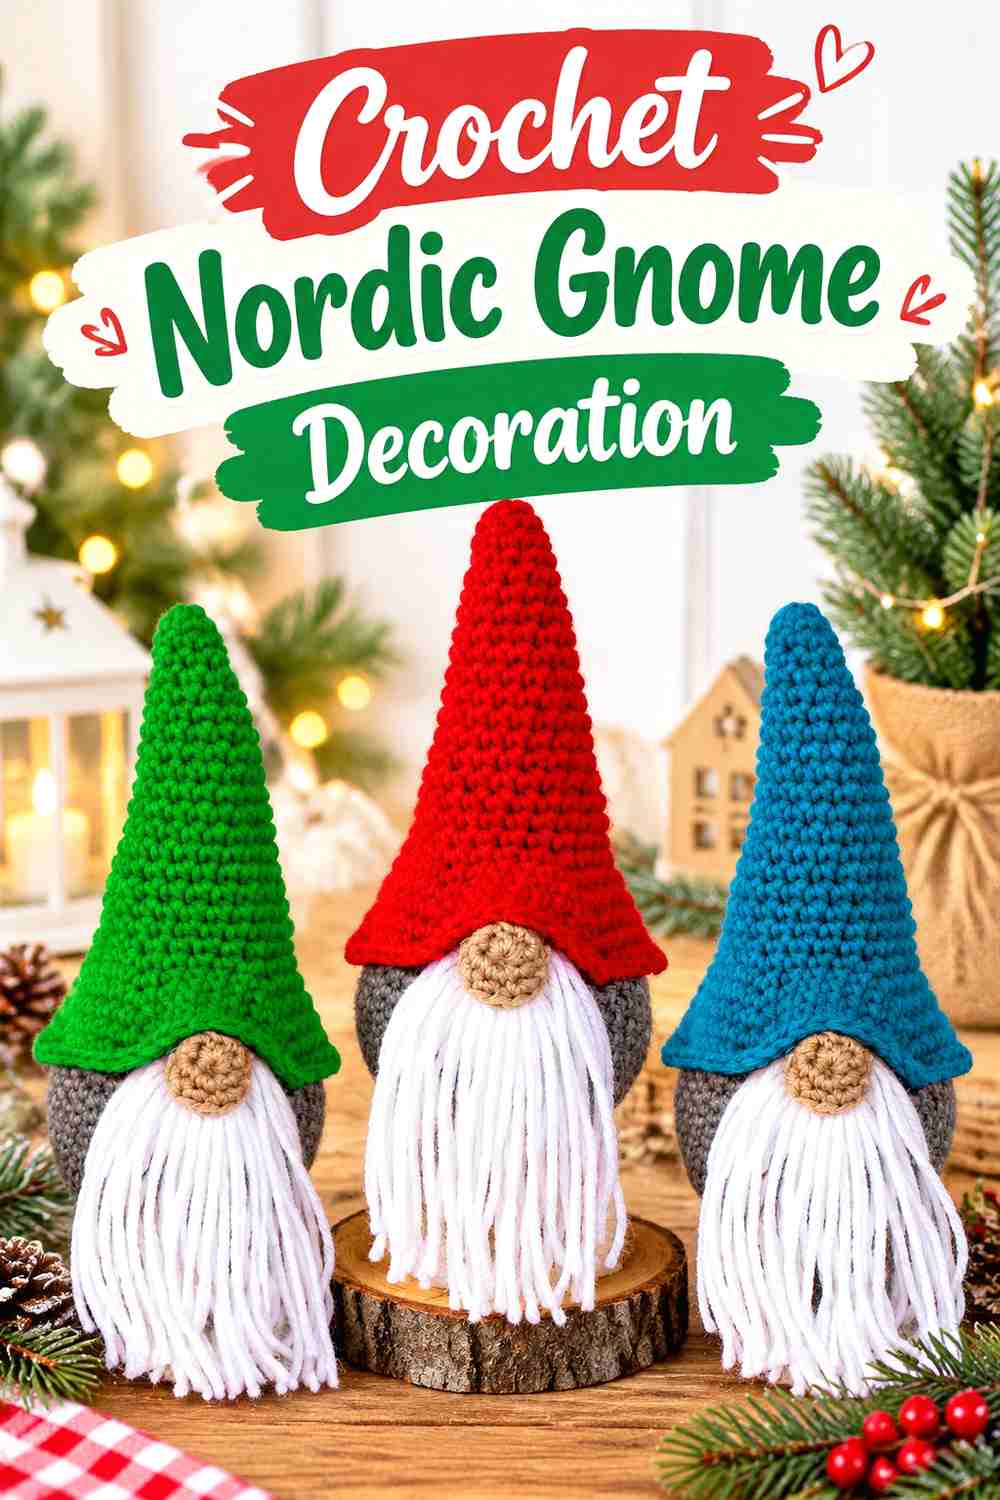
A Crochet Nordic Gnome Decoration depends on a tall hat, prominent beard, and rounded nose rather than a conventional face. Naztazia’s tutorial builds those recognizable components into a compact holiday gnome that can also function as a larger ornament.
The long vertical hat gives it noticeably more height than most tiny round ornaments.
The Beard Can Hide Too Much of a Small Gnome
A large beard creates texture, but it can also cover the body completely when pieces are displayed close together.
Make sure the nose, hat, and lower form can still be distinguished from the front before deciding how densely to arrange several gnomes.
Hat Color Creates an Obvious Series
If commercial use is permitted under the designer’s current terms, multiple gnomes can be visually linked through the same body treatment while the hats change.
That approach produces variety without needing a different construction concept for every version.
Creator Credit: naztazia
10. Crochet Top-Hat Snowman Ornament
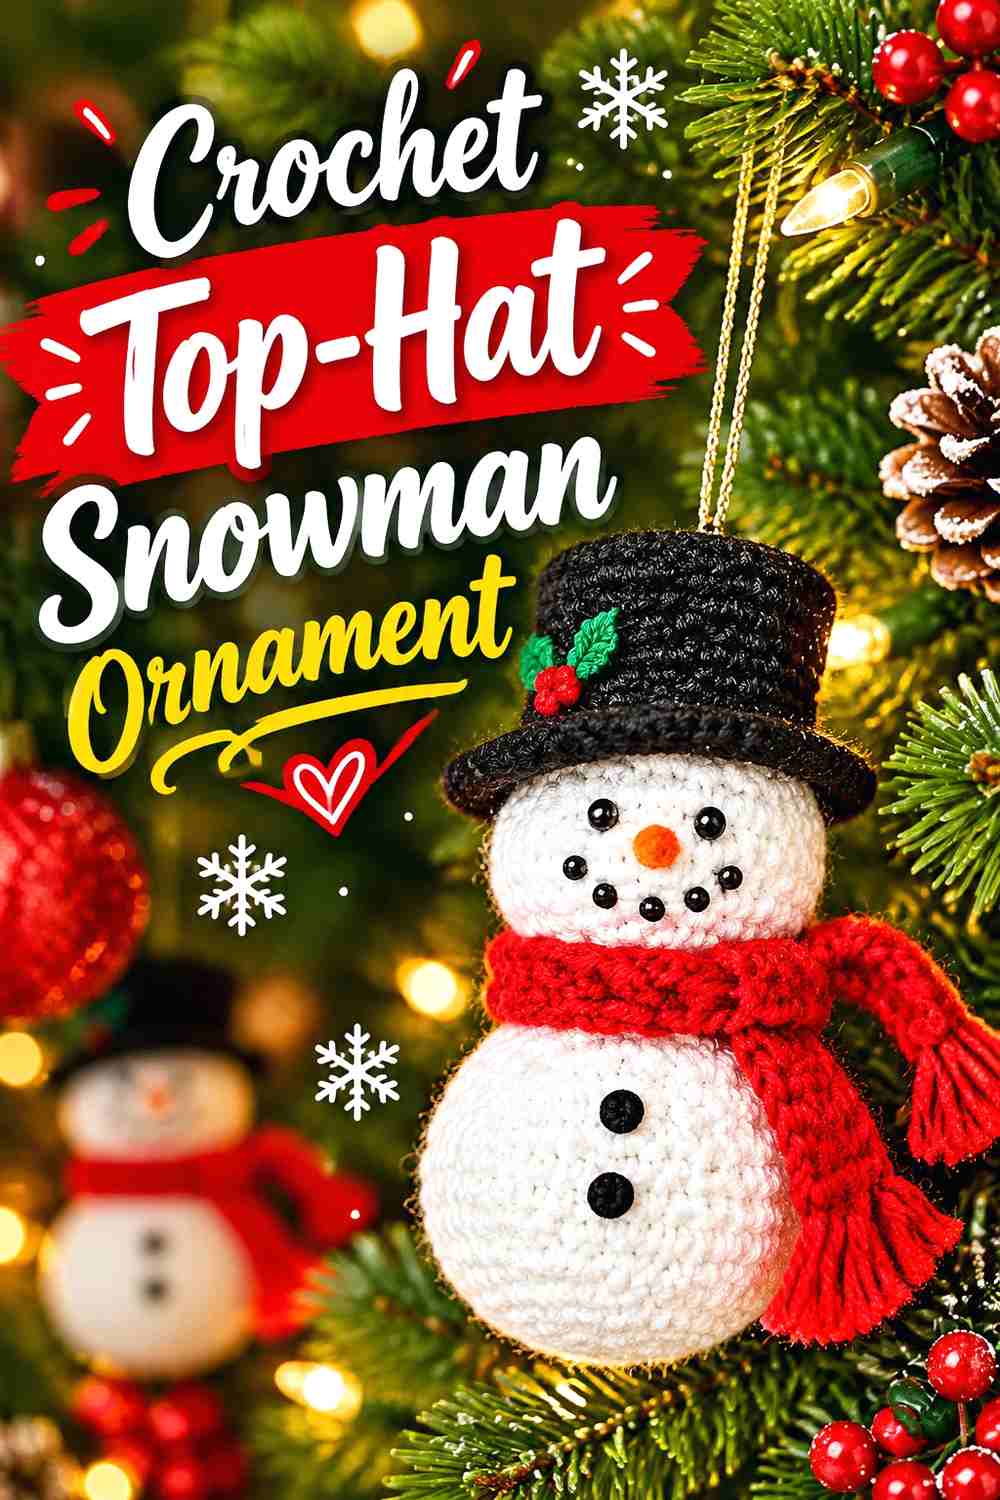
A Crochet Top-Hat Snowman Ornament adds a more assembly-focused project to the stall mix. Crouton Crafts’ tutorial creates a stuffed snowman ornament with a hat, scarf, face, and hanging treatment.
Its appeal on a display comes from the complete character rather than a single graphic shape.
Face Placement Is Worth Checking as a Batch
If you make several under the designer’s permitted selling terms, place the finished heads side by side before completing every facial detail.
Slightly different expressions can be charming, but comparing them helps catch an eye, nose, or hat that is unintentionally far out of alignment.
The Hat Changes How Much Shelf Height You Need
A snowman body may look compact until the top hat is attached.
Measure display clearance using a finished sample rather than only the unfinished body so the upper section does not get flattened under a shelf or sign.
Creator Credit: Crouton Crafts
11. Crochet Gingerbread Character Ornament
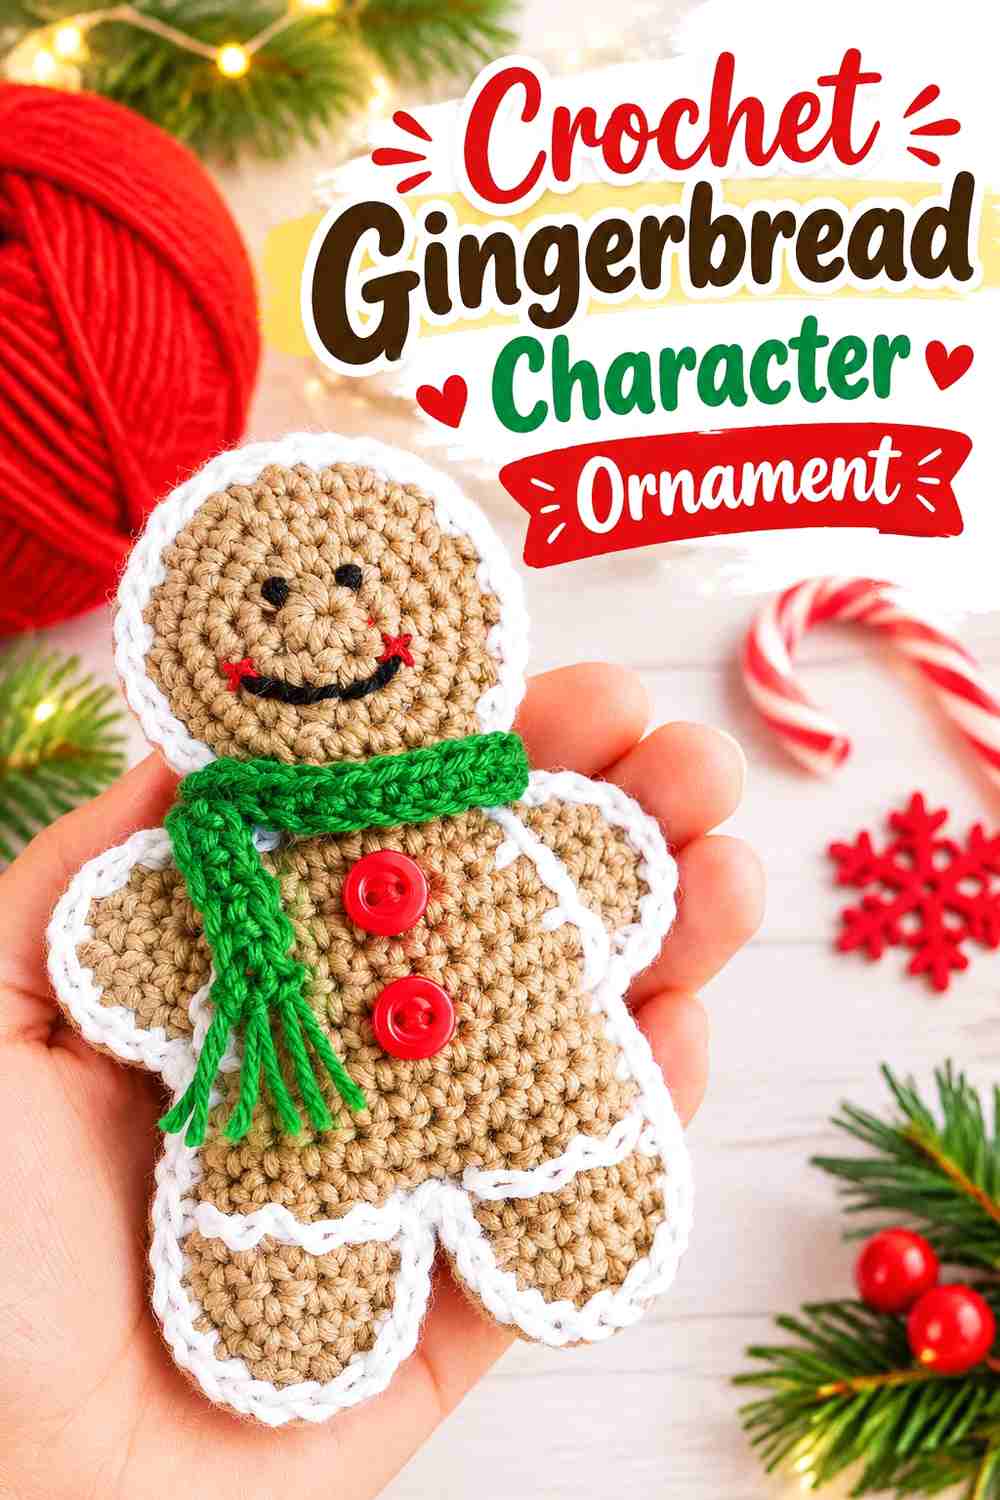
The Crochet Gingerbread Character Ornament supplies a flatter human-like outline without needing a realistic face. Ahuyama Crochet’s gingerbread project uses the familiar cookie-person silhouette as the foundation for Christmas decoration.
It can provide useful contrast next to round snowmen and reindeer because the arms and legs extend separately from the torso.
Icing-Style Details Should Not Hide the Cookie Shape
Decorative white lines, buttons, bows, or facial embroidery can add personality.
Keep enough brown background visible around those details so the ornament still reads as a gingerbread figure rather than a collection of tiny embellishments.
Gingerbread Characters Can Share One Display Hook
Because the bodies are relatively flat, several can potentially be presented in a small hanging area more comfortably than thick stuffed figures.
Avoid packing them so tightly that the arms and legs disappear behind the ornament in front.
Creator Credit: Ahuyama Crochet
12. Crochet Twisted Candy Cane Ornament
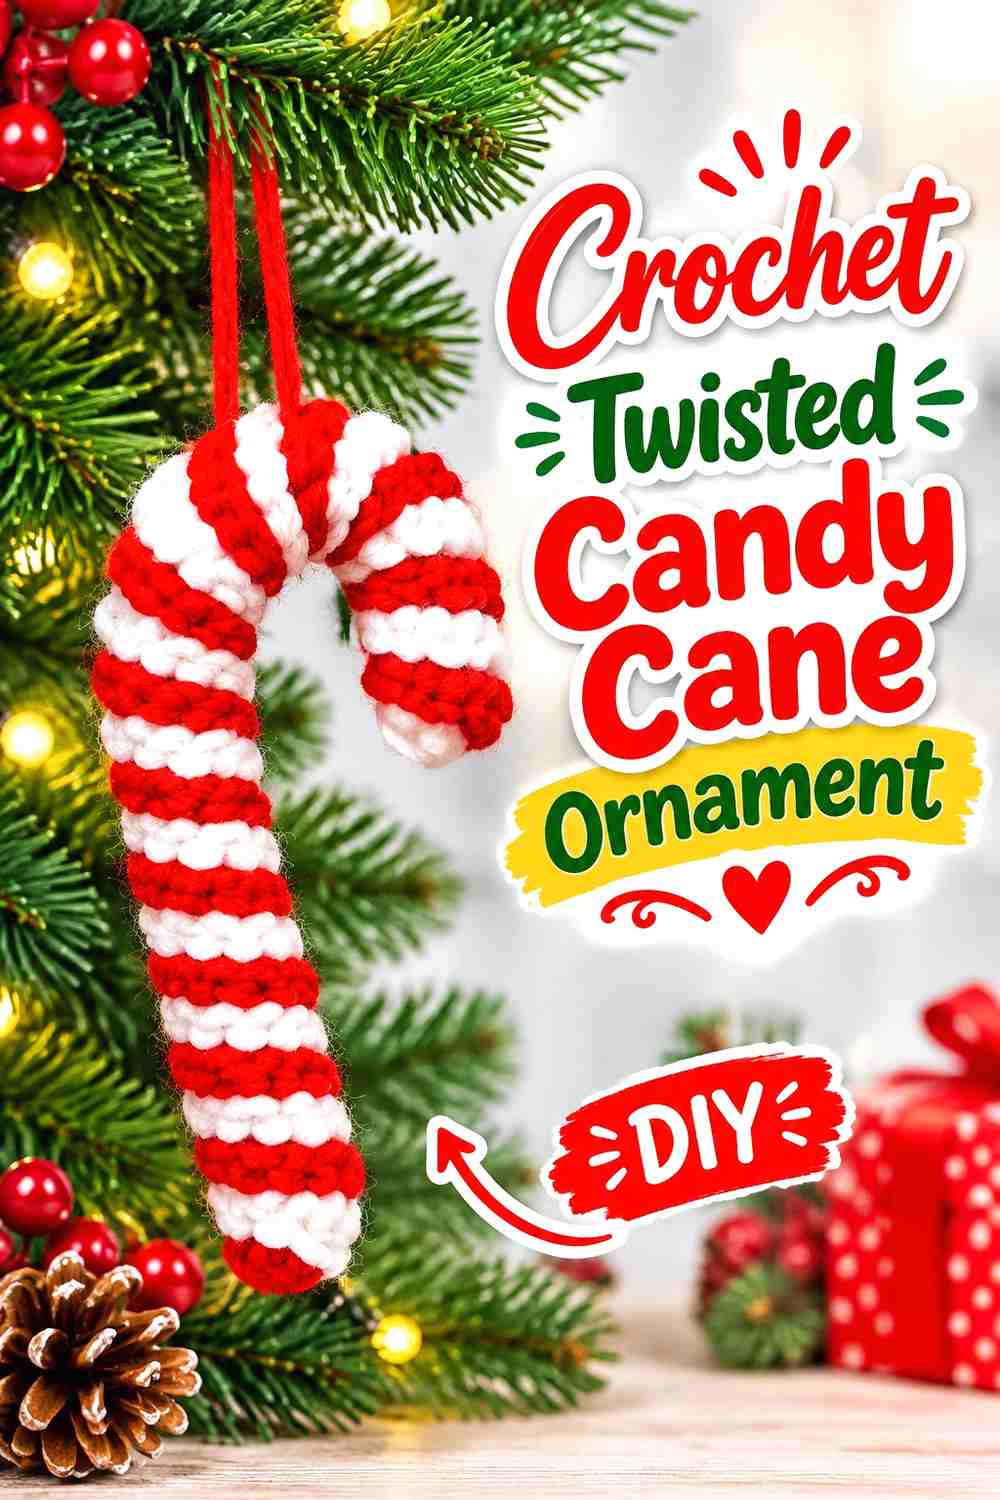
A Crochet Twisted Candy Cane Ornament brings a long curved line into a stall full of more compact objects. Made by Phia’s tutorial uses contrasting crochet sections around internal support to create the familiar striped hook shape.
Its narrow footprint makes it especially useful as a visual divider between broader products.
The Hook Shape Is the Main Display Feature
If the curved top gets hidden behind a price sign or neighboring product, the piece can look like a striped cord.
Hang candy canes where both the upper hook and lower stem remain visible.
Test Alternative Color Pairs Before Making a Large Group
Red and white communicate the traditional candy theme immediately, but a stall palette may use other combinations.
Make one complete sample first and view it from a normal browsing distance. Closely related colors can reduce the visibility of the twist more than expected.
Creator Credit: Made by Phia
13. Crochet Hot Chocolate Mug Ornament
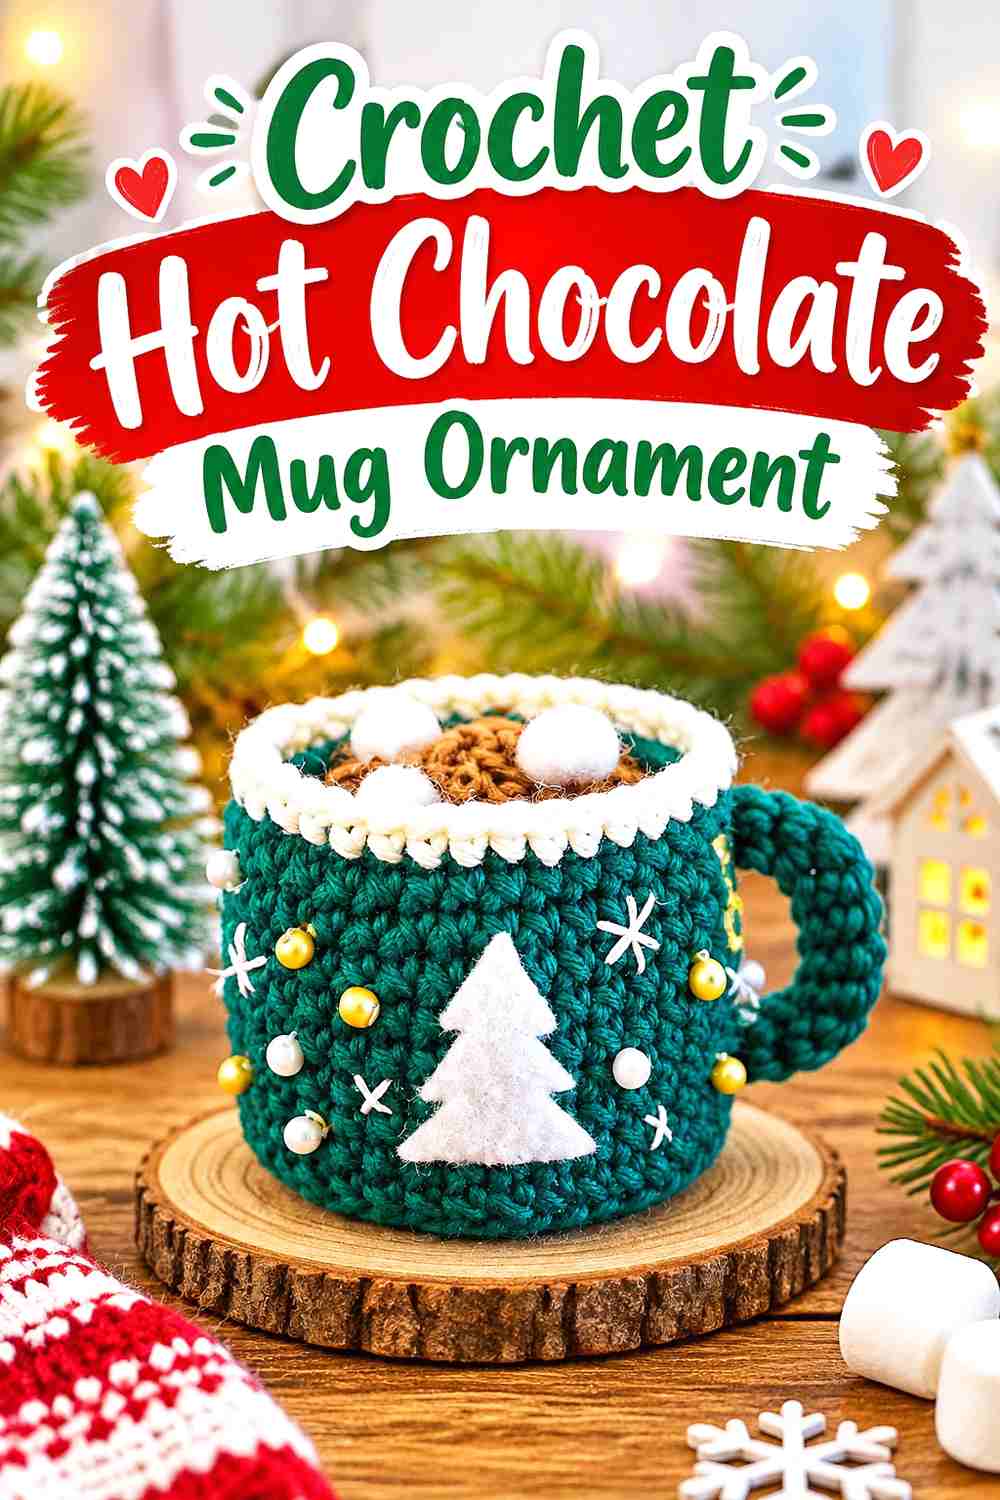
A Crochet Hot Chocolate Mug Ornament adds a small object with several different viewing angles. Olliehollycrochet’s dedicated ornament tutorial includes the mug body, visible cocoa area, handle, and decorative finishing.
Unlike a flat ornament, this project benefits from being displayed where customers can see both the top and side.
Raise the Mug Slightly Instead of Hiding It in a Deep Basket
The cocoa surface is part of what makes the project interesting.
If the ornament sits too low inside a container, only the side wall may remain visible. A shallow tray or individual hanging point better shows the top detail.
Protect the Handle From Crowd Pressure
A projecting crochet handle can be bent or pulled when several dimensional ornaments are squeezed together.
Give it enough room that customers do not have to tug one mug through a cluster of neighboring pieces to see it.
Creator Credit: olliehollycrochet
14. Crochet Christmas Pudding Ornament
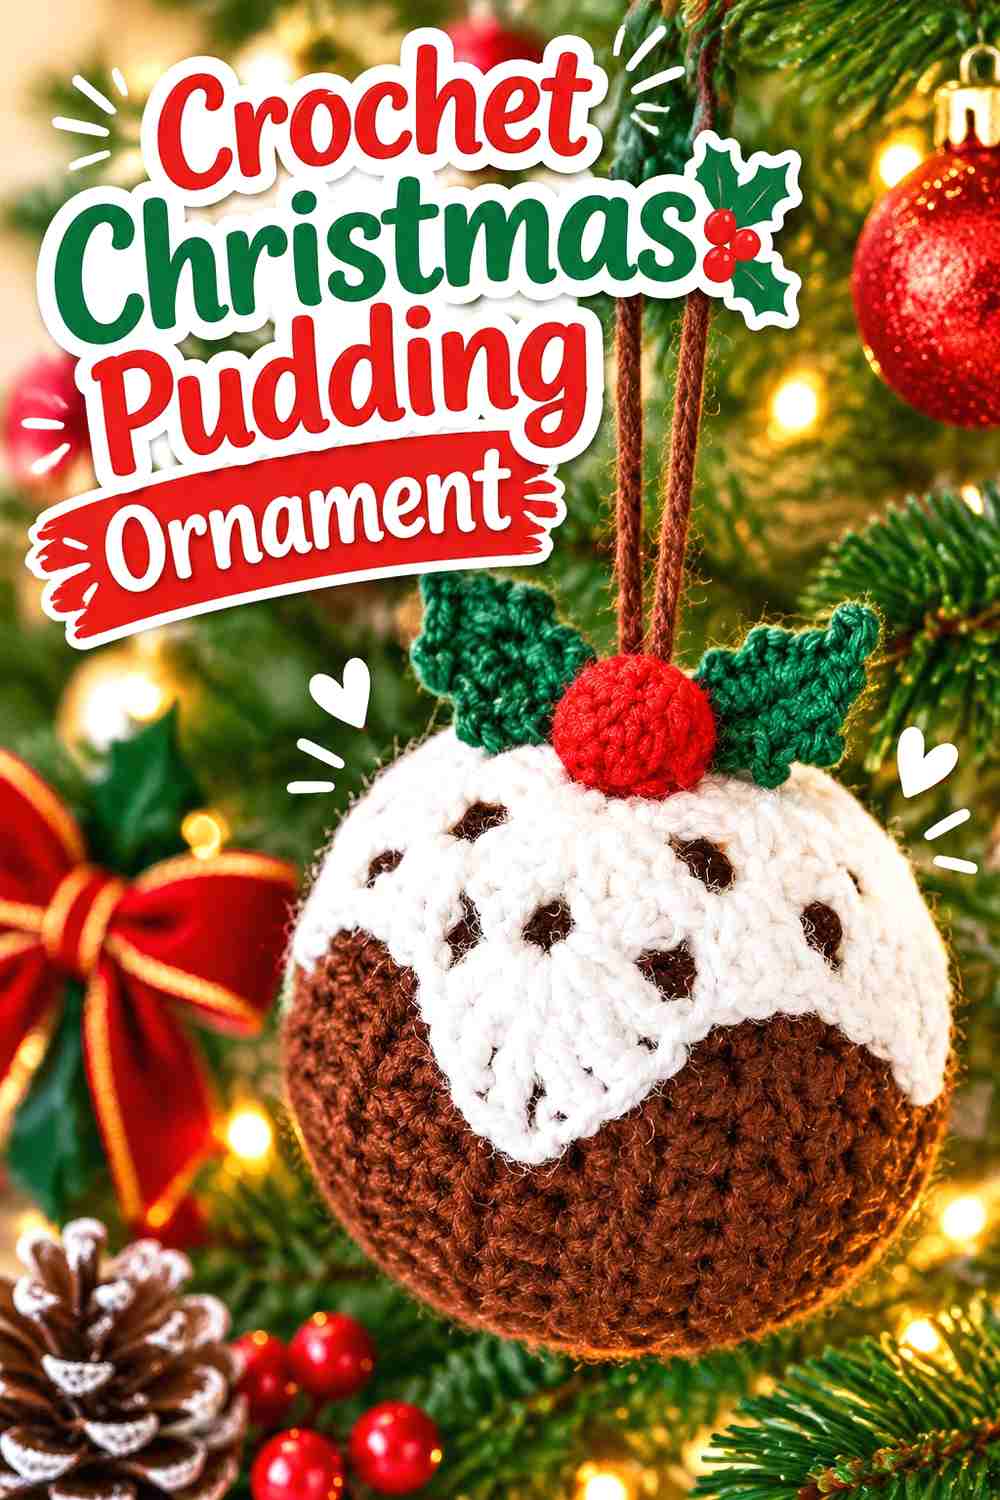
A Crochet Christmas Pudding Ornament adds a round food-shaped project rather than another animal or character. Kara Ella Uy’s design combines a pudding body with contrasting icing and small holly-style details.
The layered color areas keep the sphere from looking like a generic bauble, which is useful if your stall already includes several round forms.
Keep the Icing Visible From the Front
The light upper section is one of the main clues that identifies the dessert.
Turn the ornament on its hanger before placing it on the stall and make sure the most distinctive section naturally faces the browsing side.
Top Decorations Need Storage Space
Small leaves and berry-style components can be compressed when several puddings are dropped into one box.
Use storage that protects the upper decoration if you expect to transport the stall stock repeatedly.
Creator Credit: Kara Ella Uy
15. Crochet Round Reindeer Ornament
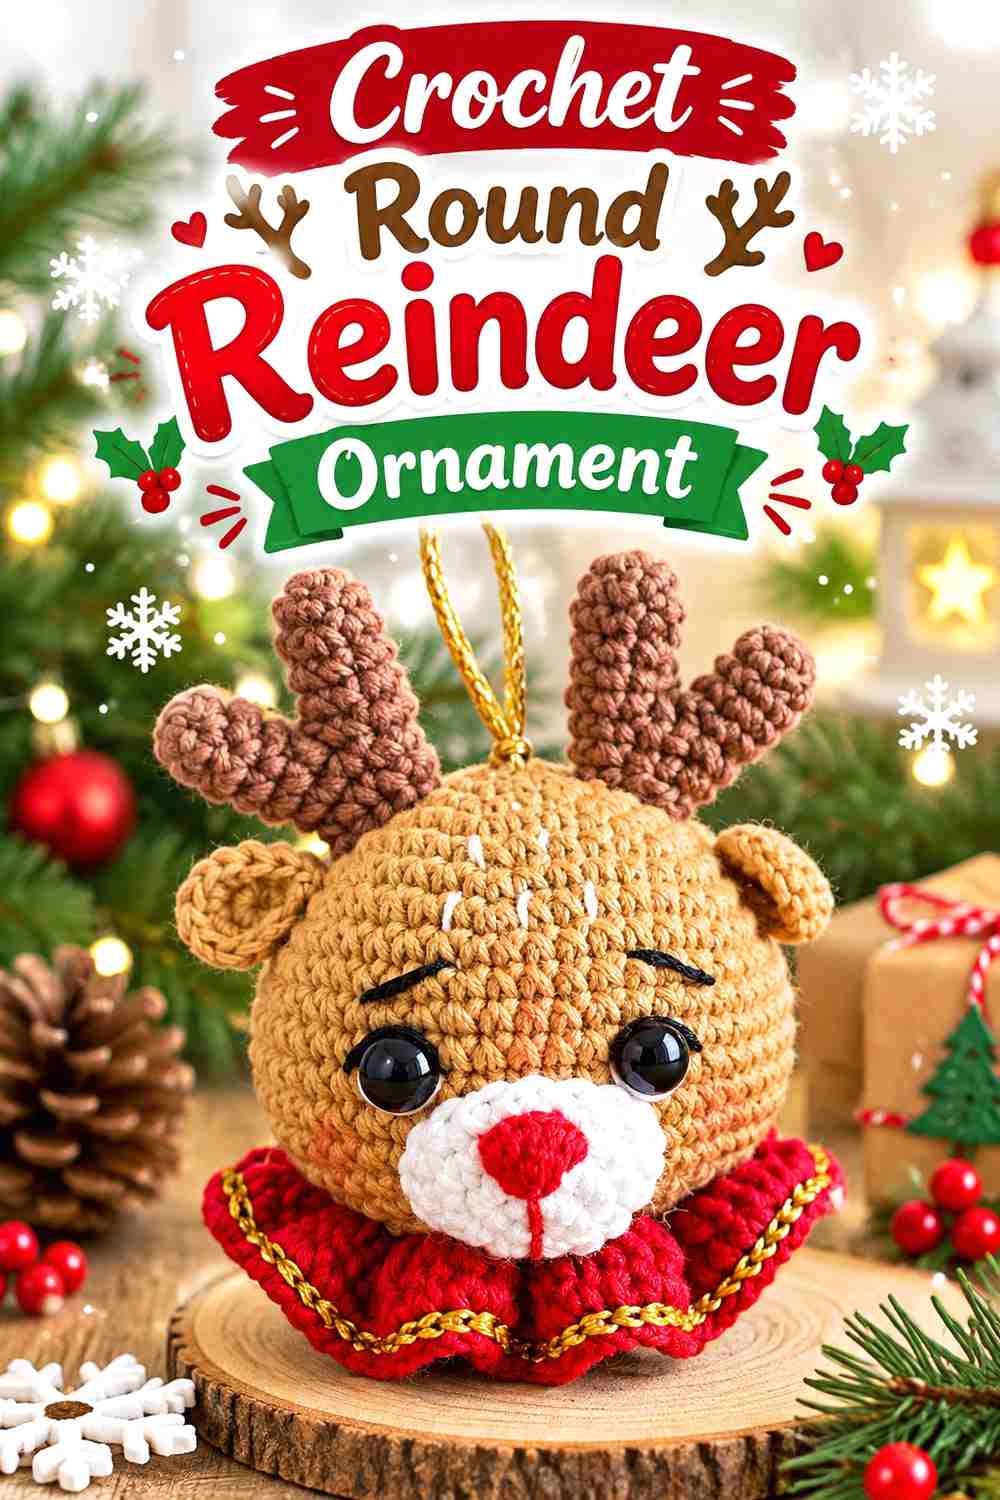
The Crochet Round Reindeer Ornament concentrates most of its personality into a stuffed head surrounded by ears and antlers. Shelen Crochet’s tutorial is specifically presented as a Christmas reindeer ornament.
Although the central head is compact, the projecting antlers make the true display footprint much wider.
Price or Information Tags Should Not Cover the Antlers
A tag tied too close to the top can hide one of the project’s most recognizable features.
Keep labeling separate from the outer head silhouette whenever possible.
Measure Width Using the Finished Reindeer
Planning a display from the head diameter alone will underestimate how much horizontal clearance the project needs.
Use one fully assembled sample when deciding how many ornaments can sit across a rack or tray.
Creator Credit: Shelen Crochet
16. Crochet Scarf-Wearing Penguin Ornament
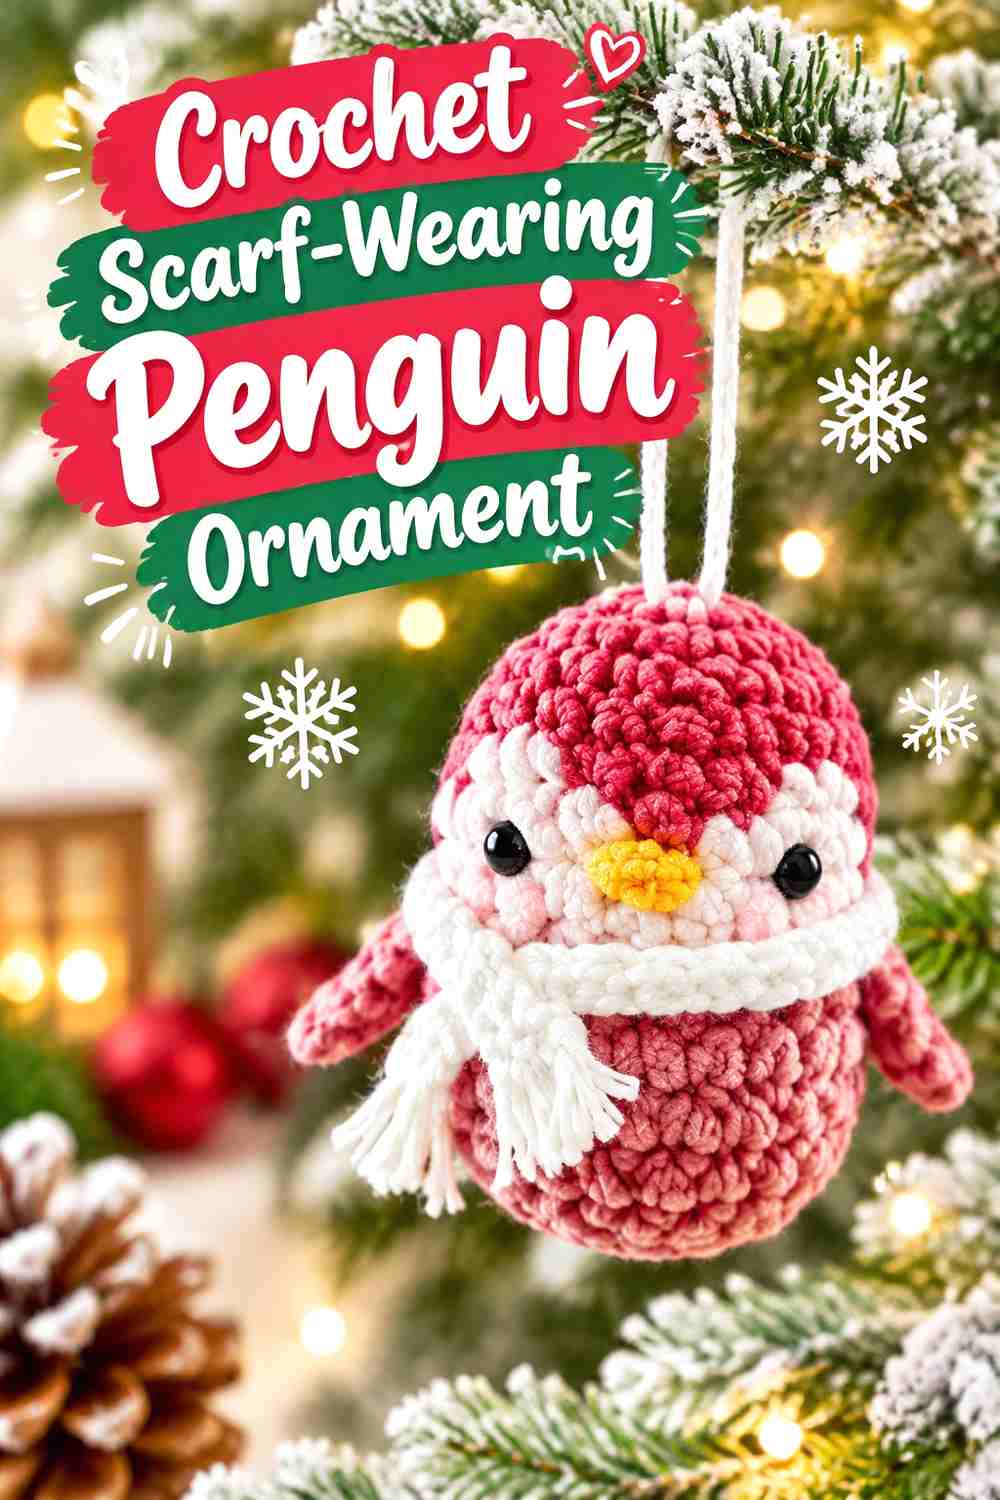
A Crochet Scarf-Wearing Penguin Ornament gives the stall another character but with a different color-blocking structure from the reindeer or snowman. Double Dutch Crochet’s ornament tutorial builds the penguin body and head with side fins and a scarf.
The contrasting front area is important to the bird’s identity, so this piece benefits from a forward-facing display.
Keep the Scarf From Covering the Body Contrast
An oversized accessory can hide the lighter chest section and make the compact character harder to read.
Check each finished ornament from the front before arranging it among darker products.
Penguins Add a Winter Option Without Repeating Santa Imagery
A Christmas stall does not need every character to wear a red hat.
The penguin introduces seasonal winter imagery through its shape and scarf, giving the collection broader visual variety.
Creator Credit: Double Dutch Crochet
17. Crochet Mini Christmas Tree Ornament
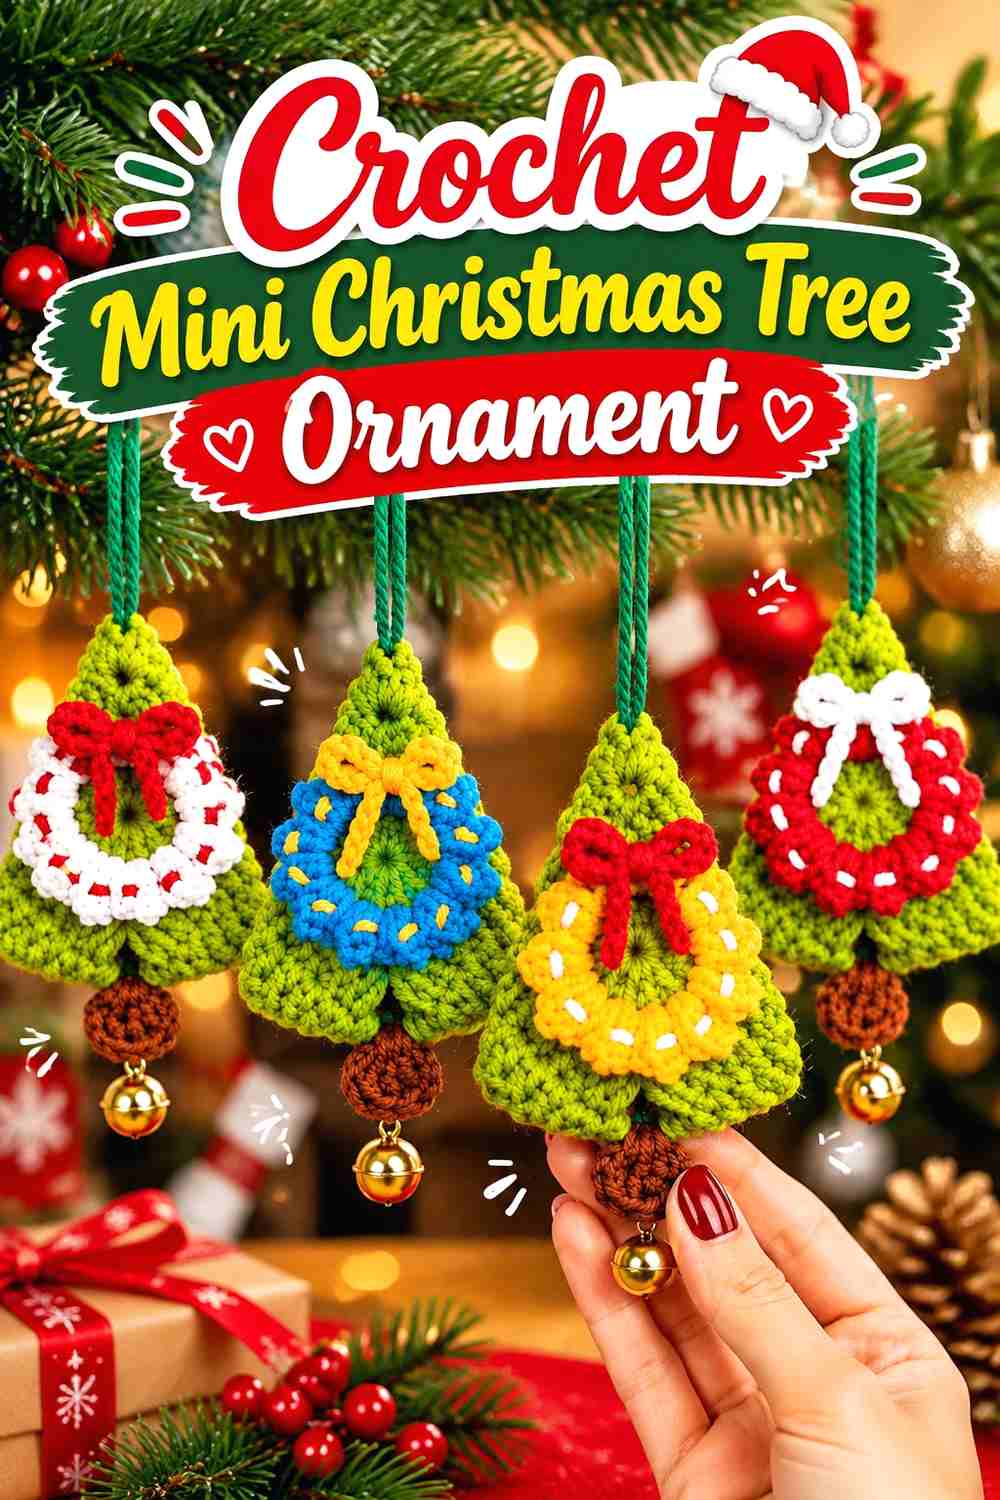
A Crochet Mini Christmas Tree Ornament is immediately connected with the season while adding a pointed triangular profile to the stall. Crochet Patterns Free published a dedicated Christmas tree ornament tutorial in August 2026.
This makes a useful structural contrast beside round puddings, baubles, and character heads.
Keep Embellishments Secondary to the Tree Outline
Beads, embroidery, tassels, or other details can personalize the tree, but the widening tiers or triangular silhouette should remain obvious.
View a sample from several feet away before deciding how much additional decoration the surface needs.
Trees Can Anchor the Green Area of a Display
If your stall palette uses plenty of red and cream, several green trees can distribute a strong contrasting shade across the table.
Spacing them apart rather than grouping every tree together can help unify different sections of the display.
Creator Credit: Crochet Patterns Free
18. Crochet Classic Christmas Bauble
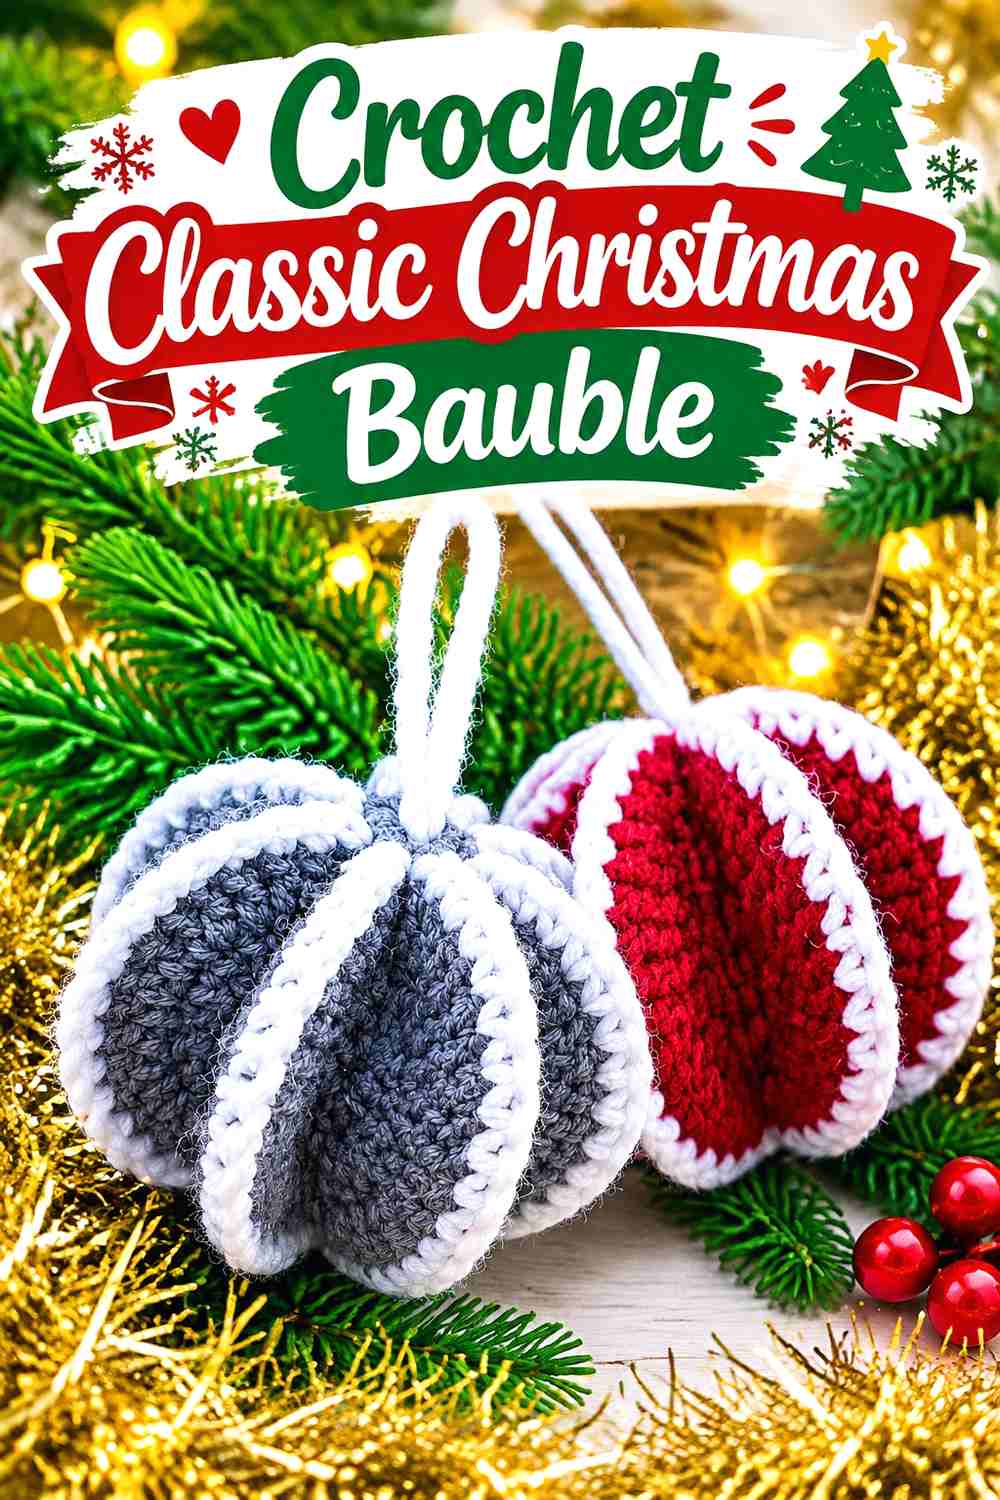
A Crochet Classic Christmas Bauble offers a familiar round form without requiring a detailed character. Crochet Squares provides a tutorial for a crocheted Christmas bauble, giving the collection a traditional ornament shape that can be varied through yarn color and surface treatment.
Its simple silhouette can be useful beside more detailed pieces because customers can understand the form immediately.
A Consistent Shape Makes Color Testing Easier
If you want to see which palettes fit your stall presentation, a repeated bauble gives you a stable form for comparison.
Try several planned color combinations before committing to a larger coordinated group.
Round Baubles Need Secure Display Containers
A spherical piece can roll around on a flat table if it is not hanging.
If some are displayed loose, use a shallow basket, divided tray, or another setup that keeps them visible without allowing them to roll underneath neighboring products.
Creator Credit: Crochet Squares
19. Crochet Ribboned Gift Box Ornament
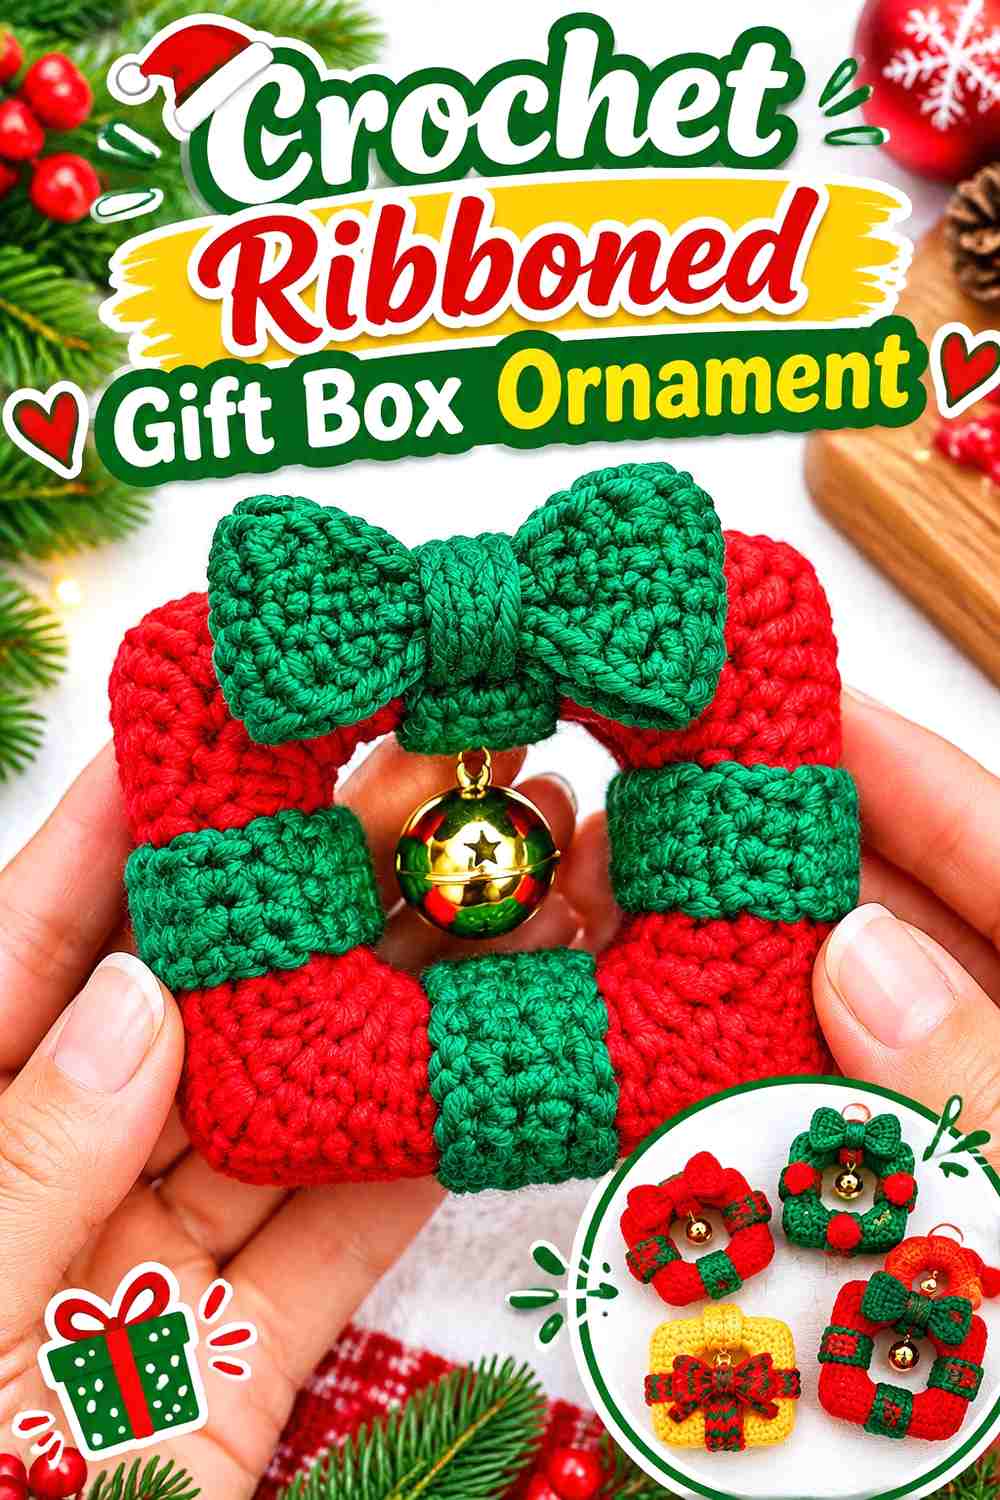
The Crochet Ribboned Gift Box Ornament finishes the list with a geometric form. AnDesign_Craft’s project uses a small present shape with contrasting ribbon-style detail, giving the stall straighter edges than the soft characters and round baubles elsewhere in the collection.
It can also act as a visual link between the products themselves and the gift-giving context of a Christmas market.
Straight Ribbon Lines Make Alignment More Noticeable
A centered vertical or horizontal band reinforces the box shape.
Before final attachment, view the piece from the front and top so decorative lines do not unintentionally make the whole present look tilted.
Structured Boxes Need Different Transport From Flat Ornaments
If the finished construction is intended to hold a defined cube shape, avoid compressing it under soft stock simply because everything is crocheted.
Give geometric pieces enough packing space to keep their corners and sides intact between markets.
Creator Credit: AnDesign_Craft
How to Mix These Projects Across a Christmas Market Stall
For a hanging rack, the wreath, sweater, mitten, beanie, stocking, bell, star, angel, candy cane, and tree offer especially clear silhouettes. Mixing them prevents one row from becoming a wall of round ornaments.
For a tabletop zone, dimensional pieces such as the gnome, snowman, mug, pudding, reindeer, penguin, bauble, and gift box create more depth. Use shallow containers or individual display positions so customers can see the front of each design rather than only the top of a pile.
You can also organize by visual density. Put highly detailed characters beside simpler stars, bells, or baubles. Alternate tall pieces with squat pieces. Repeat a few colors across unrelated designs instead of arranging every red product in one area and every green product in another.
Most importantly, test the setup with actual finished samples. A sketch of a market table cannot reveal exactly how much room antlers, mug handles, sweater sleeves, or gnome hats will occupy.
Conclusion
A strong tiny-crochet Christmas market stall can feel varied without requiring nineteen completely unrelated styles.
Choose the wreath, bell, star, and angel when you need flatter pieces that can fill hanging space. Add the sweater, mitten, beanie, and stocking for miniature wearable charm. The tree, bauble, candy cane, pudding, mug, and gift box introduce familiar holiday objects, while the gnome, snowman, gingerbread figure, reindeer, and penguin bring more character-focused options.
Before producing any project as inventory, check the original designer’s current finished-item selling terms. Then make one complete sample and use it to evaluate display footprint, finishing work, storage needs, and how clearly the design reads from the customer side of the stall.
The original tutorials should remain the source for exact construction details; your stall planning can then focus on presentation, product variety, safe transport, and a collection that feels intentionally curated rather than repetitive.
Frequently Asked Questions
Can I sell crochet items made from free YouTube tutorials at a Christmas market?
Not automatically. A public tutorial gives you access to instructional content, but the designer still controls their pattern and may specify separate terms for selling finished projects. Check the creator’s current website, video description, pattern listing, or licensing statement before producing market stock.
Which tiny crochet projects are easiest to display on a crowded market stall?
Flatter ornaments such as stars, bells, wreaths, stockings, and miniature clothing generally require less depth than stuffed characters. Dimensional designs can still work well, but give projecting features such as antlers, handles, hats, and wings enough clearance to remain visible.
How can I make several crochet Christmas products look coordinated?
Repeat a limited palette, consistent hanging-loop treatment, or one accent color across different shapes. A red-and-cream mitten, green-and-cream sweater, cream angel, and red bauble can look connected without sharing the same construction.
Should I make large batches before testing a Christmas market design?
A finished sample is useful before committing to quantity. It lets you evaluate the true assembly work, storage space, display footprint, and whether the piece sits or hangs the way you expected. It also gives you an opportunity to confirm the designer’s selling terms before investing in more stock.
How do I display tiny crochet ornaments without them disappearing?
Use vertical space as well as the tabletop. Hanging rails, small trees, grids, or hooks can bring lightweight ornaments closer to eye level, while shallow trays help dimensional pieces remain visible. Avoid deep baskets that expose only the tops of the products.
What should I consider when selling crochet items with safety eyes or small embellishments?
Think about both secure construction and how the finished product will be marketed and used. Safety eyes, beads, bells, buttons, and other small components can present concerns for babies, small children, or pets. Do not make unsupported safety claims, and consider embroidered details when detachable pieces would be inappropriate.
How can I keep tiny crochet market stock organized during transport?
Separate finished pieces according to structure. Flat ornaments can often be layered more efficiently, while dimensional characters, mug handles, antlers, wings, and structured gift boxes may need compartments or light protective packing. Keep matching tags and unfinished components in labeled containers so setup and restocking are easier.