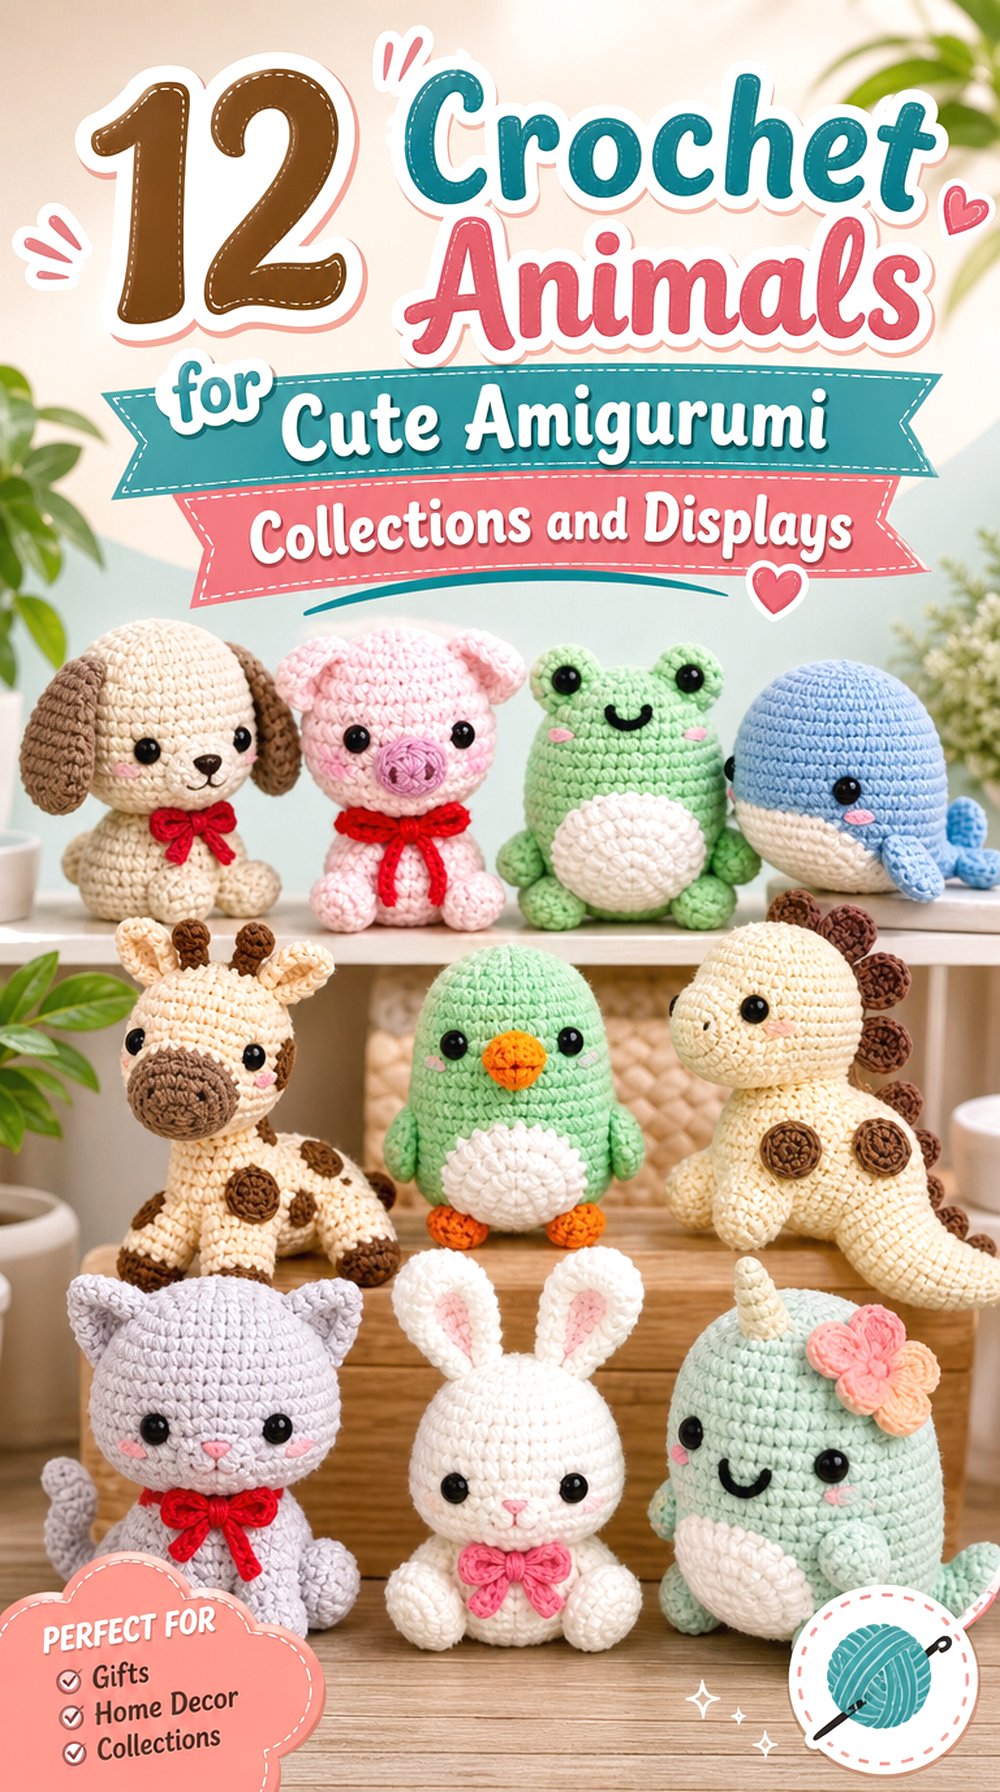
A crochet winter village does not have to be a matching set of identical houses. Some of the most interesting shelf displays combine a few larger structures with tiny residents, snowy trees, woodland animals, and small props that make the scene feel inhabited.
The tutorials below work in that spirit. Two sources teach complete dimensional house projects, while the remaining tutorials create individual amigurumi figures or decorative objects that can be arranged around them. That distinction matters: a polar bear or tiny gift box is a finished crochet object, but its role as a village resident or shop display is an independent styling idea rather than part of the creator’s original construction.
For a cozy November shelf, you can also stop short of a fully Christmas-colored display. Cream, oatmeal, forest green, rust, faded red, cocoa brown, icy blue, and muted gold can establish a winter mood before December arrives.
Quick List
- Crochet Multi-House Gingerbread Village Row
- Crochet Standalone Gingerbread Cottage
- Crochet Snowy Evergreen Village Tree
- Crochet Town-Square Snowman
- Crochet Reindeer Stable Visitor
- Crochet Penguin Winter Village Resident
- Crochet Tiny Elf Shopkeeper
- Crochet Gingerbread Village Baker
- Crochet Winter Mouse Cottage Resident
- Crochet Woodland Fox Village Visitor
- Crochet Owl Rooftop Lookout
- Crochet Angel Village Centerpiece
- Crochet Polar Bear Winter Resident
- Crochet Gnome Market-Square Resident
- Crochet Pine-Cone Woodland Cluster
- Crochet Mushroom Elf Forest Resident
- Crochet Tiny Gift-Box Shop Display
Plan the Village by Height Before You Crochet Every Piece
A shelf village is easier to read when everything is not the same height. Buildings can form the back layer, medium-size people and animals can occupy the middle, and small trees, pine cones, and packages can fill gaps near the front.
Before making multiples, finish one representative piece from each scale. Put them on the actual shelf and check whether smaller figures disappear behind larger ones.
You can also use existing books, risers, or a shallow platform under the display rather than changing the crochet construction simply to create different heights. The goal is to make every element visible without pretending all 17 tutorials were designed as one matching set.
Keep Scale Consistent Enough to Make the Scene Believable
Tutorials from different designers use different yarns, hooks, proportions, and construction methods. Two finished pieces therefore will not automatically belong to the same miniature scale.
Exact scale matching is not essential for a whimsical amigurumi village, but large differences can become distracting. A mouse almost as tall as a cottage or a gift box larger than a snowman changes the scene from a village into a general collection of holiday crochet.
Make one test piece before changing yarn weight. If you resize a project, remember that eyes, accessories, embroidery, antlers, hats, and other small details may also need reconsideration.
Give a November Village a Winter Palette Before a Christmas Palette
A November shelf can suggest colder weather without immediately becoming a bright red-and-green Christmas display.
Try allowing natural shades to dominate: cream houses, cocoa roofs, forest trees, charcoal details, rust accessories, muted berry red, and pale winter blue. Later in the season, brighter packages, ornaments, or Santa-inspired colors can be added without rebuilding the entire village.
For a cohesive display, repeat two or three colors across unrelated projects. A scarf on the polar bear might repeat the elf’s hat color, while the same cream appears on roofs, snowmen, and mushroom details.
Small amigurumi often includes safety eyes, beads, glued pieces, or other separate embellishments. If children or pets can reach the shelf, evaluate those components for the actual setting rather than assuming every decorative tutorial is suitable for unsupervised handling.
1. Crochet Multi-House Gingerbread Village Row

Dogwood Crochet US teaches a full gingerbread-house project with multiple house shapes, door options, roof treatments, decorative details, and assembly. That makes this tutorial unusually useful as the structural anchor for an actual village rather than just a single amigurumi resident.
Instead of making every building identical, use the house variations to create a small row across the back of the shelf.
Different Rooflines Make the Village Feel Larger
Three houses can feel like a much bigger settlement when their silhouettes differ. Alternate roof treatment, doorway placement, or overall house style rather than relying only on color changes.
A limited yarn palette will keep those variations connected. If every house introduces completely unrelated colors, the row may begin to look like separate projects rather than one village.
Position the Buildings Before Adding the Residents
The houses determine how much usable shelf space remains. Set them in place before crocheting a large population of animals and characters.
Leave a few gaps between structures for trees or smaller figures. Negative space can make the individual houses easier to see and gives the scene room to grow later.
Keep Dimensional Houses Supported in Storage
A village house has more edges and projections than a flat ornament. When the season ends, avoid compressing roofs or decorative trim beneath heavier pieces.
Storage that protects the silhouette can save more repair work than adding extra stiffness after the house is finished.
Creator Credit: Dogwood Crochet US
2. Crochet Standalone Gingerbread Cottage

The gingerbread-house tutorial from uncinettofra provides another complete building source, but this idea uses it differently: as one standalone cottage rather than as part of a repeated row.
Placed slightly forward or at one end of the shelf, a single cottage can function as a focal building while smaller trees and residents create the surrounding scene.
A Focal Cottage Can Carry More Detail
When only one structure occupies the starring role, its roof and façade can support stronger color contrast than the background houses.
Keep surrounding props quieter so the cottage remains visually dominant. Several equally elaborate buildings can compete when the display area is narrow.
Leave Space Around the Outer Shape
A detailed cottage loses impact when a snowman, tree, and gnome are pressed directly against every wall.
Give the building enough clear shelf space for its roofline and front to remain visible. Smaller objects can still suggest a busy village without obscuring the structure.
Creator Credit: uncinettofra
3. Crochet Snowy Evergreen Village Tree

SpringDay DIY’s amigurumi Christmas-tree tutorial creates a dimensional stuffed tree rather than a flat appliqué, making it suitable for standing among buildings and figures. The demonstrated version also includes decorative winter details.
Trees are valuable in a miniature village because they fill awkward gaps without introducing another face or character.
Use Trees to Separate Similar Figures
If a snowman, elf, and gnome all stand in one uninterrupted line, the shelf can look like a collection of dolls rather than a village.
Place an evergreen between character groups to create small visual neighborhoods. Even one tree can make two nearby figures feel as though they occupy different areas of the scene.
Decoration Scale Matters on a Small Tree
Tiny ornaments or bows can become disproportionately large if you change the yarn size.
When adapting the project, judge the decorations against the finished tree rather than automatically enlarging every component. A sparsely decorated evergreen may integrate more naturally with a November display.
Creator Credit: SpringDay DIY
4. Crochet Town-Square Snowman

Hooked by Robin’s snowman tutorial constructs the character largely as one continuous body and adds recognizable winter accessories including a scarf and top hat.
For a shelf village, place the snowman in a central open area instead of squeezing it against a house. It can act as the figure that visually marks the town square.
Accessories Make the Snowman Easier to Coordinate
The white body can remain neutral while the scarf and hat carry colors repeated elsewhere in the village.
A muted red scarf might echo a cottage door, while a dark green accessory can connect the snowman to nearby evergreens.
Avoid Hiding the Rounded Silhouette
Snowmen depend on clearly separated rounded forms. When other figures overlap too much from the viewer’s angle, that silhouette can disappear.
Check the village from normal standing distance rather than only from directly above the shelf.
Creator Credit: Hooked by Robin
5. Crochet Reindeer Stable Visitor

DidyToys provides a complete plush reindeer tutorial with a recognizable animal form, muzzle, ears, limbs, and antlers.
Within a village, the reindeer brings a taller woodland silhouette and can sit near the outer edge of the houses as though it has just wandered in from the snowy landscape.
Protect the Antlers From Visual Clutter
The antlers are what immediately distinguish this animal from other brown woodland figures.
Position the reindeer against a relatively plain background rather than directly in front of a similarly colored roof or tree. Clear contrast around the head helps the silhouette remain readable.
A Side Position Can Suggest the Edge of Town
Not every character needs to stand in front of a house. A reindeer beside trees or pine cones can create a transition between the built village and a woodland section.
That simple placement decision makes the shelf feel like a scene rather than a straight row of unrelated projects.
Creator Credit: DidyToys
6. Crochet Penguin Winter Village Resident

Ngochan Crochet’s tutorial creates a complete stuffed penguin with contrasting body sections, wings, beak, feet, and facial details.
A penguin introduces a compact, rounded resident that contrasts nicely with taller elves, gnomes, and trees.
Keep the Light Face Area Distinct
The character depends heavily on the contrast between the darker outer body and lighter facial area.
If you swap the traditional dark color for navy, charcoal, plum, or another winter shade, make sure the face still remains visibly separate under the lighting used on the shelf.
Place Rounded Characters Near Angular Buildings
A penguin beside a square cottage creates useful shape contrast. The curved body softens the straight walls and rooflines without requiring another architectural element.
That makes the figure especially helpful near a corner where two buildings otherwise create a blocky arrangement.
Creator Credit: Ngochan Crochet
7. Crochet Tiny Elf Shopkeeper

Danielle L Designs ୨୧ teaches a complete Christmas elf amigurumi with a body, limbs, ears, hat, pom-pom, and final assembly.
For the village concept, the elf can become the resident standing beside the main cottage or a collection of small gift boxes.
The Tall Hat Changes the Figure’s Visual Height
Do not judge the elf’s scale from the body alone. The pointed hat adds substantial height and can place the character in competition with nearby trees or rooflines.
Complete the hat before choosing its final shelf position.
Keep the Face Clear Beneath the Hat
A prominent hat can dominate a small doll. When positioning or adapting decorative elements, check that the face still has enough open space around it.
From several feet away, clear hat-face separation often matters more than tiny additional embellishments.
Use the Elf to Connect Props With Buildings
A small figure beside packages immediately makes those objects feel intentional. The elf can visually connect a house and toy-shop-style props without requiring a separate crocheted storefront.
Creator Credit: Danielle L Designs ୨୧
8. Crochet Gingerbread Village Baker

By Asalet Calışkan’s tutorial creates a stuffed gingerbread-person amigurumi with the familiar cookie-colored body and contrasting decorative details.
Placed beside a gingerbread cottage, the figure can become the playful resident of that section of the village without requiring any change to the creator’s actual construction.
Surface Details Need Enough Contrast
A gingerbread figure is visually defined partly by its icing-like decorations.
If you soften the palette for November, avoid making those details so close to the brown body color that they disappear at shelf distance.
Do Not Crowd the Figure Against the House
Brown-on-brown placement can cause the resident to merge with a gingerbread building.
A patch of cream surface, a green tree, or another contrasting element between the figure and cottage can improve separation without introducing a new crochet pattern.
Creator Credit: By Asalet Calışkan
9. Crochet Winter Mouse Cottage Resident

Cennagurumi teaches a small stuffed mouse designed for Christmas decoration, with a compact animal body and seasonal color details.
Its smaller character scale makes it useful near the foreground of a shelf, where a full-size doll might block the buildings behind it.
A Mouse Can Establish the Village’s Whimsical Scale
Once a tiny mouse stands beside a cottage, the scene no longer needs realistic architectural proportions.
That gives you more freedom to combine tutorials with slightly different finished scales, provided the overall arrangement still feels intentional.
Place Small Residents Toward the Front Edge
A mouse can easily disappear behind a tree, gnome, or snowman.
Set smaller figures farther forward and keep taller elements behind them. A staggered arrangement usually displays more of the collection than lining everything up against the back wall.
Keep Tiny Facial Components Appropriate for the Display
The tutorial uses separate eye details. For a shelf accessible to children or pets, consider the suitability of small components and how securely the finished piece will remain out of reach.
Creator Credit: Cennagurumi
10. Crochet Woodland Fox Village Visitor

Kitcroet Arts, Crafts & Sewing provides a complete step-by-step fox amigurumi tutorial with the head, contrasting facial area, ears, and finishing details.
A fox works well on the outskirts of a winter village because the animal introduces woodland color without making the display immediately Christmas-specific.
Orange Can Become the Warm Accent Color
A fox naturally brings a warmer tone into an otherwise cream, green, brown, and icy-blue display.
Instead of repeating strong orange everywhere, let the fox be the main warm accent and echo that color only in small village details.
Woodland Animals Benefit From a Separate Zone
Group the fox with pine cones or evergreens rather than placing every animal directly in front of a cottage.
That creates a visual edge to the settlement and helps the scene tell a simple story without adding written signs or elaborate accessories.
Creator Credit: Kitcroet Arts, Crafts & Sewing
11. Crochet Owl Rooftop Lookout

Hobbi Happi’s tutorial demonstrates a stuffed owl with separate eye and wing details.
The owl adds a useful upright bird shape to the village and can visually occupy a higher position than most of the ground-level residents.
Height Can Come From Display Placement
You do not need to alter the crochet pattern to create a rooftop lookout. A small riser, book, or protected platform behind a house can elevate the owl while keeping the crocheted figure unchanged.
Make sure the support is stable and hidden enough that the arrangement still reads as one scene.
Large Eyes Make the Owl a Strong Focal Character
An owl’s face tends to attract attention. If several other expressive characters surround it, the village can become visually noisy.
Give the bird some breathing room, especially if it sits above the main house row.
Creator Credit: Hobbi Happi
12. Crochet Angel Village Centerpiece

Magic Uncinetto teaches a complete angel amigurumi, giving the village a taller, more traditional decorative figure rather than another woodland animal.
Use the angel as a central or elevated element if you want the shelf to move gradually from general winter decor toward a more Christmas-focused display later in November.
Wings Need Clear Space Behind Them
A winged figure can lose much of its silhouette when placed directly against a busy roof or tree.
Position the angel where the outer wing shape remains visible, even if that means leaving a little more empty shelf around it than around smaller residents.
One Traditional Figure Can Shift the Whole Mood
You do not need to turn every project red, green, or gold. A single angel can supply a recognizable holiday note while the houses, animals, and trees stay in muted winter colors.
That makes this idea easy to add later in the month without rebuilding the original village.
Creator Credit: Magic Uncinetto
13. Crochet Polar Bear Winter Resident

Little Crochet Farm’s complete polar-bear ornament tutorial creates a compact stuffed bear with a scarf and seasonal styling.
Because the body is predominantly pale, this character fits naturally into a snowy village without requiring the brighter palette associated with many Christmas figures.
Pale Crochet Needs a Contrasting Background
A cream or white bear may disappear in front of an equally pale house.
Place it beside a green tree, darker cottage wall, or brown woodland area so the outline remains clear.
Let the Scarf Connect Separate Sections
The accessory is a convenient place to repeat an accent color already used elsewhere.
A scarf that echoes a cottage door, gnome hat, or package ribbon can connect distant parts of a long shelf without forcing every main object into the same color.
Watch the Figure’s Footprint Near the Foreground
A compact bear can work near the front of the shelf, but check that its body does not obscure a smaller mouse or package placed directly behind it.
Arrange figures from the viewer’s normal angle, not merely according to how much empty shelf surrounds them from above.
Creator Credit: Little Crochet Farm
14. Crochet Gnome Market-Square Resident

Kane Crochet’s Christmas gnome has a compact stuffed body, prominent pointed hat, beard, nose, and small arms.
For a village shelf, the gnome can occupy the area beside packages, pine cones, or a tree, suggesting a small market or gathering point without requiring an actual crocheted stall.
The Hat Creates a Strong Triangular Silhouette
This character is visually taller than its body suggests because the hat supplies much of the vertical shape.
Place it beside rounder forms such as the snowman or gift boxes to create contrast rather than surrounding it with several similarly pointed trees.
Beard, Nose, and Hat Need Separation
The face is intentionally minimal, so the boundaries between the major components carry much of the character.
If you switch to a muted palette, make sure the hat and beard do not blend into one another under warm shelf lighting.
Creator Credit: Kane Crochet
15. Crochet Pine-Cone Woodland Cluster

Garnknuten’s tutorial creates a dimensional stuffed pine cone with surface texture rather than a flat nature appliqué. The design is suitable as a small hanging or decorative amigurumi piece.
For the village, make the pine cone part of the landscape rather than treating it as another central character.
Texture Matters More Than Bright Color
The raised surface gives the pine cone its identity. Natural brown, muted green, or earthy yarn keeps the object useful throughout November without making it specifically Christmas-themed.
A heavily fuzzy substitution may hide some of that structure, so consider whether stitch definition or softness matters more for your display.
Small Natural Pieces Fill Difficult Gaps
A narrow space beside a tree or at the base of a cottage may be too small for another character.
A pine cone can fill that space without adding another face, hat, or strong color block.
Repeat in an Odd-Number Cluster
One pine cone can appear accidental while a small cluster feels more like part of the landscape.
If you make several, slight differences in placement can look more natural than arranging them in a perfectly straight line.
Creator Credit: Garnknuten
16. Crochet Mushroom Elf Forest Resident

Anvis Granny’s mushroom-elf project combines a small doll with an oversized mushroom-inspired hat, producing one of the most unusual silhouettes in this collection. The source presents it as a dimensional amigurumi figure rather than a village building.
It works particularly well in a woodland section beside the fox, pine cones, and evergreens.
The Mushroom Hat Can Define a Separate Neighborhood
A mushroom-capped figure introduces a fairy-tale direction that is visually different from the more traditional snowman and Christmas elf.
Group it near natural motifs if you want that difference to feel purposeful rather than random.
Keep the Hat From Hiding the Character
The oversized top is the main feature, but it should not overwhelm every other part of the figure.
When displaying it, position the doll where the face remains visible rather than looking down on it from too steep an angle.
Forest Colors Can Keep It on the Shelf Longer
Rust, moss, cream, brown, and muted red can let the figure work from autumn through early winter.
That flexibility makes it especially useful for a November village that will gradually become more festive as the month progresses.
Creator Credit: Anvis Granny
17. Crochet Tiny Gift-Box Shop Display

Raji’s Craft Hobby teaches stuffed crochet gift-box ornaments built around a small amigurumi cube form with contrasting package details.
Instead of hanging them, arrange several beside the elf, gnome, or gingerbread house to create a toy-shop or market-style display on the shelf.
Preserve the Box Shape While Stuffing
A gift box relies on recognizable corners. Too much filling can make a small cube look increasingly round.
Check each side before closing so the prop still provides geometric contrast against the rounded animals and dolls nearby.
Ribbon Colors Can Unite the Entire Village
Keep the box bodies varied but repeat ribbons in one of the established village accent colors.
This creates an easy visual connection between small foreground props and larger figures without recoloring the characters themselves.
Tiny Props Work Better in Small Groups
One package can vanish beside a larger house. Two or three arranged together are more likely to read as an intentional shop display.
Keep the group low enough that it does not cover the feet or lower body of the resident standing behind it.
Creator Credit: Raji’s Craft Hobby
Which Crochet Winter Village Pieces Should You Make First?
| Village Role | Projects to Consider | What They Add | Main Planning Issue |
|---|---|---|---|
| Back-row structures | Gingerbread village row, standalone cottage | Architecture and overall scale | Reserve shelf width first |
| Tall landscape pieces | Evergreen tree | Height without another character | Keep smaller figures visible |
| Central residents | Snowman, elf, gnome, angel | Personality and focal points | Avoid too many competing faces |
| Winter animals | Reindeer, penguin, polar bear | Shape and species variety | Compare scale before grouping |
| Woodland edge | Fox, owl, pine cones, mushroom elf | A less Christmas-specific November mood | Keep natural colors coordinated |
| Foreground residents | Mouse, gingerbread figure | Small details near the viewer | Prevent taller pieces from blocking them |
| Village props | Gift boxes | A sense of activity and storytelling | Keep proportions believable |
A useful starting combination is one or two houses, one evergreen, one central figure, one animal, and two or three smaller foreground pieces. That creates enough variety to look intentional while leaving room for future additions.
If the shelf is narrow, prioritize differences in silhouette rather than quantity. One tall gnome, one round snowman, one angular house, one tree, and one tiny mouse will usually create more visual variety than six similarly sized dolls.
Conclusion
A cozy crochet winter village works best when it is treated as a scene rather than a collection of matching amigurumi.
Start with the gingerbread houses if you want a clear architectural foundation. Add the evergreen and pine cones for landscape, then choose a few residents that give the village different heights and shapes. The snowman, penguin, polar bear, mouse, and fox keep the display wintry without pushing it immediately into full Christmas decor.
As December gets closer, the elf, gnome, angel, gingerbread figure, and packages can add a stronger holiday note without requiring you to replace the original November pieces.
Because these projects come from different designers, do not assume their finished scales will automatically match. Crochet one representative piece, arrange it on the actual shelf, and use the original tutorials for exact construction before deciding whether yarn substitutions or additional duplicates make sense.
Frequently Asked Questions
Do all 17 tutorials teach complete crochet winter village buildings?
No. The two gingerbread-house sources teach dimensional buildings. The other tutorials teach individual amigurumi figures or decorative pieces that can be arranged as residents, woodland elements, or props within an independently planned winter village display.
How many crochet houses do I need for a small winter village shelf?
There is no required number. Even one focal cottage can establish the village idea when it is surrounded by a tree, snowman, animal, and a few smaller props. A longer shelf can support several buildings, but leave enough space between them for the figures to remain visible.
How can I make amigurumi from different tutorials look like they belong together?
A shared color palette is usually more practical than trying to force every pattern into identical proportions. Repeat a few yarn colors across scarves, hats, doors, trees, and package ribbons. Then arrange larger projects toward the back and smaller pieces toward the front.
Can I resize a winter-village amigurumi by changing yarn weight?
Changing yarn and hook size can change the finished scale, but it can also affect small details such as eyes, hats, antlers, wings, embroidery, and accessories. Make a test version before assuming every element will scale cleanly.
What colors work for a November winter village before Christmas?
Cream, oatmeal, cocoa brown, forest green, rust, charcoal, muted berry, and pale blue can create an early-winter palette without relying entirely on bright holiday colors. You can introduce stronger red, gold, or green accents later if the display stays up through December.
How do I keep small crochet village figures from disappearing behind larger pieces?
Stagger the display by height and depth. Buildings and tall trees usually work toward the back, medium residents in the middle, and mice, pine cones, or packages closer to the front. Hidden risers behind buildings can also elevate selected pieces without changing their crochet construction.
Should I use safety eyes on crochet figures displayed around children or pets?
That depends on the setting and how the finished pieces can be accessed. Safety eyes, beads, glued decorations, and other small components should not automatically be treated as suitable for every child or pet environment. Consider embroidered or securely stitched alternatives where loose or detachable parts would be a concern.