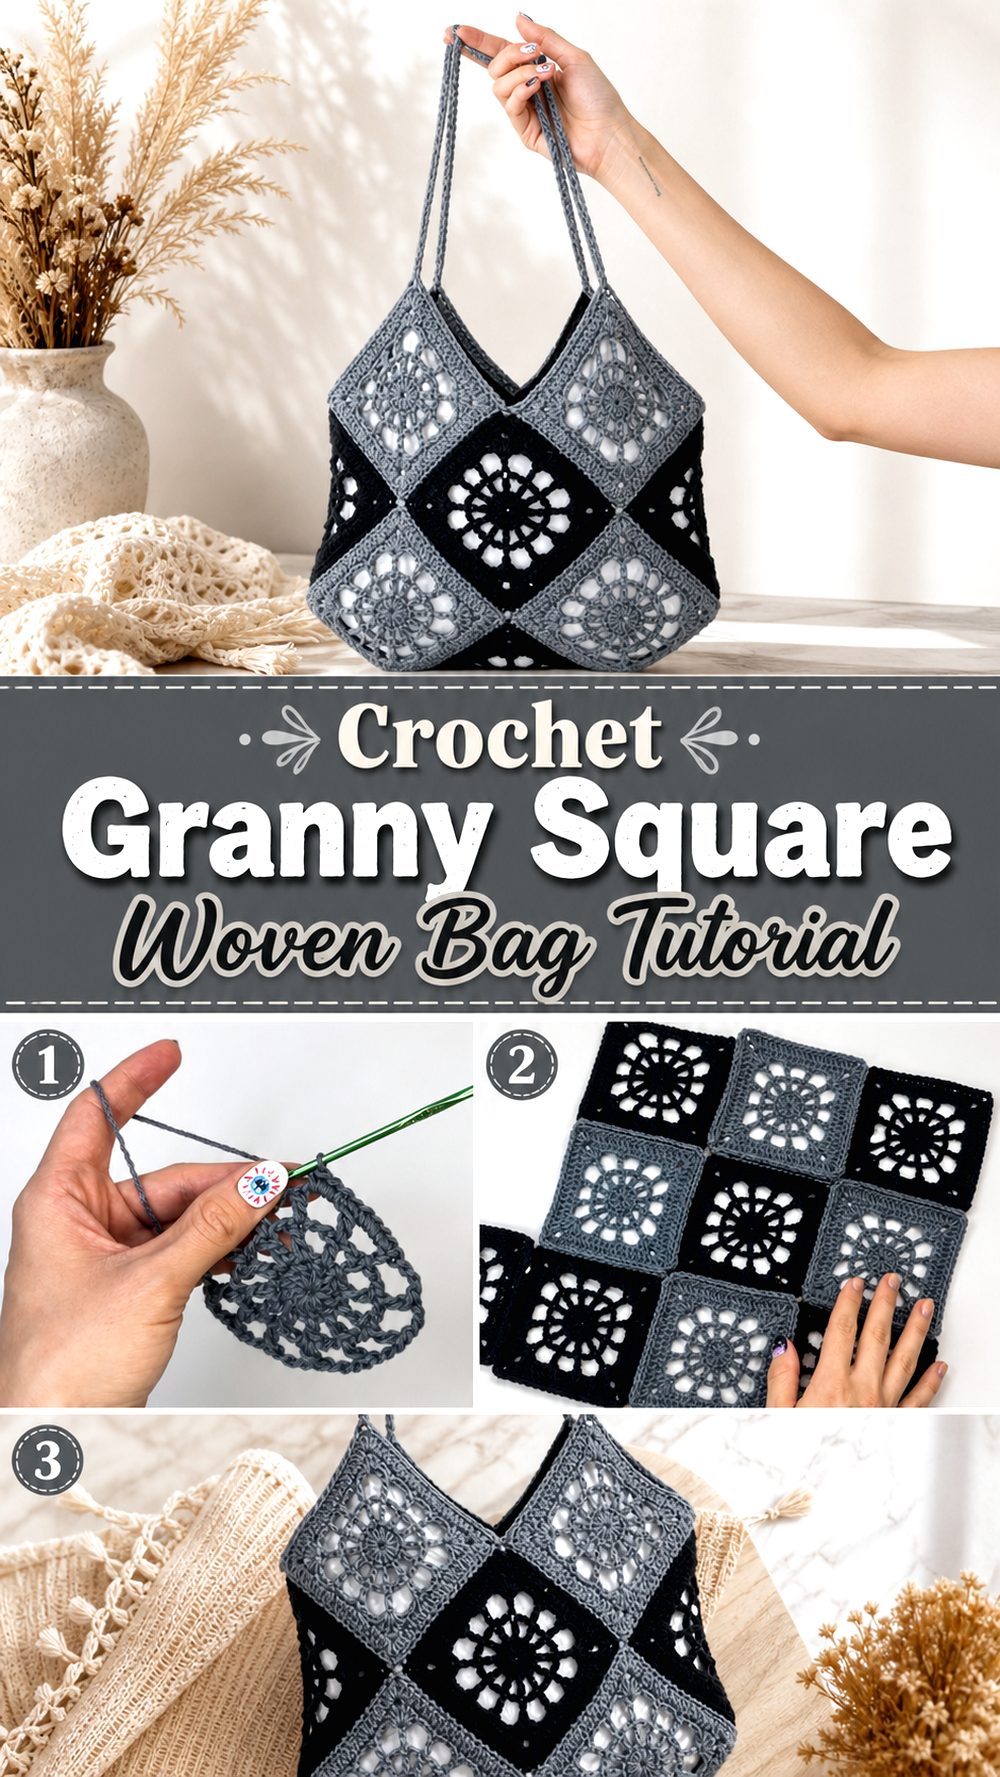
A crochet granny square woven bag is the kind of project that feels both playful and practical. It has that lovely handmade charm of traditional granny squares, but the woven-style layout gives the bag a more modern, textured look. This project is a nice choice if you enjoy making small crochet pieces and then joining them into something useful. It is also a great way to play with color, use up yarn from your stash, and create a bag that feels personal. You can make it bright and fun, soft and neutral, or bold with contrasting shades. Because the size can be adjusted as you work, this bag is friendly for crocheters who want a relaxed project without needing everything to be overly exact.
Why You’ll Love This Project:
This bag is fun because it mixes simple crochet pieces with a beautiful finished shape. Instead of making one large flat panel, you build the design with granny squares and join them together to form a bag with character. It is useful, stylish, and easy to customize, which makes it a lovely project for gifts, market bags, casual outfits, or everyday handmade style.
Materials Needed:
- Yarn suitable for a crochet bag
- Crochet hook that works well with your yarn
- Scissors
- Yarn needle for sewing and weaving in ends
- Stitch markers, if helpful
- Measuring tape
- Optional lining fabric, if you want extra strength
- Optional button, zipper, or magnetic snap for closure
Use a yarn and hook size that matches your desired fit and texture.
Best Yarn for This Project:
For a bag, it is best to use yarn that gives the fabric some strength. Cotton yarn is a wonderful choice because it is sturdy, smooth, and holds the shape of granny squares well. Cotton blend yarn also works nicely if you want something a little softer. If you prefer a lighter everyday bag, choose a medium-weight cotton or cotton-acrylic blend. Try not to use yarn that stretches too much, because the bag may lose its shape once you put items inside.
Skill Level:
This project is best for beginners who already know the basic stitches or confident beginners who want to practice joining pieces. The granny square sections are simple and repetitive, while the joining and shaping need a little patience. You do not need advanced crochet skills, but careful counting and neat edges will help the final bag look cleaner.
Size and Fit Guide:
The size of the bag depends on the size of your granny squares and how many you use. To make a smaller bag, use smaller squares, thinner yarn, or fewer rounds. To make a larger tote-style bag, make bigger squares or add more rounds before joining. Before sewing everything together, lay the squares flat and arrange them in the bag shape so you can check the width, height, and handle placement. This helps you see the final size before committing to the join.
Stitches Used:
- Chain
- Slip stitch
- Double crochet
- Single crochet
- Granny stitch clusters
- Joining stitches
- Edge stitches
How to Make It:
Step 1: Start with the Granny Squares
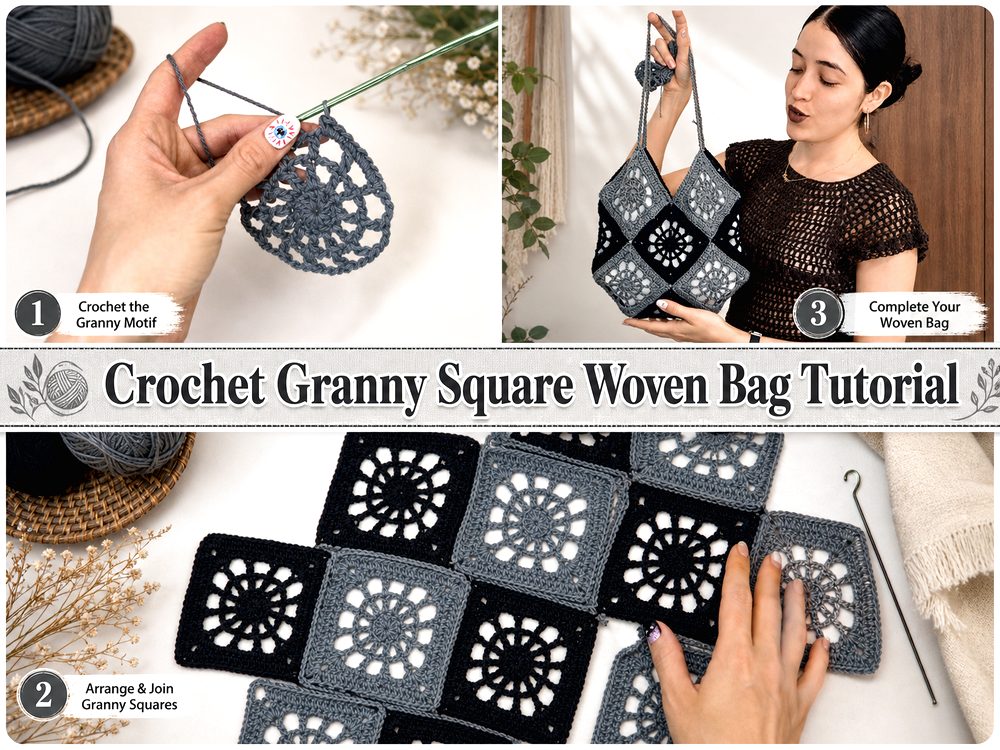
The main part of this bag begins with granny squares. Each square is worked from the center outward, using chains and double crochet clusters to create the classic open granny texture. You can make all the squares in one color for a clean look, or change colors between rounds for a brighter patchwork effect.
Start with a small center ring or chain space, then build the first round with groups of double crochet stitches separated by chain spaces. These chain spaces become the corners of the square. As the square grows, each corner is worked with extra stitches and chains so the shape stays flat and even.
Keep your tension steady as you work. Granny squares can look uneven if some rounds are tight and others are loose, so try to crochet at a comfortable pace. After finishing each square, check that it lies flat. A little curling can usually be fixed with gentle blocking, but strong rippling may mean the tension or corner spacing needs adjusting.
Step 2: Make Enough Squares for the Bag Shape
Once the first square is complete, make the remaining squares in the same size. It is important that all squares match as closely as possible, especially if you want the bag to sit evenly. Count the rounds on each square and compare them as you go.
The tutorial shows the bag being built from granny square pieces, so the exact number and arrangement depends on the final bag style you want. Lay your squares out before joining them. This is the easiest way to understand how the front, back, base, and sides will come together.
If you are using several colors, arrange the squares until the color balance looks good. Try not to place all the darkest or brightest squares on one side unless that is the look you want. A balanced layout makes the finished bag feel more polished.
Step 3: Create the Woven Bag Look
The woven effect comes from the way the granny square pieces are arranged and joined. Instead of looking like one plain flat panel, the squares create a textured, patchwork-style surface. The open spaces in the granny design also give the bag a soft woven feeling.
When laying out the squares, keep the direction of the stitches consistent. This makes the bag look neater once it is assembled. If any square looks slightly different, place it where it will be less noticeable, such as near the side or base.
Before sewing, take a moment to flip and rotate the squares. Sometimes a layout looks better when one color or motif is moved to the center. This small step can make a big difference in the final design.
Step 4: Join the Squares Together
After arranging the pieces, begin joining the squares. You can join with a yarn needle and whip stitch, or use crochet stitches such as slip stitch or single crochet. A visible crochet join can add texture, while a sewn join gives a flatter finish.
Join the squares carefully along the edges, matching stitch to stitch as much as possible. Use stitch markers to hold corners together before sewing if the pieces shift around. This is especially helpful when joining several squares into a larger panel.
Do not pull the joining yarn too tightly. A tight join can make the bag pucker, while a loose join may leave gaps. Aim for a firm but flexible seam.
Step 5: Build the Bag Body
Once the main square sections are joined, the bag begins to take shape. The front and back panels are connected, and the lower section forms the base. Depending on your layout, you may fold the joined piece and connect the side seams, or join separate panels together.
As you shape the bag, keep checking that the front and back line up. The corners should meet neatly, and the bottom should feel strong enough to hold light everyday items. If the bag feels too open because of the granny square spaces, you can add a lining later.
This is also the stage where you can decide how deep you want the bag to be. If you want more room, use larger squares or add extra rounds to your squares before joining. If you want a compact purse, keep the squares smaller.
Step 6: Add the Top Edge
After the body is joined, work around the top opening to neaten the edge. A simple round of single crochet is a good choice because it strengthens the opening and gives the bag a clean finish. You can add more rounds if you want the top to feel thicker.
Make sure the top edge does not become too tight. If it pulls inward too much, add a few extra stitches evenly around the opening. If it waves, use fewer stitches or adjust your tension.
A tidy top edge helps the bag hold its shape and makes it easier to attach handles.
Step 7: Make and Attach the Handles
The handles can be crocheted directly onto the bag or made separately and sewn on. A simple strap can be made with chains and rows of single crochet, half double crochet, or another firm stitch. For a stronger handle, make it wider or work extra rows.
Measure the strap length against your body before attaching it. A shorter strap works well for a handbag, while a longer strap is better for a shoulder bag. Make sure both sides are attached evenly so the bag hangs straight.
When sewing the handles on, reinforce the attachment points with extra stitches. Bags take stress at the handles, so this part should feel secure.
Step 8: Finish the Bag
After the bag is assembled, weave in all loose ends with a yarn needle. Take your time here because granny squares often have several yarn tails, especially if you changed colors. Trim the ends only after they are woven in securely.
You can gently block the bag to help the squares relax and even out. If using cotton yarn, light blocking can make the stitch pattern look cleaner. Lay the bag flat, shape it with your hands, and let it dry completely.
For a more finished bag, add a fabric lining. A lining is especially helpful if the granny square holes are large or if you plan to carry small items. You can also add a button, zipper, or snap closure if you want the bag to close at the top.
The final bag should have a pretty granny square texture, a handmade woven look, and a comfortable shape that can be used as a small everyday bag, casual shoulder bag, or colorful crochet accessory.
Helpful Tips:
Use cotton or cotton-blend yarn if you want the bag to feel sturdy and less stretchy. Make all granny squares the same size before joining. Lay out the full bag shape before sewing anything together. Use stitch markers to hold pieces in place while joining. Check the handle length before attaching it permanently. Weave in ends carefully so the bag stays neat with use. Add lining if you want to carry keys, coins, or other small items.
Common Mistakes to Avoid:
- Making squares in different sizes, which can cause uneven seams
- Pulling the joining stitches too tight
- Forgetting to check the layout before sewing
- Using very stretchy yarn for a bag that needs structure
- Attaching handles without reinforcing them
- Leaving yarn ends too short when weaving them in
Customization Ideas:
You can make this bag in soft neutrals for a simple everyday look or use bright colors for a cheerful patchwork style. Try making the center of each granny square in a different color, then use one main color for the outer rounds to bring the design together. You can add a scalloped edging around the top, sew on a button closure, add tassels, or attach a charm. For a stronger bag, add a fabric lining. For a lighter summer version, use breathable cotton yarn and keep the stitch tension relaxed but not loose.
Style Ideas:
This bag looks lovely with casual outfits, summer dresses, jeans, linen sets, or handmade festival looks. It can be used as a small shopping bag, craft bag, book bag, or everyday purse for light items. It also makes a thoughtful handmade gift because the colors can be chosen to match the person’s style.
Care Instructions:
Hand wash the bag gently in cool water, especially if you used cotton yarn or several colors. Avoid wringing it harshly, because that can stretch the shape. Press out extra water with a towel and lay the bag flat to dry. Keep it away from high heat. If the bag has a lining, button, or closure, wash with extra care.
Time Needed:
This may take a few hours depending on your speed, yarn, square size, number of color changes, and how much finishing you add. The granny squares are usually relaxing to make, while joining and weaving in ends may take a little more patience.
Conclusion:
A crochet granny square woven bag is a sweet project that turns simple square motifs into something useful and beautiful. It is easy to personalize with color, size, strap length, and finishing details. Once you understand the basic square layout and joining method, you can make the bag smaller, larger, brighter, softer, or more structured. It is a lovely project for using your creativity while making an accessory you can actually wear and enjoy.
FAQs:
Can beginners make this granny square woven bag?
Yes, confident beginners can make it if they know basic chains, double crochet, and simple joining.
What yarn is best for this bag?
Cotton or cotton-blend yarn is best because it gives the bag more strength and shape.
Can I adjust the size?
Yes. Make the granny squares larger or smaller, or adjust the number of rounds before joining.
Should I line the bag?
A lining is optional, but it helps keep small items from slipping through the granny square spaces.
Can I sell the finished bag?
Yes, you can usually sell finished handmade bags you make yourself, especially when you add your own color choices and finishing style.