A crochet mini terrarium display can bring greenery to a winter shelf without relying on living plants, damp soil, or a single repeated succulent shape. The most interesting arrangements combine different levels: low mushrooms and moss, compact potted plants, upright leaves, trailing vines, and one or two tiny creatures that make the scene feel like a miniature habitat.
Not every tutorial below creates a complete terrarium inside a glass vessel. Some teach individual crochet plants or woodland amigurumi that can be arranged inside a dry decorative container or grouped beside one. That distinction matters because a project designed as a hanging plant, desk buddy, or mini animal may need resizing before it fits the vessel you have in mind.
For a cozy winter shelf, you can also let the season come from the styling rather than covering every project with snowflakes. Forest green, sage, cream, soft brown, terracotta, muted berry shades, and one miniature evergreen can create a winter mood while the crochet plants remain useful after the holidays.
Quick List
- Crochet Round Cactus Amigurumi for a Desert Terrarium
- Crochet Spotted Mushroom Amigurumi for a Woodland Terrarium
- Crochet Moss Ball Amigurumi Terrarium
- Crochet Tiny Flower Pot Amigurumi for a Botanical Terrarium
- Crochet Hanging Money Plant Amigurumi for a Trailing Terrarium
- Crochet String-of-Pearls Amigurumi for a Cascading Terrarium
- Crochet Monstera Amigurumi for a Leafy Terrarium
- Crochet Snake Plant Amigurumi for an Upright Terrarium
- Crochet Rosette Succulent Amigurumi for a Low Terrarium
- Crochet Tiny Snail Amigurumi for a Woodland Terrarium
- Crochet Ladybug Amigurumi for a Mini Garden Terrarium
- Crochet Frog Amigurumi for a Tiny Pond Terrarium
- Crochet Hanging Fern Amigurumi for a Forest Terrarium
- Crochet Mini Pine Tree Amigurumi for a Winter Terrarium
Treat the Terrarium Container as Part of the Design
A crochet terrarium is usually better treated as a dry decorative display than as an addition to a humid living terrarium. Yarn, stuffing, cardboard stabilizers, wire, glue, and other craft materials used by individual tutorials may not be intended for repeated misting or contact with damp soil.
If you are using a glass jar, cloche, lantern, bowl, or display box, measure the opening as well as the interior. A project can technically fit inside the widest part of a vessel and still be impossible to pass through a narrow neck.
Removable arrangements are especially practical. Instead of permanently attaching every plant to the container, consider arranging the finished crochet pieces on a dry removable base. That makes dusting, rearranging, and seasonal restyling easier.
Balance Tall Plants, Trailing Shapes, and Ground-Level Details
A convincing miniature habitat benefits from several heights. Snake plants, flowers, and the pine tree give the eye an upright line. Monstera leaves spread outward. Money plant, string-of-pearls, and fern designs introduce trailing movement. Mushrooms, moss, snails, and ladybugs work closer to the visual ground.
Avoid filling every inch. Negative space helps small leaf shapes and silhouettes remain readable, especially behind glass where reflections already add visual information.
Before committing to fourteen projects, make two or three from different tutorials and compare their actual scale. Different creators use different materials and proportions, so the word “mini” does not guarantee that two projects will naturally match.
Give the Display a Winter Mood Without Losing the Terrarium Look
A pine tree can provide the strongest seasonal cue while the remaining projects stay botanical. Muted greens, cream, bark brown, stone gray, deep red, and soft terracotta can connect the pieces without turning the shelf into strictly Christmas decor.
You can also create winter atmosphere outside the crochet pieces. A wooden tray, small dry pebbles, neutral display risers, or a simple glass cloche can make the collection feel more intentional. Keep loose decorative materials away from young children and pets, and review the individual tutorial materials before treating any display amigurumi as a toy.
1. Crochet Round Cactus Amigurumi for a Desert Terrarium
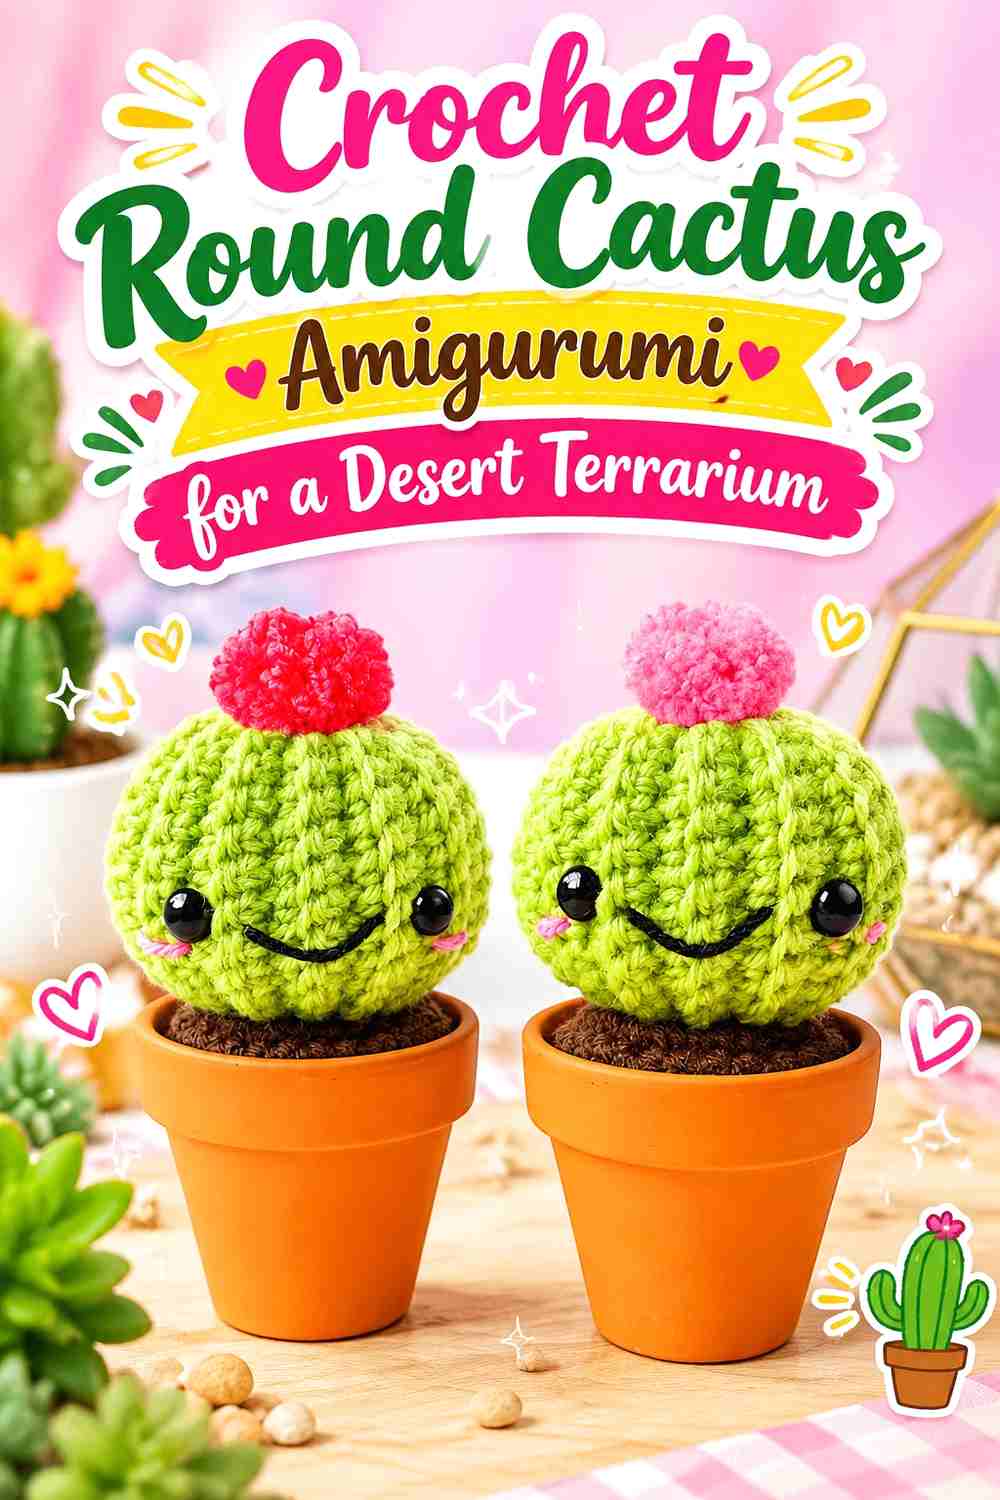
A compact cactus is a useful starting point because its shape remains concentrated around the center instead of spreading across the whole display. Hooked by Robin’s tutorial creates a stuffed cactus character with a separate soil section, giving it a recognizable plant-and-ground structure that can work well in a small dry terrarium scene.
The rounded form also provides contrast against long fern fronds, narrow snake-plant leaves, and trailing vines later in the collection.
A Rounded Cactus Creates a Strong Central Shape
A cactus does not need a large number of leaves or accessories to hold attention. Its compact body can become a visual anchor in a shallow bowl or low glass display.
If several plants will surround it, leave enough open space for the cactus outline to remain visible rather than burying the lower portion behind vines and mushrooms.
Keep the Base Proportional to the Container
The soil section contributes to the finished silhouette, so consider the complete base when choosing a vessel. A narrow jar opening can be more limiting than the interior diameter.
Make the cactus first if possible, then use the actual finished object to test container proportions instead of relying on an estimated scale.
Creator Credit: Hooked by Robin
2. Crochet Spotted Mushroom Amigurumi for a Woodland Terrarium
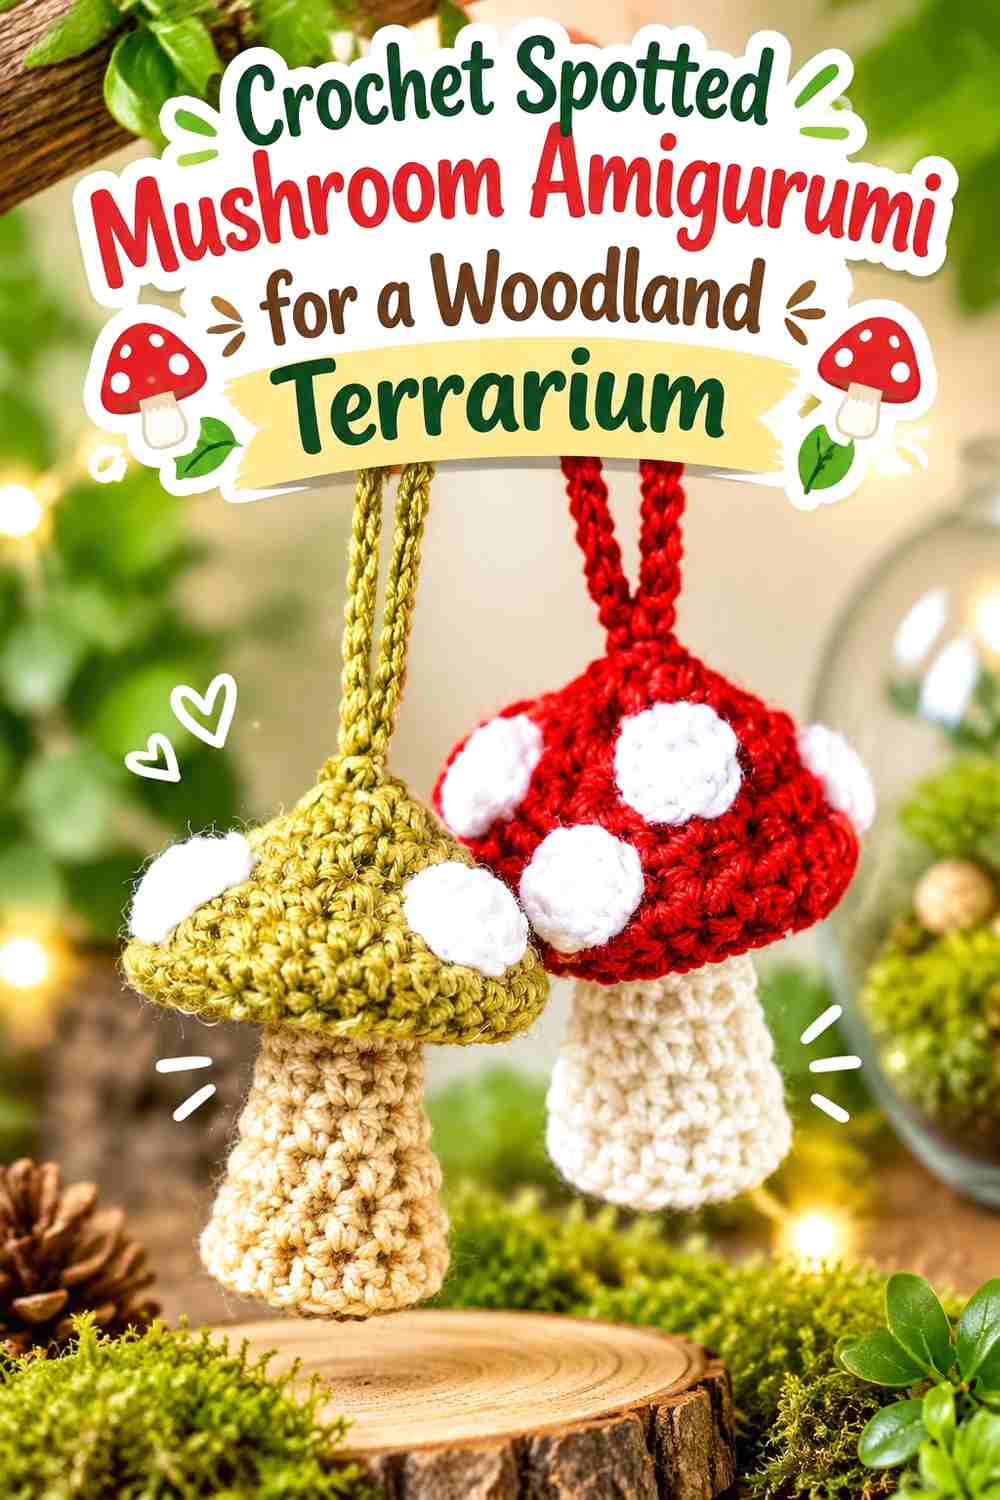
A mushroom brings a low woodland shape into a collection dominated by green foliage. Brunaticality’s tutorial creates a cottagecore-style mushroom with a contrasting cap, underside, and decorative spots, producing a distinct silhouette without requiring a pot.
That makes it especially useful beneath taller plants where another upright pot would create unnecessary bulk.
Cap Width Changes How Much Ground Space You Need
Mushrooms can occupy more horizontal space than their stems suggest. Check the finished cap before choosing a narrow jar or crowding it beside a cactus.
A little space around the cap also makes the mushroom easier to recognize from the normal front viewing angle.
Use the Mushroom as a Low Woodland Anchor
Place a mushroom near moss, a snail, or the base of the pine tree to establish a forest-floor section of the display.
It can also separate two different green plants. The contrasting cap creates a visual pause between foliage textures without requiring another bright flower.
Creator Credit: Brunaticality
3. Crochet Moss Ball Amigurumi Terrarium
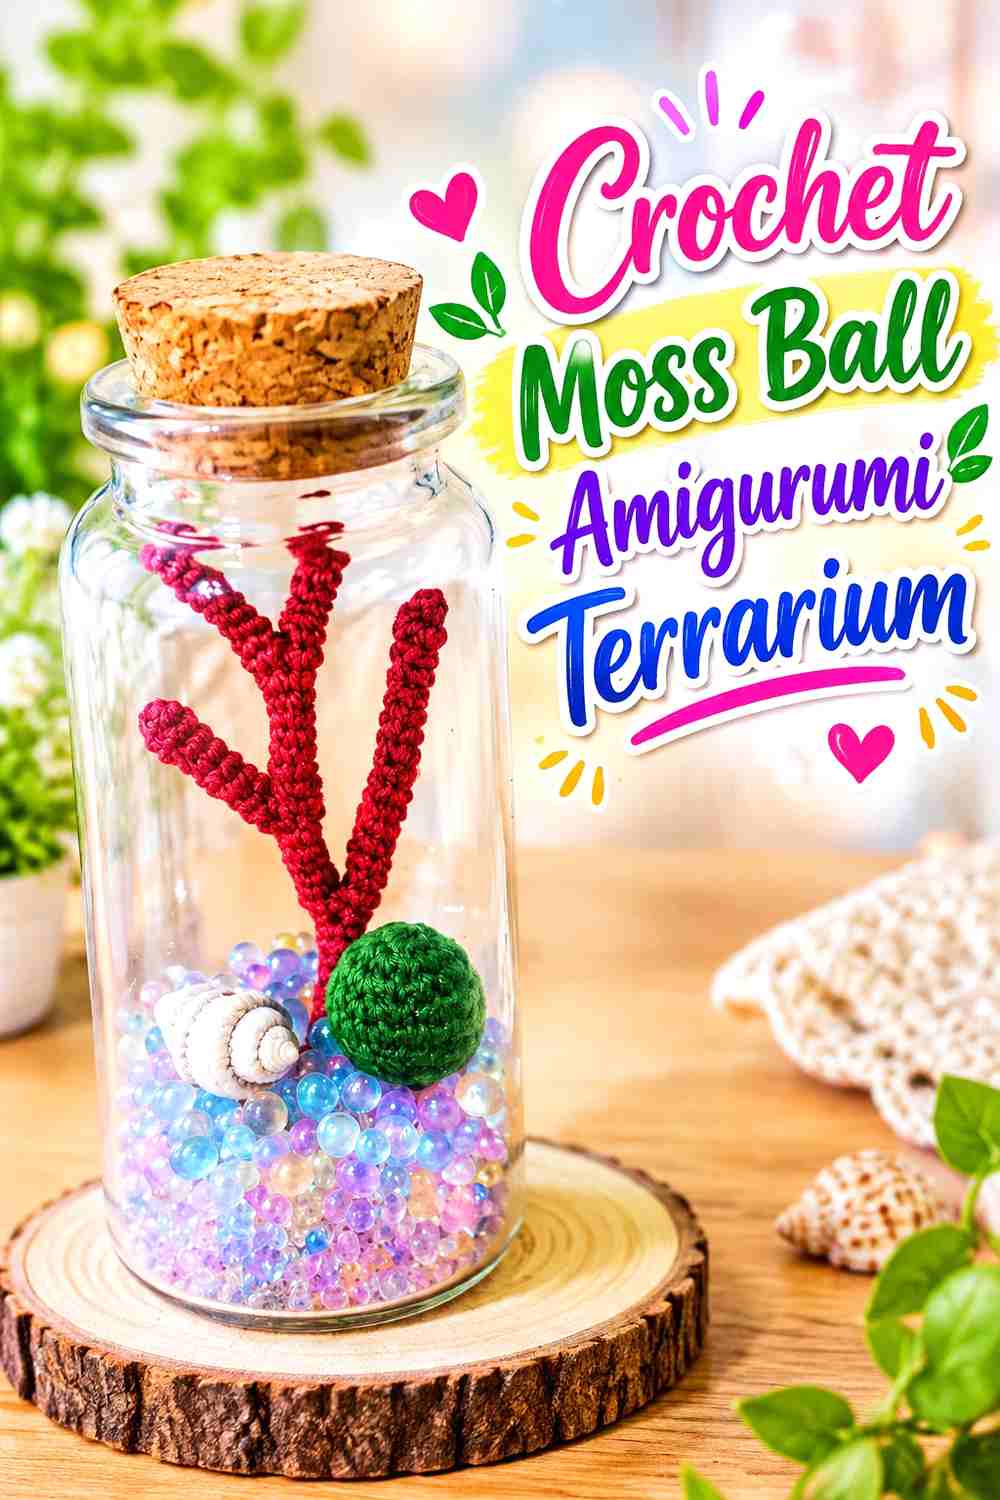
This project comes closest to the literal terrarium idea in the collection. Crochet Dreamer’s tutorial combines a small crocheted moss ball with a coral-like form and assembles the elements as a tiny terrarium display.
It provides a useful reference for thinking about scale because the crochet pieces are designed to function as components inside a small container rather than as independent full-size houseplants.
The Vessel Opening Sets the Real Size Limit
When a crochet piece will actually sit inside a jar, measure the opening first. A soft component may compress slightly, but delicate projections can distort when pushed through a neck that is too narrow.
Test the largest component before finishing the entire arrangement around a container that may not accept it.
Mixed Textures Make a Tiny Scene Feel Fuller
The moss-ball form is intentionally simple, while the companion shape creates more irregular texture. That contrast is useful in very small displays where there is not enough room for several full potted plants.
Instead of adding many colors, vary the surface shapes and heights so the terrarium feels layered without becoming crowded.
Creator Credit: Crochet Dreamer
4. Crochet Tiny Flower Pot Amigurumi for a Botanical Terrarium
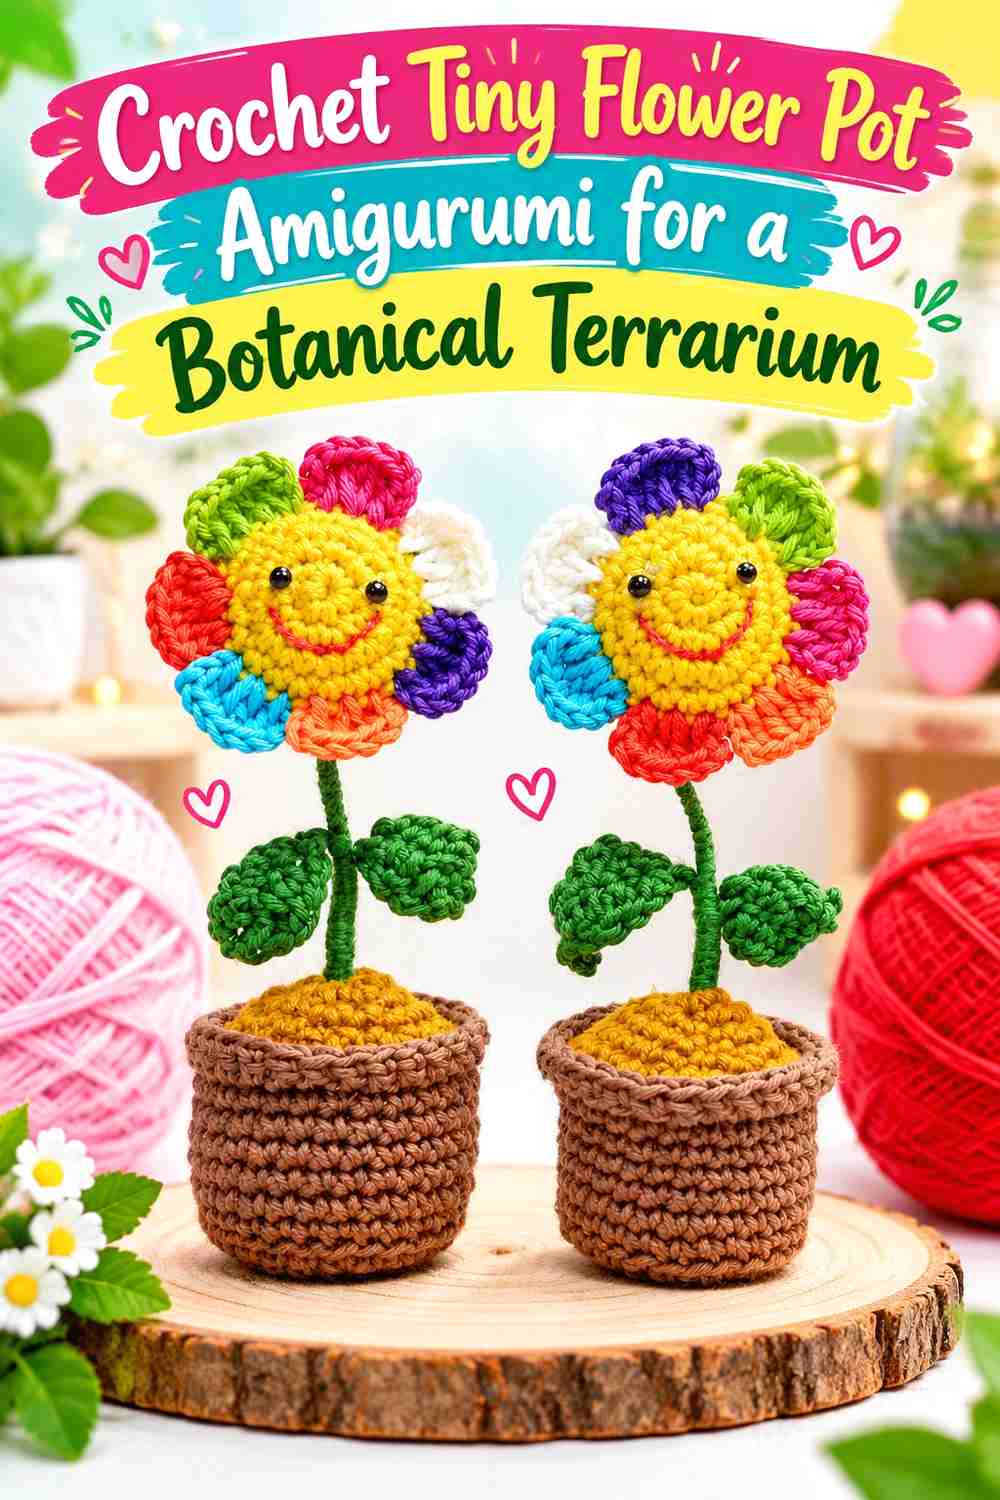
Flowers add a vertical accent that the cactus, mushroom, and moss pieces do not provide. Cennagurumi demonstrates a miniature flower arrangement with leaves, flowers, soil, and a pot; the tutorial’s listed materials also include wire and glue, which is important to note when deciding how the finished item will be used.
For a shelf terrarium, this works best as a small botanical focal point rather than one of several nearly identical flower pots.
Tiny Blossoms Add Height Without a Heavy Silhouette
Small stems can rise above lower foliage while leaving plenty of open space around them. That makes a flower pot useful near wide succulents or a low moss grouping.
Place the flowers where their tops remain visible rather than behind an opaque rim or a taller plant.
Check Structural Materials Before Treating It as a Toy
A decorative crochet plant can use materials that make sense for shelf display but are not appropriate for every recipient.
If you are making the project for a child rather than a winter shelf, review the creator’s material list and construction before changing, omitting, or substituting structural components.
Creator Credit: Cennagurumi
5. Crochet Hanging Money Plant Amigurumi for a Trailing Terrarium
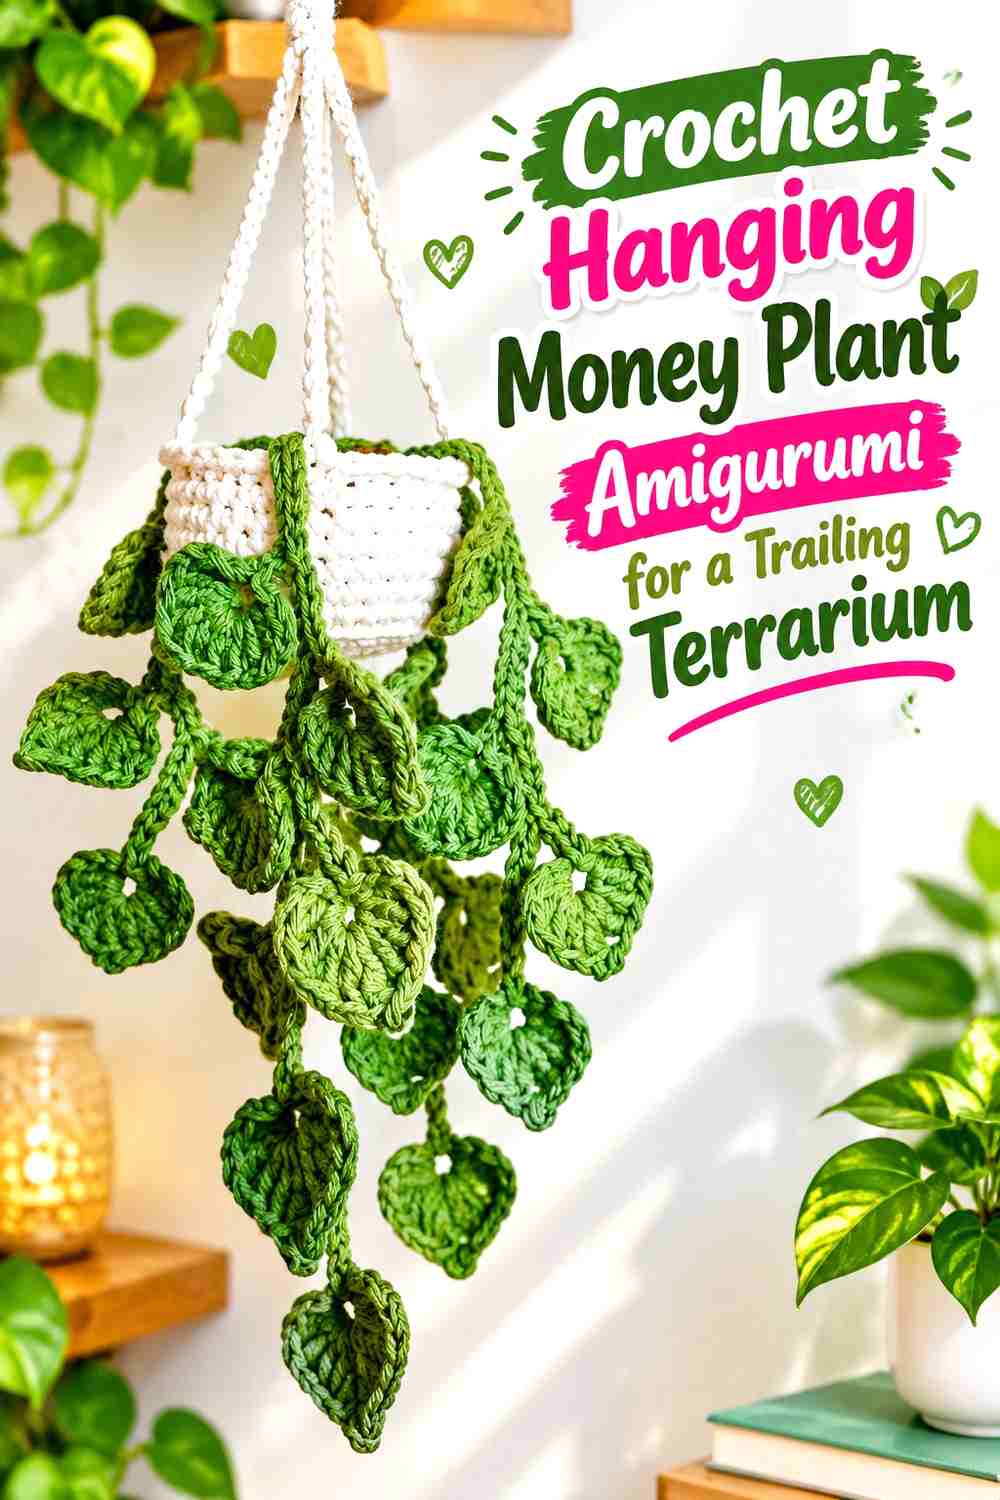
A trailing money plant introduces movement that upright potted projects cannot provide. Make It Yourself By Papari demonstrates repeating leafy vines for a miniature hanging plant, creating a form that naturally suits the edge of a shelf, raised terrarium stand, or hanging section of a larger display.
The tutorial focuses on the plant vines, with the hanging basket handled separately, so decide how you want to support the foliage before planning the final composition.
Trailing Leaves Work Better Above the Ground Layer
A hanging vine loses much of its character when its length is coiled on the base beside other plants.
Give the strands somewhere to fall naturally: over a small stand, from the upper edge of a display frame, or beside a raised pot where the leaves remain visible.
Separate Vine Length From Overall Terrarium Scale
Longer does not necessarily mean the leaves themselves should become larger. When adapting a trailing plant to a compact shelf display, compare leaf size with nearby mushrooms, insects, and pots.
If the individual leaves dominate everything else, the terrarium can begin to look like one oversized plant with miniature accessories.
Creator Credit: Make It Yourself By Papari
6. Crochet String-of-Pearls Amigurumi for a Cascading Terrarium
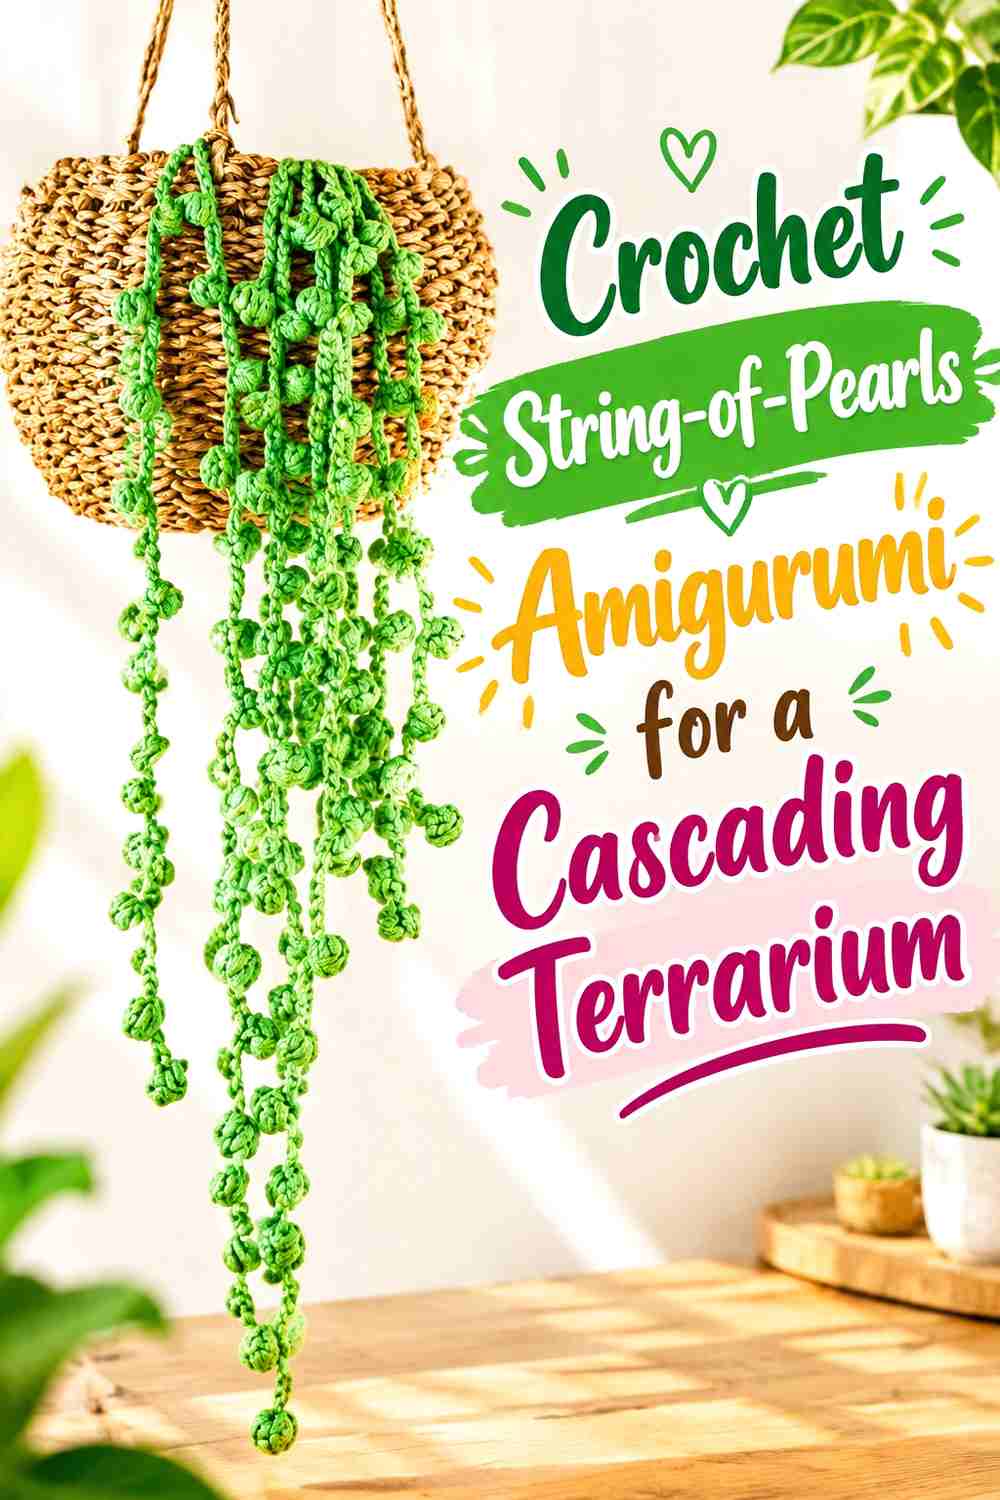
String-of-pearls creates a finer trailing texture than broad-leaf vines. Moara Crochet’s tutorial focuses on the recognizable succession of small rounded forms along hanging strands, giving the finished plant a lightweight cascading appearance.
That makes it especially helpful when a money plant would look too broad for the available space.
Rounded Trails Add Detail Without a Wide Canopy
The narrow strands can fill vertical empty space while leaving the background visible.
Try placing the plant near the side of a cloche or shelf rather than directly in front of another detailed amigurumi. The individual “pearls” are easier to appreciate against a simple background.
Avoid Letting Every Strand End at the Same Height
A natural-looking display often benefits from staggered visual levels, but follow the creator’s construction before making major changes.
When arranging the finished piece, you can vary how individual strands fall without altering the crochet pattern itself.
Creator Credit: Moara Crochet
7. Crochet Monstera Amigurumi for a Leafy Terrarium
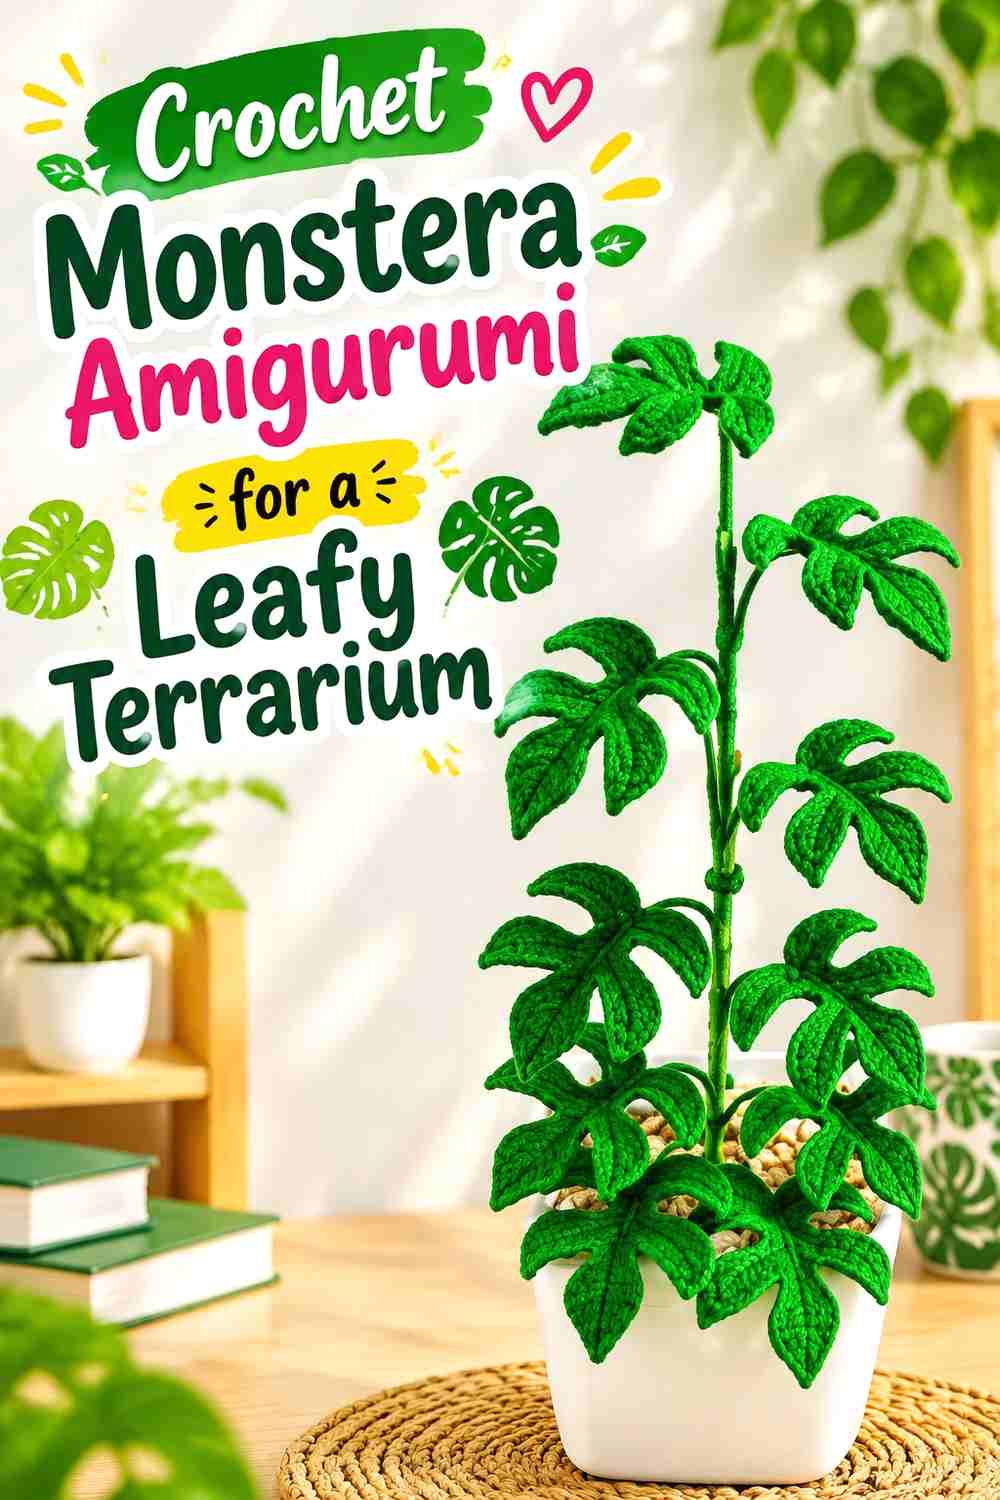
Monstera-style foliage adds broad, divided leaves that immediately distinguish it from narrow grasses and bead-like trailing plants. Gonkui Crochet’s tutorial series demonstrates a Monstera Ginny plant, and the listed materials include florist wire for shaping the botanical components.
This is a stronger choice for a detailed shelf botanical display than for a soft toy collection.
Give Split Leaves Enough Empty Background
Detailed leaves need contrast around their edges. If they overlap several other green plants, their most interesting shape can disappear.
Place the monstera slightly apart from dense fern fronds or use a lighter backdrop behind it so the leaf outline remains readable.
Wired Structure Changes How You Should Use the Finished Plant
If you follow a tutorial that uses florist wire, treat that structural choice as part of the project’s intended display behavior.
Do not assume that simply leaving the wire out will produce the same leaf posture. If you need a fully soft version, choose a construction specifically intended to hold its form without internal wire.
Creator Credit: Gonkui Crochet
8. Crochet Snake Plant Amigurumi for an Upright Terrarium
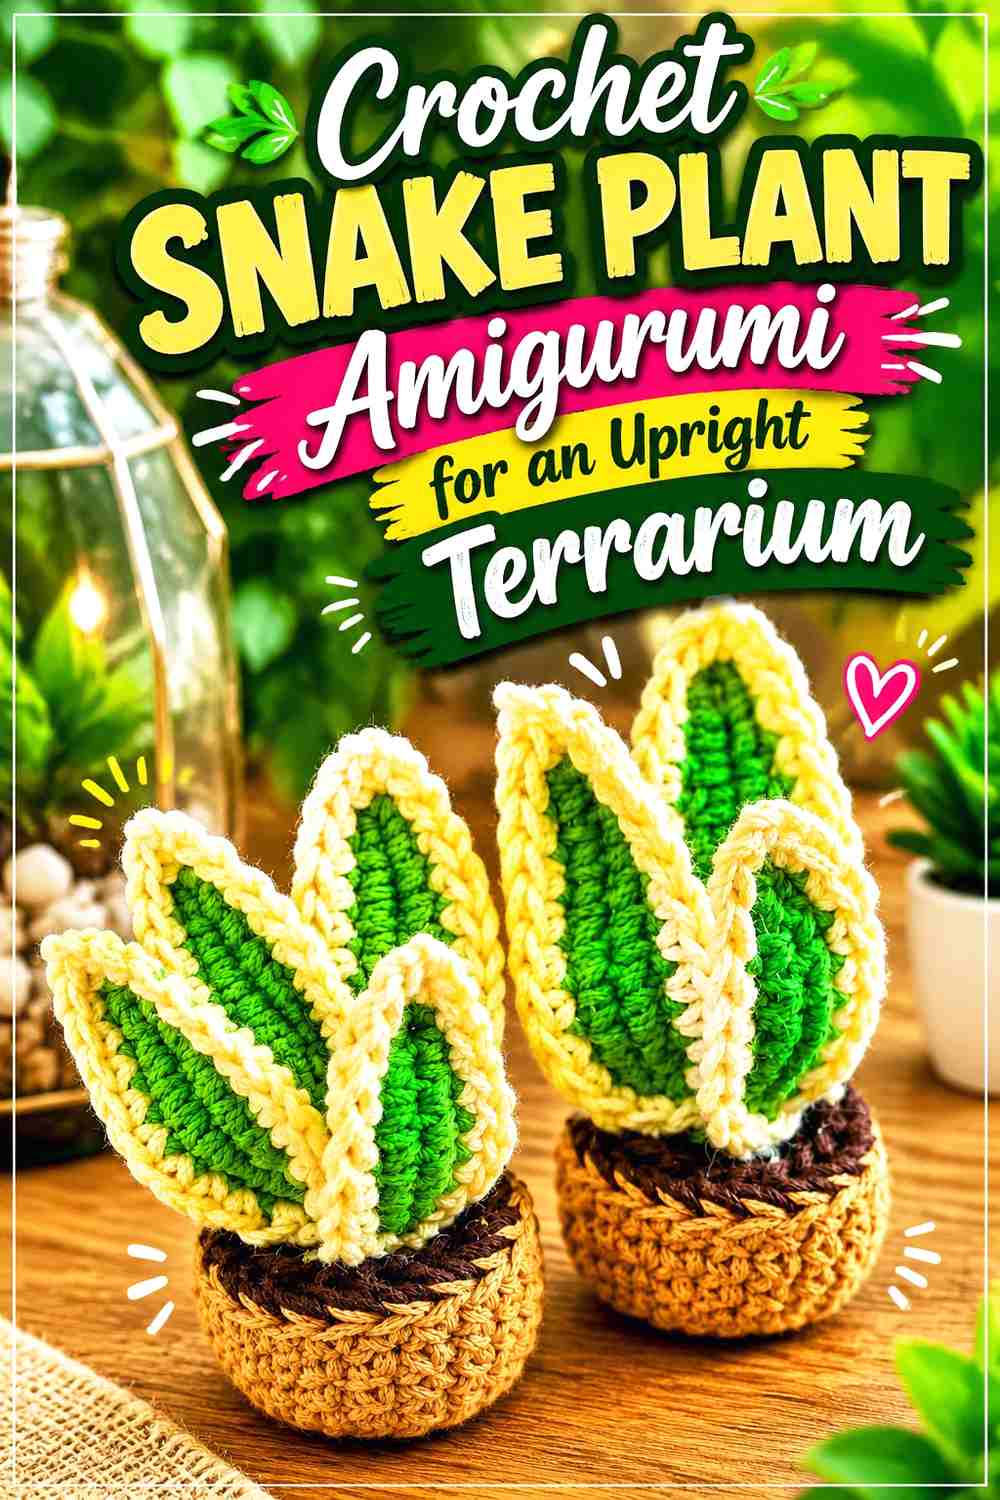
A snake plant adds narrow vertical leaves without creating a large horizontal canopy. Shelen Crochet’s tutorial combines a small pot with an upright cluster of leaves, producing a silhouette that can fit naturally behind lower terrarium elements.
This makes it useful when the display needs height but you do not want another broad focal plant.
Vertical Leaves Can Fill a Narrow Back Corner
Use the snake plant where a mushroom or low succulent would leave too much empty height. Its upright lines can frame another object without hiding it completely.
A corner position also prevents the leaves from cutting visually across the face of a small animal placed behind them.
Keep the Leaf Cluster From Becoming a Solid Green Block
At miniature scale, closely grouped leaves can merge from a distance. Check the project at normal shelf-viewing distance before adding more nearby foliage.
A simple pot color and open space around the upper leaves can help preserve the individual shapes.
Creator Credit: Shelen Crochet
9. Crochet Rosette Succulent Amigurumi for a Low Terrarium
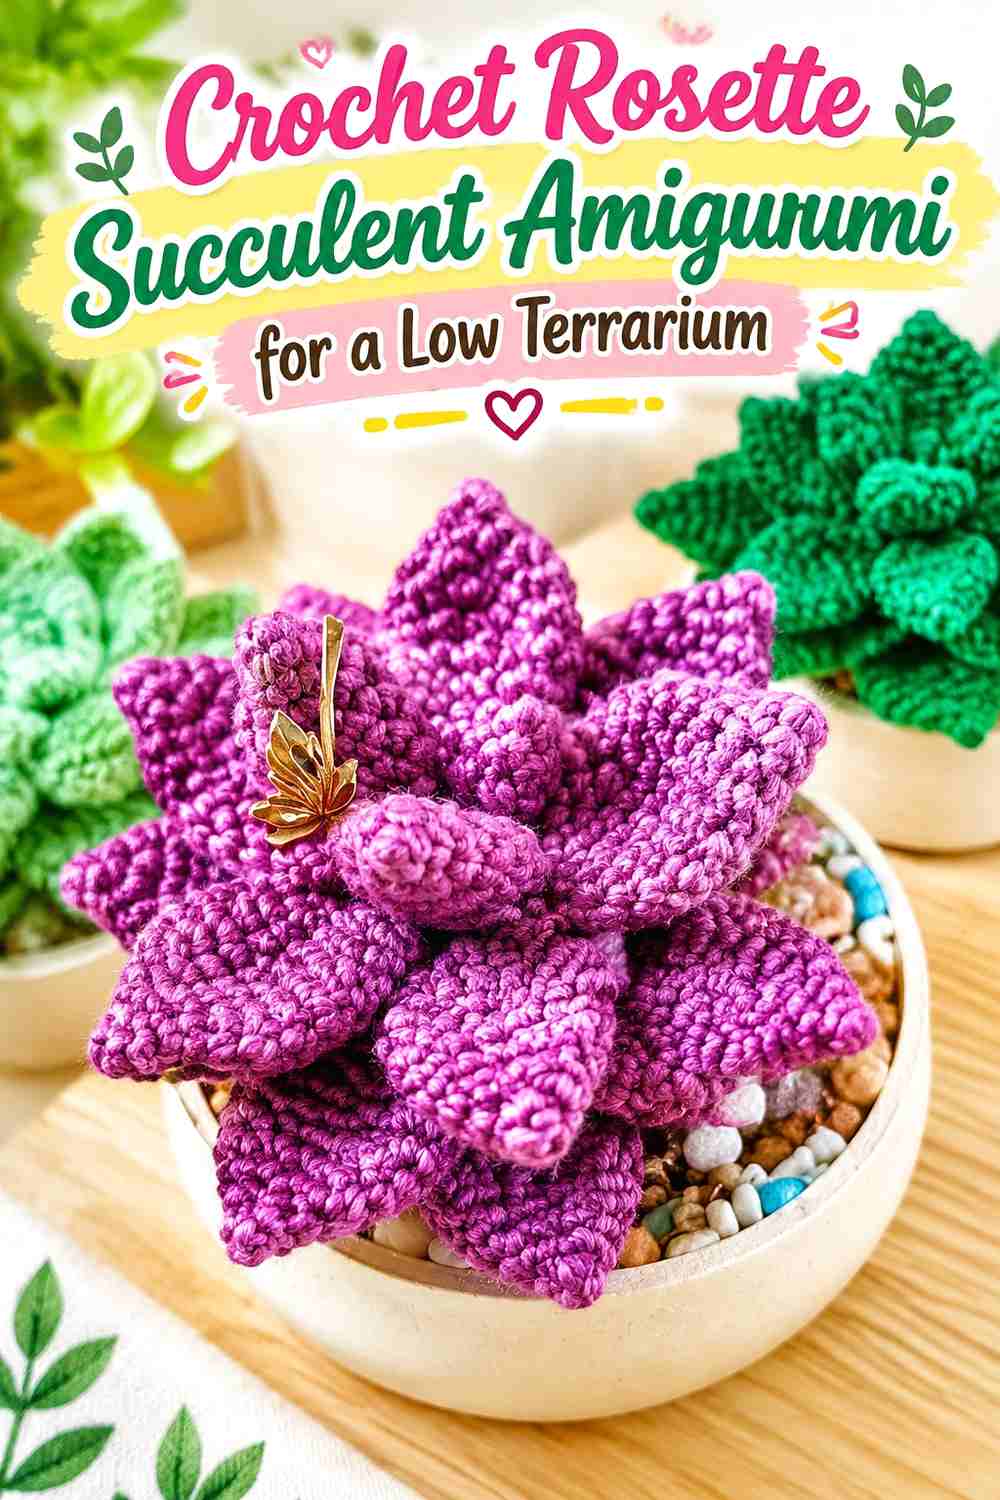
A succulent creates density close to the base rather than height. Toffee Fields Crochet & DIY demonstrates a layered crochet succulent intended for decorative use, making it a useful contrast to the vertical snake plant and cascading vines.
Its rosette-like arrangement can work particularly well in a shallow bowl or open terrarium where the top surface is easy to see.
Layered Leaves Create a Strong Top View
The succulent’s main visual interest is concentrated across the upper surface. If it sits inside a tall opaque pot or behind a raised rim, much of that detail may disappear.
Use it where the viewer can see slightly downward into the arrangement.
A Low Plant Can Balance Taller Pieces
Place the succulent near a pine tree, flower pot, or snake plant to create a deliberate height transition.
It is also useful toward the front of a display because its compact shape is less likely to block objects placed behind it.
Creator Credit: Toffee Fields Crochet & DIY
10. Crochet Tiny Snail Amigurumi for a Woodland Terrarium
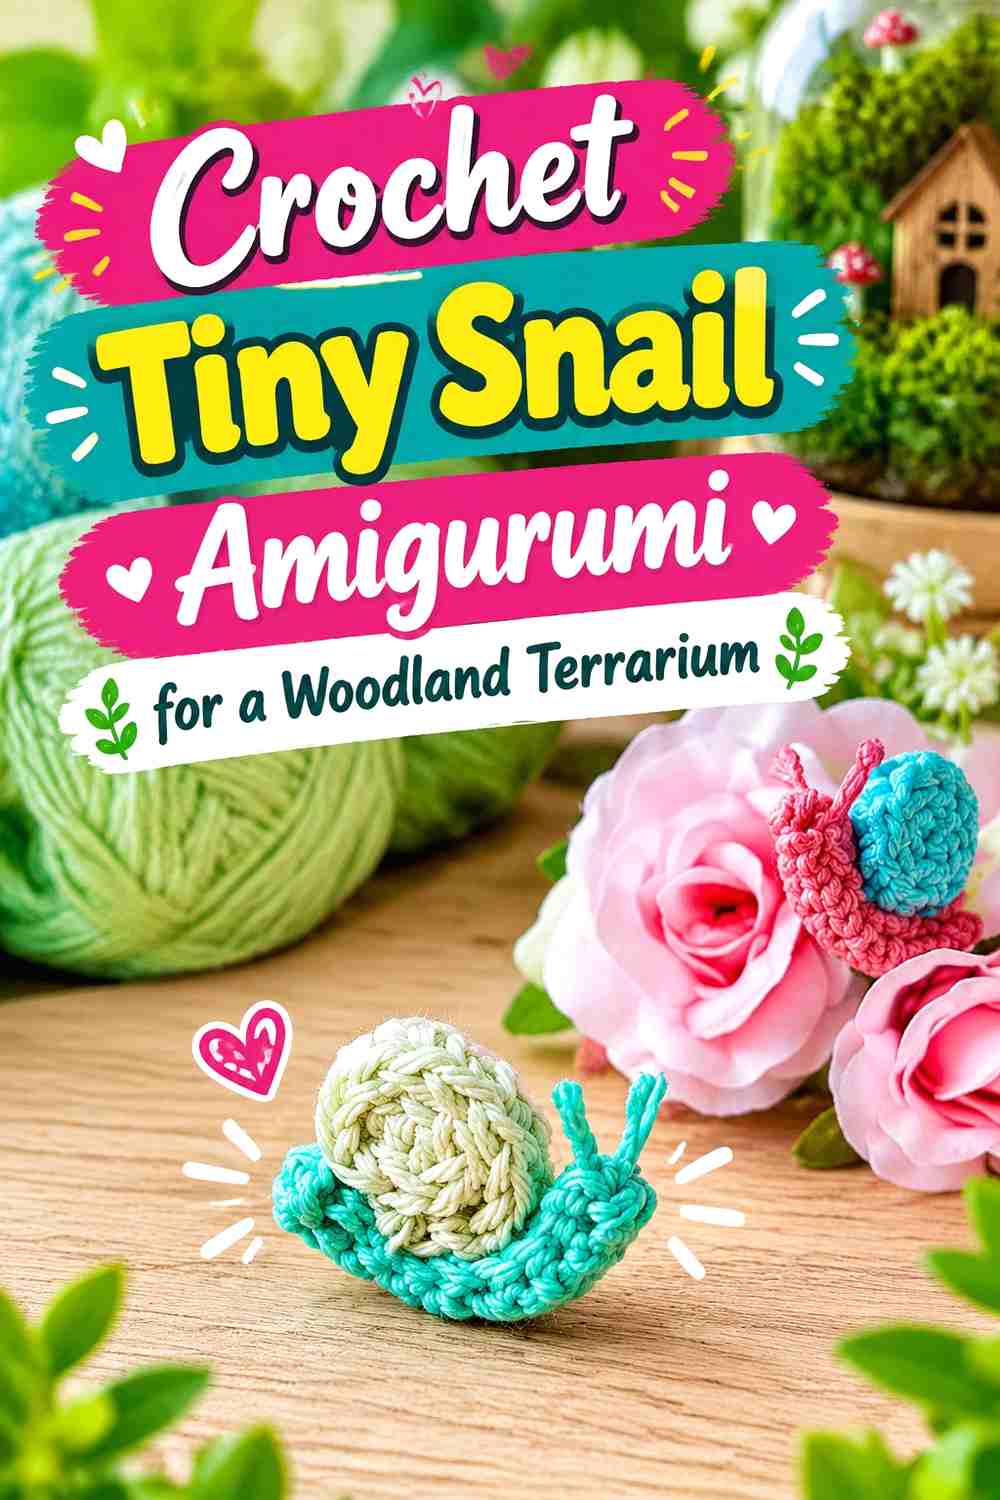
A tiny snail changes the display from a collection of plants into a miniature habitat. HappyBerry Crochet’s tutorial creates a small snail designed to work as an amigurumi detail or embellishment, making its scale especially useful beside mushrooms and moss.
The spiral shell also introduces a rounded graphic detail that does not resemble any of the plant silhouettes.
Use the Snail to Break the All-Green Rhythm
One small creature can add personality without turning the terrarium into an animal collection.
Position it beside a mushroom, at the base of a pot, or near a moss grouping where it appears connected to the scene rather than placed randomly on an empty shelf.
Keep the Tiny Silhouette Visible From the Front
Very small details disappear easily behind pot rims and foliage.
Before settling on a permanent arrangement, look straight at the display from normal shelf height and make sure the shell and body remain identifiable.
Creator Credit: HappyBerry Crochet
11. Crochet Ladybug Amigurumi for a Mini Garden Terrarium
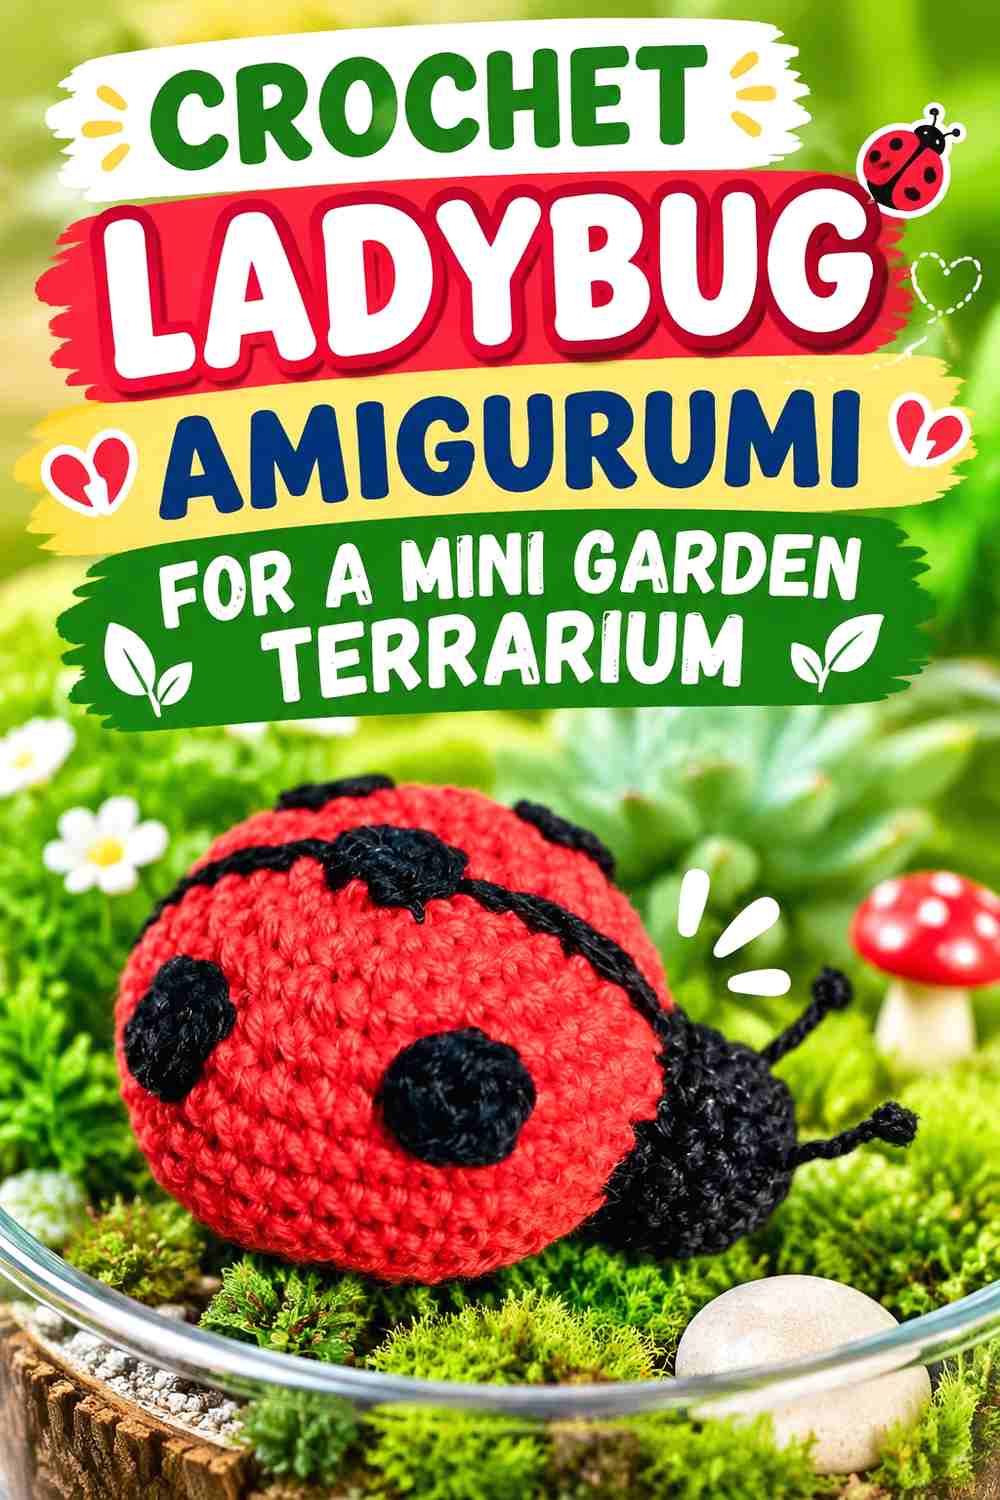
A ladybug introduces a concentrated red-and-black accent among predominantly green and brown projects. The Crochet Circle demonstrates a stuffed ladybug amigurumi with the characteristic spotted back and contrasting head.
Because its shape stays close to the ground, it works well as a small foreground detail rather than competing with the larger botanical pieces.
A Small Red Accent Can Direct the Eye
You do not need several brightly colored flowers to keep a green display interesting. One ladybug can create a clear focal point near the front.
Repeat its red only sparingly elsewhere if you want the display to feel coordinated rather than heavily multicolored.
Match the Bug to the Scale of the Foliage
A ladybug that visually outweighs the plant beside it can make the scene feel less like a miniature habitat.
If you alter yarn or hook size, make a test piece and compare it directly with the leaves and mushrooms you already plan to use.
Creator Credit: The Crochet Circle
12. Crochet Frog Amigurumi for a Tiny Pond Terrarium
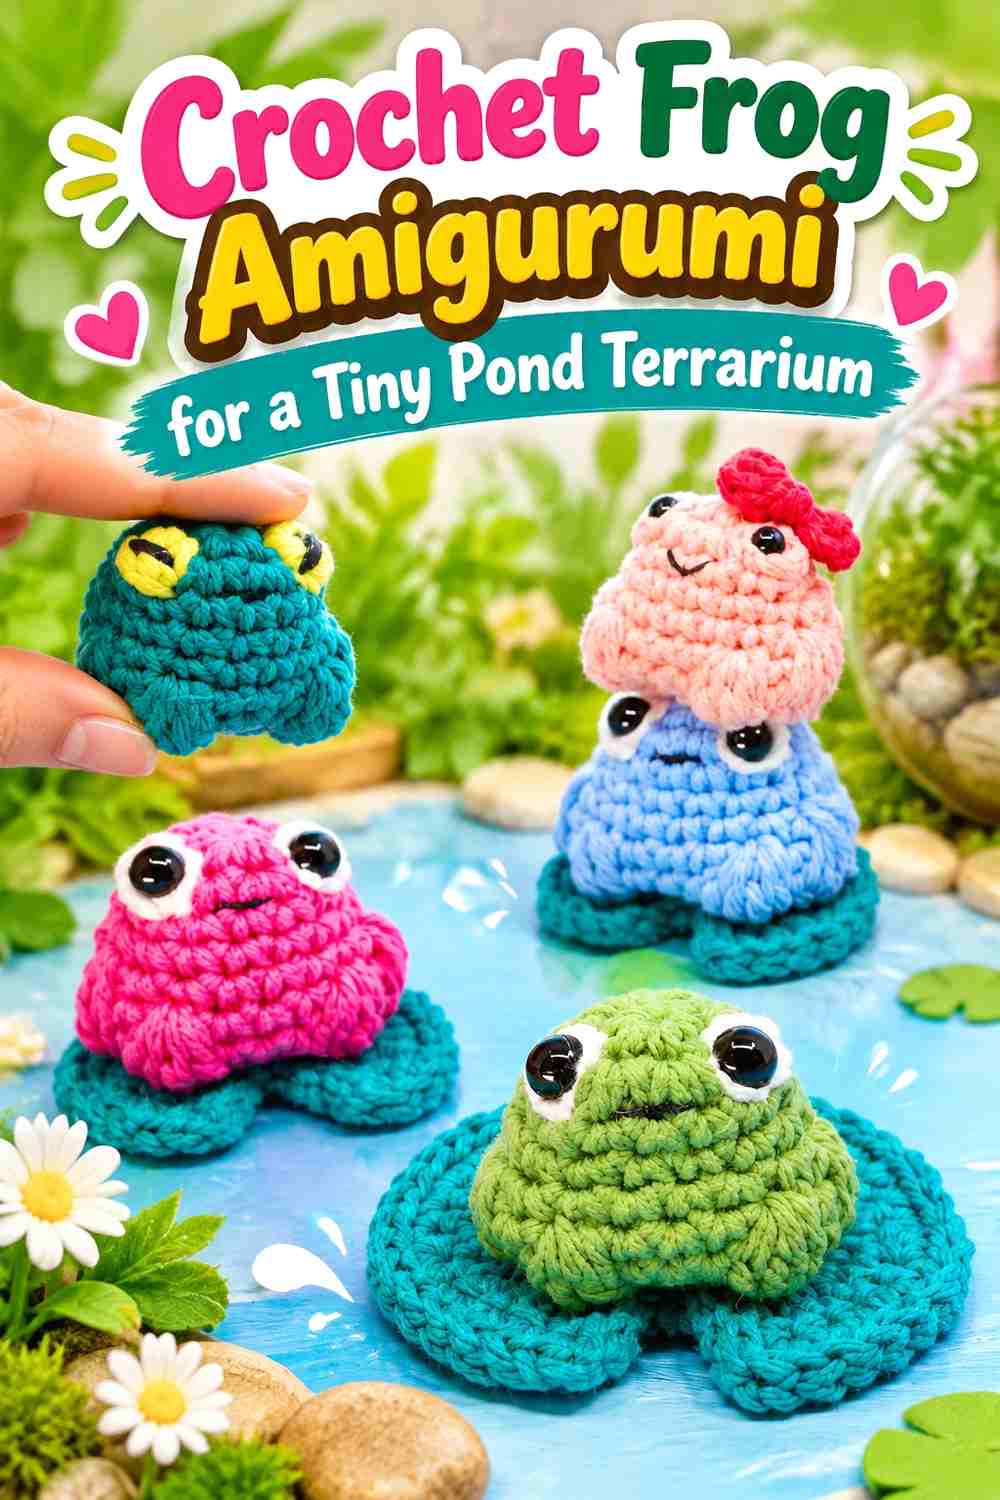
A frog gives the collection a second creature with a different shape and stronger visual presence. Club Crochet’s tutorial produces a compact frog amigurumi; the project also uses magnets in its original construction, so that material choice deserves attention if you plan to adapt the design for a different purpose.
For a terrarium-inspired shelf, the frog can sit beside a low green base or a separate crochet lily-pad-style element rather than needing an actual water feature.
Give the Frog Its Own Small Scene
Instead of dropping the frog between unrelated pots, build a clear visual zone around it. Low greenery, a flat leaf shape, or open “ground” helps the figure feel intentional.
That also keeps the animal from competing with the dense monstera or fern areas.
Review the Magnet Construction for the Intended Recipient
The original tutorial incorporates magnets as part of the project. If the finished amigurumi will be handled by children rather than displayed on a shelf, review that construction carefully and choose an age-appropriate design and materials.
Do not simply remove structural components and assume the finished result will behave exactly the same way.
Creator Credit: Club Crochet
13. Crochet Hanging Fern Amigurumi for a Forest Terrarium
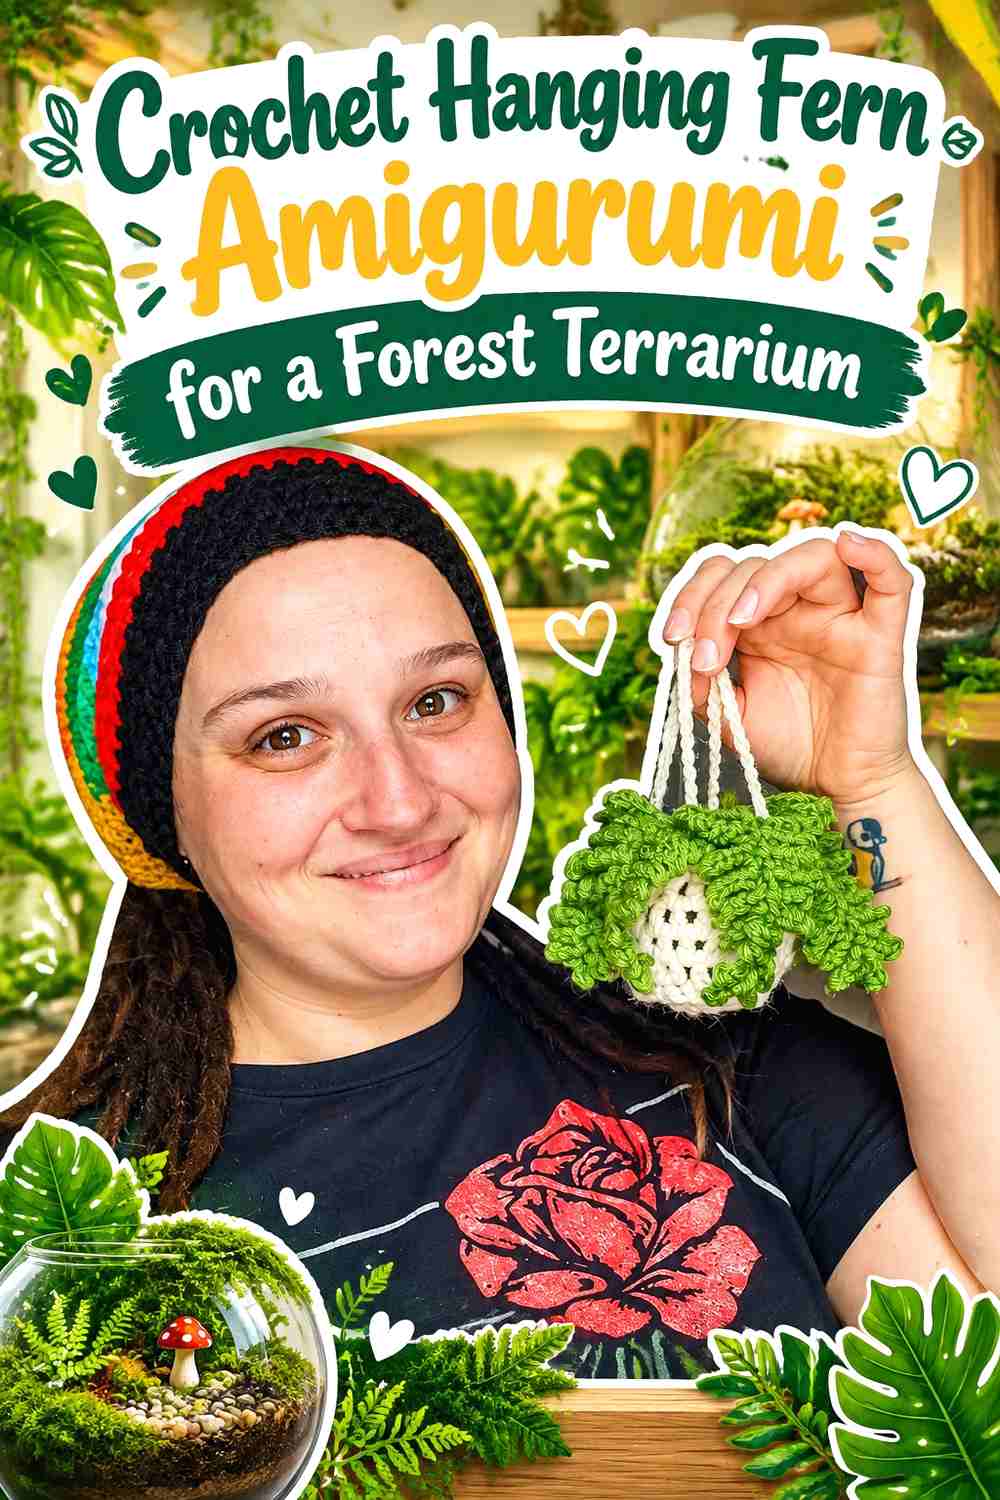
Fern fronds bring a fine, feathery texture that differs from the rounded string-of-pearls and broad money-plant foliage. For Goodness Keepsakes demonstrates a complete hanging fern with its pot, creating a finished object that can occupy the upper portion of a shelf arrangement.
This is especially useful when your lower level is already filled with mushrooms, succulents, and small animals.
Fern Fronds Can Frame the Display From Above
A hanging fern does not need to sit in the center. Letting it descend from one side can create a natural frame around the other pieces.
Keep the densest portion away from detailed monstera leaves so the two textures do not visually merge.
Treat the Hanging Pot as a Separate Visual Layer
The pot contributes another color and solid shape above the trailing greenery.
If the shelf already contains many terracotta-colored bases, consider coordinating the fern pot with the overall palette rather than automatically repeating the same strong color in every container.
Creator Credit: For Goodness Keepsakes
14. Crochet Mini Pine Tree Amigurumi for a Winter Terrarium
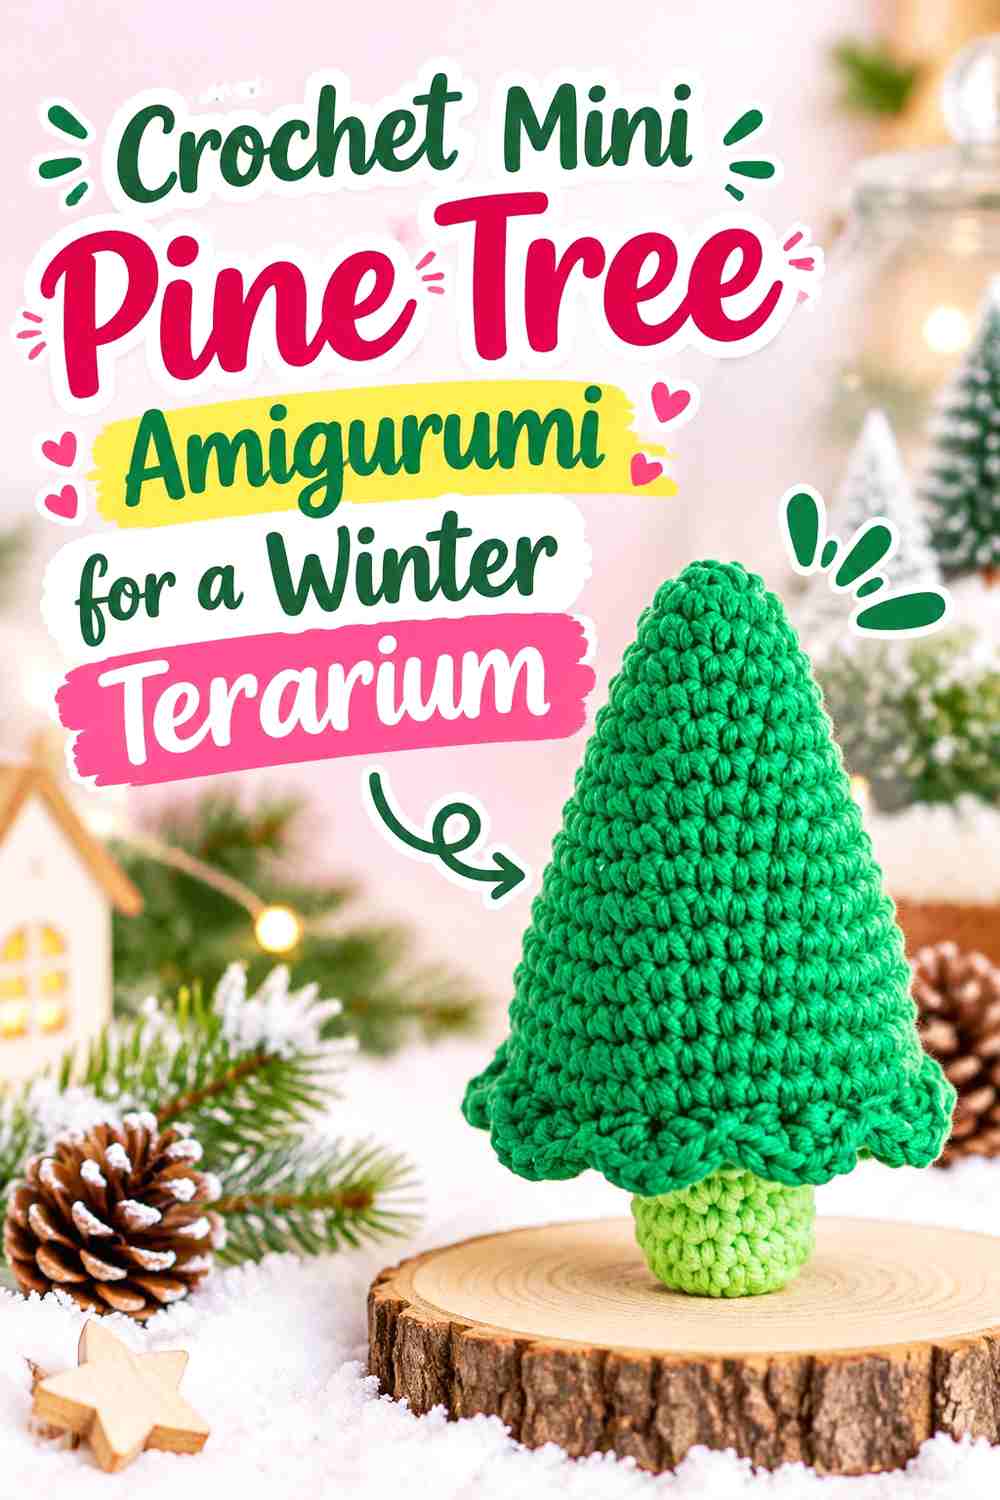
A small pine tree is an efficient way to make the entire arrangement feel more wintry. Garnknuten’s pine-tree amigurumi is a compact stuffed evergreen form intended for decorative uses, giving the collection a strong vertical silhouette without requiring a separate flower pot.
Unlike a specifically Christmas-decorated tree, a simple green evergreen can remain on a winter shelf well beyond the holiday season.
One Evergreen Can Set the Seasonal Direction
You do not need miniature ornaments on every plant. The pine shape itself is enough to suggest cold-weather woodland scenery.
Place it near the mushroom and snail for a forest grouping, or use it at one end of the shelf to visually frame the botanical pieces.
Keep the Tree Taller Than the Ground-Level Details
The evergreen works best when it provides a clear height contrast with the mushroom, moss, insect, and snail.
If you resize the project, compare it with those finished pieces before making several trees. A little difference in height is useful; a dramatic scale mismatch can make the smaller items look accidental.
Creator Credit: Garnknuten
Which Crochet Mini Terrarium Idea Fits Your Shelf?
| Display Role | Good Choices | Main Planning Point |
|---|---|---|
| Low ground layer | Mushroom, moss ball, succulent | Preserve top and cap visibility |
| Upright greenery | Cactus, snake plant, flowers, pine tree | Check vessel and shelf height |
| Broad statement foliage | Monstera | Leave open background around leaves |
| Cascading greenery | Money plant, string of pearls, fern | Give strands room to hang |
| Tiny habitat details | Snail, ladybug, frog | Match creature scale to foliage |
| Strongest winter accent | Pine tree | Use one evergreen to set the season |
| Literal terrarium concept | Moss-ball terrarium | Measure the container opening first |
For the most balanced arrangement, avoid using all fourteen at the same height. A few low pieces, two or three upright plants, one trailing element, and a carefully placed creature can look more convincing than filling every available surface.
Conclusion
The cactus, snake plant, succulent, and flower pot are useful choices when you want recognizable miniature houseplants. Monstera, string of pearls, money plant, and fern add more movement and leaf variation, while the mushroom and moss ball bring the composition closer to the forest floor.
The snail, ladybug, and frog are useful when you want the shelf to feel like a tiny habitat rather than a collection of crochet pots. For the strongest winter mood, finish the arrangement with the miniature pine tree and let that evergreen silhouette carry most of the seasonal styling.
Before committing to a container or a full fourteen-piece collection, complete a few projects from different creators and compare their actual dimensions. Then decide which pieces should be resized, elevated, hung, or left outside the glass. Use the original tutorials for exact construction details and treat any substantial scale or material changes as separate adaptations.
Frequently Asked Questions
Can crochet amigurumi go inside a real planted terrarium?
A dry decorative terrarium is the more practical setting for ordinary crochet amigurumi. Living terrariums may contain damp soil, condensation, or regular misting, while crochet projects can include yarn, stuffing, cardboard, wire, glue, and other craft materials not intended for prolonged moisture exposure.
Keep the crochet display separate from wet growing conditions unless every material you use has been specifically evaluated for that environment.
How do I make fourteen crochet terrarium projects from different tutorials look like one collection?
Repeat a controlled palette and a few shared display materials. Similar pot colors, two or three related greens, repeated cream or brown accents, and one consistent shelf or tray can connect projects that use very different constructions.
You do not need to alter every pattern into the same shape.
Which crochet terrarium projects work best in a shallow bowl?
Low projects such as a mushroom, moss ball, succulent, snail, and ladybug are useful starting points because they do not depend on substantial vertical clearance.
A small cactus can add height without taking over the entire arrangement.
Which ideas are better for a tall glass cloche?
Upright plants such as the snake plant, flowers, or pine tree make better use of vertical room. A trailing piece can also work if you create an internal raised point that lets the foliage fall rather than collect on the base.
Measure both the cloche interior and its opening before choosing the project.
How can I add a winter look without making a Christmas terrarium?
Use evergreen shapes, muted forest greens, cream, brown, gray, and restrained berry-colored accents. A single pine tree can establish the seasonal direction without adding ornaments or holiday motifs to every plant.
This keeps the display useful throughout the colder months.
Should every crochet plant be made with the same yarn weight?
Not necessarily. What matters visually is the relationship between the finished sizes and textures.
Different yarn weights can work together, but make samples before committing to the whole collection. A thick-yarn snail beside a very fine monstera, for example, may create an unintended scale difference.
What should I check before making crochet terrarium pieces for children?
Review each tutorial’s full material list. Some decorative projects may use safety eyes, wire, glue, magnets, cardboard, keyring hardware, or other components that require additional consideration.
Choose a construction specifically suited to the recipient rather than assuming that a shelf decoration is automatically appropriate as a toy.