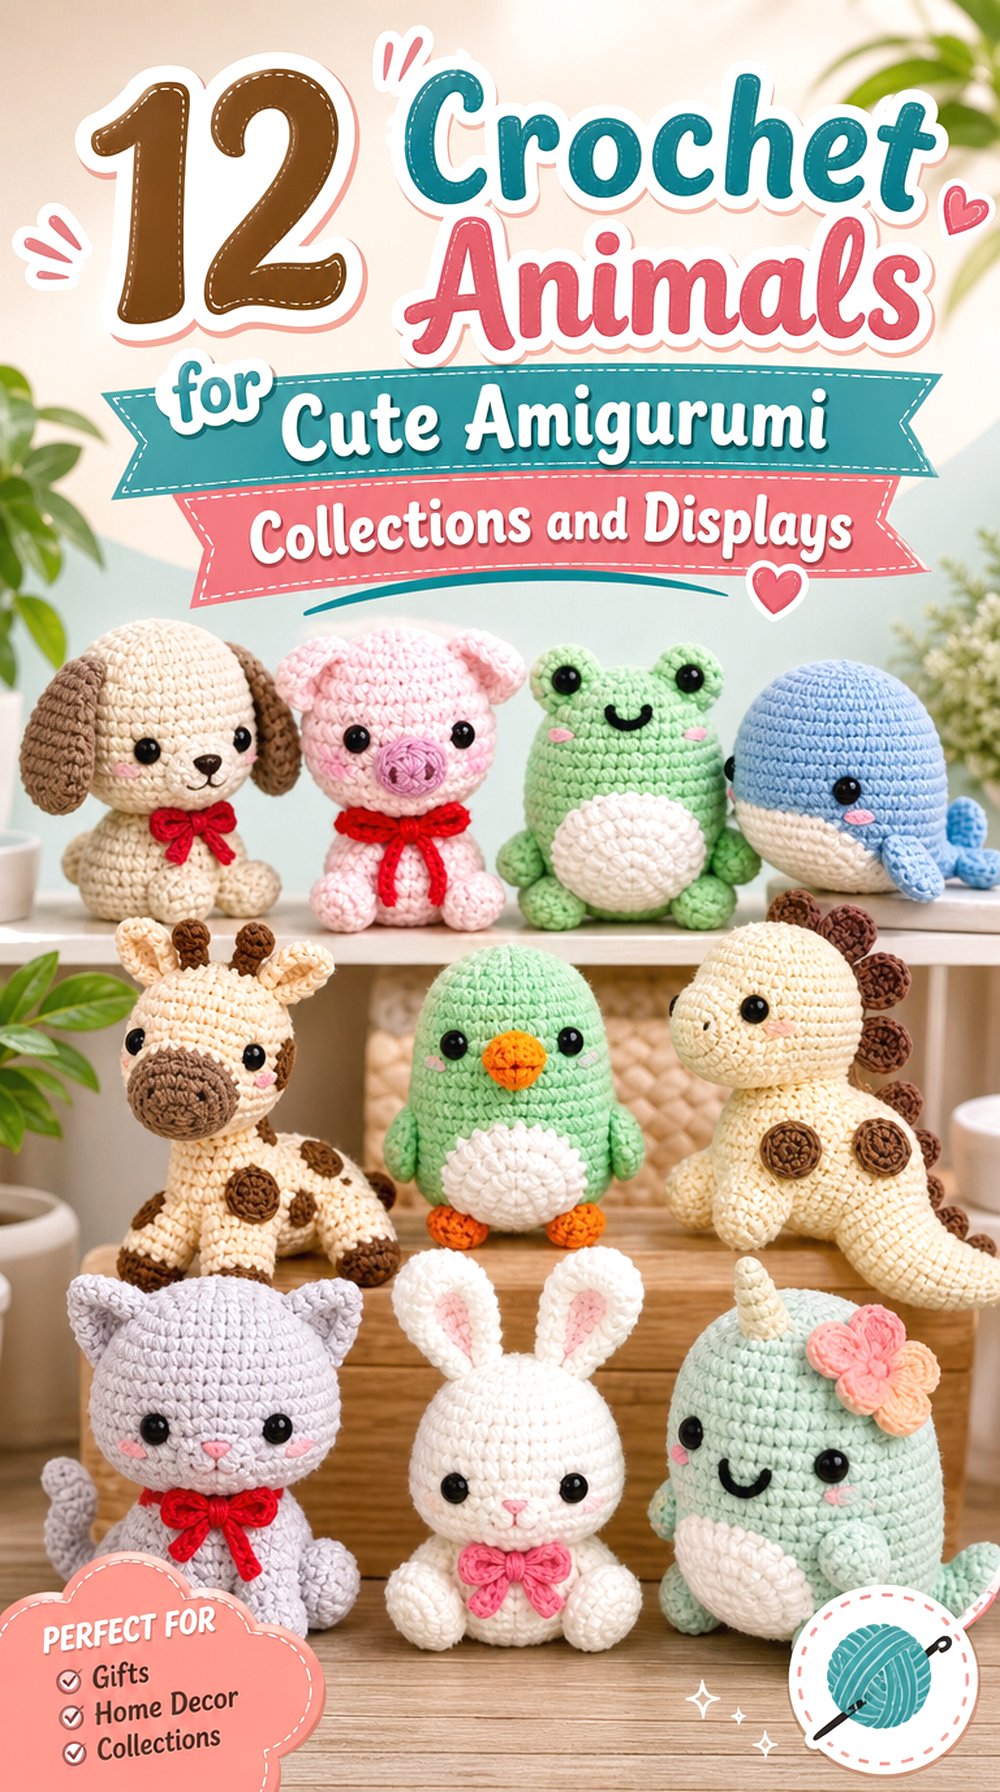
Crochet blind bag amigurumi turns a handmade gift into a small surprise collection. Instead of giving one predictable plush, you can build a winter assortment with different characters, foods, ornaments, and seasonal objects, then package each piece so the recipient does not know which design is inside.
The important part is creating genuine variety. A snowman, cocoa mug, gingerbread figure, nutcracker, and bauble feel much more collectible together than fifteen similarly shaped animals in different colors. Shape, accessories, construction, and display style all help one “pull” feel different from the next.
The tutorials below teach the featured crochet concepts, but they are not all designed specifically for blind-bag packaging or made to the same finished size. Check each creator’s finished dimensions and materials before planning a matched set. If you change yarn thickness or hook size to create a smaller collectible, remember that the fabric density, proportions, stuffing, and small details can change as well.
Quick List
- Crochet Cozy Scarf Winter Bear Amigurumi
- Crochet Top-Hat Snowman Amigurumi
- Crochet Santa Penguin Amigurumi
- Crochet Antlered Winter Reindeer Amigurumi
- Crochet Gingerbread Cookie Amigurumi
- Crochet Hot Cocoa Mug Amigurumi
- Crochet Decorated Christmas Tree Amigurumi
- Crochet Bearded Winter Gnome Amigurumi
- Crochet Plush Nutcracker Amigurumi
- Crochet Christmas Pudding Amigurumi
- Crochet Present Box Amigurumi
- Crochet Stuffed Winter Bauble Amigurumi
- Crochet Winter Angel Amigurumi
- Crochet Candy Cane Amigurumi
- Crochet Christmas Bell Amigurumi
What Makes a Crochet Blind Bag Collection Feel Collectible
A strong blind-bag series needs recognizable differences between individual pieces. Think about the silhouette first. Round characters such as a pudding or bauble provide compact shapes, while the candy cane creates a long curve and the tree introduces a tapered outline. Antlers, hats, wings, ribbons, handles, and scarves add another layer of distinction.
You can also create a collection around levels of rarity without changing the underlying tutorial. For example, a standard color palette could represent the regular version while one carefully planned alternate palette becomes a special variant. Keep those changes cosmetic unless you are comfortable evaluating how a construction change will affect the finished object.
Consistency still matters. If these pieces will be presented as one collectible set, repeat a few visual cues such as the same facial style, coordinated winter colors, matching gift tags, or one consistent packaging format. The goal is variety without making the group look unrelated.
Plan the Finished Scale Before Choosing the Packaging
Do not buy one size of blind-bag packaging before checking the tutorials. Several projects here are compact ornaments or mini amigurumi, while others can produce substantially larger finished objects with the demonstrated materials.
If you want all fifteen to fit a similar package, make one test project first. Measure its actual height, width, and depth after stuffing and finishing. Remember that antlers, hats, wings, handles, bows, and tree points can require more package space than the main body suggests.
Changing to thinner yarn and a suitably matched hook can reduce an amigurumi’s scale, but it is not a guaranteed one-step conversion. Tiny embroidery, eyes, stuffing openings, and narrow accessories may need reconsideration. Follow the creator for the actual construction and evaluate any resizing as a separate adaptation.
Safety Details Matter for Small Winter Gifts
Blind-bag collectibles can contain small eyes, decorations, beads, buttons, wire, or other components depending on the design. If the gift is intended for a young child or a household where a pet may reach it, review every component rather than assuming that a crocheted toy is automatically suitable.
Embroidered facial details can be worth considering when detachable small parts are undesirable. Also check anything that adds internal structure, hanging hardware, glued decoration, or projecting embellishments. Packaging itself should be appropriate for the intended recipient as well.
1. Crochet Cozy Scarf Winter Bear Amigurumi
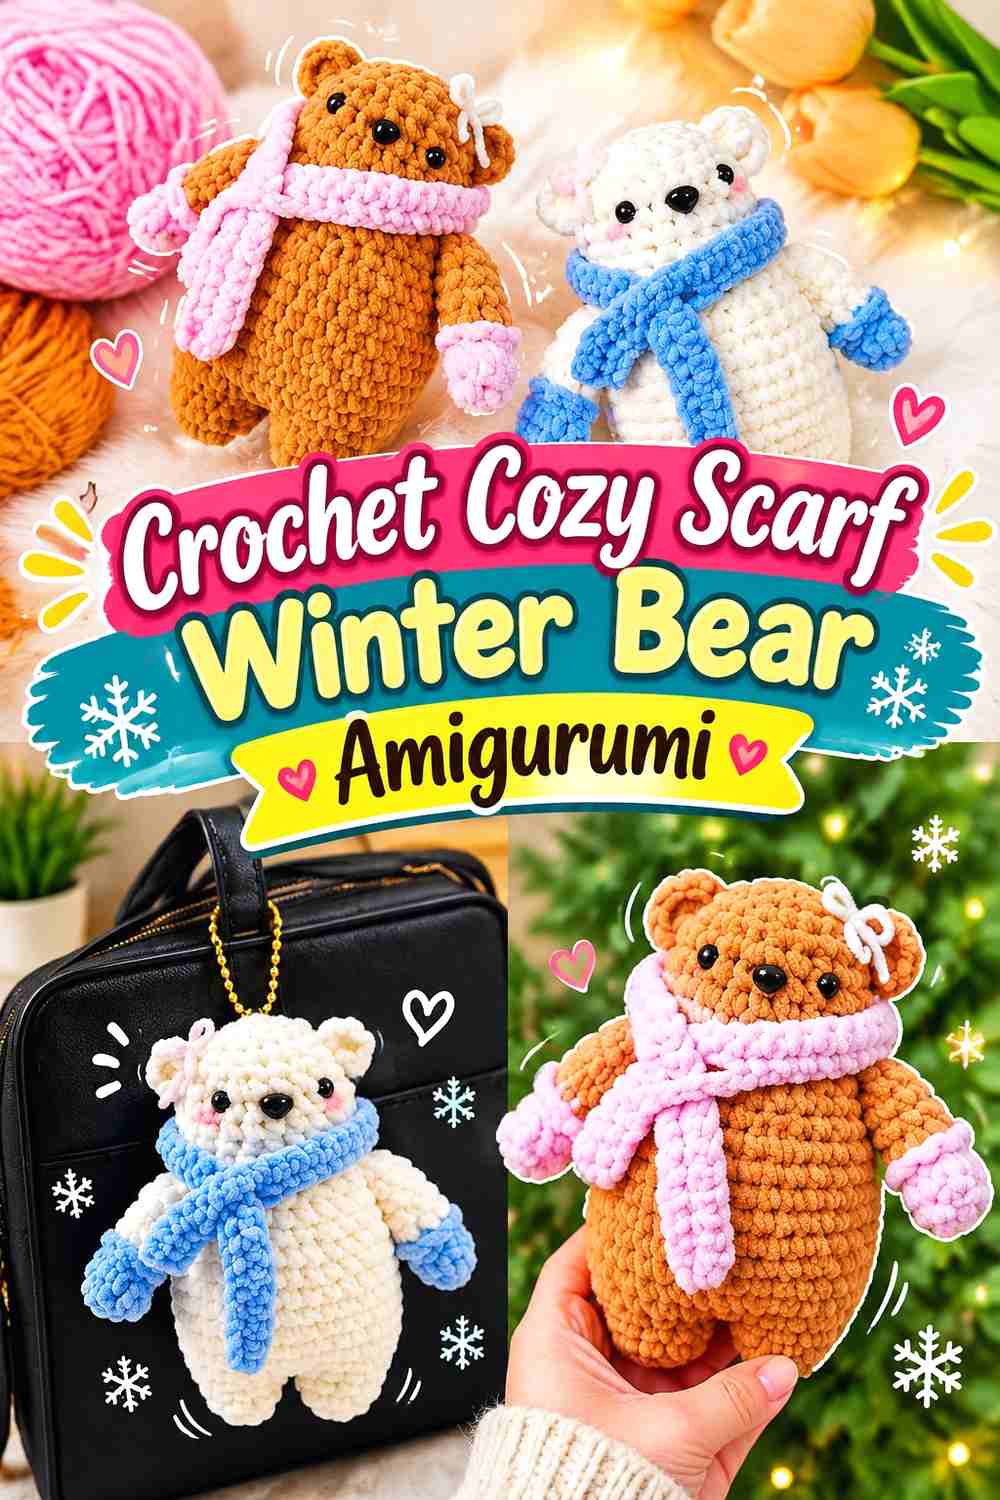
A winter bear gives the collection an animal character without relying on a specifically Christmas-shaped object. The rounded bear form is softened by a scarf, so it can work throughout the cold-weather season rather than only during a holiday display. Crochet Go Studio demonstrates a low-sew bear with a winter scarf, making the accessory an important part of the finished identity.
Use the Scarf as the Bear’s Collectible Identifier
If several animal characters are going into one blind-bag series, accessories can help separate them at a glance. A scarf gives this bear a strong winter cue while leaving the face and ears clearly visible.
For a coordinated set, consider repeating one accent color from the scarf elsewhere in your collection. That creates continuity without turning every character into the same design.
Check the Ears and Tail Before Choosing a Tight Package
Small projecting pieces can flatten when an amigurumi is squeezed into packaging that is too narrow. Look at the finished bear from the front and side before deciding how compactly it can be packed.
A package with a little extra depth may preserve the rounded body and small appendages better than forcing the bear into a completely flat envelope.
Creator Credit: Crochet Go Studio
2. Crochet Top-Hat Snowman Amigurumi
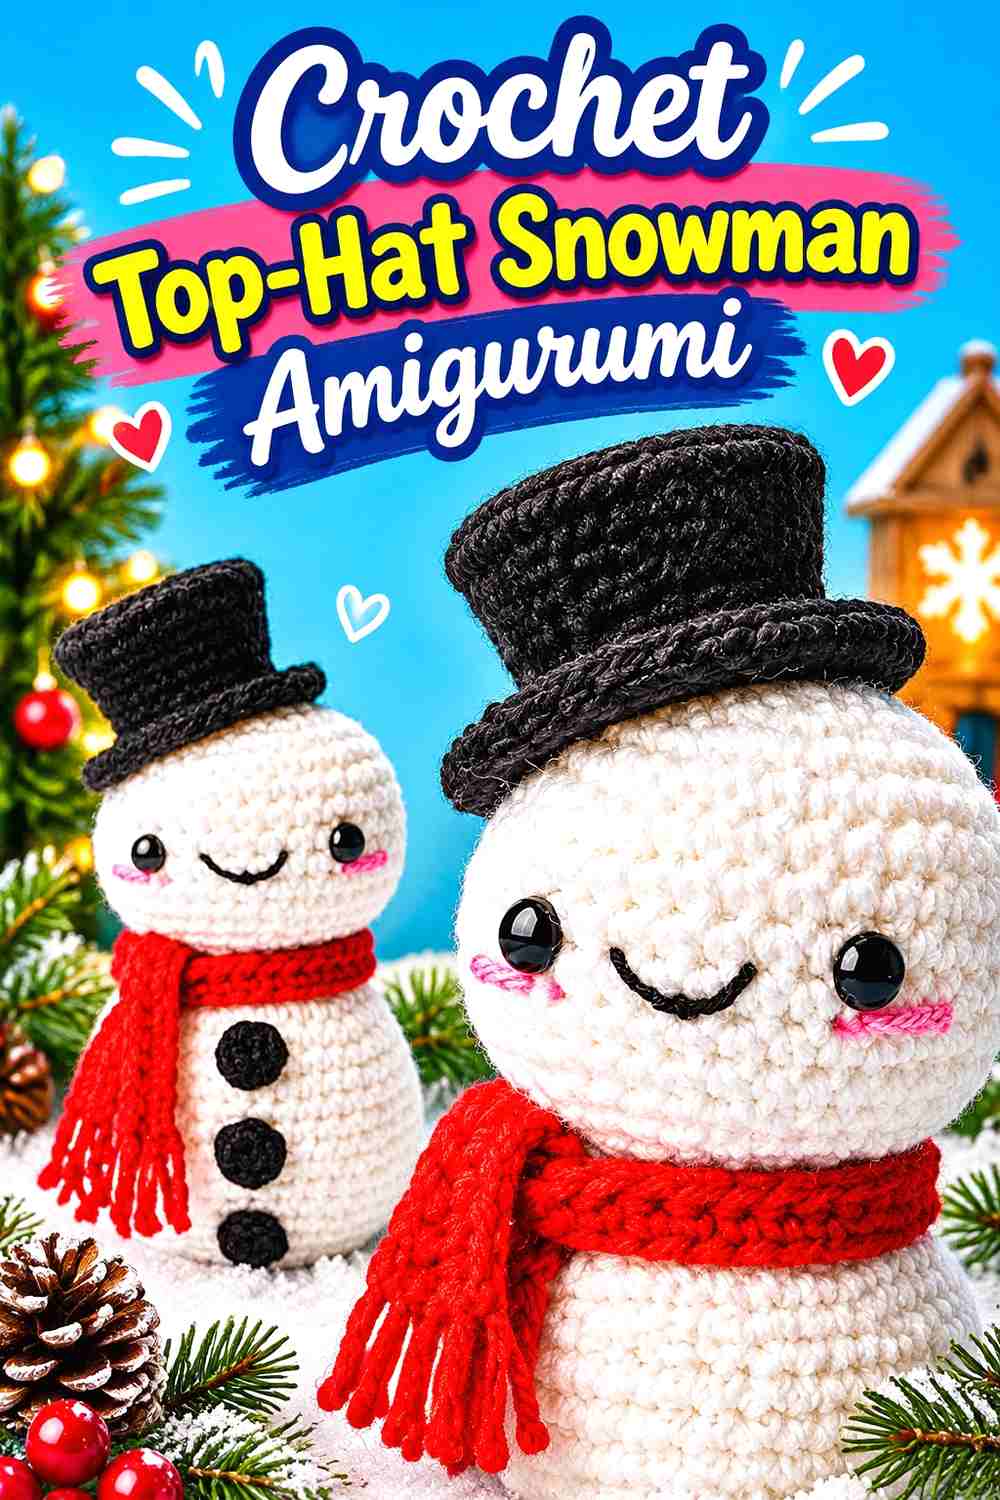
A snowman is one of the clearest winter-themed choices in the collection. Hooked by Robin’s version combines the familiar stacked snowman body with a scarf, top hat, face, and coal-style details, creating several visual features without losing the simple snowman silhouette.
The Hat Changes the Package Height
The top hat makes this design read differently from a plain round snowman, but it also adds height. Measure the completed project with the hat in its natural position rather than calculating package size from the white body alone.
If you are creating multiple versions, the hat band or scarf is a safer place to introduce alternate colors than changing every feature at once.
Keep the Face Readable Beneath the Accessories
Snowman designs can become visually crowded when the hat, scarf, nose, eyes, and buttons all compete for attention. Check the figure at normal viewing distance before deciding whether it needs additional decoration.
For a blind-bag collectible, a clean face usually gives the character more identity than adding several extra embellishments simply because space remains.
Creator Credit: Hooked by Robin
3. Crochet Santa Penguin Amigurumi
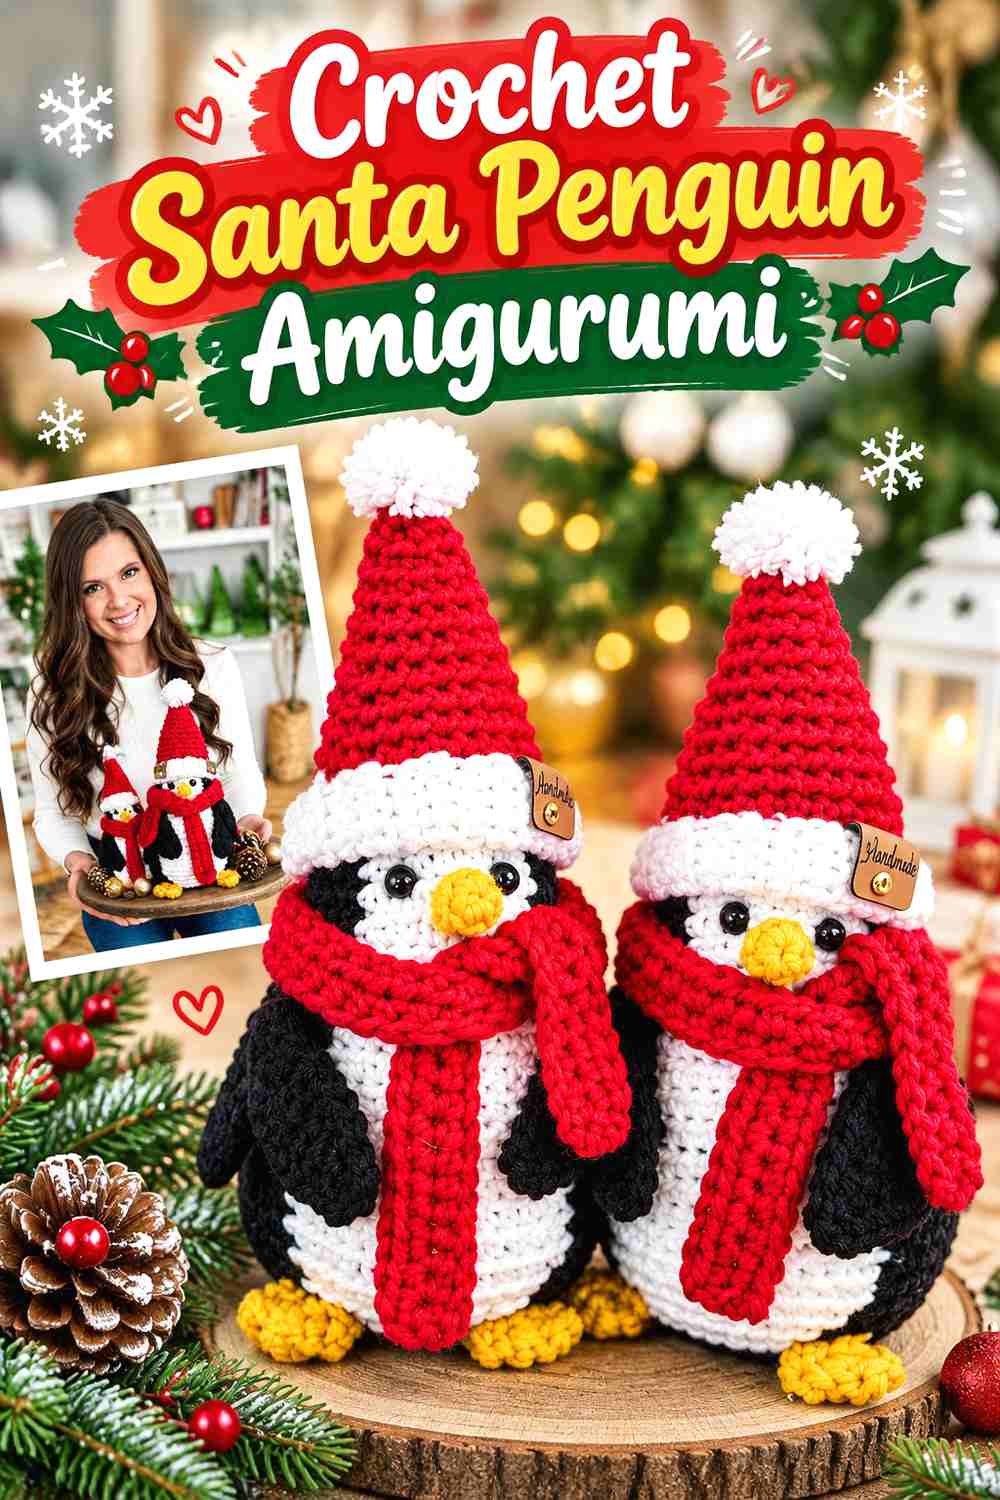
A penguin brings strong natural contrast to a winter assortment, and the added Santa hat and scarf give this version a clear holiday direction. MJ’s Off The Hook Designs uses a standing penguin construction with separate seasonal accessories, so the finished object has more of a display-character presence than a flat ornament.
Preserve the Penguin’s Belly Contrast
The pale front against the darker body is a major part of the penguin’s visual identity. When choosing scarf and hat colors, avoid covering so much of the front that the character becomes difficult to read.
This is especially important after the piece goes into packaging, where the recipient may first see it from only one angle.
Decide Whether Your Collection Is for Hanging or Standing
This penguin naturally suits shelf or tabletop presentation. That makes it different from baubles and bells intended to be suspended.
A blind-bag collection does not need every piece to have the same use. In fact, including both standing and hanging designs can make the assortment more interesting, provided the package clearly accommodates both forms.
Creator Credit: MJ’s Off The Hook Designs
4. Crochet Antlered Winter Reindeer Amigurumi
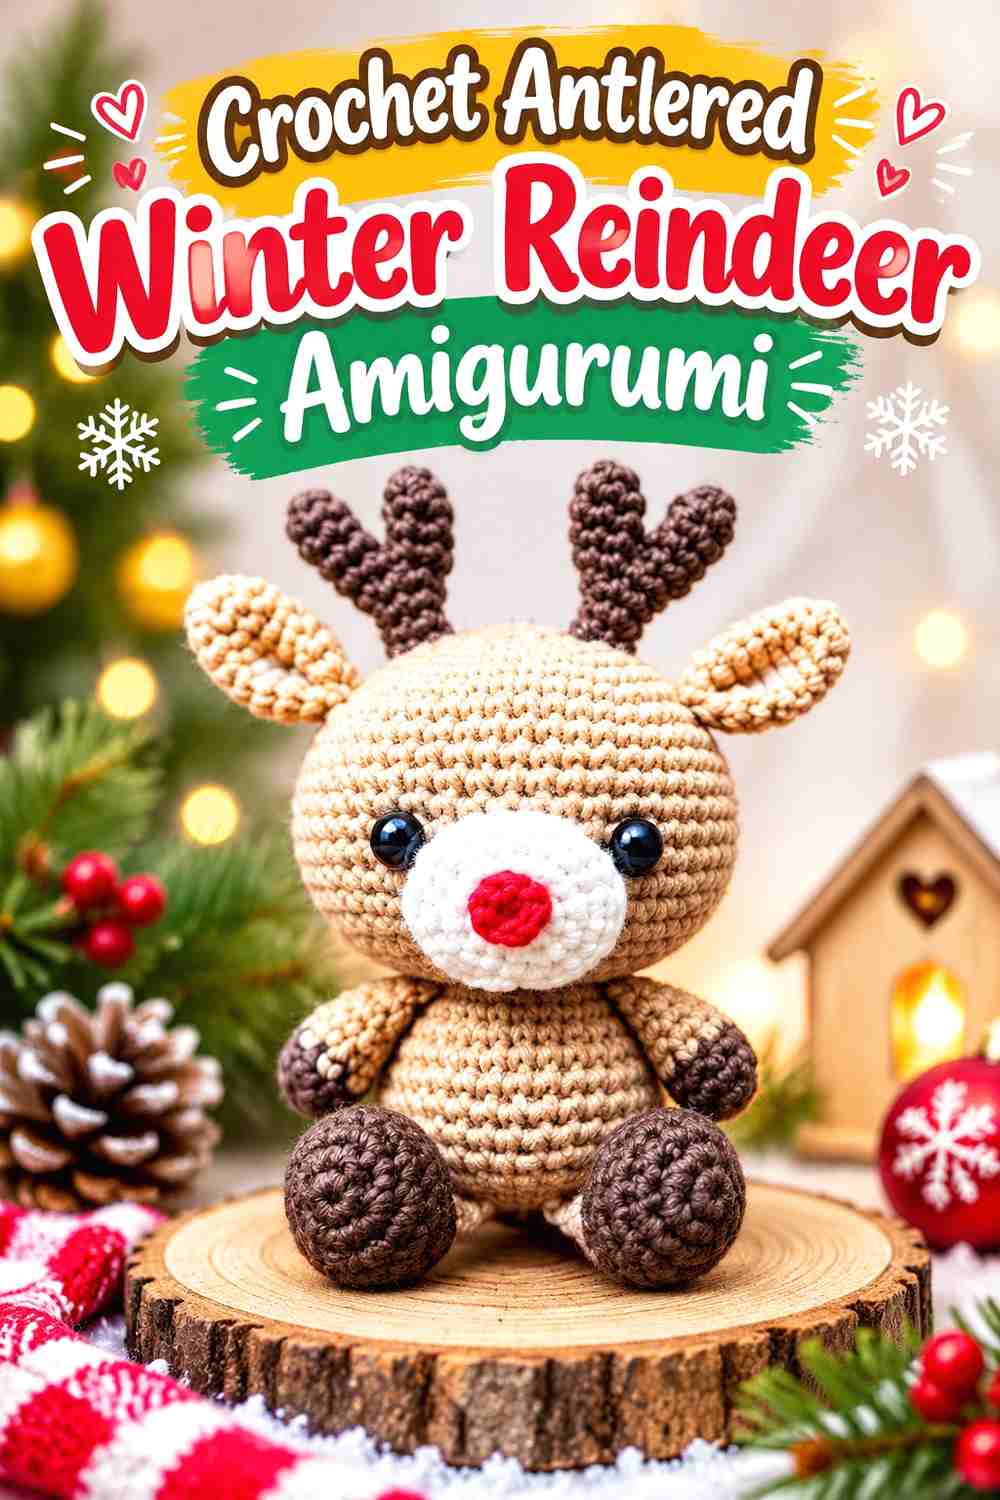
The reindeer introduces a wider head silhouette because its antlers extend beyond the main body. That alone makes it a useful collectible contrast to the snowman, pudding, and bauble. Odinka Wisanindhi’s tutorial creates a full reindeer amigurumi with the recognizable facial and antler details needed to distinguish the animal clearly.
Protect the Antlers Instead of Compressing Them
Antlers are one of the first details likely to become distorted in an overly tight blind bag. Check how flexible the finished pieces are before deciding whether the project can tolerate pressure from other gifts or packaging.
For a gift box containing several mystery bags, avoid stacking heavy items directly over the reindeer package.
Facial Placement Has More Competition on This Character
A reindeer has more going on around the head than a simple round animal. Eyes, muzzle, ears, nose, and antlers all need enough visual space to remain distinct.
Before final attachment of separate details, view the complete head arrangement together rather than positioning each feature without reference to the others.
Creator Credit: Odinka Wisanindhi
5. Crochet Gingerbread Cookie Amigurumi
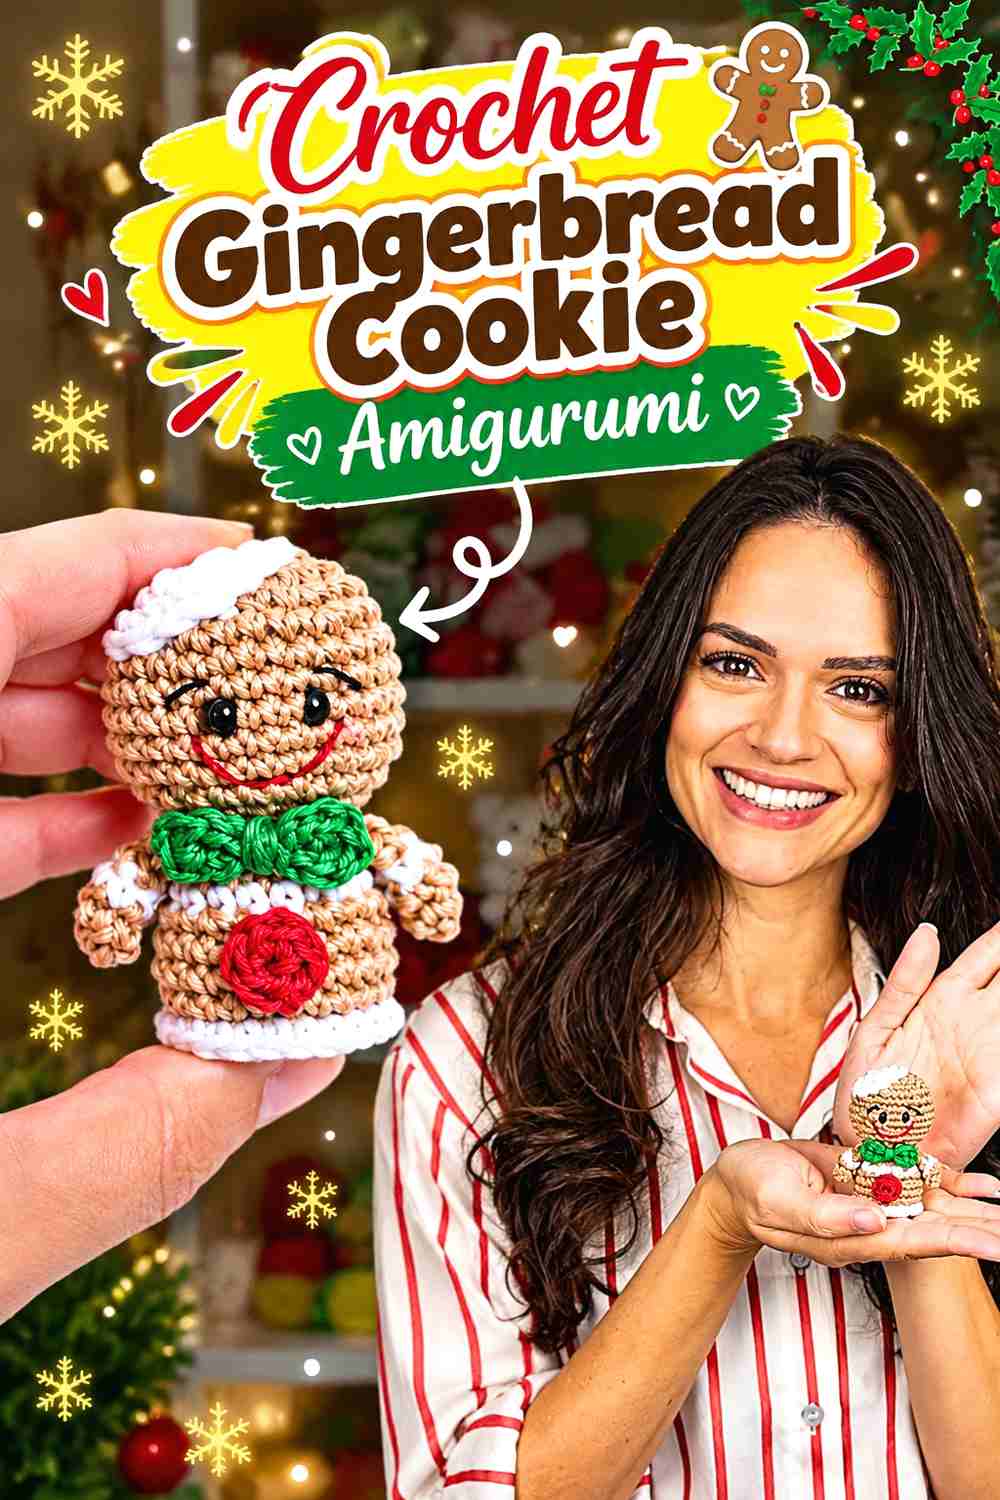
The gingerbread character provides a flatter, graphic silhouette that immediately changes the rhythm of the collection. Little Crochet Farm’s tutorial presents a small gingerbread figure with familiar cookie-inspired decoration, making it a useful option when you want something less rounded than the animal and food plushies.
Decorative Lines Need Enough Contrast
The icing-inspired details are part of what makes a gingerbread amigurumi recognizable. If the body and decoration colors are too similar, those small accents can disappear when viewed through gift packaging or from across a table.
Choose contrast deliberately, but avoid adding so many colors that the cookie theme becomes visually fragmented.
A Flatter Shape Can Simplify Blind-Bag Packing
Compared with antlers, tall hats, or a mug handle, a relatively flat gingerbread figure can be easier to place into a slim package.
Do not assume it will remain perfectly flat, however. Stuffing depth and any projecting arms or decorations still determine the space the finished piece needs.
Creator Credit: Little Crochet Farm
6. Crochet Hot Cocoa Mug Amigurumi
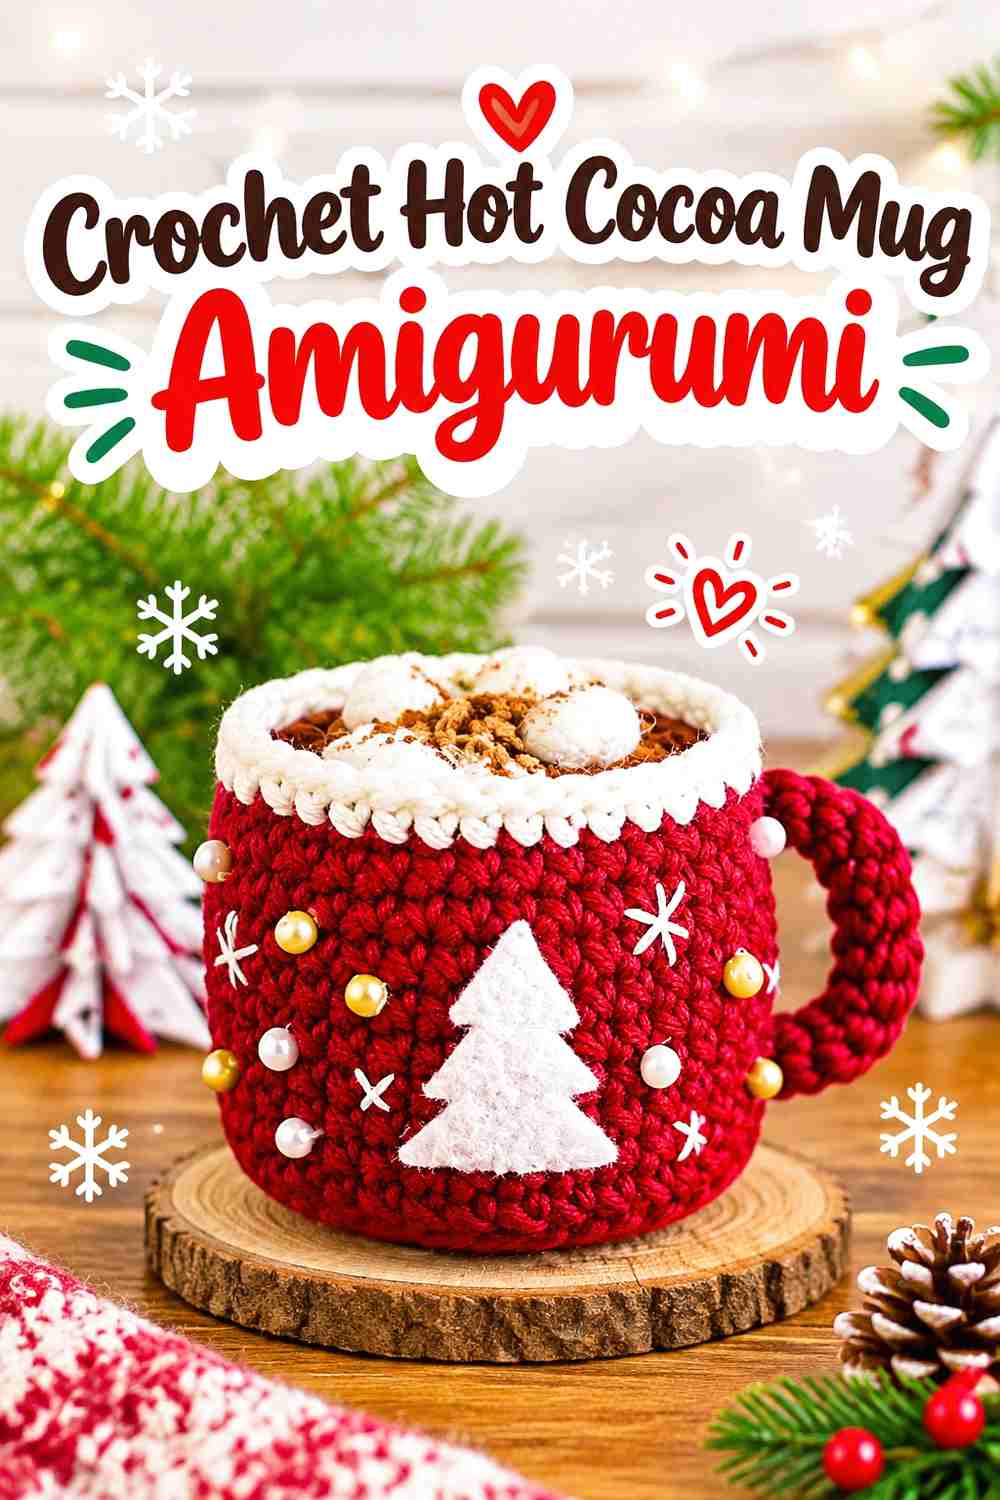
A hot cocoa mug moves the series away from animals and dolls into cozy winter food. The handle, cocoa top, and toppings make the silhouette recognizable even before facial details are considered. Olliehollycrochet’s tutorial demonstrates a three-dimensional cocoa ornament with a structured mug form and decorative top.
The Handle Is the Vulnerable Part of the Silhouette
A mug handle creates empty space inside the outline rather than simply adding bulk. That makes it visually interesting, but it also means you should avoid cramming the finished piece sideways into a package.
Check whether the handle naturally flexes or whether it needs more room before choosing your packaging.
Let the Cocoa Topping Carry the Winter Theme
You can keep the mug body relatively simple and use the top as the focal area. Marshmallow-like shapes, contrasting cocoa, and a seasonal mug color can create plenty of visual information without covering every surface in decoration.
This also helps the mug remain distinct from the pudding, which has its decoration concentrated on a rounded dessert form.
Creator Credit: olliehollycrochet
7. Crochet Decorated Christmas Tree Amigurumi
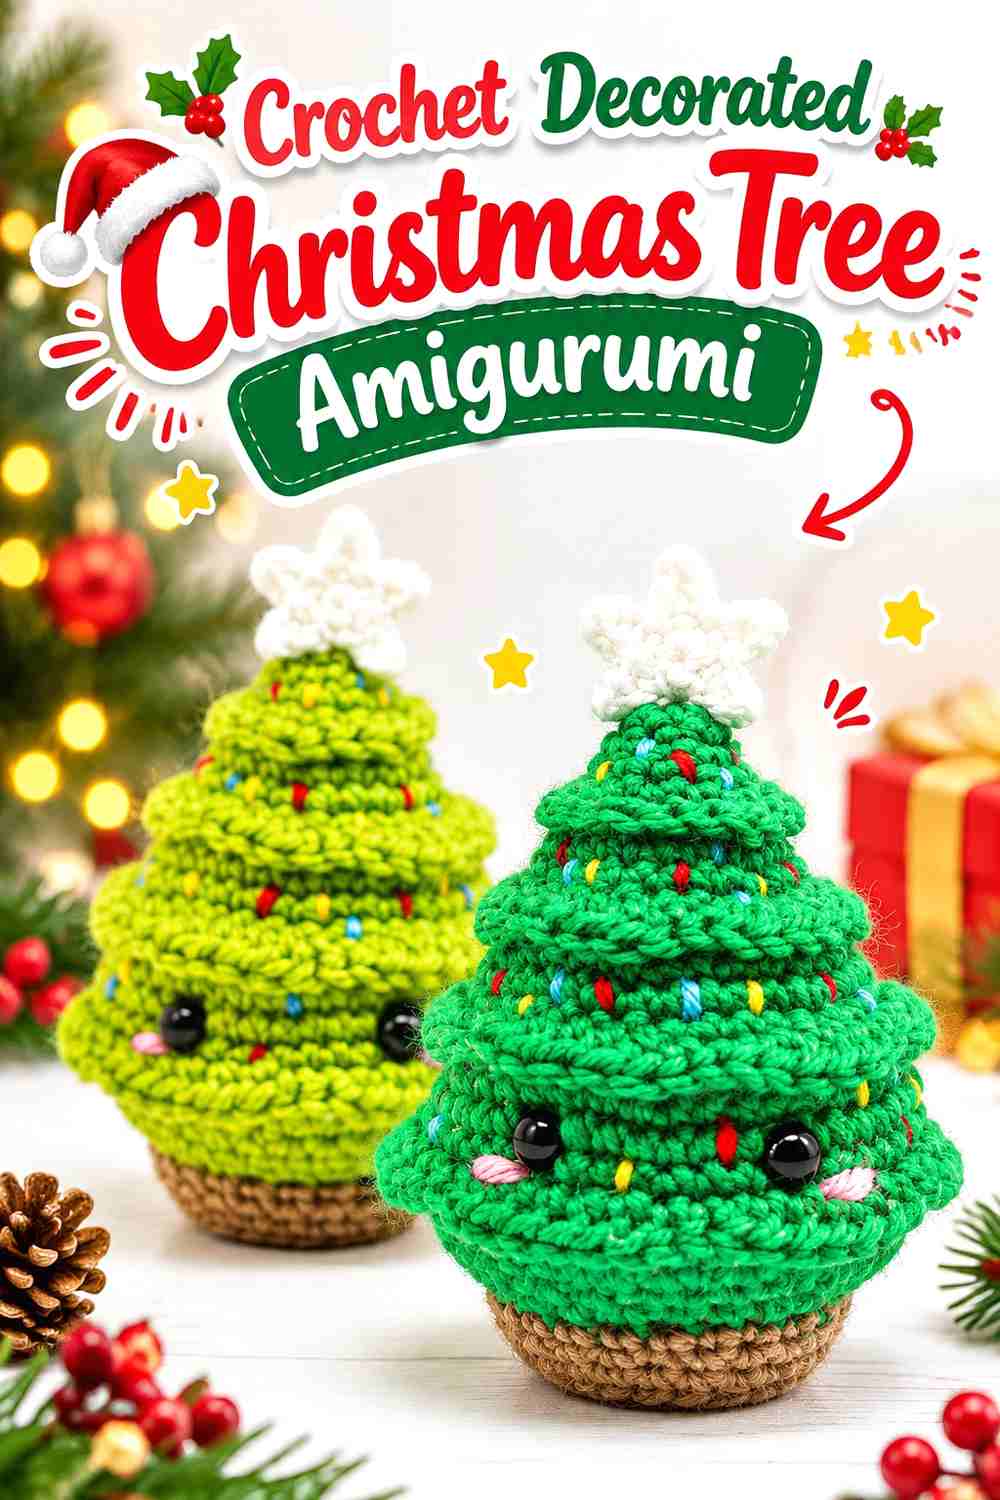
A stuffed tree brings a strong triangular outline to a collection filled with mostly rounded shapes. MJ Carlos’s design uses a three-dimensional tree form with surface decoration and a top accent, creating a recognizable seasonal object rather than another character body.
Keep the Taper Visible
The tree works because the eye reads a clear progression from a narrower top to a wider lower section. Overpacking or flattening the finished amigurumi can make that outline less distinct.
Choose packaging that allows the sides to keep their intended shape instead of pressing the tree into a rectangle.
Control the Amount of Surface Decoration
A miniature collectible can become visually busy quickly. If you adapt the palette, decide whether the tree shape, face, topper, or decorative accents should be the main focal point.
One dominant feature with smaller supporting details often reads more clearly than several equally strong colors competing across a small surface.
Creator Credit: MJ Carlos
8. Crochet Bearded Winter Gnome Amigurumi
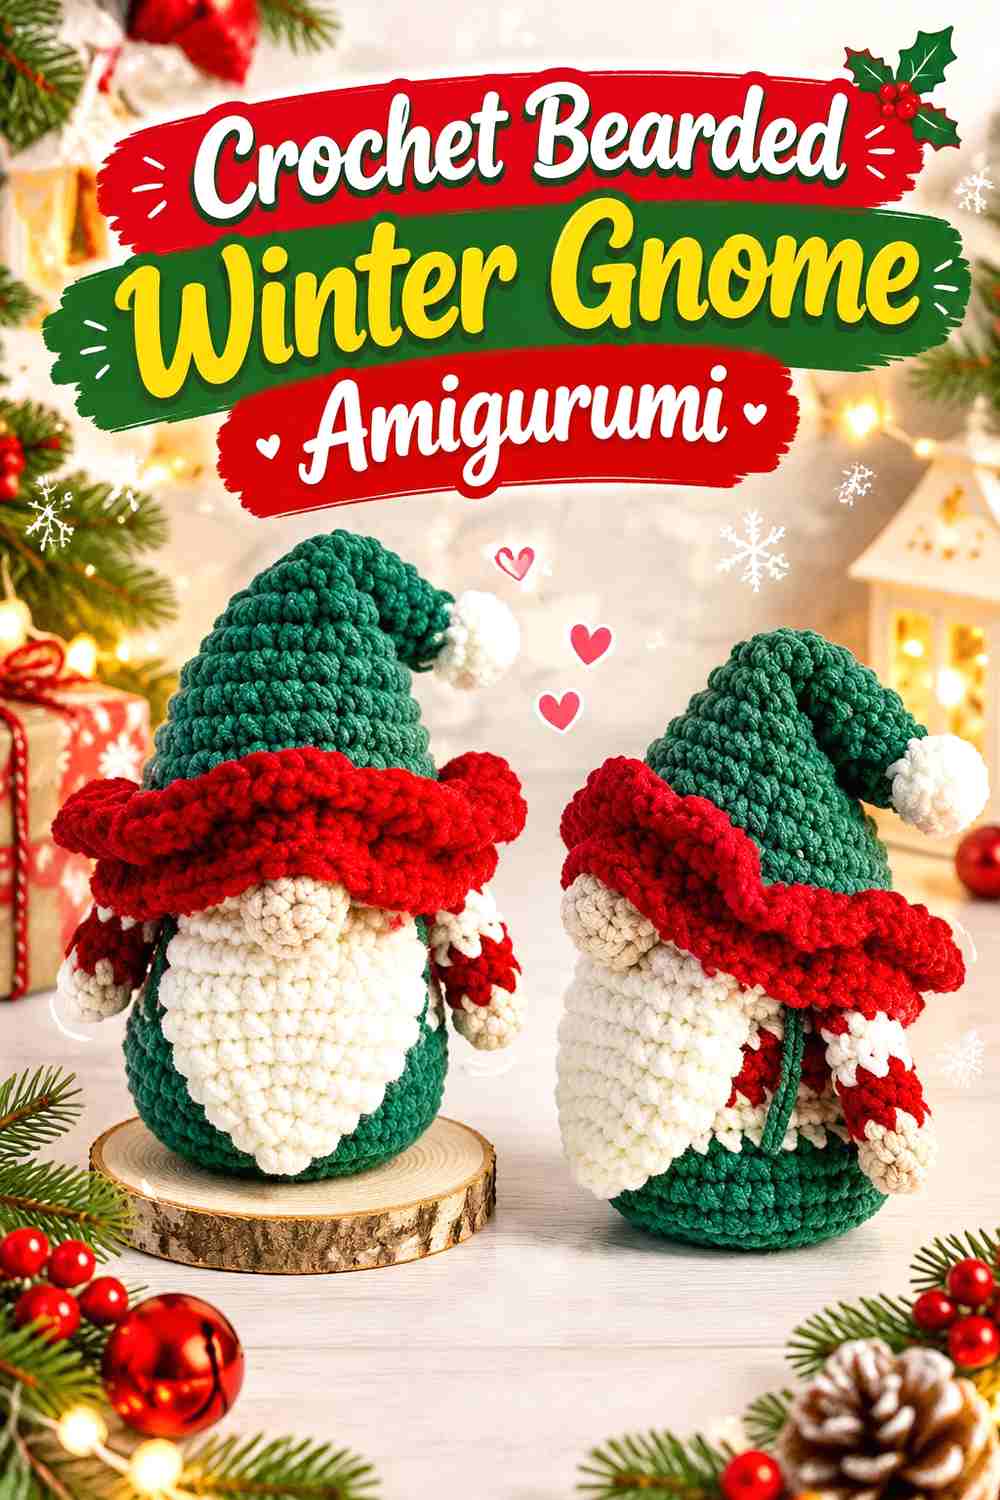
A gnome is defined by proportions that are unlike the other characters here: a long hat, compact body, prominent beard, and nose create most of the personality. Kane Crochet’s Christmas gnome tutorial demonstrates this recognizable arrangement in a small amigurumi format.
Let the Hat Create the Main Color Statement
The hat occupies a large portion of a gnome’s visible silhouette. That makes it a natural place for a special-edition color while the body and beard stay relatively consistent across versions.
If you plan several variants, changing one dominant section usually creates a clearer collectible system than changing every color independently.
Check Materials Before Gifting
Small gnome designs may contain construction or finishing materials beyond yarn and stuffing depending on the tutorial. Review the creator’s complete material list before deciding who will receive the finished object.
For a child-oriented collection, do not remove a structural component casually and assume the result will behave the same way; choose a construction that already suits the intended use.
Creator Credit: Kane Crochet
9. Crochet Plush Nutcracker Amigurumi
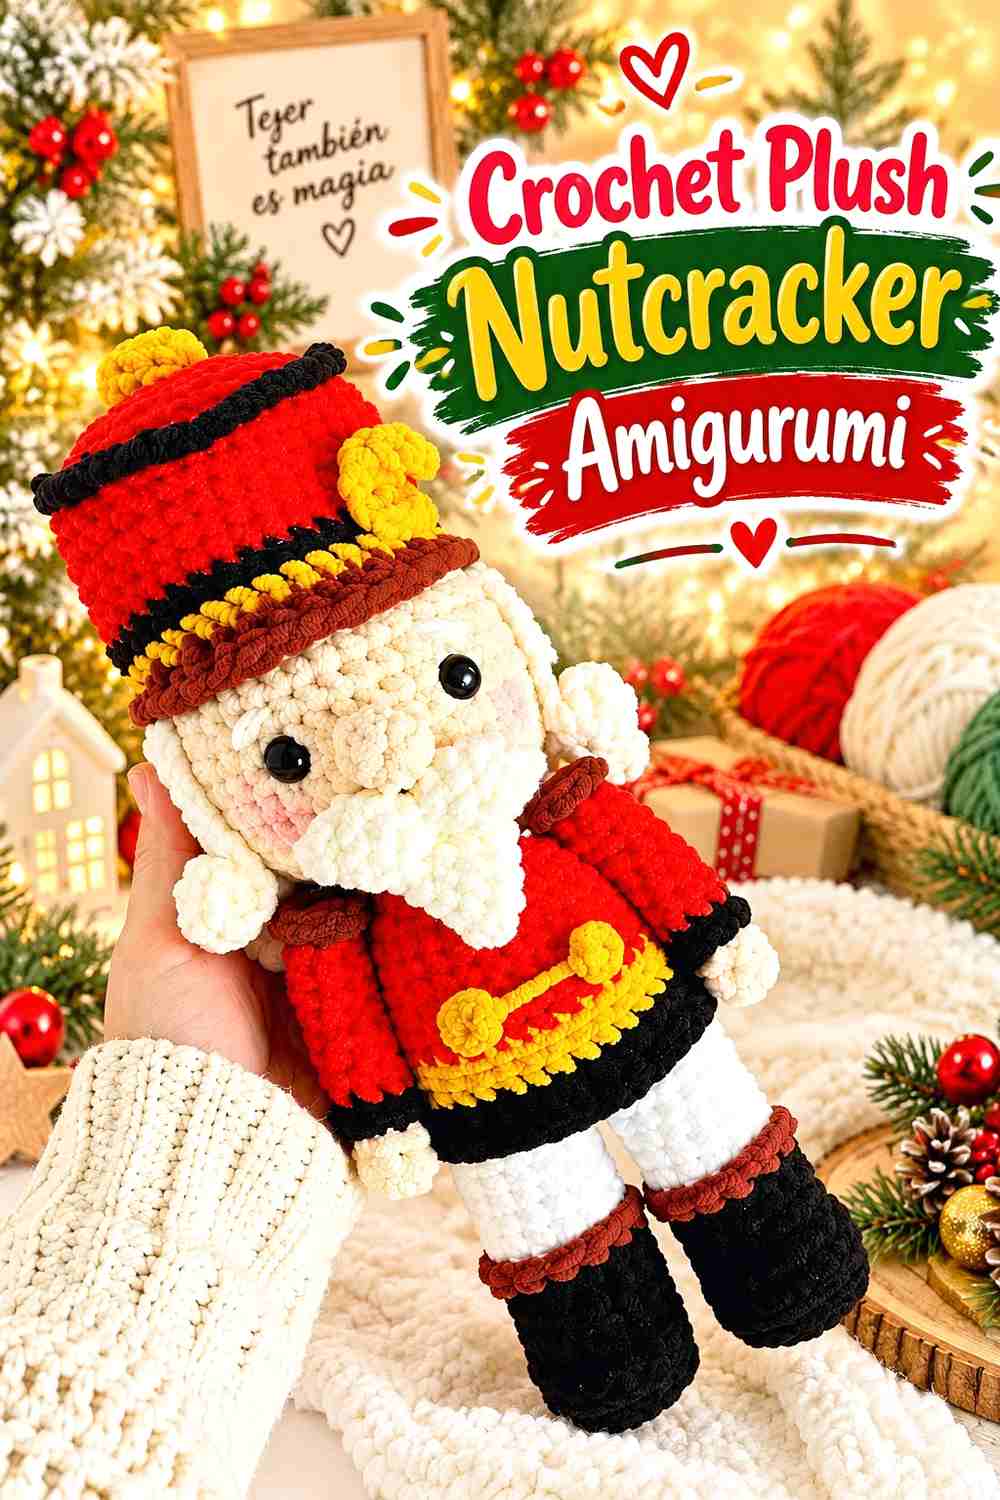
The nutcracker introduces the most upright, architectural figure in this group. Its tall hat, straight body divisions, and uniform-like color blocks contrast strongly with rounded snowmen and food amigurumi. Bonito día Crochet demonstrates a plush-style nutcracker construction in a complete tutorial.
Use Alignment as a Finishing Check
A tall character makes unwanted rotation easier to notice. Compare the center of the hat, face, torso, and lower body as you assemble the finished figure.
Checking the project while it is upright can reveal alignment problems that are harder to recognize when individual pieces are lying separately on a table.
Verify the Finished Size Before Calling It a Blind-Bag Project
The demonstrated nutcracker is substantially more substantial than many tiny ornament-style projects in this collection. If your goal is a literal small blind bag, confirm dimensions before committing to your packaging.
Resizing with different materials is an adaptation, not an automatic conversion. Make a test version before producing an entire batch.
Creator Credit: Bonito día Crochet
10. Crochet Christmas Pudding Amigurumi
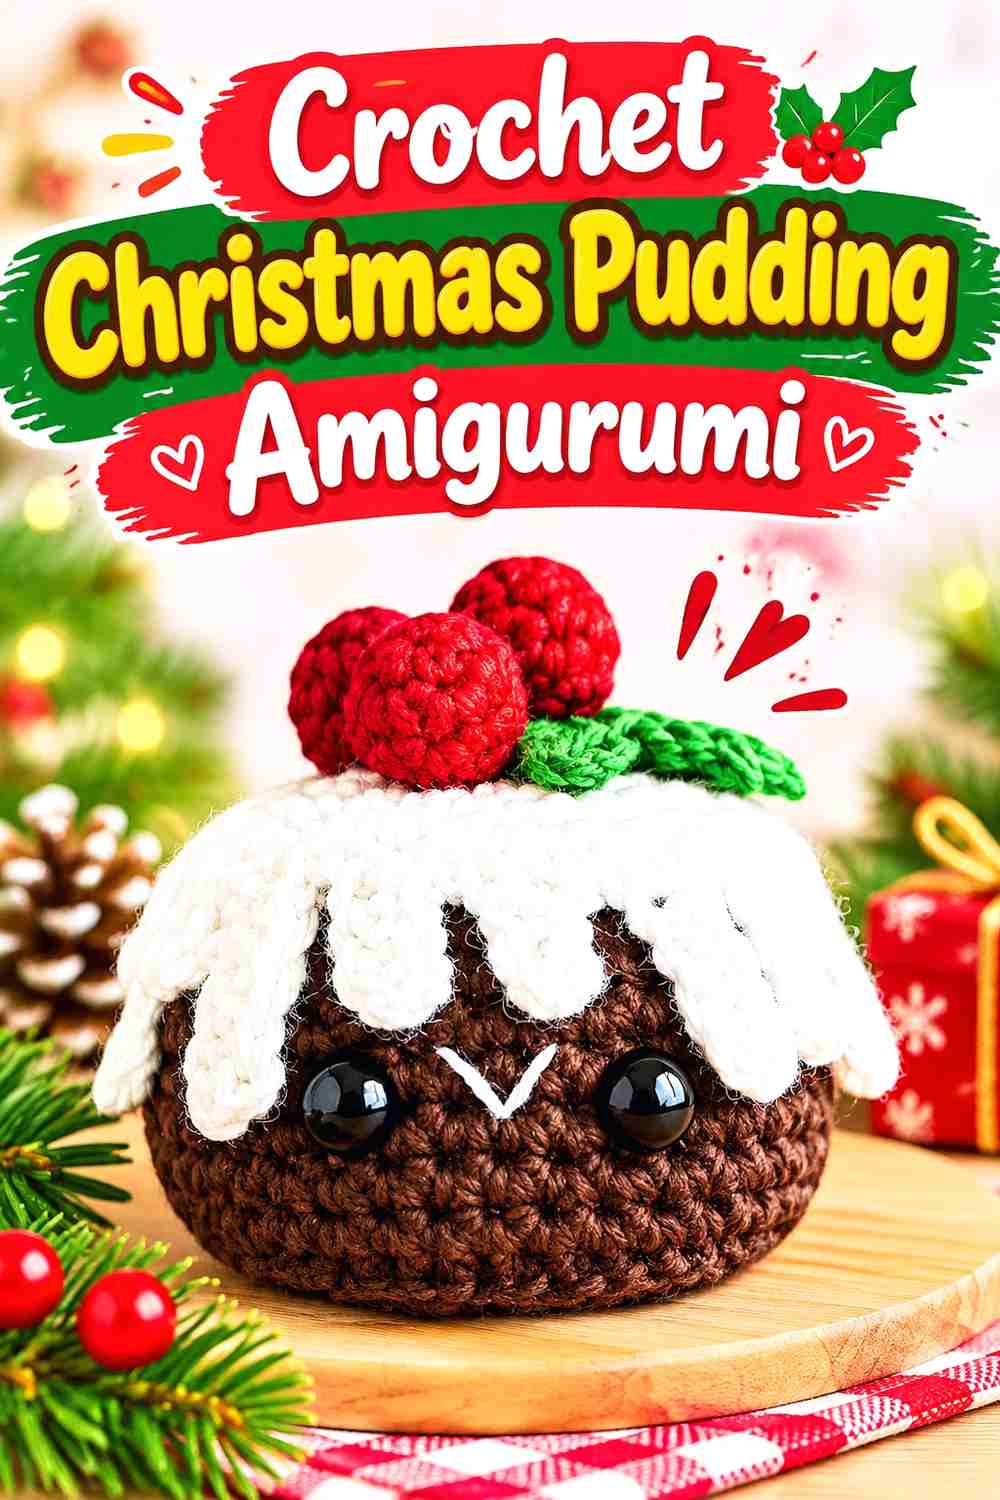
Christmas pudding is one of the most naturally compact collectible shapes in the list. Its rounded base, contrasting topping, and small holly-style decoration provide a strong theme without long arms, legs, or clothing. A Menagerie of Stitches presents the design as part of a mini Christmas amigurumi collection.
The Rounded Base Makes It Easy to Group With Other Minis
Unlike the candy cane or reindeer, the pudding keeps most of its volume close to the center. That makes it useful when you want one of the collection’s mystery pulls to feel deliberately compact.
Give the top decoration enough room in the package so it does not disappear into the body under pressure.
Establish the Front Before Finishing the Top
Once a face is added, a rounded object has a clear viewing direction. Look at the facial placement and topping together before treating the project as complete.
A top accent that sits beautifully from above may look unexpectedly off-center from the front, so check both viewing angles.
Creator Credit: A Menagerie of Stitches
11. Crochet Present Box Amigurumi
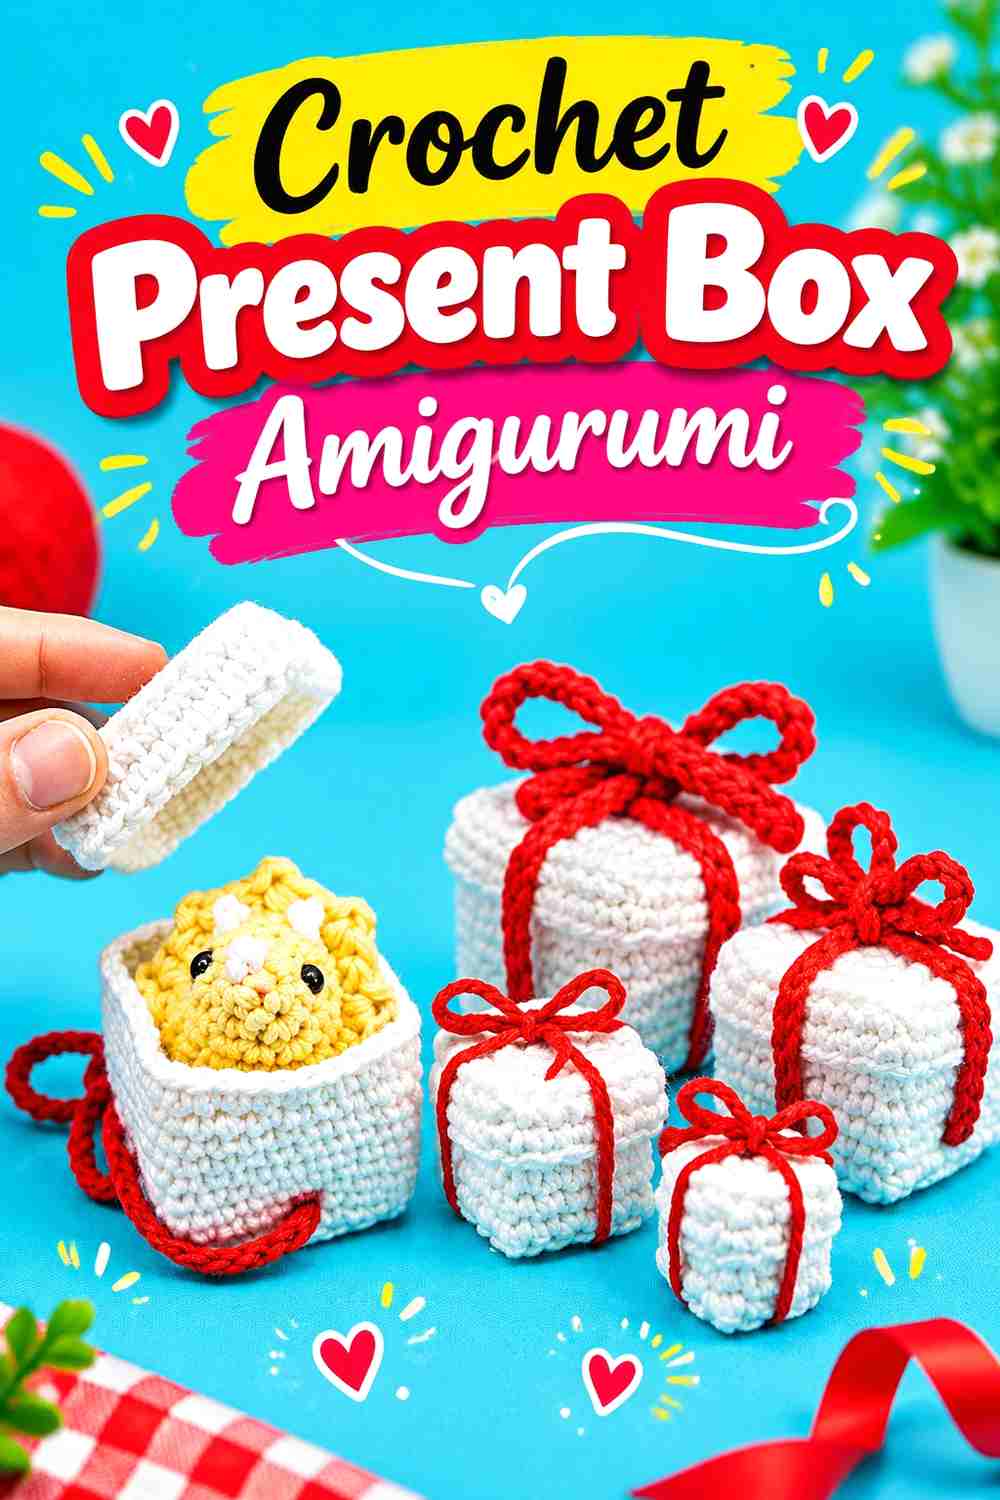
A crocheted present is valuable in a collectible series because it is based on geometry instead of a character. Club Crochet’s project focuses on gift-box shapes with lids and ribbon details, providing straight-looking planes and corners among the softer rounded silhouettes elsewhere in the collection.
Soft Crochet Still Needs to Suggest a Box
Stuffing a geometric amigurumi requires a different visual judgment than stuffing a sphere. Too much fullness can make corners appear rounded, while too little support can leave the sides looking collapsed.
Turn the piece as you work and compare opposite sides rather than evaluating only the surface facing you.
The Ribbon Can Become Your Variant System
A present is ideal for coordinated blind-bag editions because the basic box can remain consistent while the ribbon provides the changing accent.
You could create a winter palette, a traditional holiday palette, or a rare contrasting ribbon without changing the fundamental construction taught by the creator.
Creator Credit: Club Crochet
12. Crochet Stuffed Winter Bauble Amigurumi
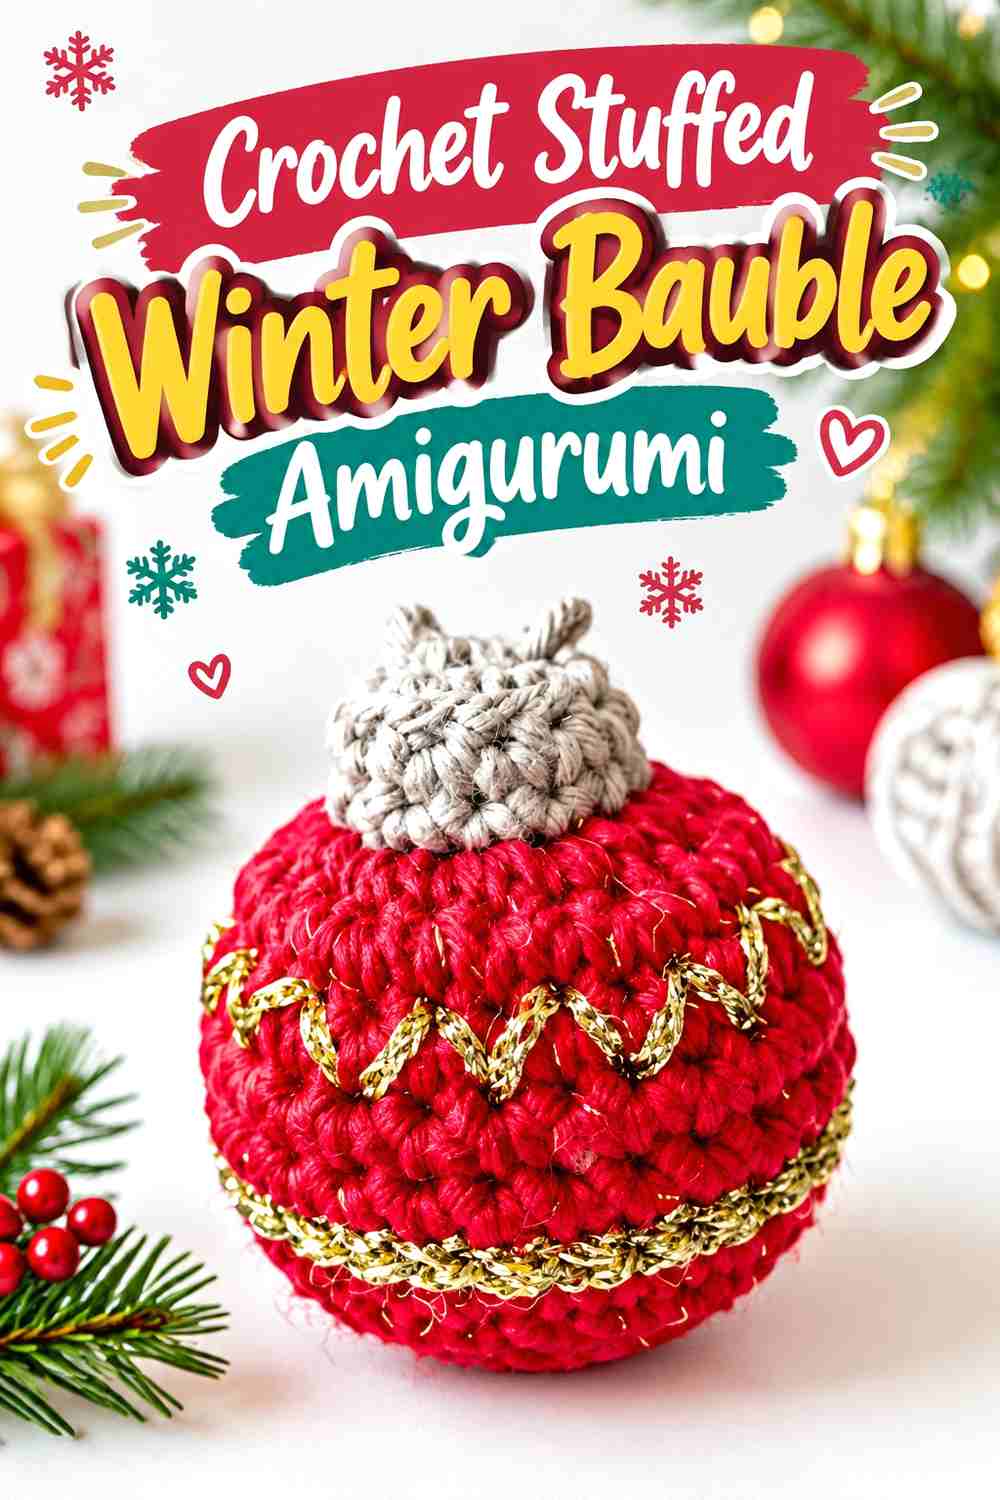
The bauble is a natural bridge between plush collecting and seasonal decoration. Elendipity’s amigurumi version uses a stuffed round ornament form with a top section and opportunities for surface decoration.
Shape the Sphere Before Decorating It
A decorative line or embroidered accent tends to make uneven shaping more noticeable rather than hiding it. Check the underlying sphere first.
Turn the stuffed bauble through several angles and correct obvious flat areas before deciding where the most visible decoration should go.
Hanging Orientation Changes the Design
If the bauble will actually be hung after the blind bag is opened, test its natural orientation. The most carefully decorated side is less useful if the ornament continually rotates away from it.
A brief hanging check before final embellishment can help you decide which area should become the visual front.
Creator Credit: elendipity
13. Crochet Winter Angel Amigurumi
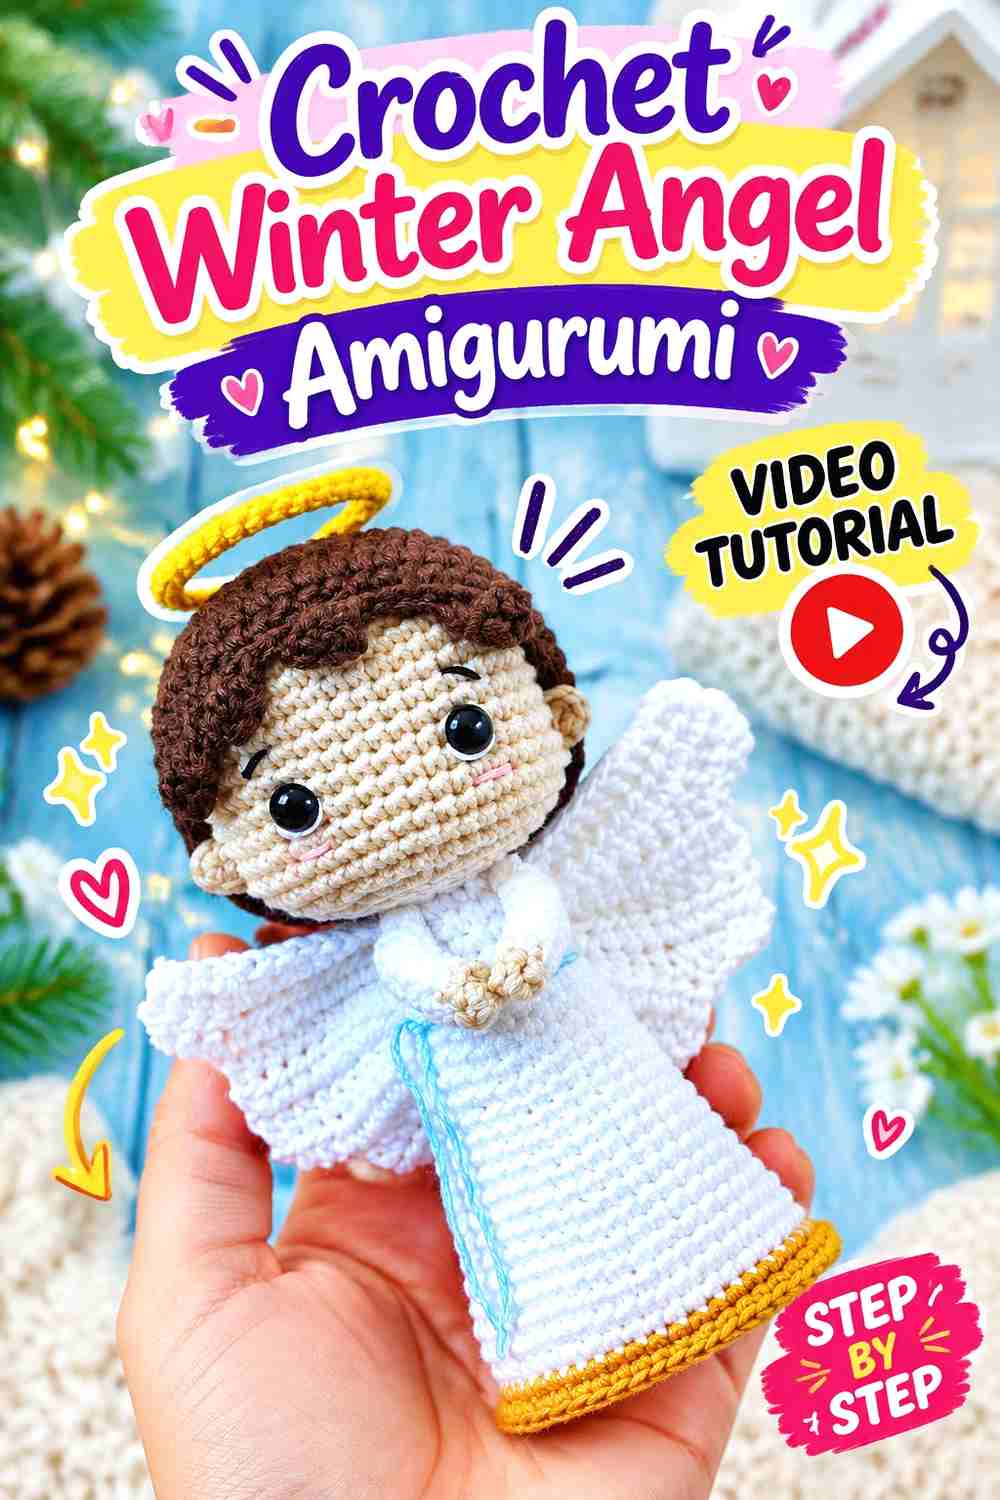
An angel introduces wings, hair, a halo, and a robe-like body shape, giving the collection a figure that spreads outward and upward rather than remaining compact. Cositas a Crochet Monterrey provides the accompanying tutorial in Spanish, so viewers who do not speak Spanish should be prepared to rely on the visual demonstration and any available YouTube language features.
Balance the Wings Before Permanent Attachment
Wings affect the visible width of the finished angel. Place both temporarily and compare their height, angle, and distance from the body before securing either one.
Checking from the back is useful for symmetry, but also turn the figure around. The wings need to support the front silhouette rather than making one side look heavier.
Give the Halo Its Own Visual Space
Hair and halo details occupy a relatively small area around the head. If they overlap too heavily, one feature can visually disappear.
Against a plain background, check whether the halo still reads as a separate shape before finalizing the arrangement.
Creator Credit: Cositas a Crochet Monterrey
14. Crochet Candy Cane Amigurumi
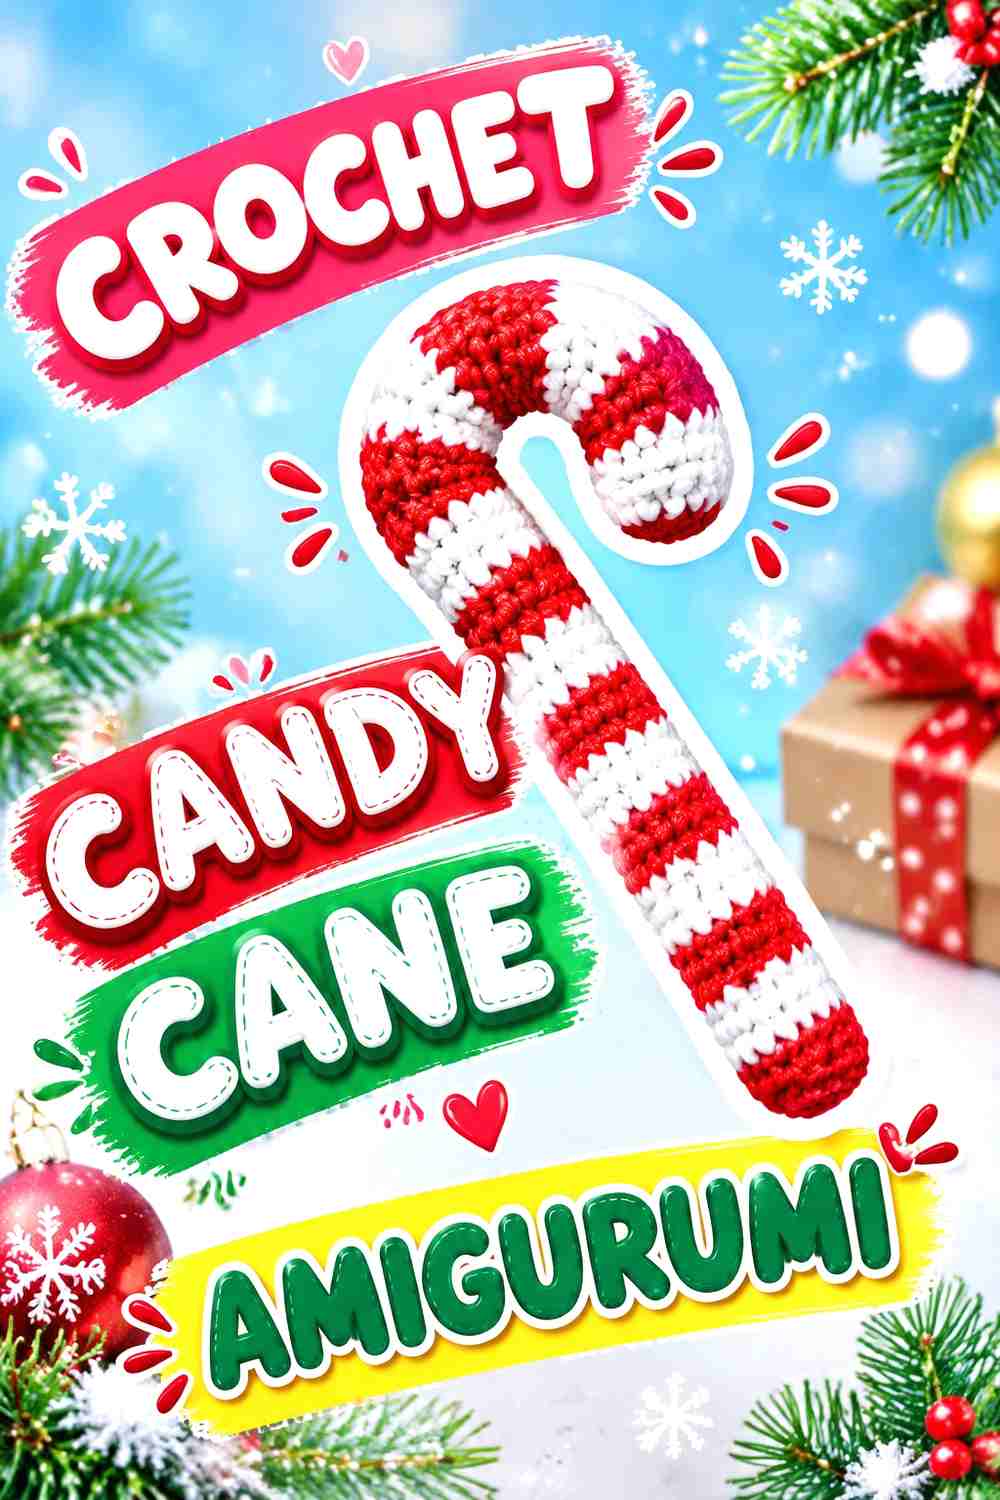
The candy cane is the narrowest silhouette in the assortment and provides an immediate break from round plushies. Les AMIgurumis de Yara demonstrates a stuffed crochet candy cane with the familiar curved upper section.
The Curve Matters More Than Extra Decoration
A candy cane is recognized mainly by its bend and striping. That means an uneven curve attracts more attention than it would on a highly detailed character.
Look at the whole piece periodically instead of judging the curve only from the few stitches currently in your hand.
Use the Slim Shape to Vary Your Packaging
Not every blind bag has to feel identical from the outside unless true mystery uniformity is important to you. A narrow candy cane could work in a taller sleeve while a pudding or bauble needs a squarer package.
If identical outer bags are essential, compare the longest and widest designs before purchasing packaging in bulk.
Creator Credit: Les AMIgurumis de Yara
15. Crochet Christmas Bell Amigurumi
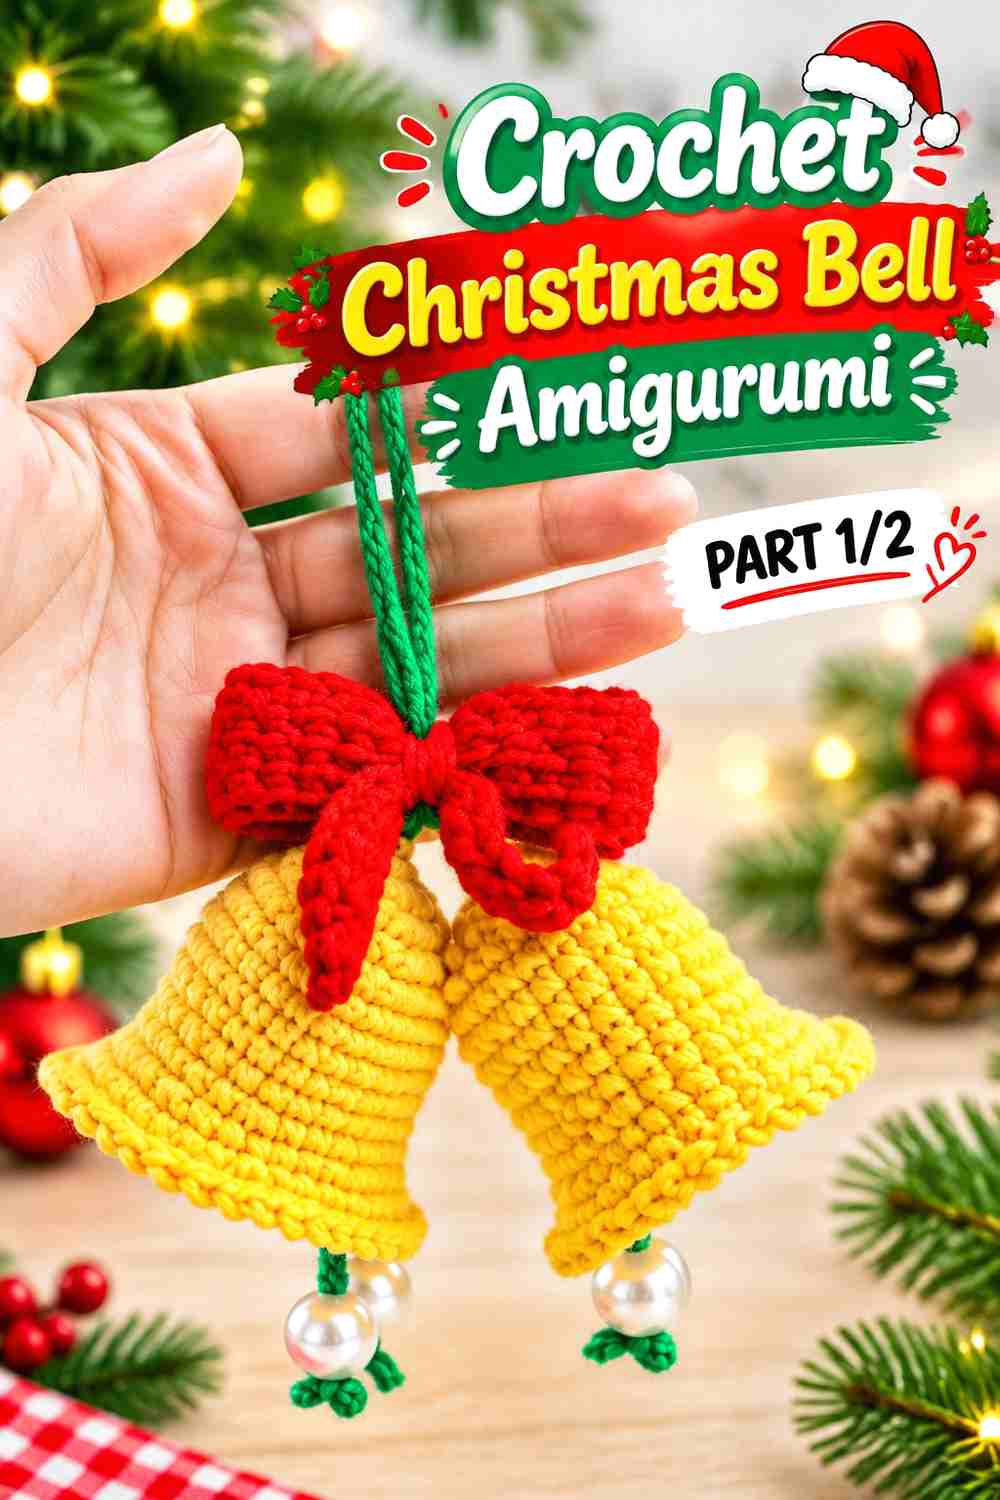
A bell closes the collection with another hanging object, but its silhouette differs clearly from the spherical bauble. The narrow top and widening lower edge create the recognizable shape, while an added bow or top detail can provide a second focal point. Amigu World offers a Christmas bell amigurumi tutorial for this concept.
Preserve the Flared Lower Edge
The bell needs visible widening toward the bottom. When evaluating the stuffed shape, look at the side profile rather than only the front surface.
If the form becomes too cylindrical, the piece can start reading more like a generic capsule than a bell.
Decide Whether It Is an Ornament or a Pocket Collectible
A hanging loop makes sense when the recipient will place the bell on a tree or seasonal display. If your blind-bag collection is intended primarily for shelf display, verify how the finished bell behaves when resting on a surface.
That practical difference can help you decide whether the bell belongs in your main series or in an ornament-focused subset.
Creator Credit: Amigu World
Which Crochet Blind Bag Amigurumi Should You Choose?
| If You Want… | Strong Options | Main Detail to Check |
|---|---|---|
| A winter theme without heavy Christmas imagery | Winter bear, snowman, penguin | Accessories and finished scale |
| Compact rounded collectibles | Pudding, bauble, cocoa mug | Stuffing and package depth |
| Distinct silhouettes | Reindeer, tree, candy cane, bell | Projecting or curved details |
| Character-focused gifts | Gnome, nutcracker, angel | Assembly and facial alignment |
| Graphic holiday shapes | Gingerbread, present box, bauble | Decoration contrast and shape |
| Hanging collectibles | Bauble, bell, gingerbread | Loop position and balance |
For a literal mystery set, start with the projects that can be brought into a reasonably consistent finished scale without sacrificing their defining details. If exact package uniformity matters less, mixing chunky characters with small ornaments can make each blind-bag reveal more surprising.
Conclusion
The most interesting crochet blind bag collection is not simply fifteen tiny plushies in different colors. A better set mixes silhouettes and uses: a cozy winter bear, classic snowman, penguin, antlered reindeer, gingerbread figure, cocoa mug, tree, gnome, nutcracker, pudding, present, bauble, angel, candy cane, and bell all create different reveals.
For the easiest packaging, begin with contained forms such as the pudding, bauble, gingerbread figure, or present. Choose the reindeer, angel, tree, and candy cane when you want stronger silhouettes and do not mind planning more carefully around projecting details.
Before making multiples, finish one sample and check its actual dimensions, firmness, small components, and packaging fit. Use the original creator tutorials for exact construction details rather than assuming that changing the yarn or finished scale will leave every part of the design unchanged.
Frequently Asked Questions
Do all 15 tutorials make true blind-bag-size amigurumi?
No. The projects were selected as collectible winter amigurumi concepts, but the demonstrated finished scales vary. Check each creator’s tutorial before buying packaging or planning a matched set.
How can I make different crochet amigurumi look like one collection?
Use a limited shared palette, consistent facial treatment, matching packaging, or one repeated accent color. Keep the silhouettes different so the collection still has meaningful variety.
Can I simply use thinner yarn to turn a large amigurumi into a mini?
Thinner yarn with an appropriately matched hook often changes the finished scale, but it can also affect fabric density, tiny details, assembly, and the suitability of eyes or embellishments. Test one adapted project before making a full batch.
Are safety eyes suitable for every blind-bag recipient?
Do not assume so. Consider the recipient’s age and intended use, and review the construction of every small component. Embroidered facial details may be worth considering when detachable small parts are undesirable.
Which projects are easiest to package without crushing details?
Contained shapes such as a pudding, bauble, present box, or relatively flat gingerbread character generally create fewer projecting areas than antlers, wings, long hats, or handles. Actual packaging needs still depend on the finished project.
How can I create rare or special-edition crochet blind bag characters?
Change controlled visual details rather than the construction: a scarf color, ribbon, hat accent, coordinated metallic-looking yarn, or alternate winter palette can make a variant recognizable while preserving the creator’s original project structure.