Crochet cat caves (aka pods, nests, or igloos) are the perfect blend of cozy décor and feline bliss. Below you’ll find a curated dozen that range from sturdy T-shirt-yarn hideaways to soft, boho-chic pods with playful ears. I prioritized clear step-by-step tutorials with photos so you can size confidently, keep structures upright, and finish in a weekend. A quick sizing note: most cats are happy with a 12–15″ wide base and a door about 7–8″ across; bigger breeds appreciate 16–18″. For structure, use tighter hooks, firm stitches (sc, spike stitch), and add a hoop or ring when patterns suggest it. Pick one that matches your yarn stash and your home’s palette, then invite your little tiger to test-nap it before final blocking. Let’s make something meow-worthy.
Eilen Tein’s Classic T Shirt Yarn Nest
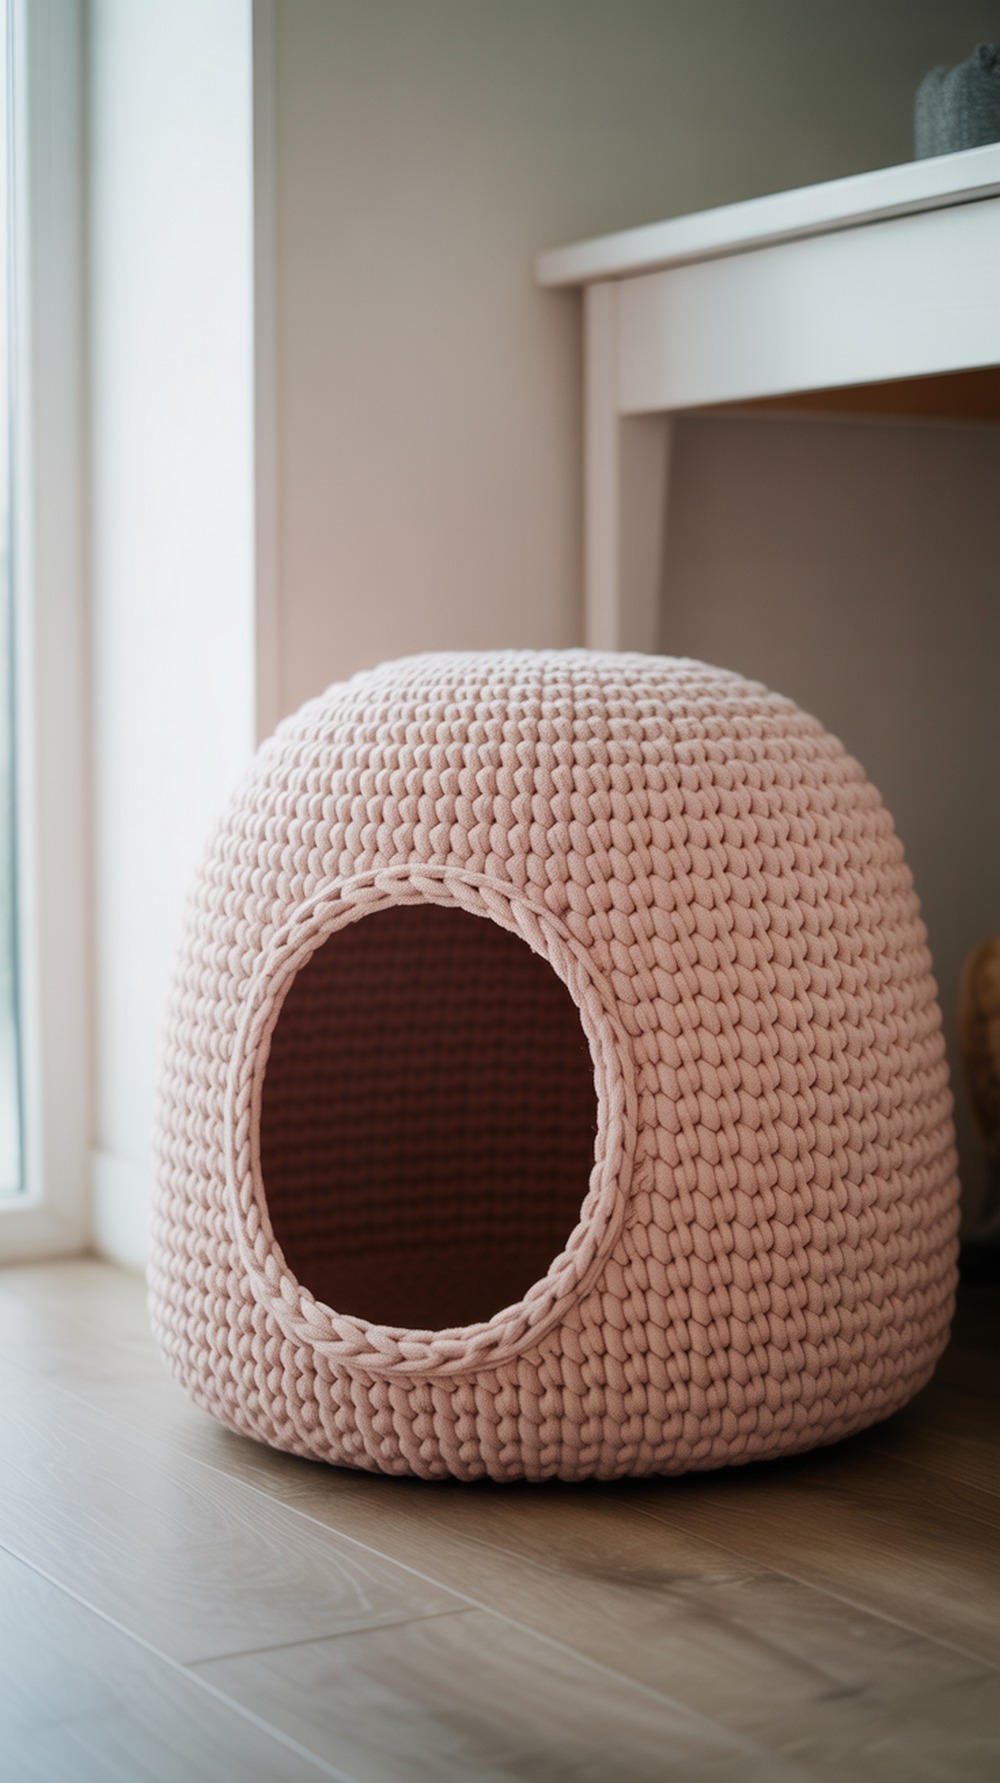
This is the iconic crochet cat cave that launched a thousand naps. Worked in sturdy T-shirt yarn, the nest starts as a flat circle, then walls curve up and an oval door is shaped as you turn rows. The dense single crochet fabric holds itself up without wire for most sizes; use a smaller hook than the label suggests to stiffen the shell. Expect about 1–1.2 kg of T-shirt yarn for a cozy medium pod. Tip: if your yarn varies in thickness, reserve the most even strands for the door area so the opening stays tidy. Make it, test-fit, tweak height, and you’re done. Tutorial.
Supplies: Super bulky T-shirt yarn (#6) · 8–10 mm hook · stitch marker · yarn/tapestry needle
Why it’s great: Minimal seams and firm fabric keep the cave upright.
Marley’s Cat Cave

Need a pod without specialty yarn? This pattern holds four strands of worsted acrylic together to create a rigid shell. Start from a flat base, work up the sides, then shape the entrance and crown. Because you control structure with yarn multiples and tight gauge, it’s budget-friendly and stash-busting. Approx. yardage is 600–800 yds total (combined) for a medium cave. Tip: keep equal tension across all strands; use a center-pull on each ball to prevent twist. Add a removable cushion for easy washing and seasonal swaps. Tutorial.
Supplies: Worsted acrylic (#4), held 4 strands · 9–10 mm hook · markers · yarn needle
Why it’s great: Stiff walls without buying specialty cord or T-yarn.
Crochet Cat Igloo

This free “igloo” turns simple rounds into a roomy, cave-like shelter. The tutorial walks bottom-up construction with evenly spaced increases, then an arched doorway and smooth crown. It’s a great first pod if you’ve never shaped an opening before. Yardage varies by yarn, but super bulky or cord yields crisp walls with less strain on wrists. Tip: stuff the pod lightly with towels while blocking so the roof sets in a perfect arc. Add a faux-fur pad to entice finicky felines. Tutorial.
Supplies: Super bulky yarn/cord (#6–7) · 10–12 mm hook · markers · yarn needle
Why it’s great: Clear shaping for that classic igloo silhouette.
Bernat “Cat Nap Nest”
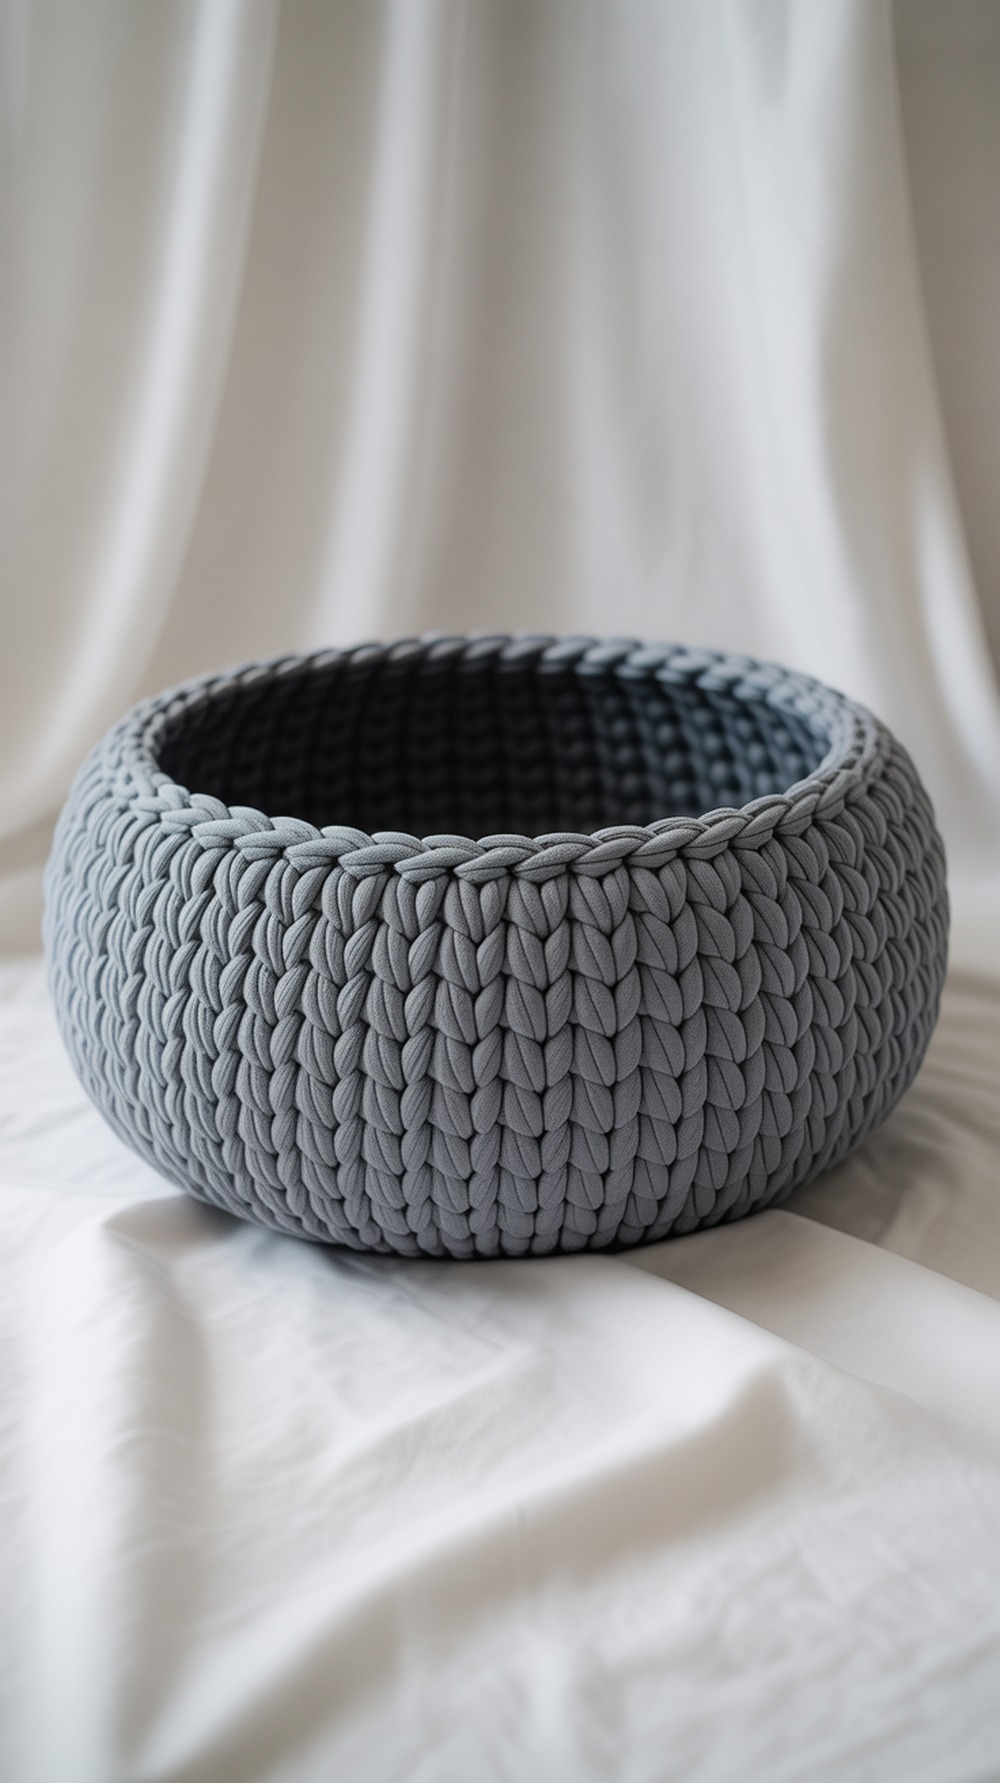
From Yarnspirations, this chunky nest is a quick win in mega-bulky yarn. You’ll crochet a thick base, build tall sides for burrowing, and finish with a tidy edge; make it extra high for cave-like coziness. The pattern is written for Bernat Mega Bulky; substitute any stable #7 if needed. Yardage: roughly 250–350 yds depending on size. Tip: when working jumbo yarn, relax your grip and rotate the piece often to avoid wrist fatigue. Tutorial.
Supplies: Jumbo/mega-bulky yarn (#7) · 15–16 mm hook · yarn needle
Why it’s great: Fast, plush, and highly customizable wall height.
We Are Knitters Crochet Cat House
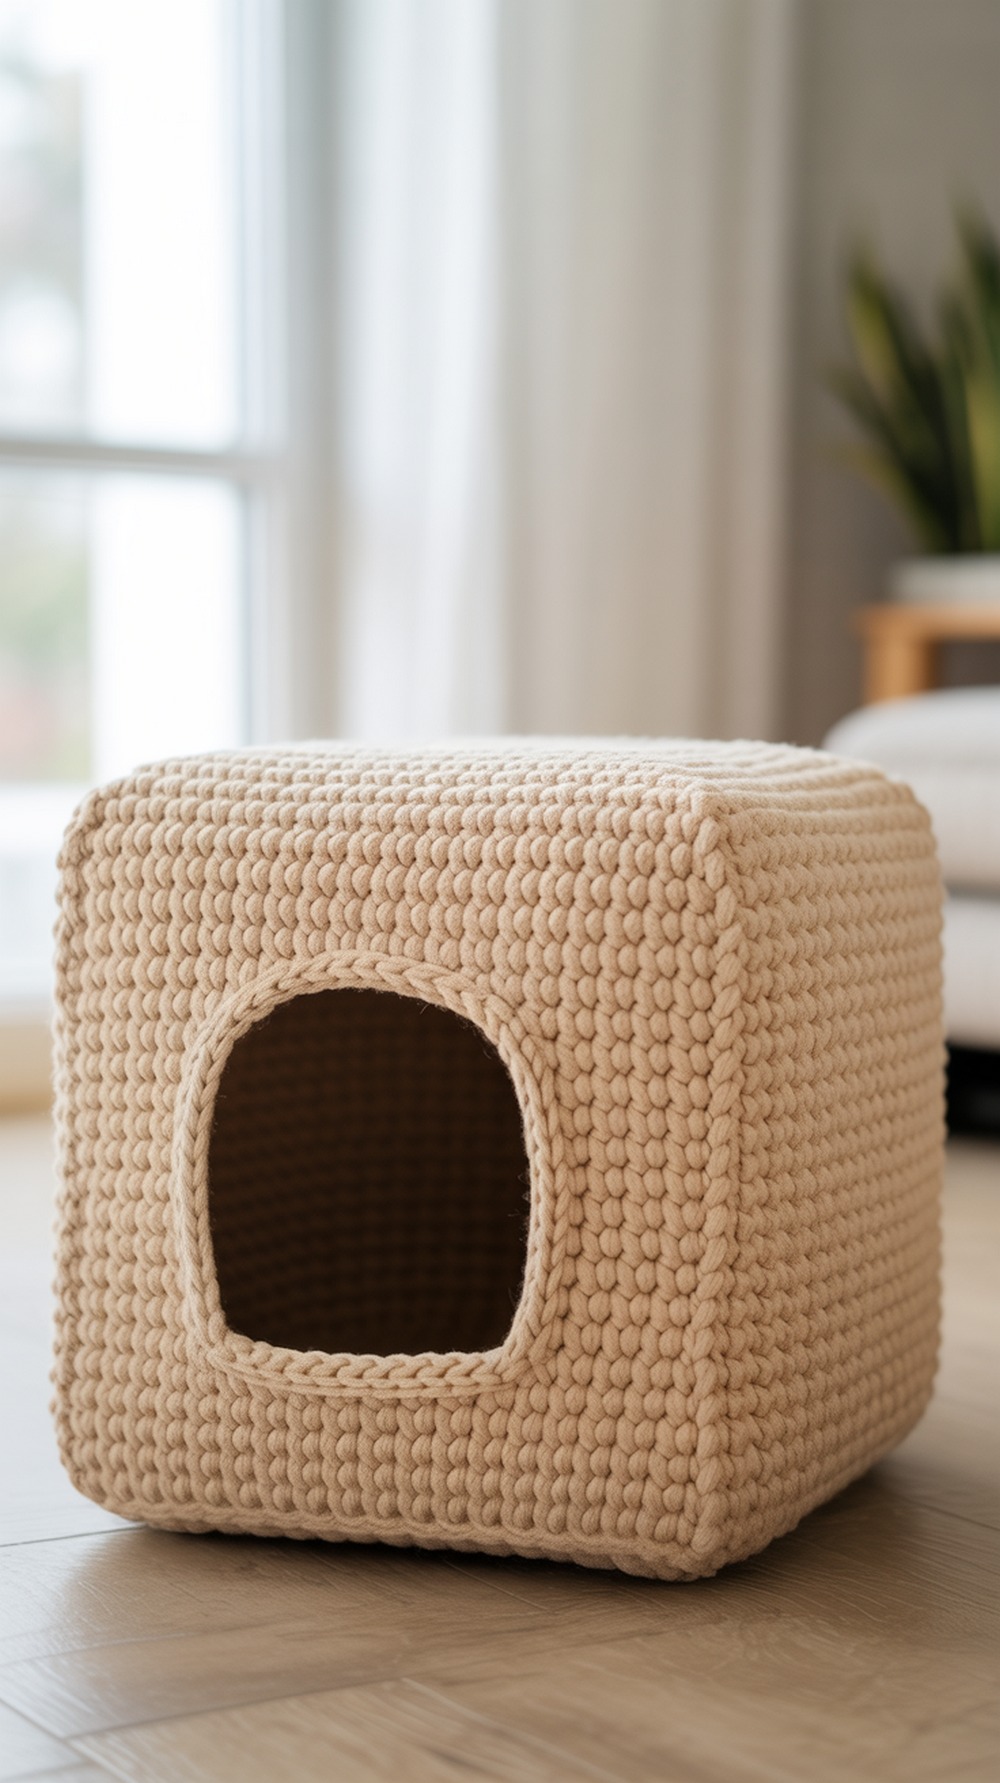
A minimalist boxy “house” you can finish in an afternoon with single crochet. The free blog pattern includes materials and straightforward steps. Work a firm base, then raise stiff walls and shape the doorway; it’s easy to scale by adding or subtracting rows. Great for beginners who want a structured look without complex shaping. Tip: steam-block the doorway edge over a bowl to set a crisp curve. Tutorial.
Supplies: Bulky cotton or wool blend (#5) · 8–9 mm hook · stitch markers · yarn needle
Why it’s great: Simple stitches, modern lines, and quick results.
Ring Framed Cat Bed with Door
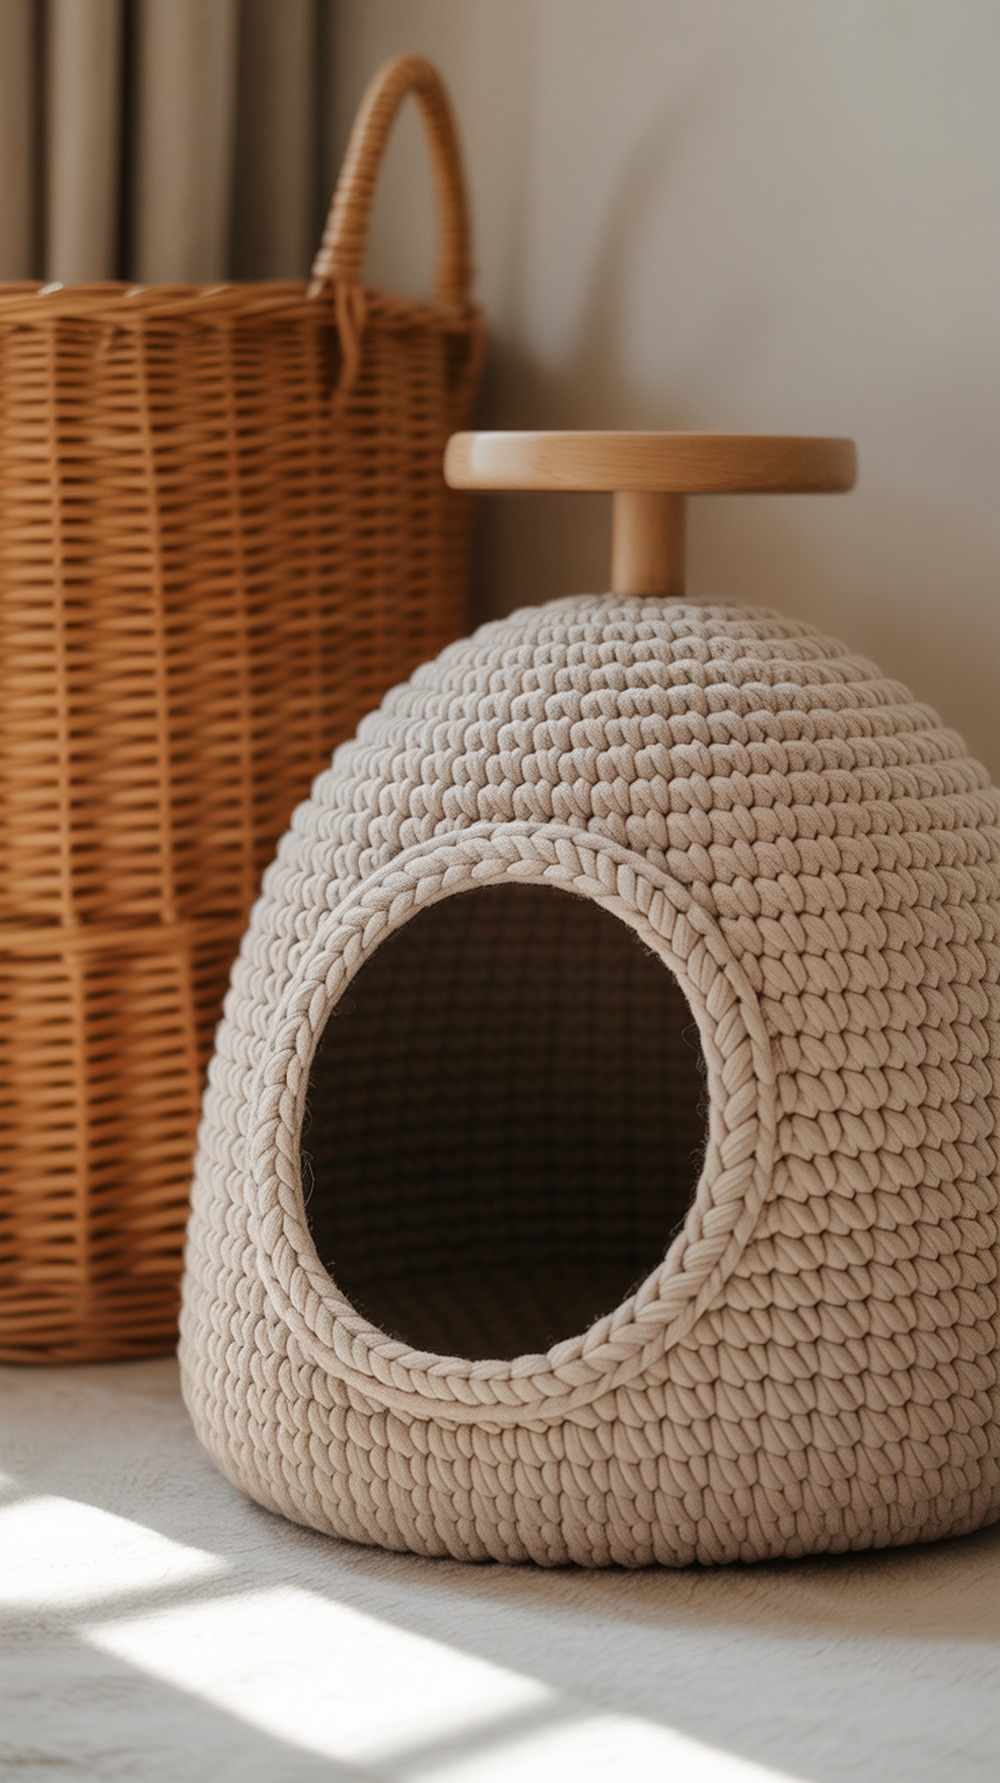
This clever design uses a wood/metal ring for the entrance, crocheted around to reinforce the doorway—great for cats that lean. The body combines chunky acrylic with cotton fettuccia (or macramé cord) for extra stiffness, worked tightly to keep shape. Expect a medium cave with about 400–600 yds combined fiber, plus a 19–20 cm ring. Tip: if you can’t source a ring, the tutorial explains how to make one from wire and tape. Tutorial.
Supplies: Chunky acrylic (#5) + cotton fettuccia/cord · 6.0 mm hook · 19–20 cm ring · needle
Why it’s great: Reinforced doorway resists sagging over time.
Crochet Cat Sack Hideaway

Think of this as a soft tunnel that stands on its own. You’ll crochet around a hoop to anchor the mouth, then work in a spiral to create a flexible “sack” cats love to burrow into. It’s quick, stash-friendly, and great for shelf perches. Size by adding rounds for depth. Tip: line the first 4–5 inches behind the hoop with denser stitches to keep the opening propped. Tutorial.
Supplies: Bulky yarn (#5) · 8–9 mm hook · metal/plastic hoop (~10–12″) · needle
Why it’s great: A simple structural trick makes a comfy, cave-like tunnel.
Cate Ruth’s Upcycled T Shirt Cat Cave
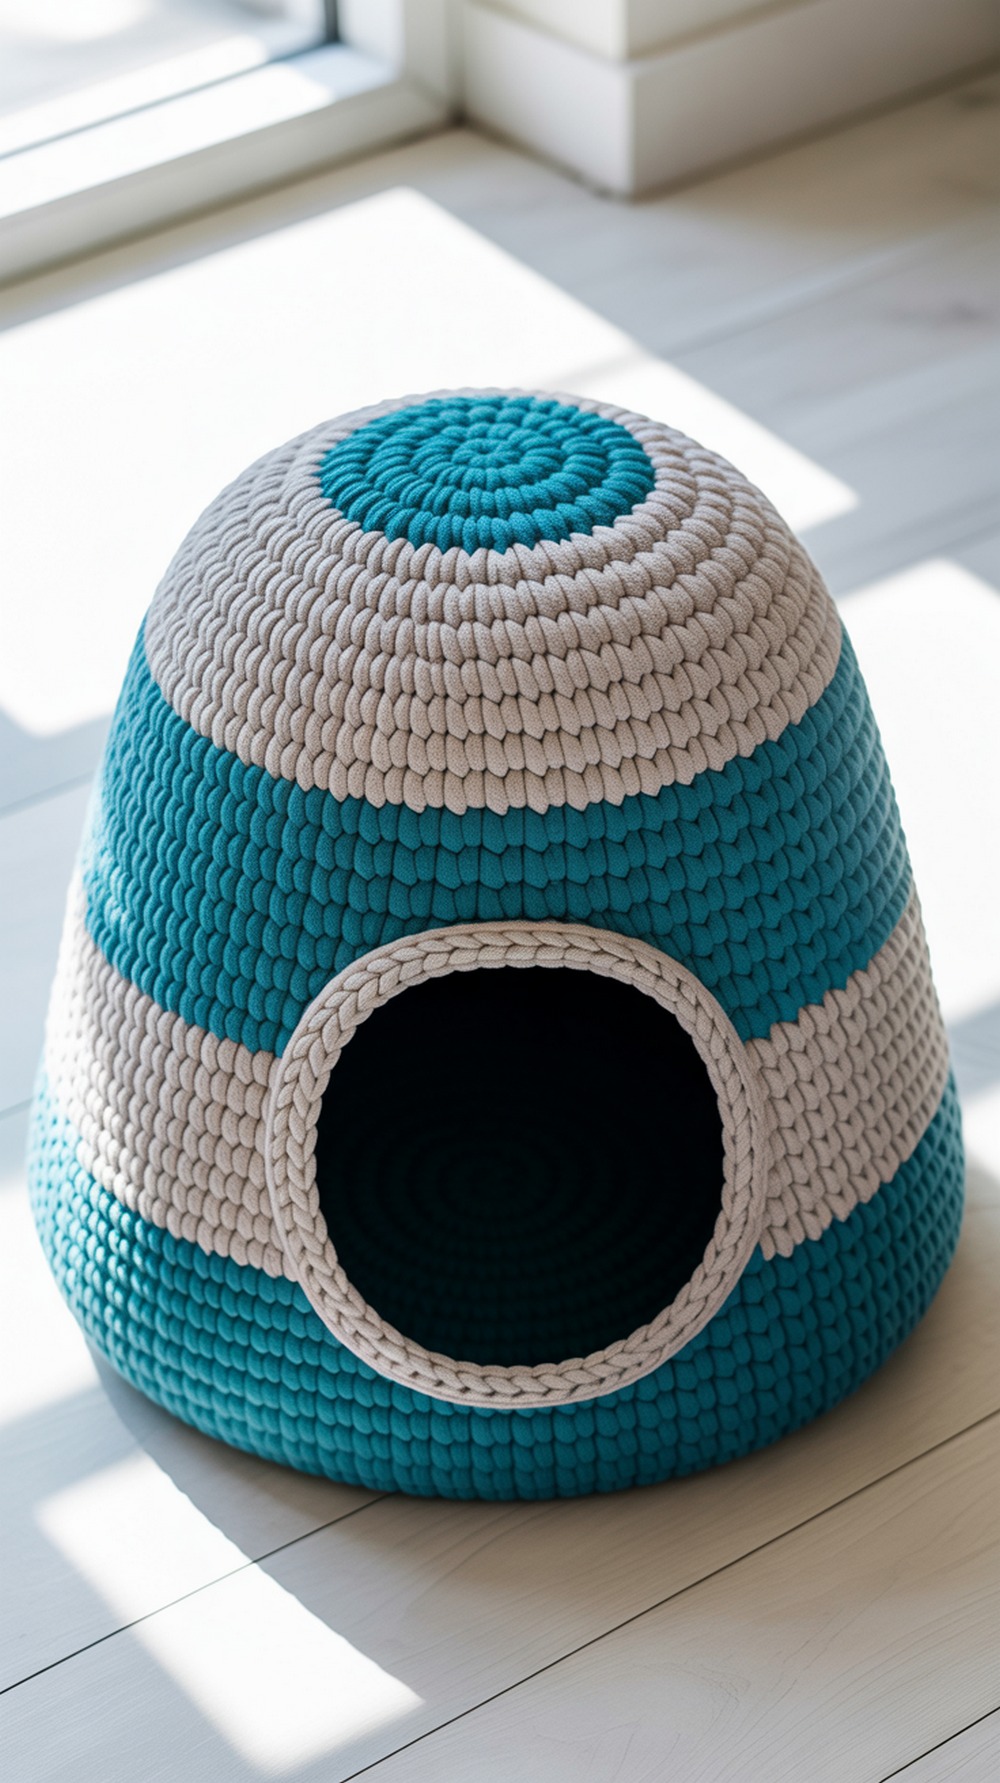
A practical walkthrough for turning old tees into a firm, colorful pod. Start with a flat circle base, build the sides, then switch to turned rows to shape the entrance and roof. The tutorial notes color-blocking from recycled shirts—perfect if you like a two-tone look. Yardage depends on shirts; plan 6–10 adult tees for a medium pod. Tip: stretch and roll strips evenly so stitch gauge doesn’t drift between colors. Tutorial.
Supplies: DIY T-shirt yarn (#6) · 8–10 mm hook · scissors · needle
Why it’s great: Eco-friendly, sturdy, and highly customizable color blocking.
Mouse Ears Cat Pod

Whimsical and functional, this free pattern uses super bulky yarn to build a compact dome with a front opening and adorable mouse ears on top. Finished size is about 13″ W/T x 12″ D with an 8″ door, perfect for small to medium cats. The instructions include stitch counts every round for confidence. Tip: plan ear placement with pins before final seaming so they sit symmetrically. Tutorial.
Supplies: Super bulky yarn (#6) · 9–10 mm hook · markers · needle
Why it’s great: Cute ears + solid shell = instant crowd-pleaser.
Zaraza Crochet’s Hoop Topped Cave
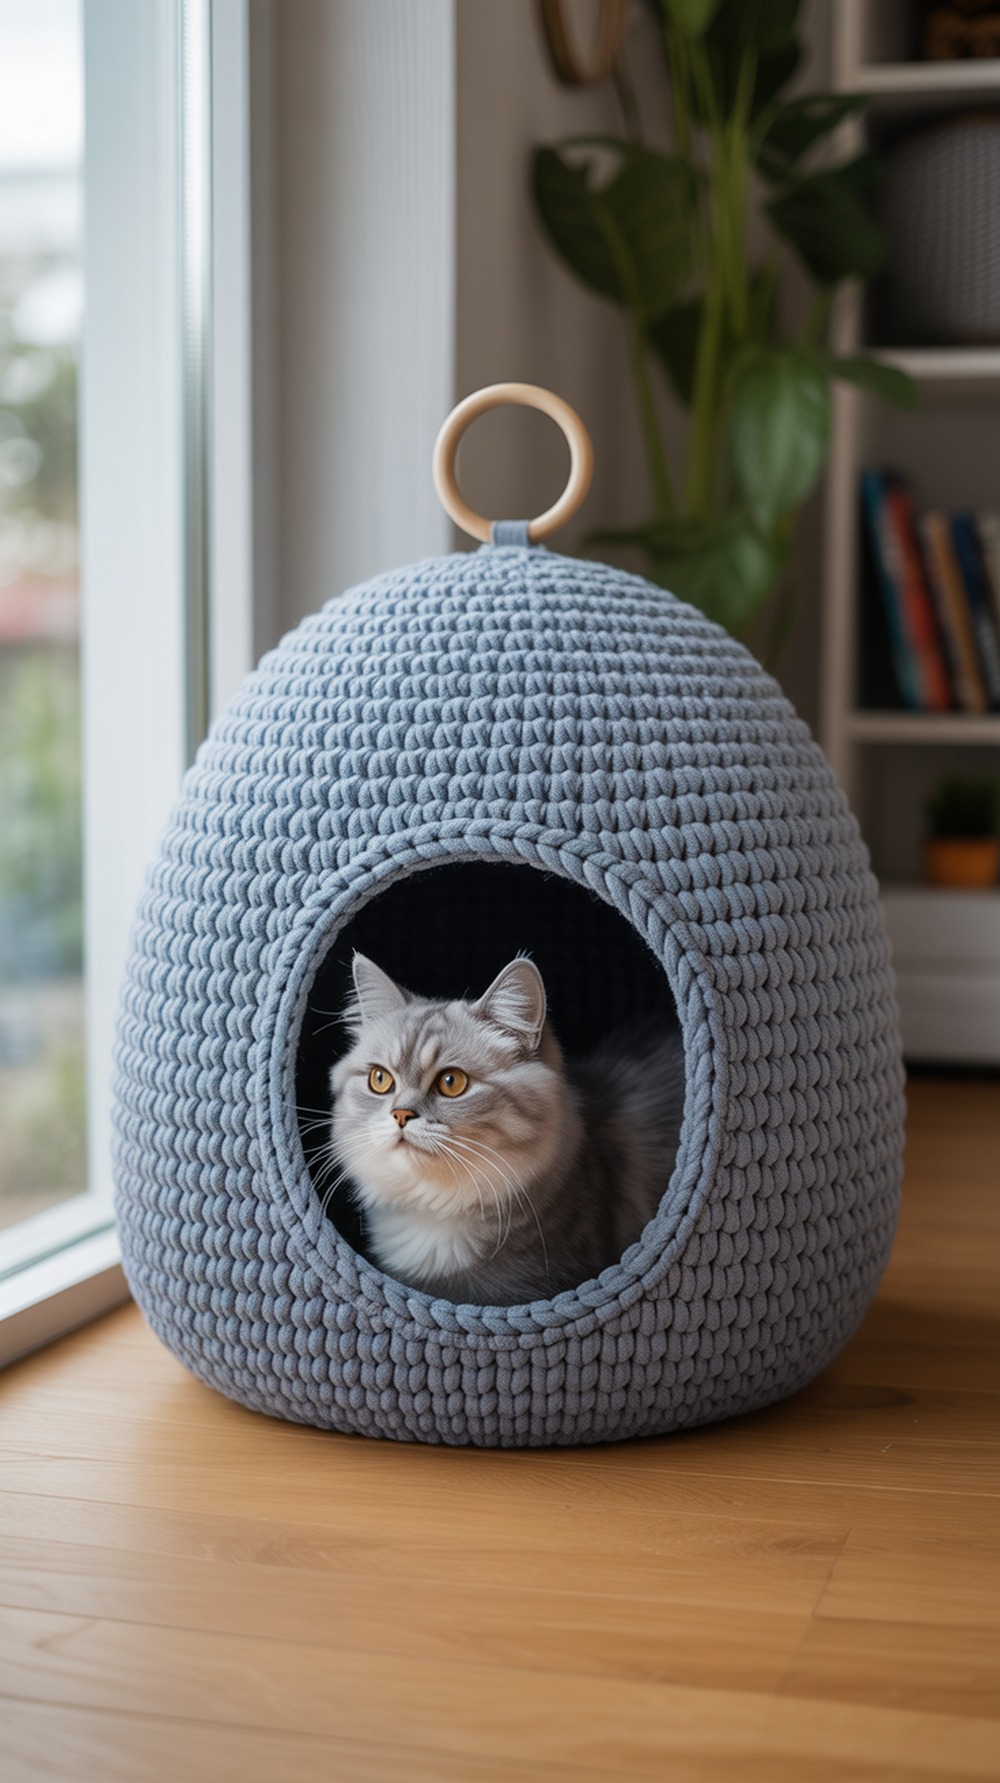
This blog notes a smart method: crochet around a flexible plastic-rod hoop to stabilize the top opening, then work double crochet in the round to form a roomy dome. Occasional decreases shape a neat crown. It’s a great hack when your cave tends to slump. Tip: if your hoop is slightly big, mirror the tutorial’s occasional 3-stitch decreases to maintain a rounded silhouette without puckers. Tutorial.
Supplies: Bulky yarn (#5) · 12 mm hook · flexible plastic hoop · needle
Why it’s great: Built-in support at the opening for long-term structure.
Kitten Ears Pet Pod

Not a full dome, but a pod-like bed with tall sides and playful ears—great for cave-curious cats who still like a view. Worked in odor-reducing Bernat Blanket Pet, it’s cushy, washable, and fast. Build higher walls for a deeper “pod” feel, or fold the rim for a bolster. Tip: keep a lint roller nearby for chenille finishes, and weave ends securely to prevent shedding at the ear tips. Tutorial.
Supplies: Super bulky polyester (#6) · 8–9 mm hook · yarn needle · markers
Why it’s great: Plush, odor-resistant yarn and adorable silhouette.
Boho Cat Cave

A chic, structured pod that uses a wooden bag bottom for the base, a matching steel ring up top, and plastic canvas to support the sides—brilliant for neat geometry. The tutorial shares finished circumference (about 38″) and height targets so you can size precisely. Use bulky yarn tightly for crisp walls. Tip: cut plastic canvas ½” shorter than wall height so the rim still flexes and looks organic. Tutorial.
Supplies: Bulky yarn (#5) · 8 mm hook · wood base + steel ring · plastic canvas · needle
Why it’s great: Clever hardware equals dependable structure.
Conclusion
Pick one cave that matches your yarn on hand and your cat’s nap style. Start with a tight gauge, keep openings around 7–8″, and add simple supports (rings, hoops, canvas) if your caves tend to slouch. Once your kitty chooses “the spot,” consider making a second shell so you can rotate and wash inserts without drama. Bookmark this list for your next stash-busting weekend, and share a photo—there’s nothing better than a handmade hideaway with a happily tucked-in cat.
FAQs
What yarns work best for cat caves?
Firm options are ideal: T-shirt yarn, macramé cord, jumbo chenille, or multiple strands of worsted held together. Aim for dense stitches and a smaller hook than the label recommends.
Can I machine wash these?
Most cotton cords and acrylic blends tolerate gentle machine cycles; reshape and air-dry. Jumbo chenille often prefers cold wash in a laundry bag and flat-drying. Always check yarn labels.
How do I scale patterns up or down?
Increase or reduce the base circle diameter in early rounds, then maintain wall height until the cat fits. Doorways around 7–8″ suit most cats; add 1–2″ for big breeds.
What fibers are safest for kitchen/bath or warmth?
Cotton and polyester blends handle humidity and spot-cleaning well. Avoid wool for heat surfaces; never place pods near radiators or open flames.
How do I make joins and edgings durable?
Use invisible joins for neatness, then add a round of reverse single crochet (crab stitch) or slip-stitch edging to lock the rim.
Typical time and yardage?
Small caves: 3–5 hours and ~300–500 yds (super bulky). Medium: 5–8 hours and ~600–900 yds (varies with strand-holding). Hardware-reinforced designs may need less yarn but extra notions.
Any tips for photographing my finished pod?
Place near a window with side light, shoot at cat-eye level, and keep backgrounds simple. A neutral rug or floor makes stitches pop.
How do I fix curling, stretching, or wavy edges?
Curling base: add a plain round without increases. Wavy base: reduce increases next round. Sagging walls: go down a hook size, add a hoop or canvas insert, or switch to firmer yarn.