Halloween Ghost Crochet Free Pattern – Step-by-Step Tutorial
Crochet season is the perfect time to add a handmade touch to your Halloween décor, and this little ghost pattern is just the project to try. Designed with beginners in mind, it uses simple stitches like single crochet, increases, and decreases to create a charming amigurumi ghost in no time. The project begins with a magic ring to form the head, gradually shaping it with rounds and stuffing for a soft, plump finish. Safety eyes or simple embroidery add personality, while the scalloped hem brings that flowing, ghostly effect. With tiny arms and a sweet embroidered smile, your finished ghost looks both festive and adorable. This crochet ghost can stand alone as a playful decoration, or be multiplied into garlands, keychains, or gifts. Using only basic supplies and less than an evening’s work, it’s a quick craft that delivers big seasonal charm. Fun, beginner-friendly, and delightfully spooky, it’s the perfect Halloween crochet project.
Step 1: Gather Your Supplies
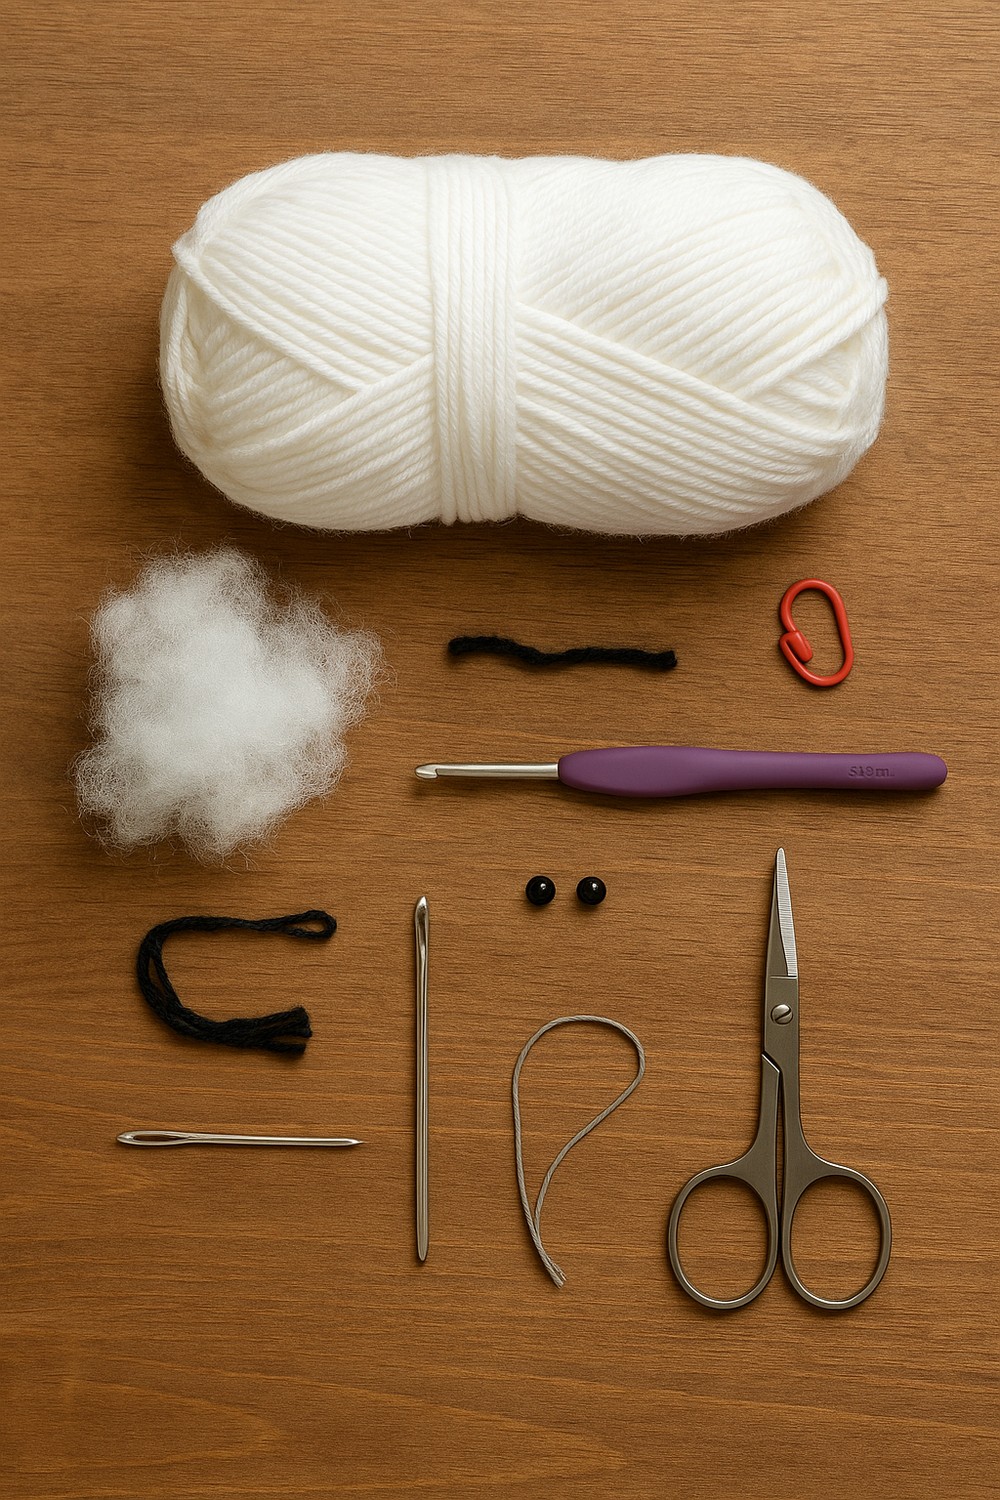
Before you begin crocheting this adorable Halloween ghost, make sure you have all your supplies ready. You’ll need soft white yarn for the body, a scrap of black for the smile, safety eyes, stuffing, scissors, a yarn needle, and a 3.5 mm crochet hook. Laying everything out neatly will keep the process smooth and fun.
Supplies include:
- White worsted yarn (25–40 g)
- Small scrap of black yarn (for smile)
- Crochet hook (3.5 mm)
- Safety eyes (6–8 mm)
- Fiberfill stuffing
- Yarn needle, scissors, stitch marker
Step 2: Start the Head — Magic Ring & Increase Rounds
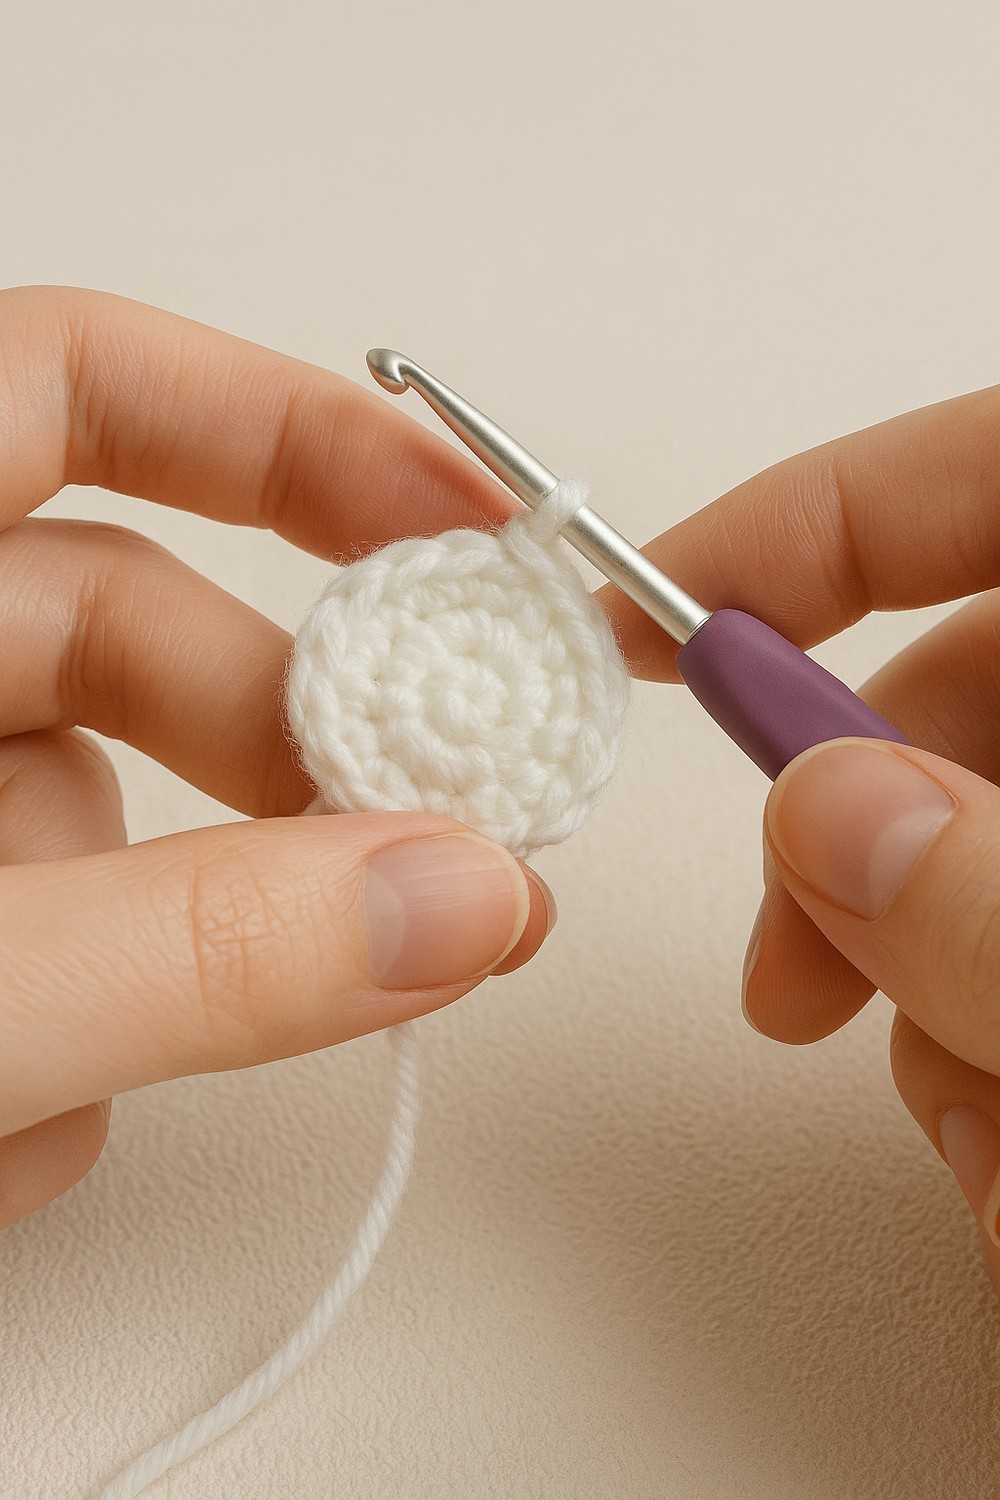
The first step is creating the head of your ghost using a magic ring. Work tight single crochet stitches into the circle, gradually increasing stitches round by round to form a flat disc. This becomes the strong foundation of the head. Crocheting carefully here sets the tone for the whole ghost, ensuring a perfect start.
Work into a Magic Ring
- R1: 6 sc
- R2: 12 (inc around)
- R3: 18 (sc, inc)
- R4: 24 (2 sc, inc)
- R5: 30 (3 sc, inc)
Step 3: Shape the Head & Add Eyes
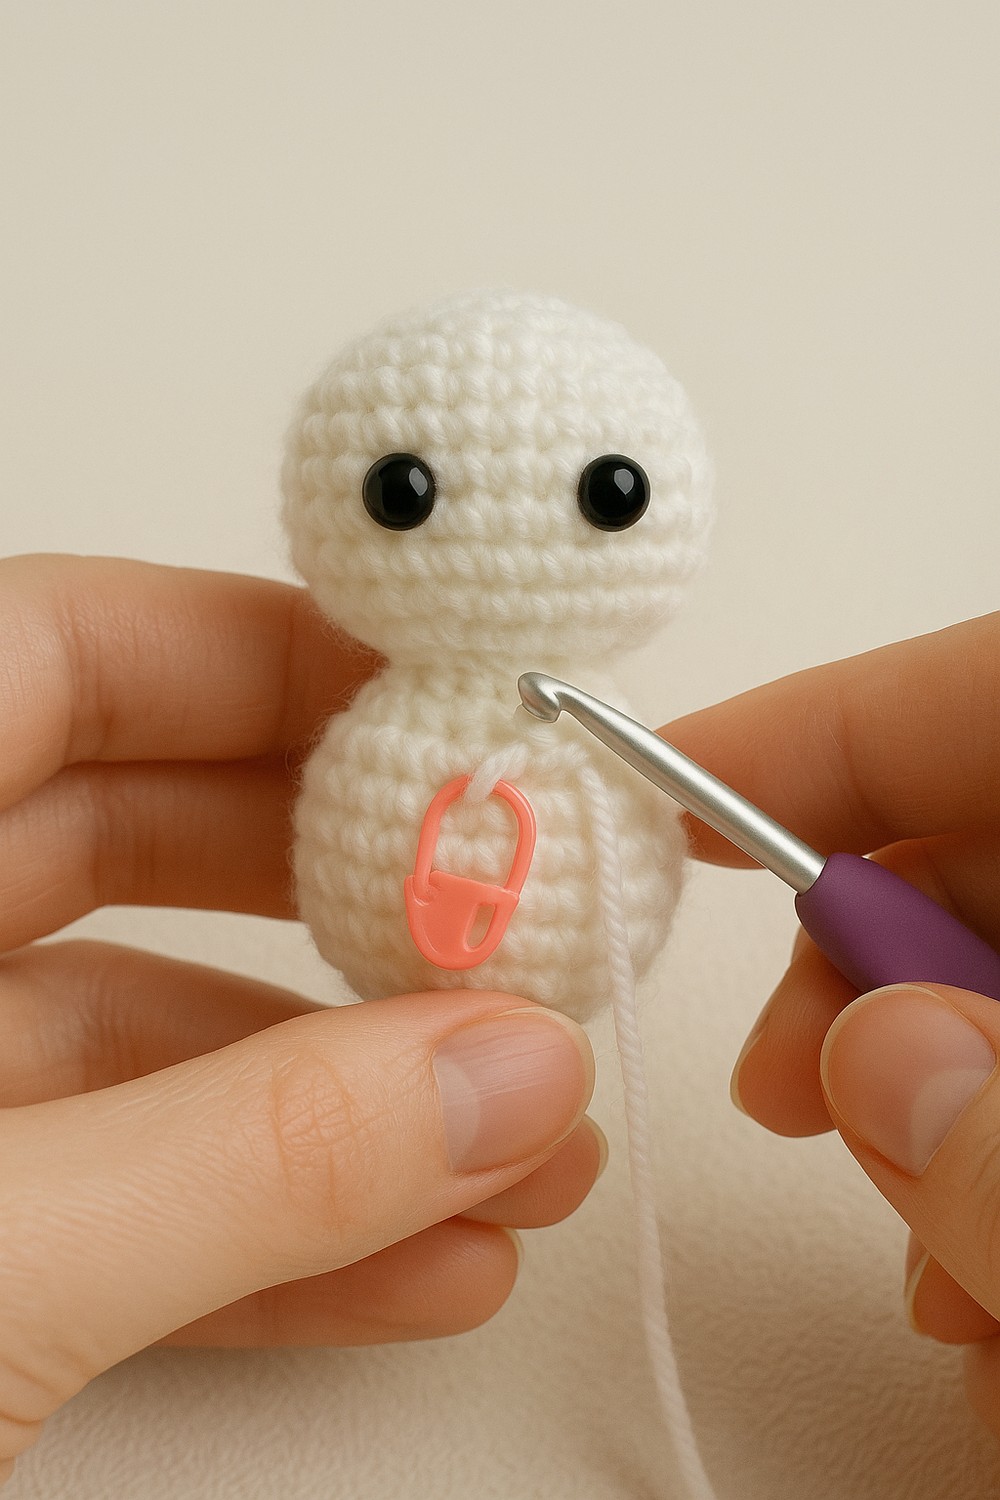
Now the magic happens! As the head grows, begin stuffing it with soft fiberfill to create a round, plump shape. This is also the perfect moment to attach your safety eyes between the stitches, giving the ghost its cute personality. Adding these details early makes finishing easier and helps bring the little ghost to life.
Rounds:
- R6–R11: 36 sc
- R12: (4 sc, dec) ×6 (30)
- R13: (3 sc, dec) ×6 (24)
- R14: (2 sc, dec) ×6 (18) → Stuff firmly
- Place eyes between R8–R9 before closing
Step 4: Crochet the Body & Ruffled Hem
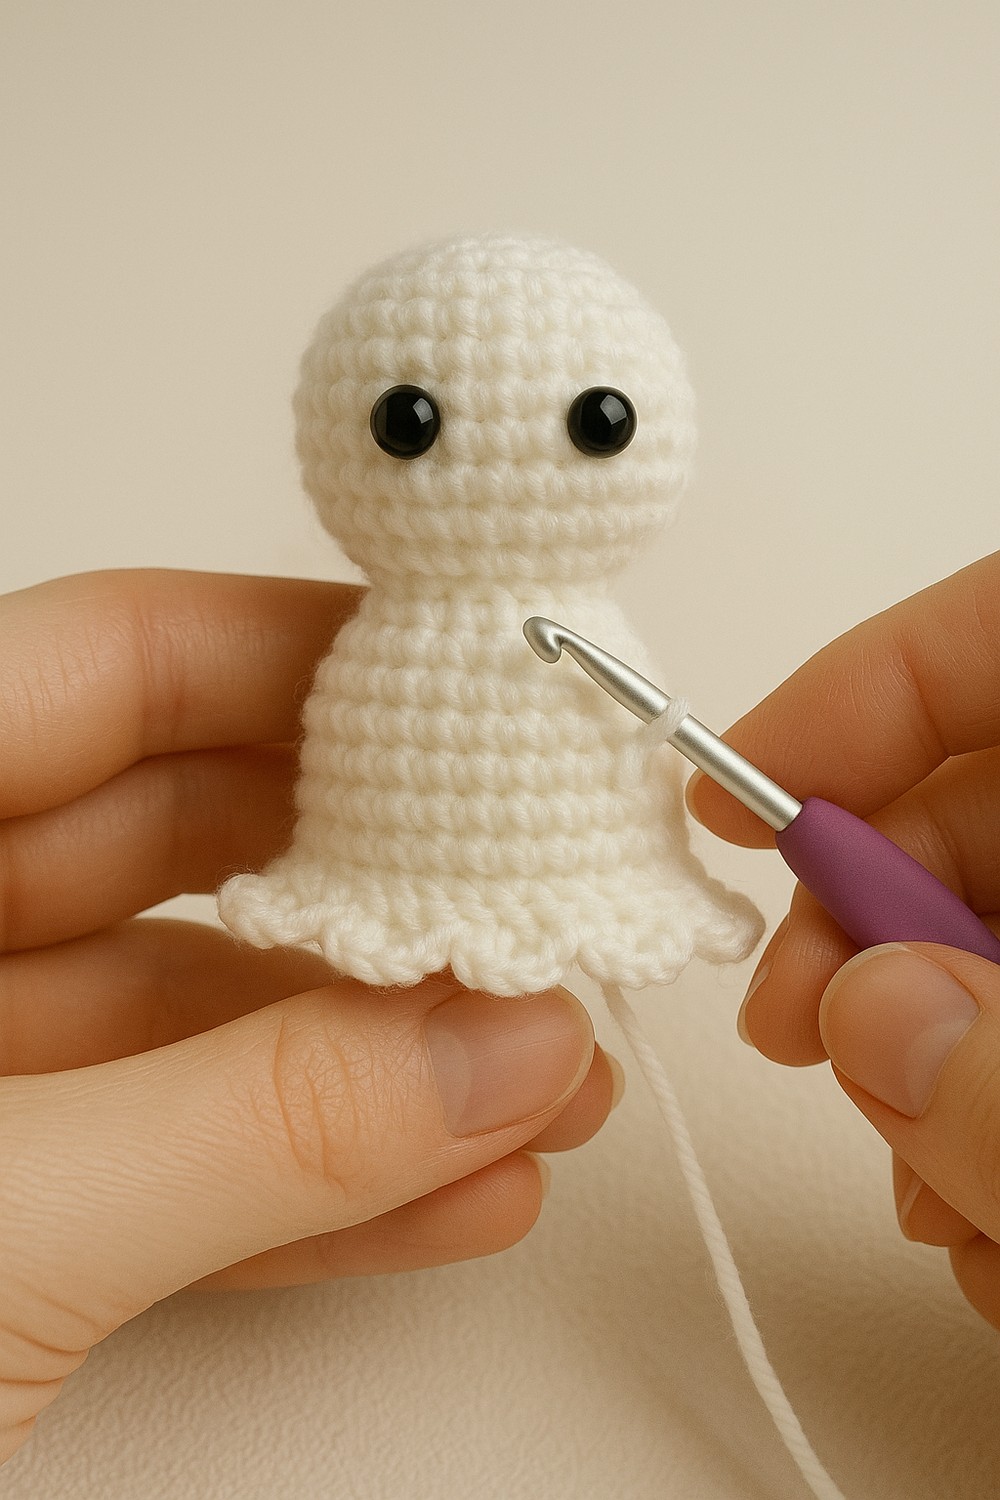
Once the head is shaped, it’s time to crochet the ghost’s body. Work in rounds to expand the base, then switch to front-loop-only stitches for the scalloped hem. This clever stitch combination creates that signature flowing, ruffled edge, making the ghost appear like it’s floating. Watching the body take shape is such a rewarding step.
Rounds:
- R15: (sc, dec) ×6 (12)
- R16: BLO sc (12)
- R17: (sc, inc) ×6 (18)
- R18: (2 sc, inc) ×6 (24)
- R19: (3 sc, inc) ×6 (30)
- R20–R22: sc around (30)
- R23 (FLO scallops): sl st, (sc, hdc, dc) in next st, sl st → repeat
Step 5: Add Arms, Face & Finishing Touches

The final step is all about personality. Crochet two tiny arms and sew them onto the body, then embroider a sweet smile with black yarn. Add a touch of blush under the eyes for extra cuteness. After lightly stuffing the body, your ghost is complete. Style it with pumpkins or hang it as festive Halloween décor.
- Arms (×2): MR 6 → sc around → increase to 9 → 2 rounds → dec → sew to sides
- Embroider mouth + blush
- Lightly stuff body
- Optional: add hanging loop or ribbon bow
Final Thoughts
This Halloween Ghost Crochet Pattern is quick, cute, and easy to customize. Make a single ghost as a pocket pal, or create a whole garland for festive decorating. Kids love them, and they also make perfect seasonal gifts!