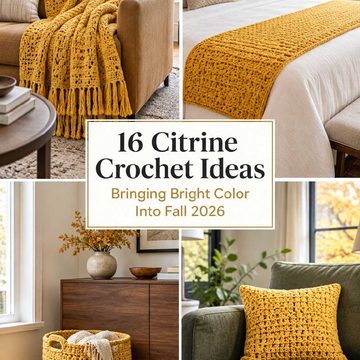
Jewel tones give crochet pumpkin garlands a different character from the usual orange-and-cream fall palette. Emerald, sapphire, amethyst, garnet, deep teal, plum, and burgundy can still read clearly as Halloween colors, especially when the pumpkin shape, stems, faces, and spacing remain visually consistent.
The projects below include both tutorials made specifically as garlands or bunting and small pumpkin projects that can be adapted into hanging motifs. That distinction matters. A flat appliqué behaves very differently on a cord from a stuffed amigurumi pumpkin, while an oversized pumpkin may work better as an occasional statement drop than as a tightly repeated motif.
Use each original tutorial for its exact crochet construction. The editorial suggestions here focus on choosing a suitable format, planning a jewel-tone palette, arranging motifs, and adapting the finished pumpkins for display without reconstructing the creators’ patterns.
Quick List
- Crochet Emerald Classic Pumpkin Garland
- Crochet Amethyst Pumpkin-and-Leaf Bunting
- Crochet Ruby Flat Pumpkin Garland
- Crochet Sapphire Bullion-Pumpkin Garland
- Crochet Garnet Jack-o’-Lantern Appliqué Garland
- Crochet Teal Pumpkin-Medallion Garland
- Crochet Emerald Pumpkin Granny-Square Banner
- Crochet Plum Framed-Pumpkin Square Garland
- Crochet Amethyst Smiling Mini-Pumpkin Garland
- Crochet Ruby Stuffed Mini-Pumpkin Garland
- Crochet Sapphire No-Sew Pumpkin Character Garland
- Crochet Jewel-Stripe Mini Pumpkin Garland
- Crochet Peacock Horizontal-Rib Pumpkin Garland
- Crochet Aubergine Jack-o’-Lantern Drop Garland
- Crochet Garnet Squishy Pumpkin Swag
- Crochet Deep-Teal Ribbed Pumpkin Bunting
- Crochet Oversized Sapphire Pumpkin Pennant Garland
- Crochet Emerald Curly-Vine Pumpkin Garland
- Crochet Plum Sculpted Halloween Pumpkin Garland
Build a Jewel-Tone Palette That Still Reads as Halloween
A jewel-tone pumpkin garland does not need every saturated color in the yarn aisle. Three or four related shades usually give you more control. For example, emerald, deep teal, amethyst, and garnet create clear variation without making each pumpkin feel unrelated to the next.
Value matters as much as hue. If every yarn is equally dark, individual pumpkins can merge visually when the garland is viewed across a room. Alternating a very deep shade with a somewhat brighter jewel tone can make the repeating shapes easier to distinguish.
The stem and hanging cord can also unify the palette. Repeating one dark green, brown, charcoal, or other restrained accent across differently colored pumpkins gives the eye something consistent to follow. For jack-o’-lantern motifs, test facial features against the actual pumpkin yarn before making a full set; black details can disappear against especially dark plum, navy, or aubergine.
Match the Pumpkin Construction to the Way the Garland Will Hang
Flat appliqués, coasters, and granny-square motifs are practical for long wall or window garlands because they add relatively little depth. They can also be easier to store flat after Halloween.
Stuffed pumpkins create more shadow and dimension, which can be especially effective across a mantel or open shelf. Their weight and tendency to rotate make attachment more important, however. Complete one pumpkin first and temporarily hang it from the intended cord before committing to a whole batch.
Chunkier pumpkins deserve even more space. If the source project produces a substantial three-dimensional pumpkin, consider using fewer pieces with generous gaps rather than shrinking the spacing until the strand becomes crowded. Changing yarn weight can also change the finished scale, so make a test piece instead of assuming a substitution will create the proportions you want.
Plan Spacing, Attachment, and Storage Before Making the Full Set
Lay the completed pumpkin shapes beside the intended cord before permanently joining anything. This lets you compare visual spacing, color order, leaf direction, face orientation, and the amount of empty space between motifs.
Three-dimensional pumpkins should also be checked for balance. A hanging point that looks centered while the pumpkin is sitting on a table may not keep its front facing outward once gravity takes over. Test the actual display position first.
Think ahead to November as well. Flat motifs can often be stacked, while stuffed pumpkins need enough storage room to avoid being crushed. If small children or pets can reach the display, keep hanging cords and detachable decorative components out of reach and assess embellishments for that environment rather than assuming a decorative tutorial is suitable for unsupervised play.
1. Crochet Emerald Classic Pumpkin Garland
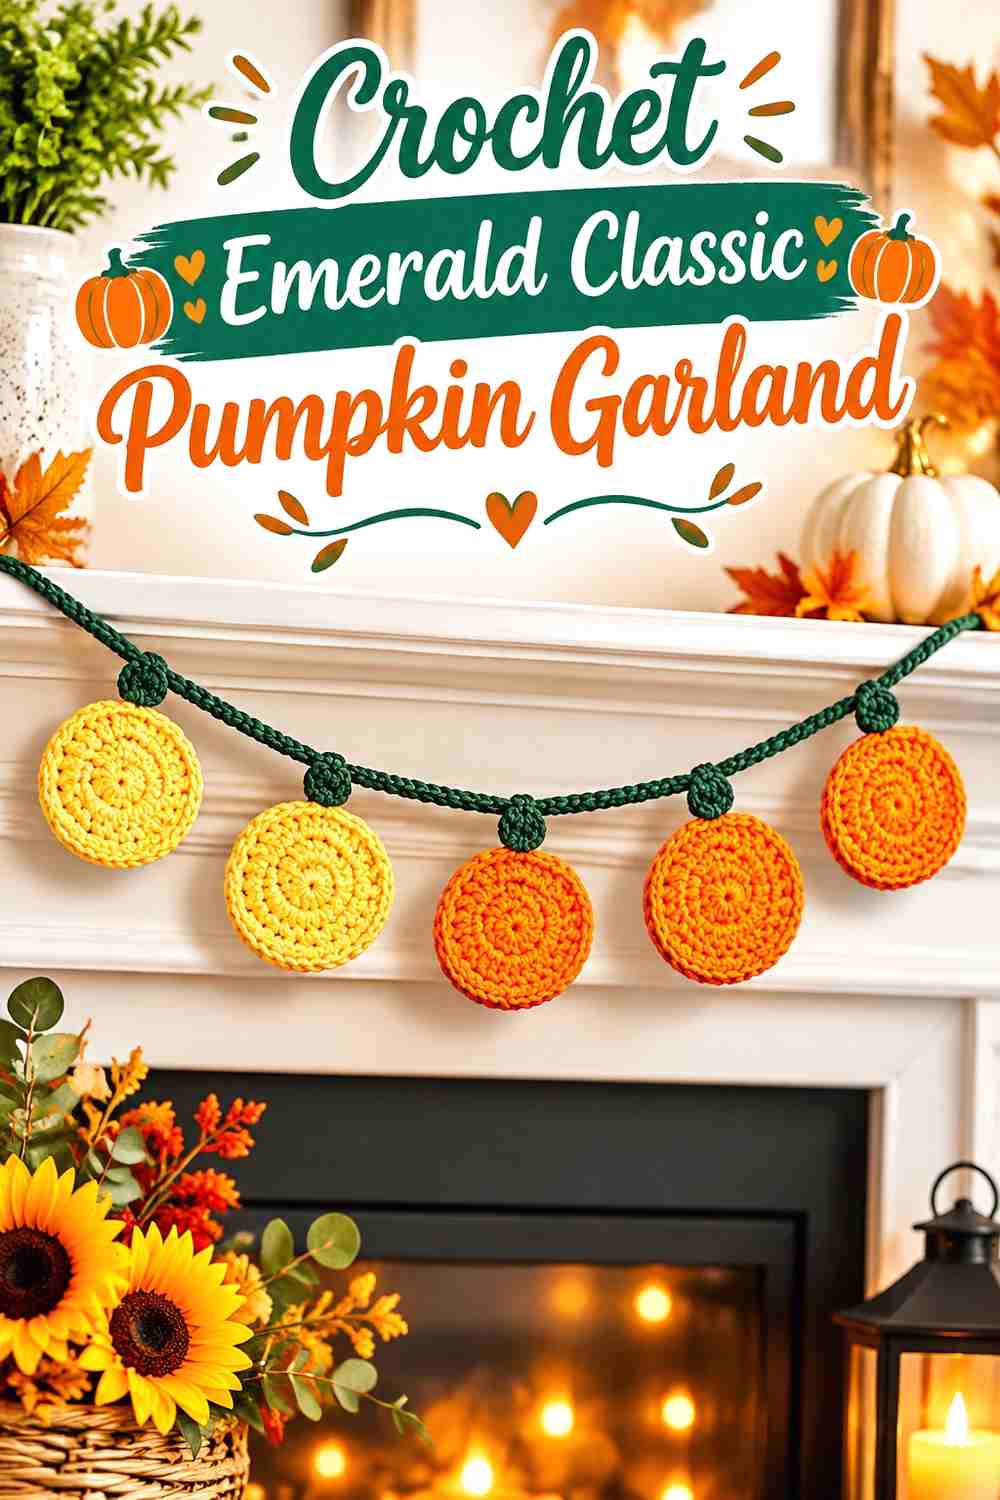
This is a direct garland option rather than an adaptation from another type of project. Crochet with Clare’s pumpkin design is categorized as a hanging ornament and is supported by a video tutorial, making it a useful starting point if you want the construction and display concept to begin in the same place.
For the jewel-tone version, an emerald-dominant strand could establish the color direction while occasional plum, sapphire, or garnet pumpkins keep the repetition from becoming too uniform.
Let One Repeated Shape Carry the Color Changes
When the pumpkin silhouette stays consistent, the colors can do more of the decorative work. This is useful if you want several saturated shades without making the garland look like a collection of unrelated motifs.
Try arranging the colors on a table before attaching them. A deliberate repeating sequence often looks calmer than placing each color randomly.
Test the Complete Strand Under Its Own Weight
Individual motifs can look evenly spaced on a flat surface but shift once the strand is hanging. Temporarily secure several pumpkins to the intended cord and check the center sag, end spacing, and pumpkin orientation in the actual display position.
Creator Credit: Crochet with Clare
2. Crochet Amethyst Pumpkin-and-Leaf Bunting
This is a direct garland option rather than an adaptation from another type of project. Crochet with Clare’s pumpkin design is categorized as a hanging ornament and is supported by a video tutorial, making it a useful starting point if you want the construction and display concept to begin in the same place.
For the jewel-tone version, an emerald-dominant strand could establish the color direction while occasional plum, sapphire, or garnet pumpkins keep the repetition from becoming too uniform.
Let One Repeated Shape Carry the Color Changes
When the pumpkin silhouette stays consistent, the colors can do more of the decorative work. This is useful if you want several saturated shades without making the garland look like a collection of unrelated motifs.
Try arranging the colors on a table before attaching them. A deliberate repeating sequence often looks calmer than placing each color randomly.
Test the Complete Strand Under Its Own Weight
Individual motifs can look evenly spaced on a flat surface but shift once the strand is hanging. Temporarily secure several pumpkins to the intended cord and check the center sag, end spacing, and pumpkin orientation in the actual display position.
Creator Credit: Crochet with Clare
2. Crochet Amethyst Pumpkin-and-Leaf Bunting
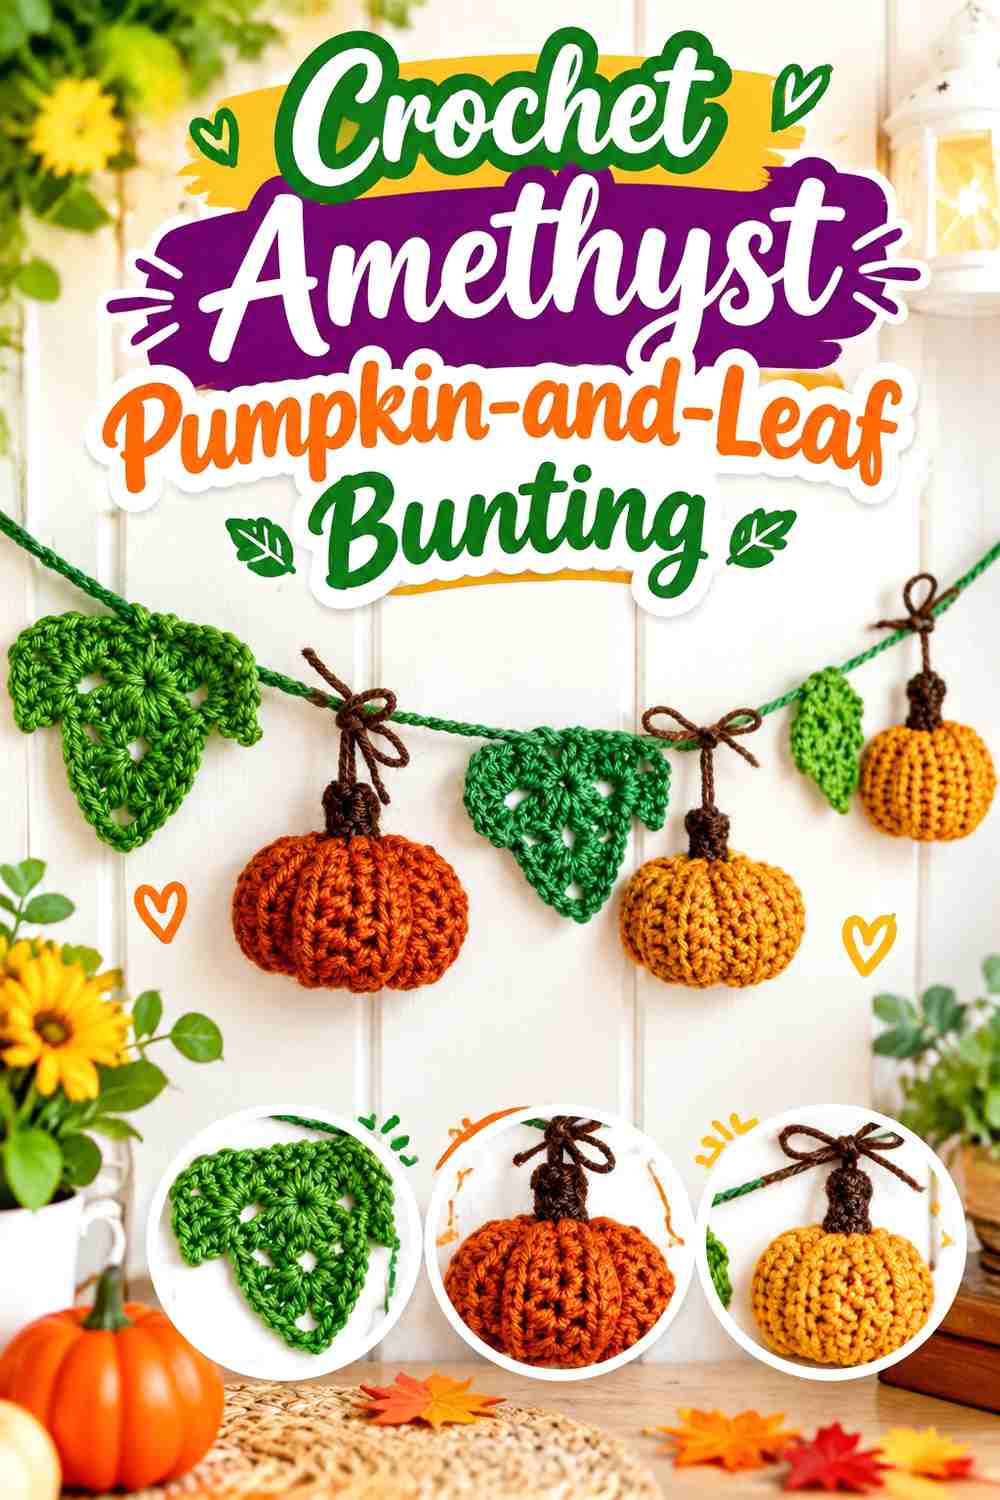
Kara Ella Uy’s tutorial is especially useful for readers who want more than pumpkins alone: the project includes stuffed pumpkin elements, leaves, and bunting assembly. That makes foliage part of the composition instead of an afterthought.
An amethyst-and-emerald interpretation could use the pumpkins for the primary jewel color and leaves as a repeating green accent, or reverse the idea with several pumpkin colors and one consistent foliage shade.
Give the Leaves Enough Negative Space
Leaves can disappear visually when they are pressed directly against bulky pumpkins. Before securing the arrangement, spread the components along the strand and make sure the leaf silhouette can actually be seen from the viewing distance.
The goal is not maximum decoration per inch. A little empty space can make both the pumpkin and foliage shapes more readable.
Alternate Color Value as Well as Hue
A deep purple pumpkin followed by an equally dark blue one may not create much separation from across a room. Alternating darker pumpkins with brighter jewel tones can create a more noticeable rhythm while retaining the saturated palette.
Creator Credit: Kara Ella Uy
3. Crochet Ruby Flat Pumpkin Garland
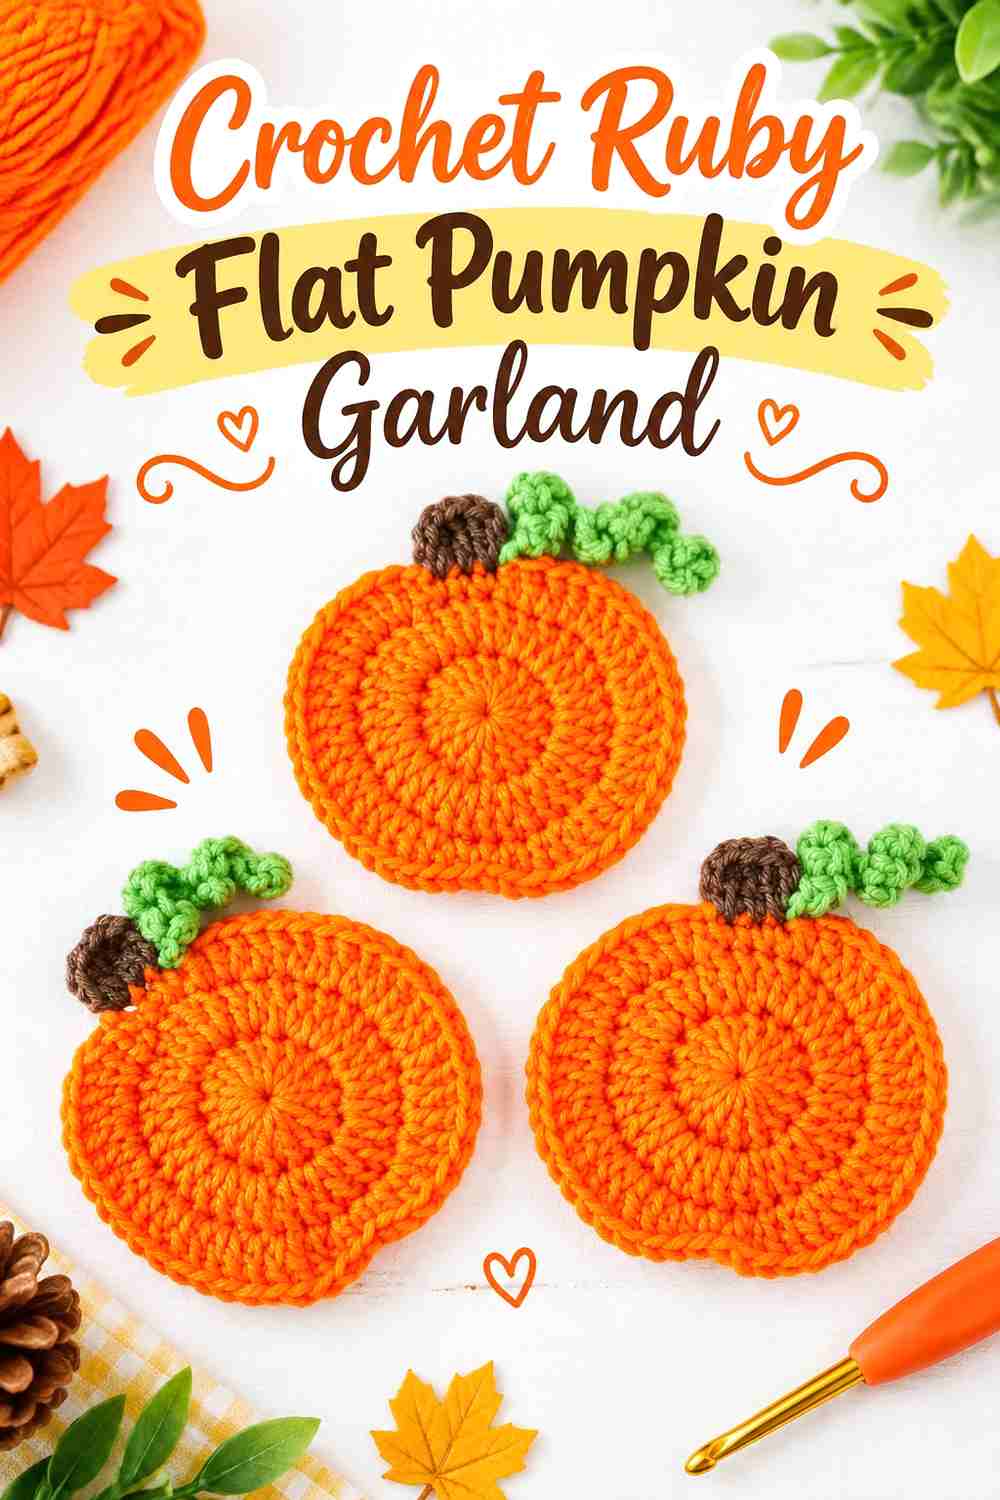
RepeatCrafterMe’s flat pumpkin project is particularly adaptable because the creator specifically presents the motif as something that can be used in a garland as well as in other decorative applications.
Flat pumpkins are a practical choice for a long ruby, burgundy, and garnet strand across a wall, mirror, doorway, or window where bulky decorations might project too far forward.
Flat Motifs Make a Long Span Easier to Control
A flat pumpkin puts less visual volume between one motif and the next. That allows you to use closer repetition without producing the crowded effect that can happen with stuffed pieces.
It also makes it easier to compare spacing before assembly: lay the full color sequence on the floor or a large table and adjust the gaps before joining.
Use Vine Details as Part of the Spacing
If your finished pumpkins include curling or projecting details, measure visual space from the outermost detail rather than only from the pumpkin body. Two pumpkin bodies may appear evenly spaced while their vines overlap awkwardly.
Creator Credit: RepeatCrafterMe
4. Crochet Sapphire Bullion-Pumpkin Garland
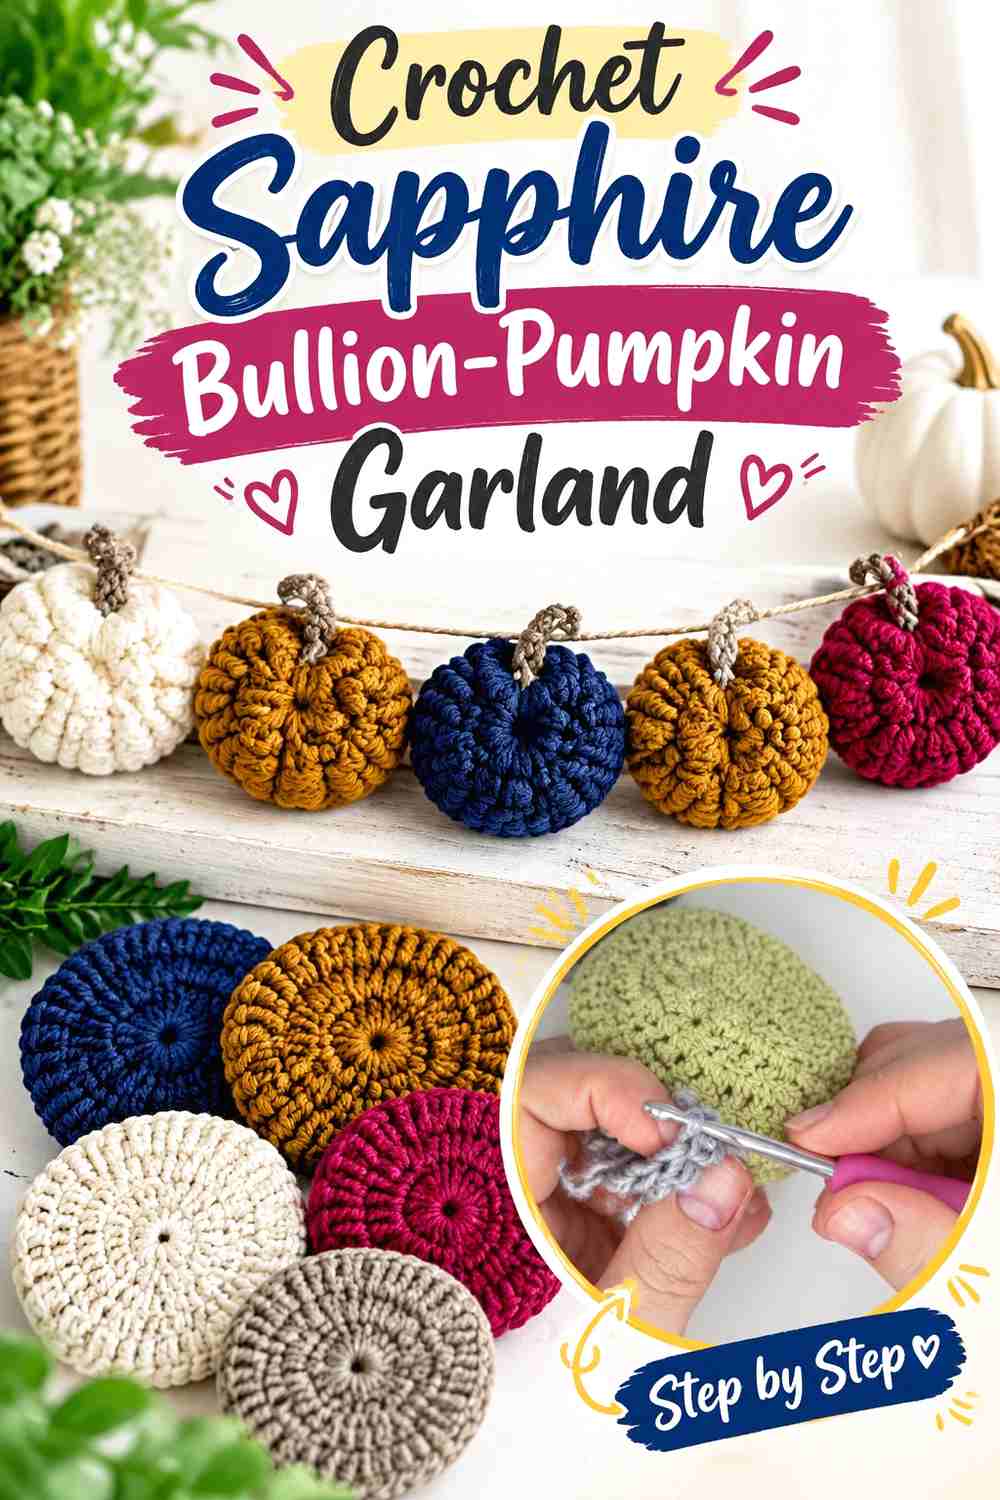
Beautiful Crochet Stuff uses bullion-stitch pumpkins and also presents a matching pumpkin garland concept. The pronounced raised texture distinguishes this option from flatter appliqués and smooth stuffed shapes.
A sapphire or peacock-blue version can make that surface texture especially important because the dimensional stitches prevent a single dark color from reading as one flat block.
Raised Texture Needs Enough Definition to Be Seen
Very fuzzy yarn can soften the outline of strongly textured stitches. If the bullion texture is the feature you want to emphasize, compare how clearly the stitch structure shows in your chosen yarn before making the complete set.
The issue is visual definition rather than simply choosing a particular fiber.
This Format Can Bridge Flat and Dimensional Garland Styles
The raised pumpkin surface provides more depth than a plain appliqué without requiring the same volume as a fully stuffed pumpkin. That makes it worth considering when you want visible texture but still prefer a relatively low-profile strand.
Creator Credit: Beautiful Crochet Stuff
5. Crochet Garnet Jack-o
‘-Lantern Appliqué Garland
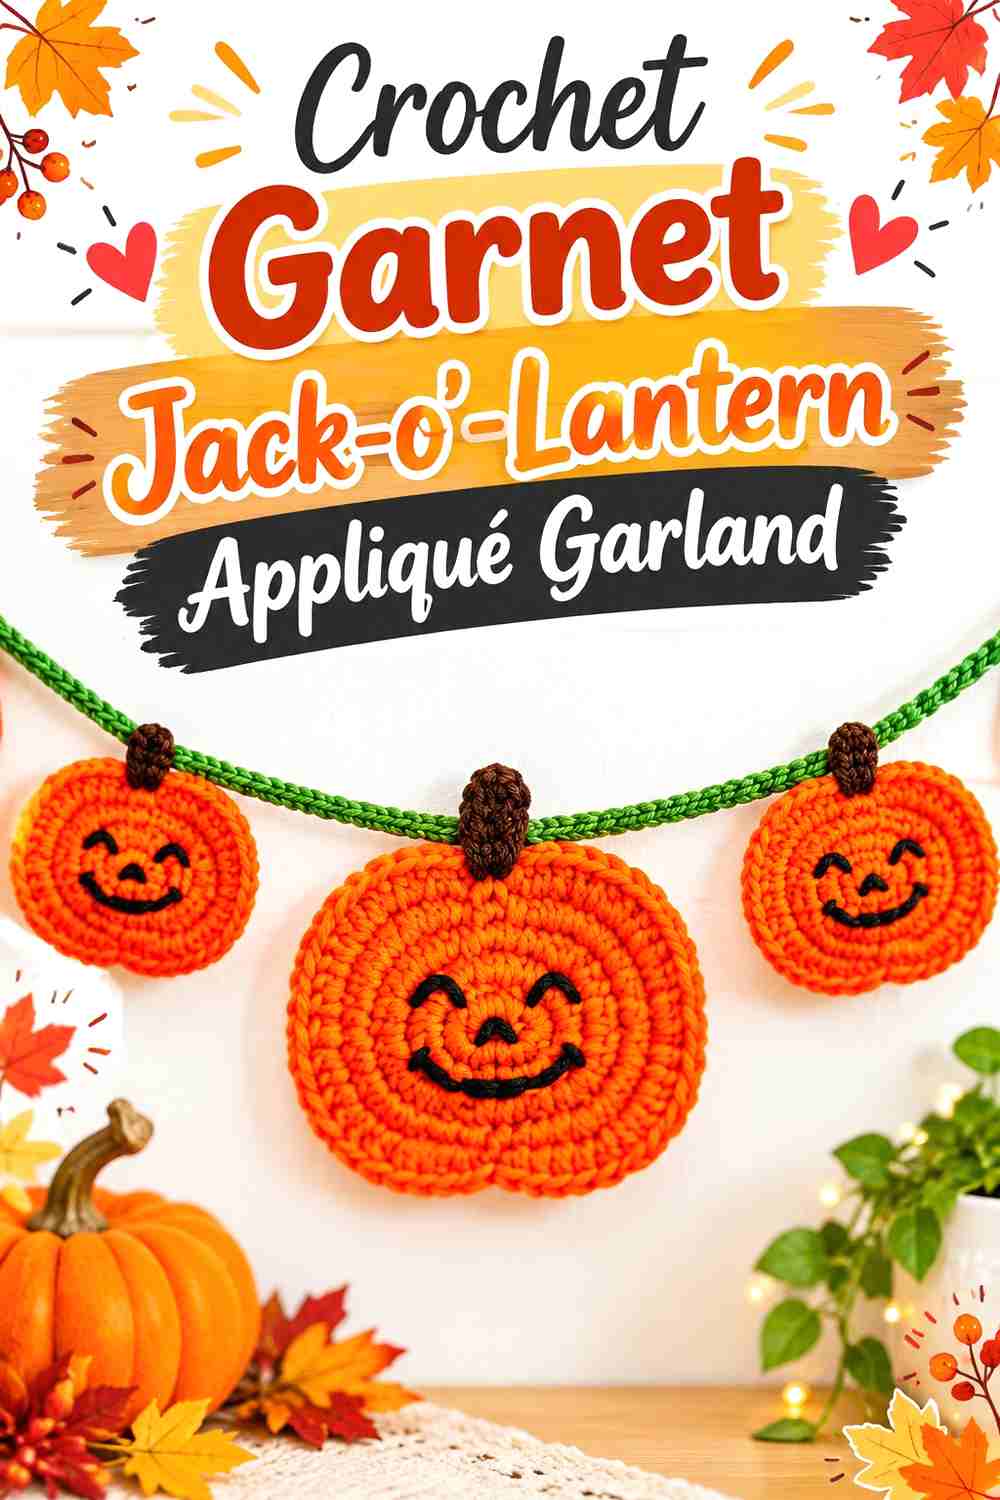
Jess Crafting’s pumpkin appliqué can be used as a seasonal embellishment or added to a garland, and the tutorial allows the pumpkin to shift toward a jack-o’-lantern look with facial details.
That flexibility works well for a garnet Halloween strand because you can decide whether every pumpkin should have a face or whether facial motifs should appear only at intervals.
Decide on the Face Pattern Before Making the Whole Set
A strand of identical faces feels different from one that alternates plain pumpkins and jack-o’-lanterns. Sketch the arrangement with simple circles or paper notes first so you know where the more detailed motifs will appear.
This is particularly useful if the garland has a visual center above a mantel or doorway.
Test Facial Contrast on Dark Pumpkin Colors
Deep garnet, aubergine, and navy can swallow equally dark face details. Hold the intended feature yarn against a completed pumpkin under the lighting where the garland will actually hang.
If the expression cannot be read from normal viewing distance, change the contrast rather than adding more complicated decoration.
Creator Credit: Jess Crafting
6. Crochet Teal Pumpkin-Medallion Garland
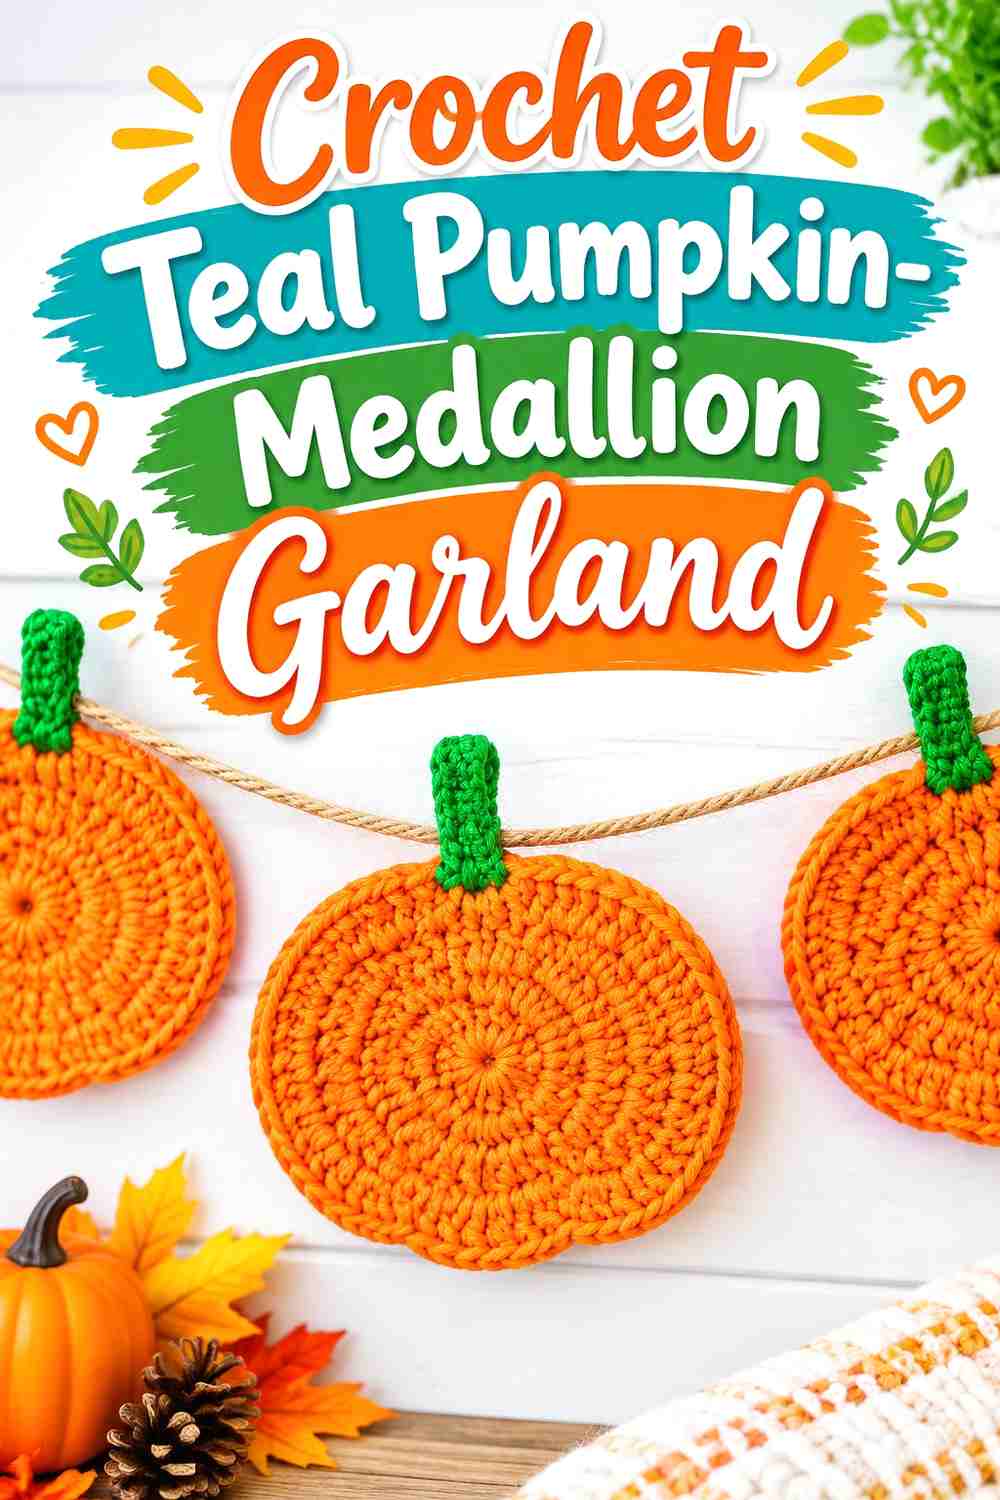
Crochet Jewel’s pumpkin coaster tutorial provides a broad, flat pumpkin form that can be treated as a medallion-style hanging motif rather than a tiny charm.
That larger visual footprint suits a deep teal garland where you want each pumpkin to register clearly from farther away. It can also reduce the number of motifs needed across a given display compared with very small appliqués.
Broad Motifs Need More Breathing Room
When a pumpkin occupies more horizontal space, a tiny gap between pieces can make the strand feel compressed. Lay out several completed forms and evaluate the empty space as part of the design.
A wider gap can make each rounded silhouette feel intentional rather than simply separated by the minimum possible distance.
Keep the Hanging Cord Visually Secondary
A thick or strongly contrasting cord can divide a row of broad teal motifs into disconnected sections. Compare the cord with the pumpkins before assembly and decide whether you want the line to disappear visually or become an intentional graphic element.
Creator Credit: Crochet Jewel
7. Crochet Emerald Pumpkin Granny-Square Banner
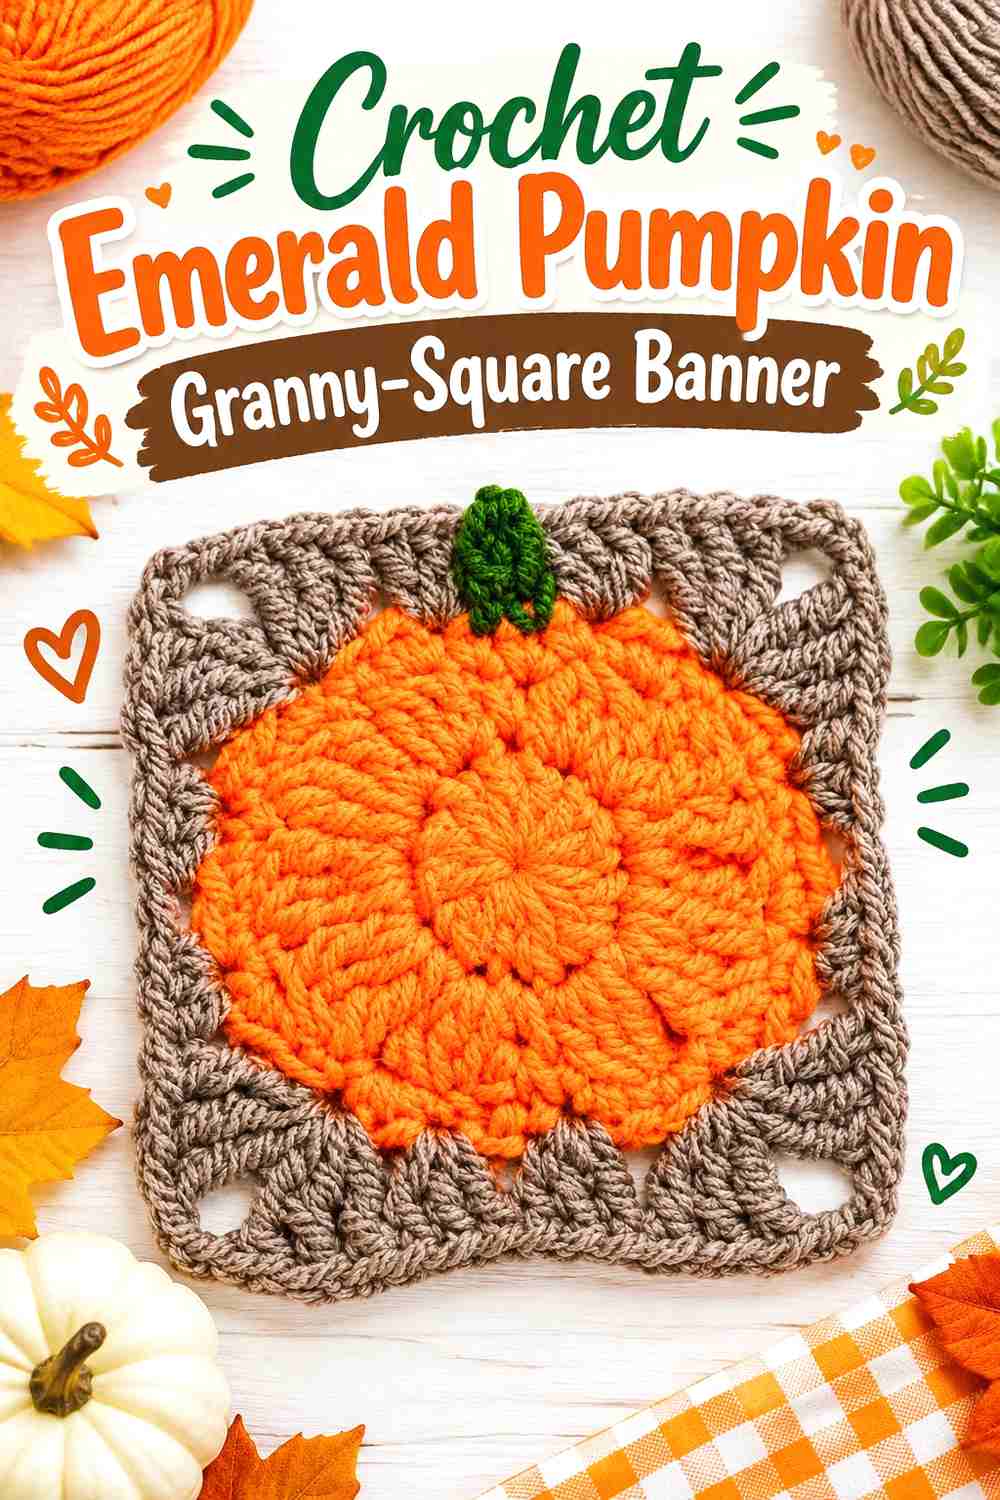
The Secret Yarnery’s pumpkin granny-square tutorial shifts the idea from dangling rounded pumpkins to repeated square panels. That geometric structure gives this garland a noticeably different silhouette from appliqué or amigurumi strands.
An emerald pumpkin motif against plum, charcoal, cream, or another contrasting square background can create a banner with stronger edges and a more textile-like appearance.
Square Borders Create an Architectural Rhythm
Because each motif has a defined outer frame, spacing becomes a choice between separate pennant-like panels and a nearly continuous row of squares. Decide which look you want before making many motifs.
A close arrangement emphasizes the overall banner, while more space emphasizes each individual pumpkin square.
Compare Finished Squares Before Final Joining
Small variations in tension become obvious when several square edges are aligned. Measure and compare the completed, prepared motifs before assembling the banner rather than expecting the hanging cord to hide size differences.
Creator Credit: The Secret Yarnery
8. Crochet Plum Framed-Pumpkin Square Garland
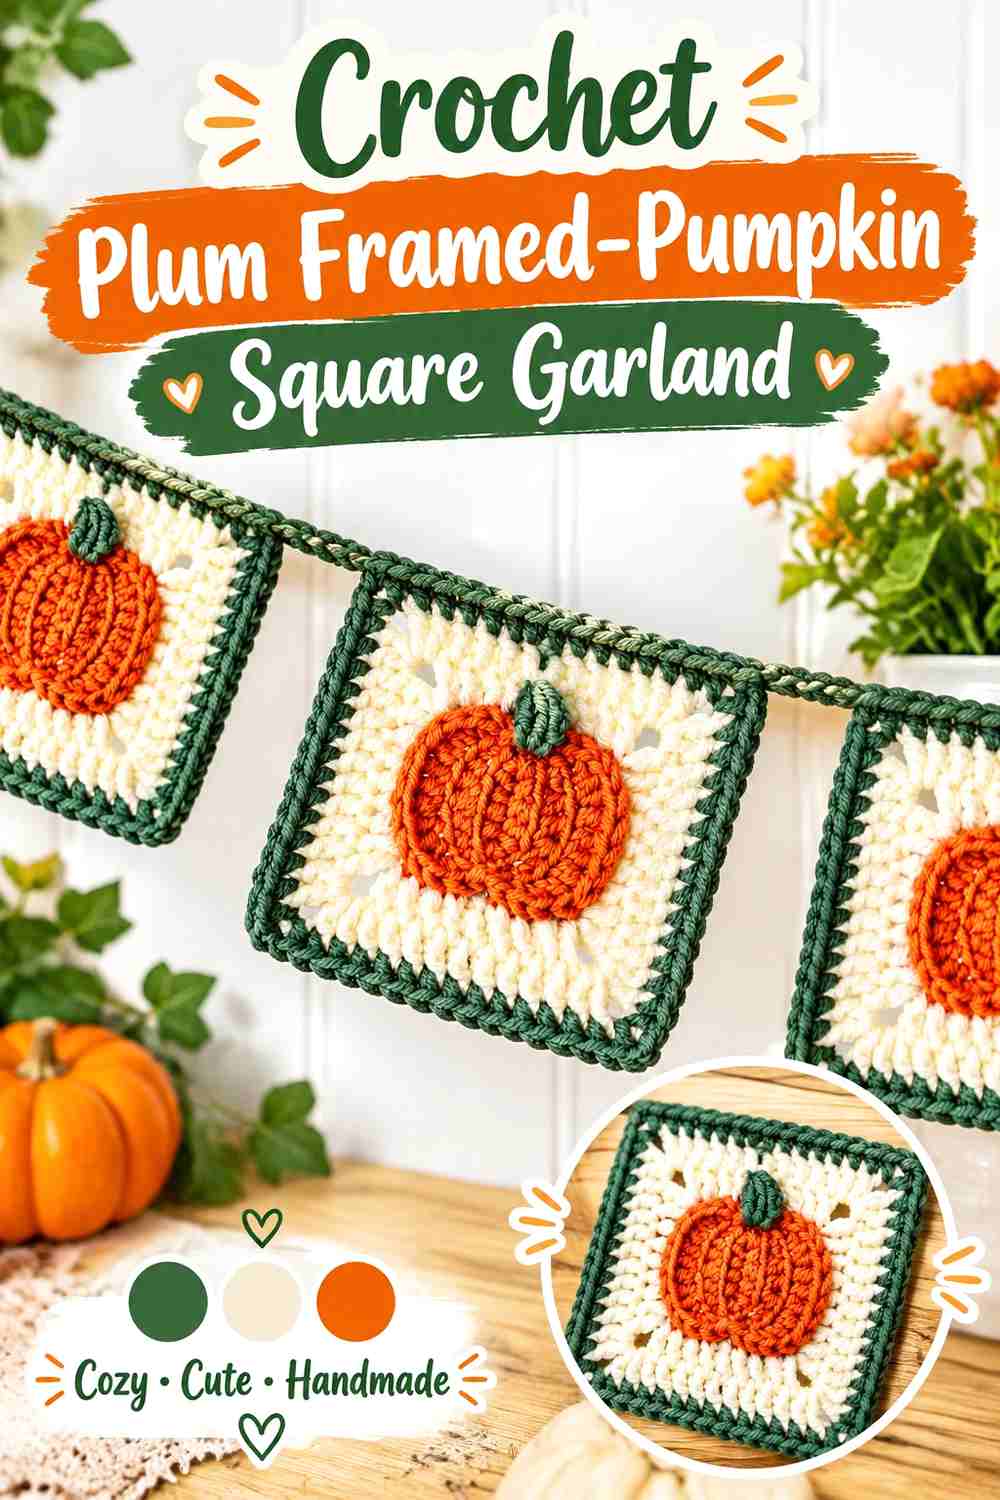
Gul’s Cozy Crochet offers another pumpkin granny-square approach, providing a useful alternative when you prefer a framed square motif rather than a freestanding pumpkin.
To separate this version visually from the previous banner, use a plum-centered palette with one consistent frame color. The repeated border can unify pumpkins made in multiple jewel shades.
A Shared Background Can Tie Several Jewel Colors Together
If every pumpkin is a different shade, repeating the same outer square color gives the strand a stable visual structure. This is especially effective when emerald, ruby, sapphire, and amethyst all appear in one banner.
Check Motif Orientation Before Attaching the Cord
A square may be physically attachable on any edge, but the pumpkin image still has a clear top and bottom. Arrange every panel right-side up and view the complete sequence before securing the final hanging points.
Creator Credit: Gul’s Cozy Crochet
9. Crochet Amethyst Smiling Mini-Pumpkin Garland
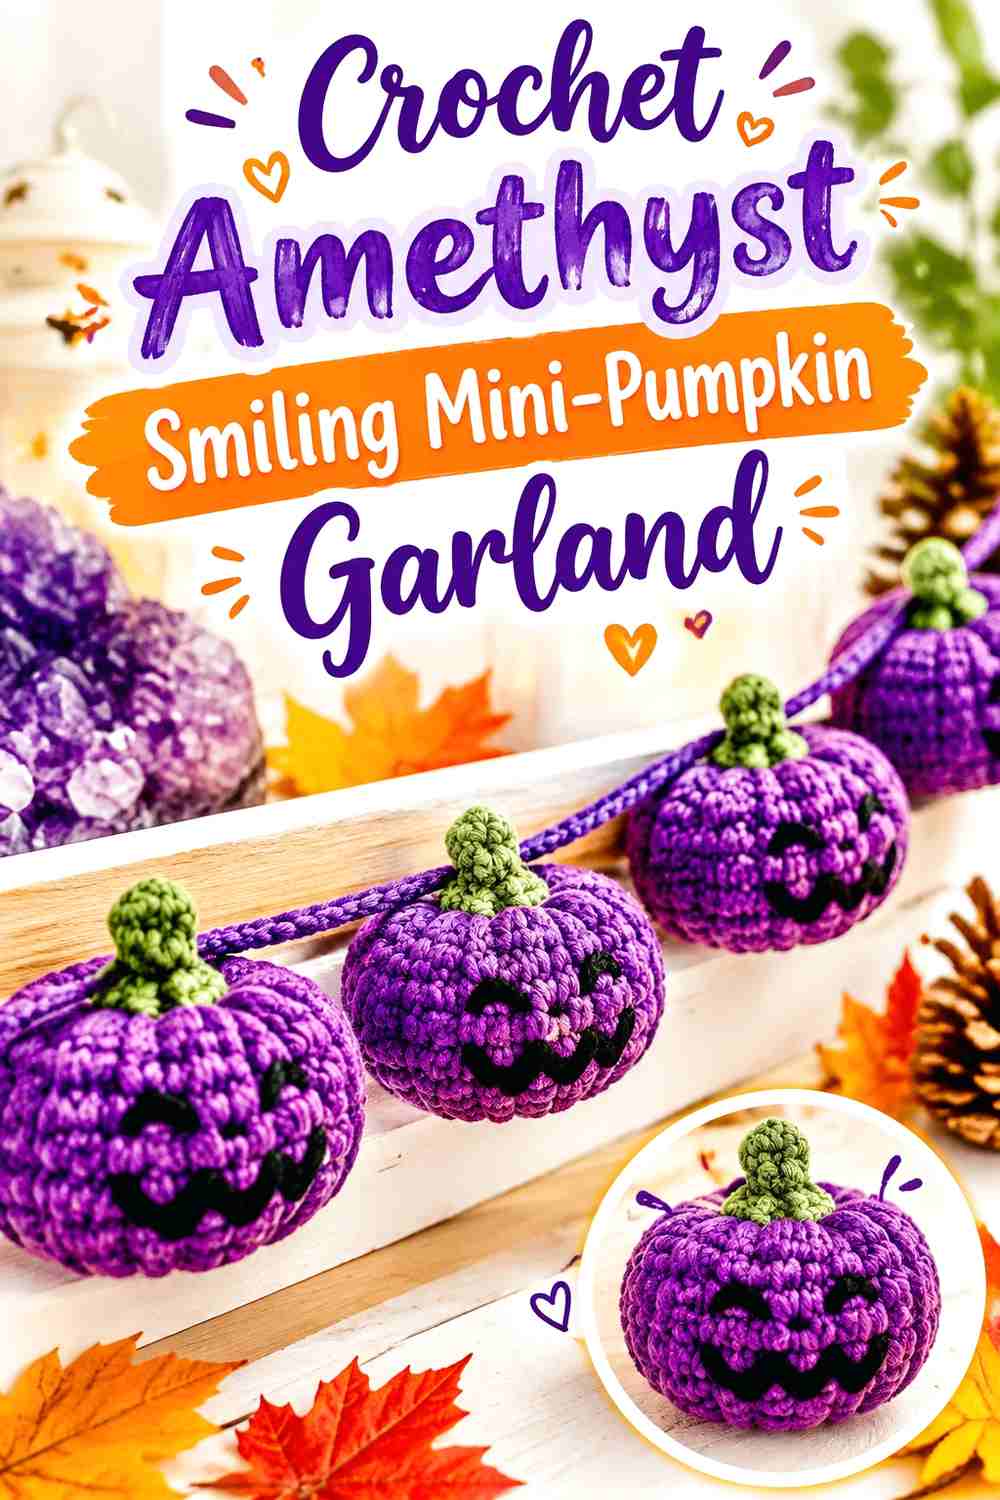
DIY Fluffies demonstrates a small amigurumi pumpkin and shows how yarn choice can substantially change the scale, with a smaller cotton version and a larger plush-yarn result. The project can also include embroidered facial features.
For a garland, the smaller, smoother interpretation is the more natural starting point if you want several pumpkins across one strand. An amethyst base with embroidered contrasting expressions can keep the Halloween theme clear.
Yarn Scale Changes the Garland More Than Color Does
Switching from a compact yarn to a much bulkier one changes spacing, strand load, and the number of pumpkins that comfortably fit in the display. Make one complete pumpkin in the yarn you intend to use and hang-test it before buying or preparing materials for the full sequence.
Embroidered Expressions Keep the Surface Visually Clean
An embroidered face can add Halloween character without giving the pumpkin a strongly projecting facial component. On a multicolor garland, keep the expression treatment consistent so the changing jewel tones remain the main source of variation.
Creator Credit: DIY Fluffies
10. Crochet Ruby Stuffed Mini-Pumpkin Garland
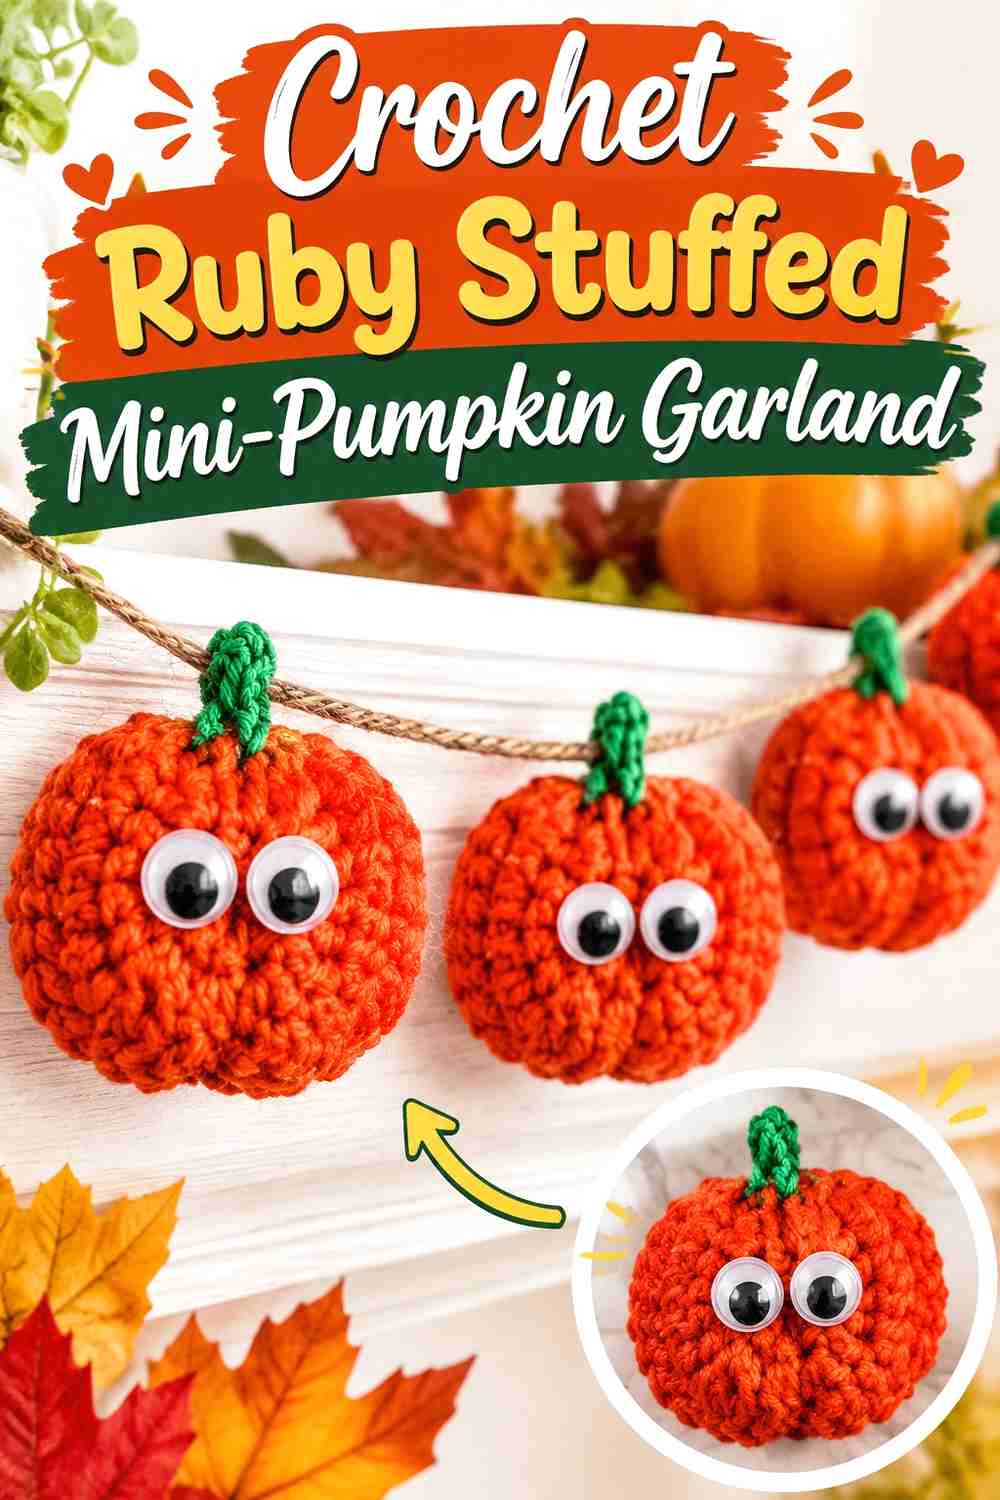
Start Crochet’s tutorial provides a straightforward stuffed pumpkin form that can be repeated as a three-dimensional garland component.
A ruby-and-burgundy version is useful when you want dimensional pumpkins but prefer the palette to remain restrained. Instead of changing every feature, let the differences between the two reds provide the rhythm.
Determine the Hanging Point After Shaping
A stuffed pumpkin’s visual center is not always obvious until it has reached its finished form. Before creating a permanent attachment, suspend the completed piece temporarily and find the position that keeps the pumpkin sitting the way you want.
Two Jewel Shades Can Be Enough
A jewel-tone theme does not require a rainbow. Alternating ruby and burgundy can create a sophisticated Halloween strand, particularly when one repeated stem color connects the whole set.
Creator Credit: Start Crochet
11. Crochet Sapphire No-Sew Pumpkin Character Garland
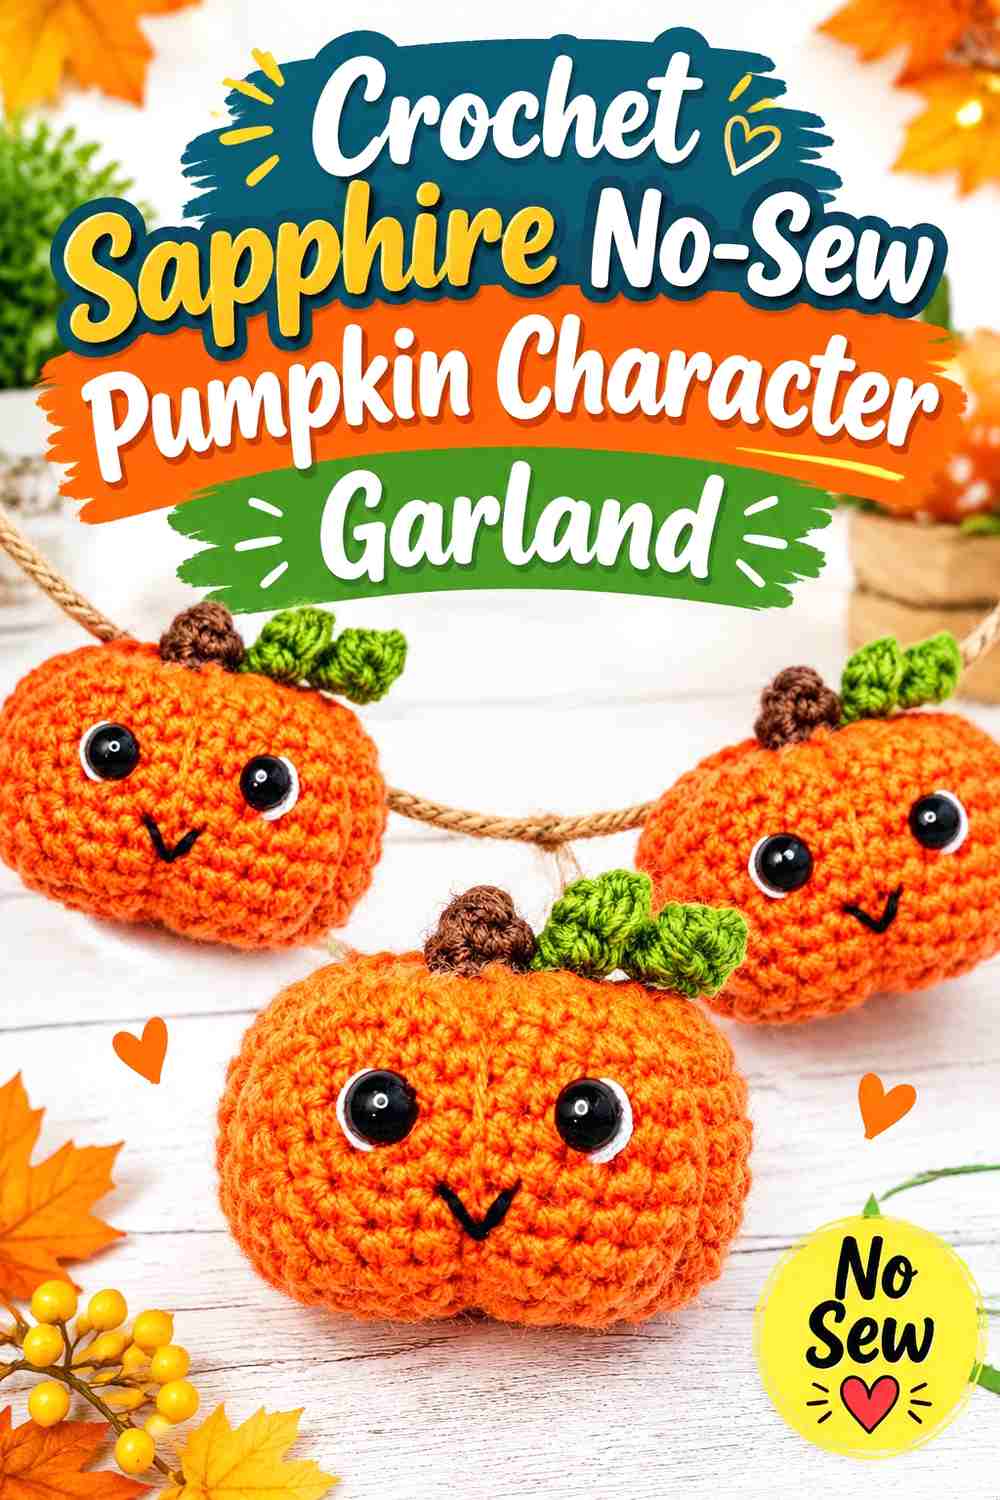
The Loopy Lamb’s Paulie Pumpkin is a small one-piece, no-sew amigurumi design with an optional face, giving this idea a character-like look without requiring every pumpkin to have the same Halloween expression.
Sapphire pumpkins could alternate between plain and faced versions, creating a strand that works as Halloween decor without making every motif visually busy.
Small Characters Can Separate Larger Statement Motifs
A compact pumpkin can also work as the repeating element between larger pumpkins from another compatible design. If mixing projects, compare their finished scale first rather than assuming that two projects described as “small” will look proportional together.
Optional Faces Change the Seasonal Mood
Plain pumpkins lean more toward general fall decor, while expressions push the strand toward Halloween. Decide the intended balance before finishing the set so the faces appear in a deliberate sequence rather than wherever you happened to add them.
Creator Credit: The Loopy Lamb
12. Crochet Jewel-Stripe Mini Pumpkin Garland
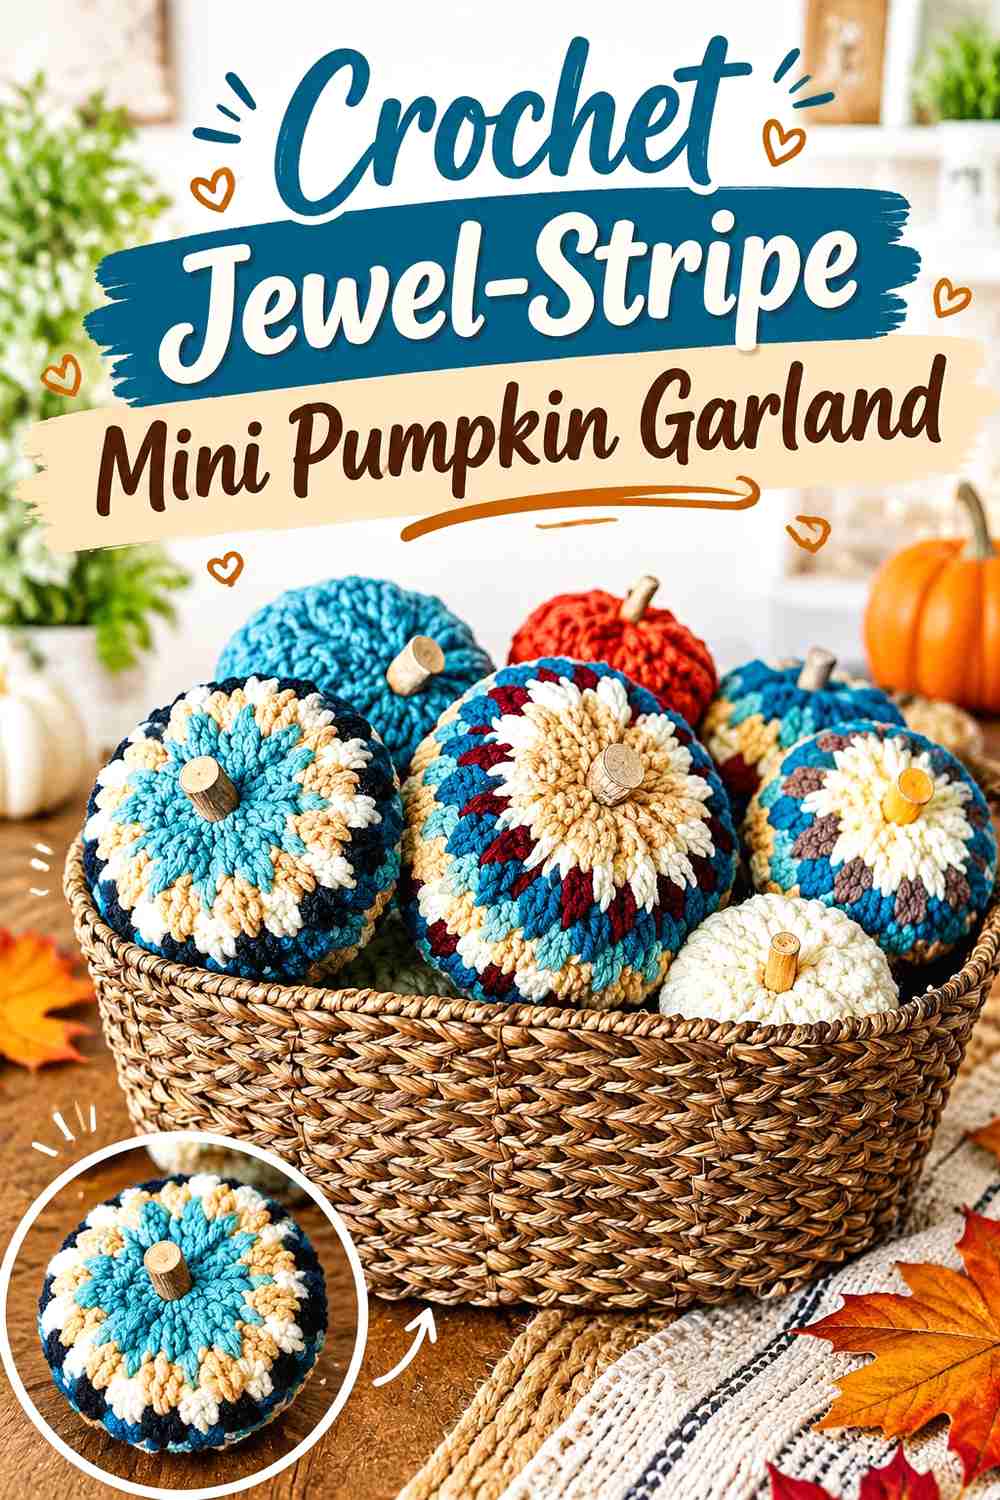
Pretty Darn Adorable Crochet Tutorials offers a mini striped pumpkin, making color placement part of the pumpkin itself rather than limiting each motif to one solid shade.
This is one of the strongest choices for using several jewel tones without needing nineteen differently colored pumpkins. A single motif can combine amethyst and ruby, teal and sapphire, or emerald and garnet.
Stripes Add Variety Without Changing the Silhouette
Repeated shapes help a garland feel cohesive, while the stripes keep the surface from becoming monotonous. That makes this format useful when you want noticeable color variation but do not want to alternate several different pumpkin constructions.
Give Each Pumpkin a Controlled Mini-Palette
Too many colors inside every small motif can make the entire strand difficult to read. Consider limiting each pumpkin to two compatible jewel shades and repeating those pairings elsewhere in the garland.
Creator Credit: Pretty Darn Adorable Crochet Tutorials
13. Crochet Peacock Horizontal-Rib Pumpkin Garland
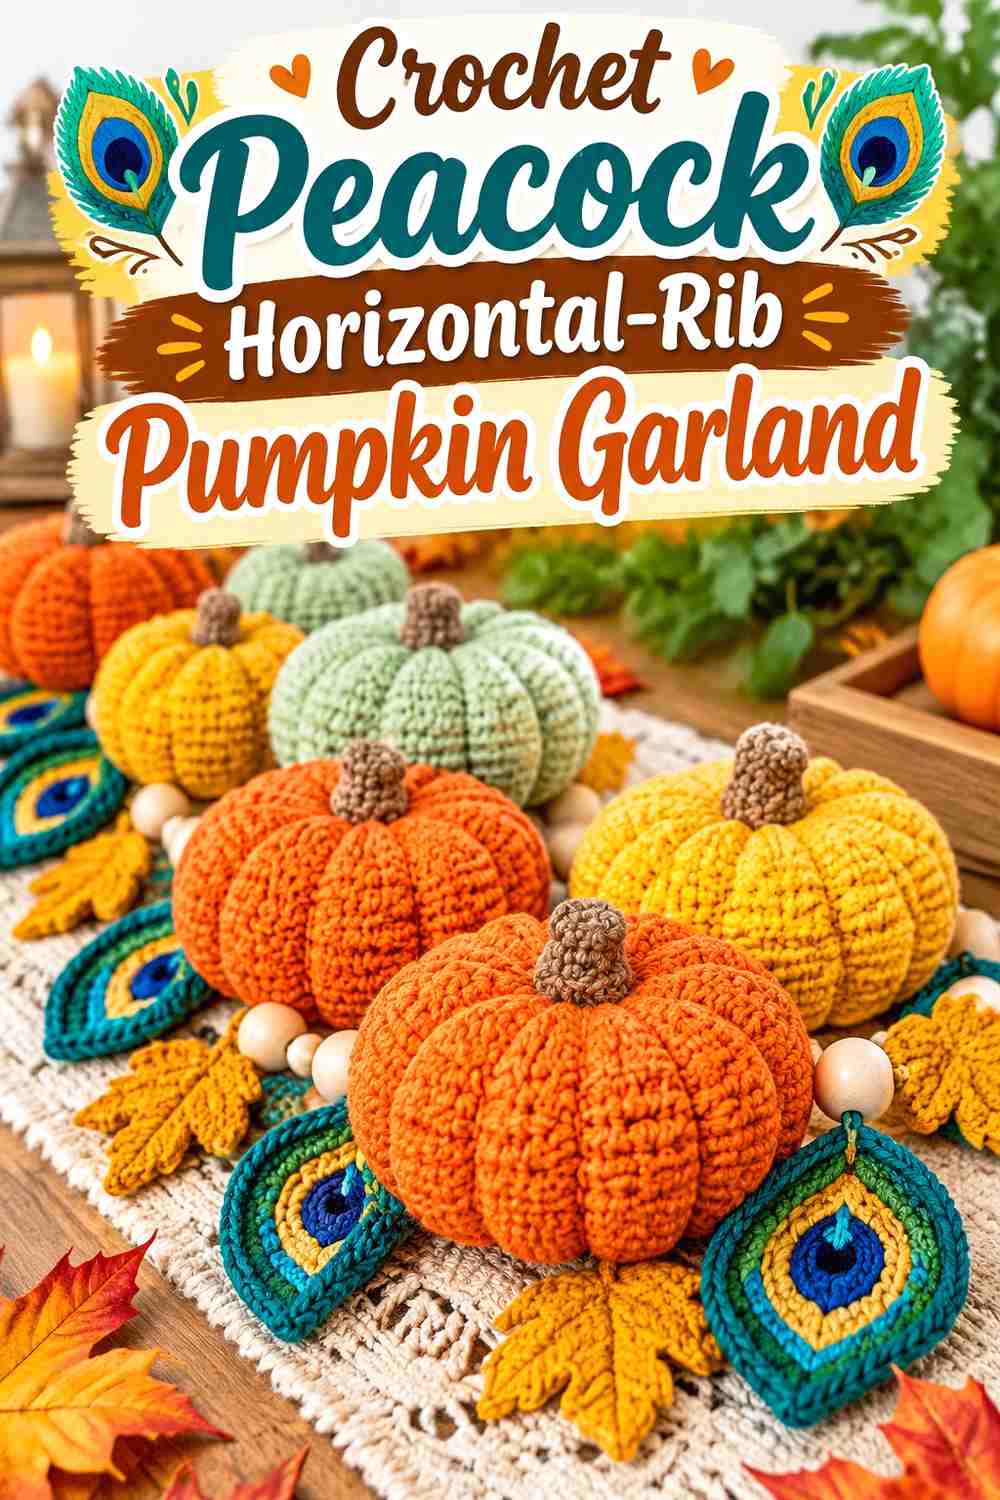
Winding Road Crochet’s modern pumpkin is constructed to create horizontal ribbing, a distinctive change from the vertical segmentation commonly associated with crochet pumpkins. The creator provides multiple finished sizes, so scale is an important choice if you adapt it for hanging decor.
A peacock-blue or blue-green yarn can emphasize those horizontal bands while keeping the finished piece within the jewel-tone palette.
Horizontal Ribs Change the Direction of the Texture
On a garland dominated by vertical pumpkin segments, this design can act as a deliberate visual interruption. If you use it for every pumpkin, the repeated horizontal lines become the defining feature of the whole strand.
Start With the Smallest Suitable Version for a Hang Test
Because the source includes more than one scale, do not assume the largest decorative version will behave well on a cord. Make the size you are considering, hang it where the garland will be displayed, and evaluate weight and visual bulk before repeating it.
Creator Credit: Winding Road Crochet
14. Crochet Aubergine Jack-o
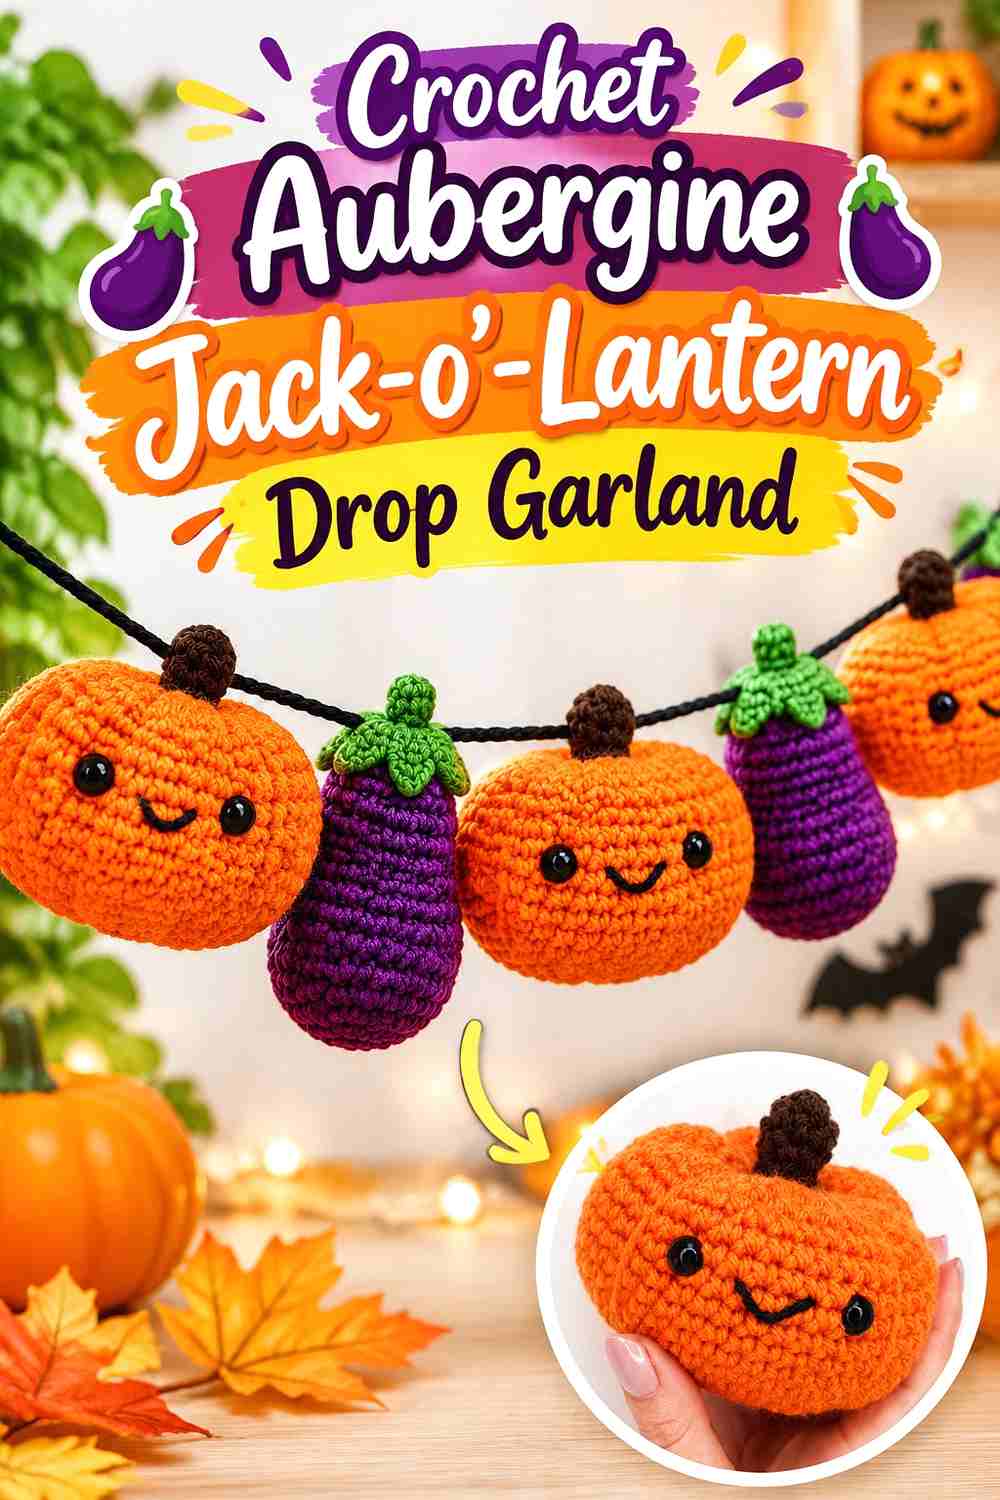
Hooked by Robin’s pumpkin tutorial creates a dimensional amigurumi pumpkin with a cheerful Halloween face.
Because the source uses a substantial, dimensional format, an aubergine version works particularly well as a sparse drop garland: a few strong pumpkin forms separated by generous lengths of cord rather than a tightly packed row.
Chunky Pumpkins Need Space to Read Individually
When a pumpkin has significant volume, close spacing can cause neighboring pieces to bump, twist, or visually merge. Test several possible gaps while the strand is hanging instead of deciding the spacing from a flat layout.
Consider Every Face Component in the Display Environment
Dimensional facial details may be appropriate for decorative use but still deserve extra thought when a garland hangs within reach of children or pets. Placement out of reach and securely finished details are more important than assuming a craft component is suitable for every setting.
Creator Credit: Hooked by Robin
15. Crochet Garnet Squishy Pumpkin Swag
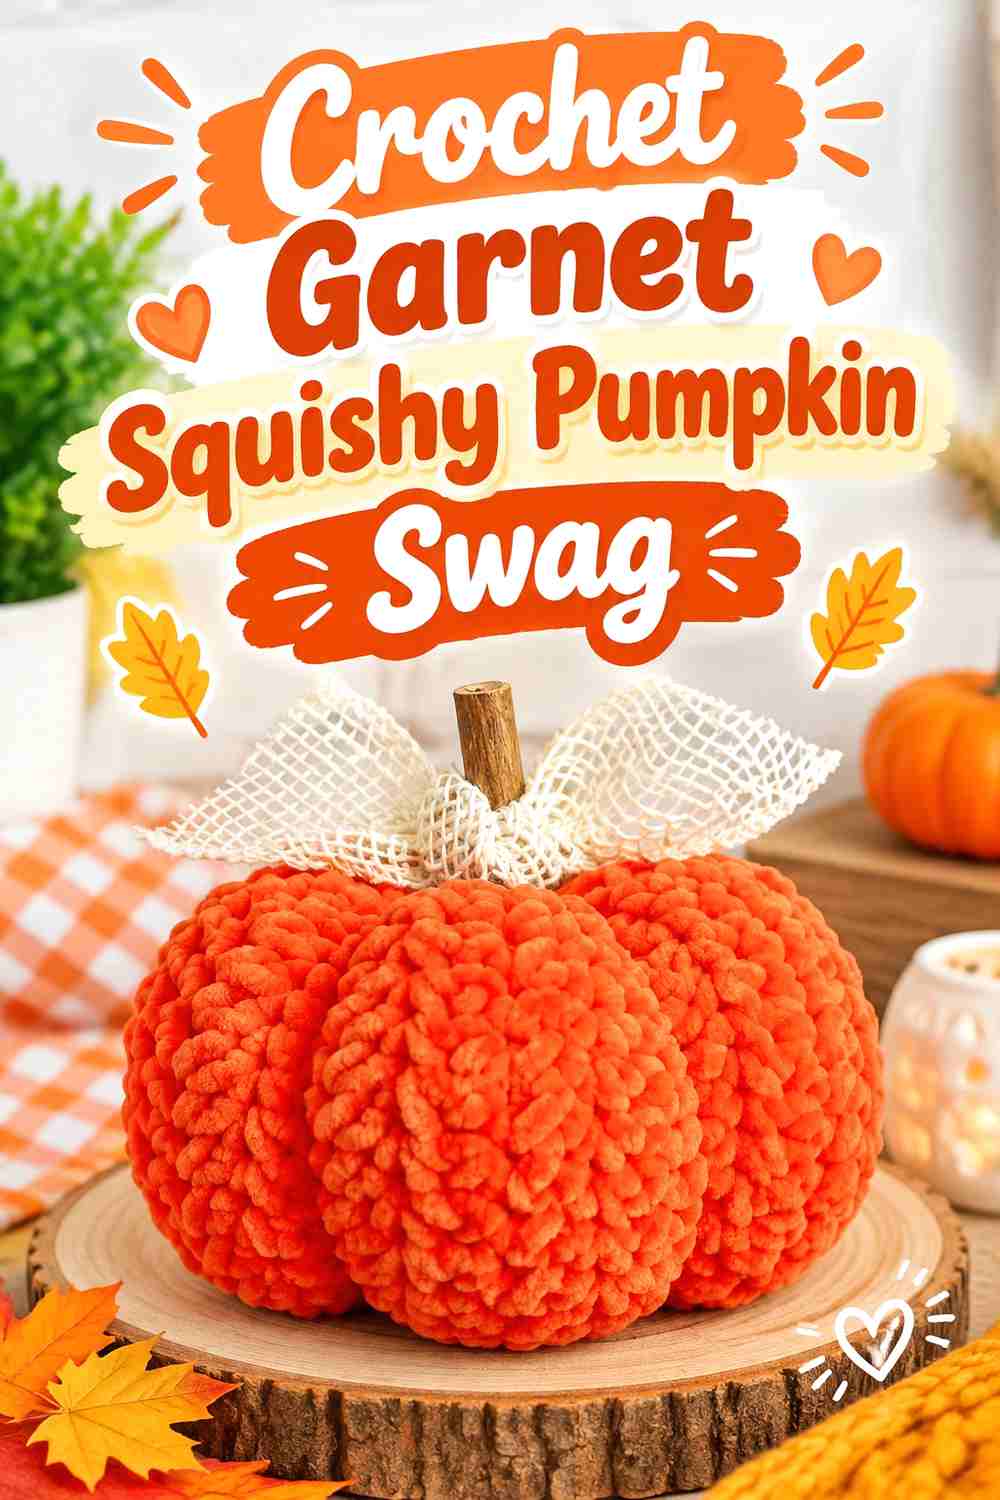
Fiber Flux’s crochet pumpkin provides a fuller, squishier three-dimensional shape than the flat garland motifs in this list.
Instead of forcing that volume into a conventional closely spaced banner, use the construction as the basis for a short garnet swag with fewer pumpkins. This works particularly well when the display area is compact but deep enough to accommodate dimensional decor.
Fuller Pumpkins Need Wider Visual Intervals
A large empty gap is not wasted space when each object has substantial volume. Stand back from the display while testing the arrangement; spacing that feels large at arm’s length may look balanced across a room.
Let Volume Supply Some of the Drama
When the pumpkin shape already makes a strong statement, the palette can be simpler. Garnet with one contrasting emerald or plum accent may feel more controlled than changing color on every large pumpkin.
Creator Credit: Fiber Flux
16. Crochet Deep-Teal Ribbed Pumpkin Bunting
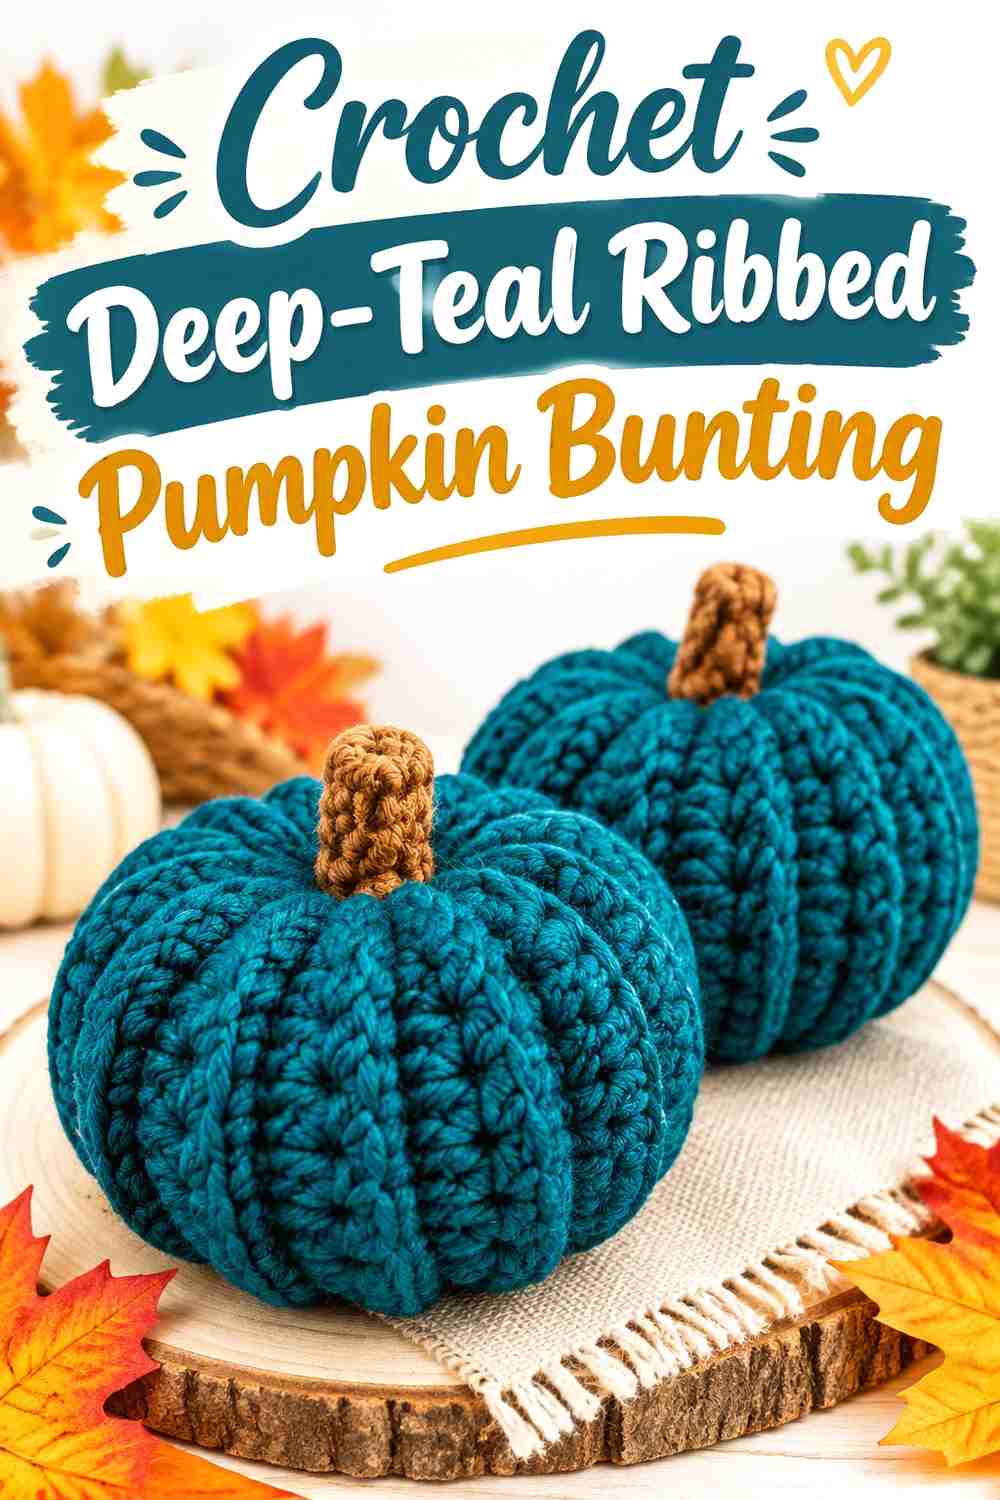
Bella Coco Crochet’s pumpkin tutorial is especially adaptable to this topic because the creator specifically suggests attaching pumpkins to a long chain or twine to create bunting and discusses altering the project size.
A deep-teal version makes texture more important than traditional orange coloring, allowing the ribbed pumpkin form to carry the seasonal identity.
Ribbing Gives a Solid Jewel Color More Dimension
If every pumpkin uses the same teal yarn, raised ribs and shadows can keep the set from looking flat. This can be a useful alternative to introducing additional colors simply for variety.
Bunting Favors the Lighter End of an Adjustable Design
When adapting a scalable pumpkin for a hanging strand, think about the entire collection rather than one piece in isolation. The appropriate scale is the one that allows the finished strand to hang comfortably in your chosen location without overwhelming the available space.
Creator Credit: Bella Coco Crochet
17. Crochet Oversized Sapphire Pumpkin Pennant Garland
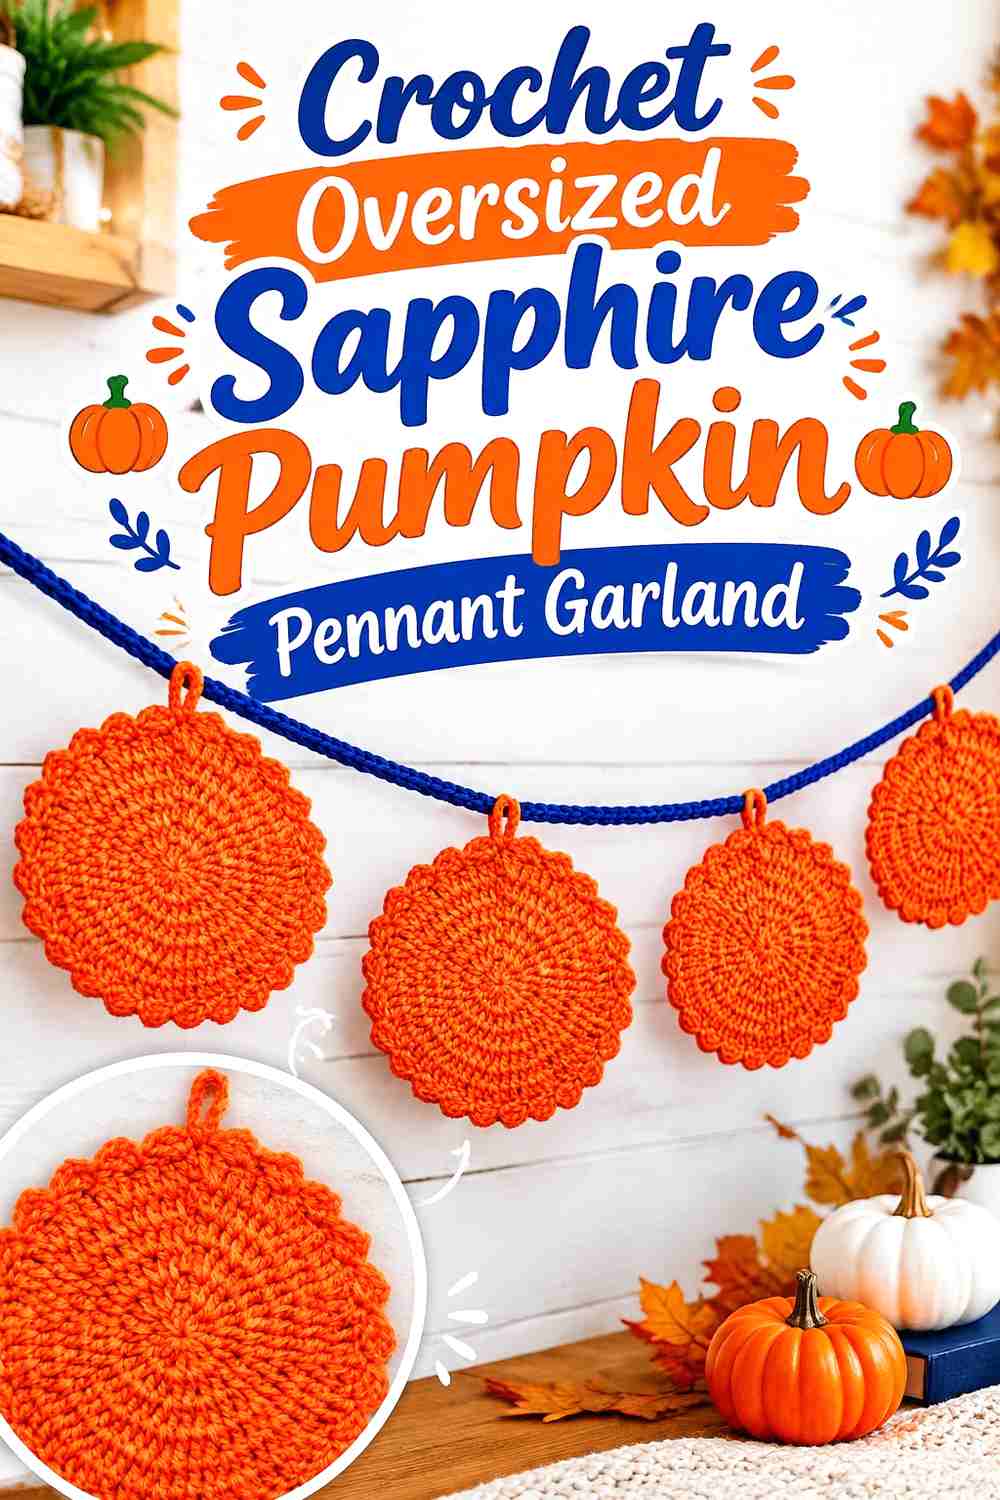
Raji’s Craft Hobby’s pumpkin project is a broad, flat design that is also presented as suitable for hanging home decor. Its larger format makes it better suited to a statement banner than to a row of tiny charms.
In sapphire, each pumpkin can behave almost like a pennant. A short series across a mantel or broad wall may have more impact than trying to fill a long strand with many pieces.
Treat Large Pumpkins Like Pennants
The bigger the motif, the more important the outside silhouette becomes. Give each pumpkin enough space that the indentations and stem area remain visible instead of forming one continuous mass.
Measure the Display Area Before Repeating the Motif
For an oversized banner, a small change in spacing multiplies quickly across several pumpkins. Arrange paper templates, one finished motif, or measured markers along the intended span before deciding how many repeats make sense.
Creator Credit: Raji’s Craft Hobby
18. Crochet Emerald Curly-Vine Pumpkin Garland
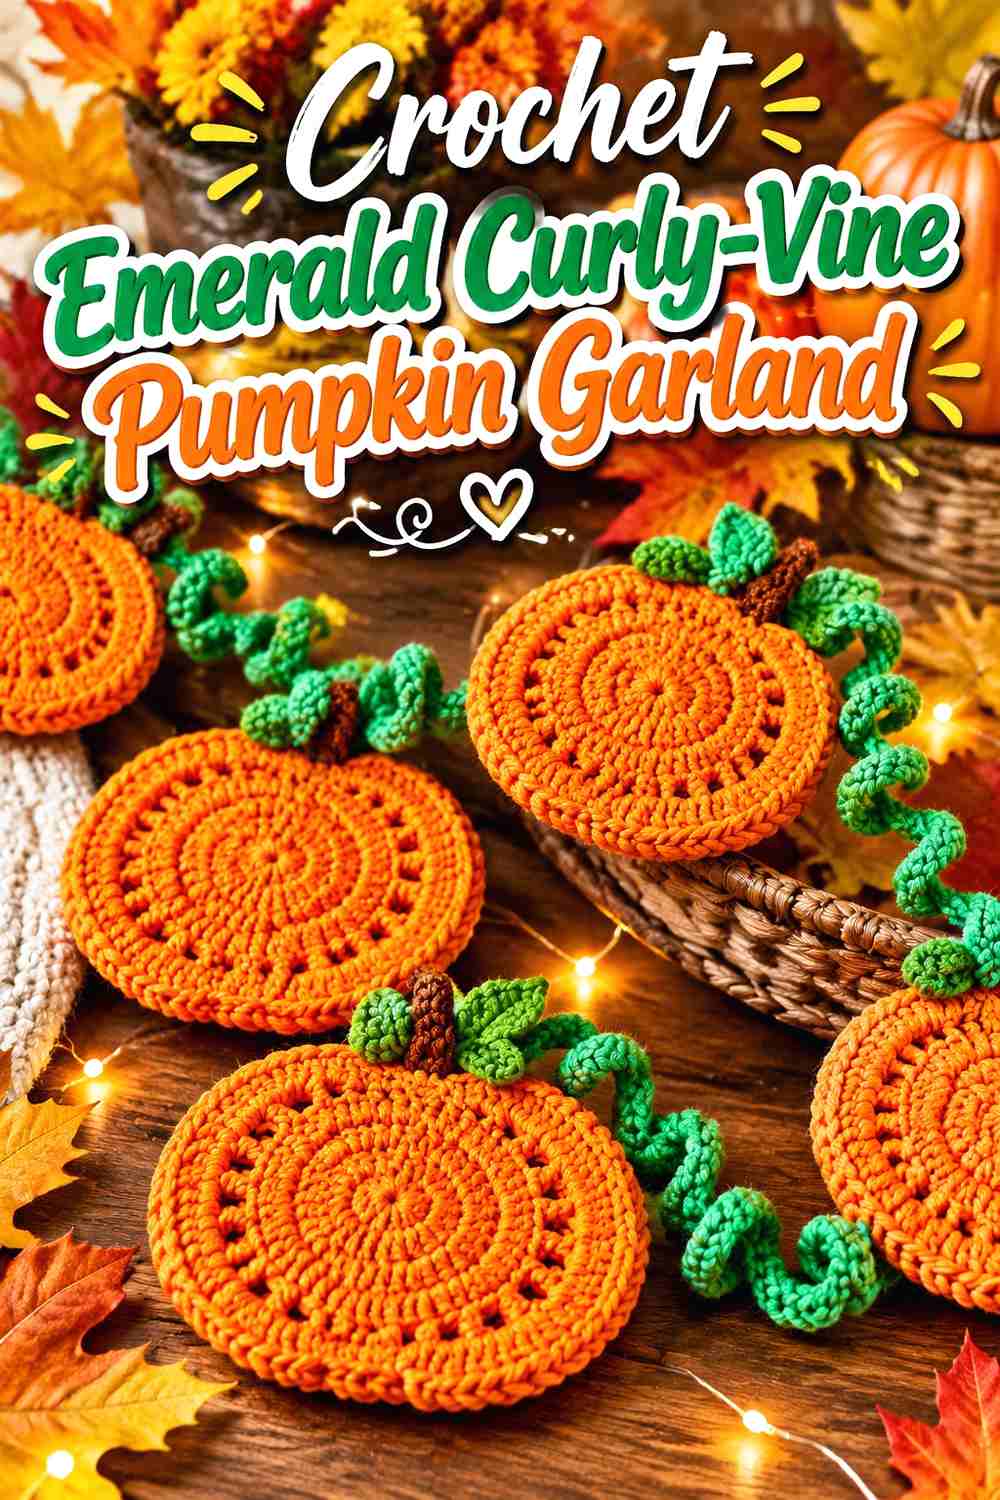
Crochet Craftsman’s pumpkin coaster tutorial includes the recognizable pumpkin body plus stem and curling vine detail, giving a flat motif more movement than a plain silhouette.
Emerald pumpkins may be unconventional for Halloween, but the strong pumpkin outline and curling detail keep the seasonal shape recognizable. They can also work between plum or burgundy motifs if an all-green strand feels too uniform.
Let the Vine Supply Movement
A curly vine naturally breaks the straight line created by a garland cord. You may not need separate leaves, tassels, or other fillers when the pumpkin itself already extends beyond its main outline.
Choose a Vine Direction Deliberately
If the finished motifs allow their vines to sit in different directions, decide whether you want consistent orientation or an alternating rhythm. Neither is inherently better, but an accidental mix can make an otherwise orderly strand look uneven.
Creator Credit: Crochet Craftsman
19. Crochet Plum Sculpted Halloween Pumpkin Garland
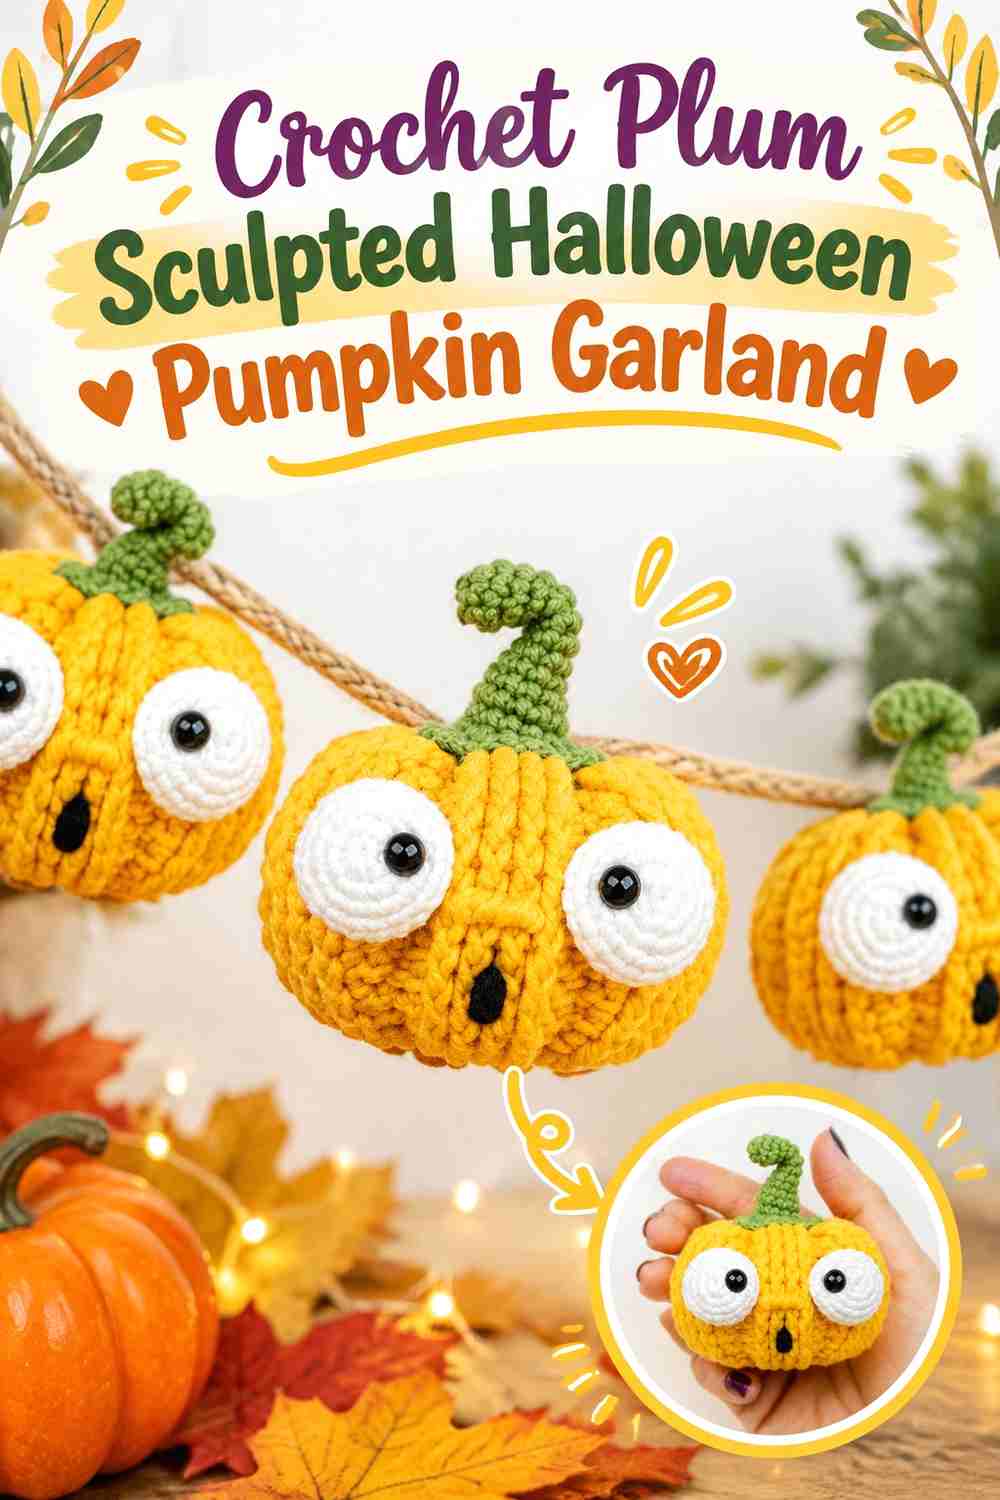
LittleOwlsHut Crochet Patterns offers a small three-dimensional Halloween pumpkin with pronounced texture and facial detailing, and the accompanying project information specifically suggests stringing the pumpkins together as a fall garland.
A deep plum interpretation can take advantage of the sculpted surface: shadows around the ridges help define the pumpkin even when the main color is dark.
Strong Ridges Help Dark Colors Keep Their Shape Visually
Very dark jewel colors can lose detail from a distance when the surface is smooth. Pronounced texture creates natural highlights and shadows, giving the pumpkin more definition without requiring a contrasting stripe.
Keep the Viewing Side Facing Forward
A detailed Halloween face is useful only when viewers can see it. Before fixing the pumpkins permanently to the strand, test the attachment position and make sure each sculpted face naturally settles toward the front rather than rotating toward the wall.
Creator Credit: LittleOwlsHut Crochet Patterns
Which Jewel-Tone Pumpkin Garland Style Should You Choose?
For a long strand that needs to store compactly, the flat pumpkin ideas—especially the appliqué, coaster, bullion, and curly-vine versions—are the most practical starting points. They put less bulk along the cord and make spacing easier to judge.
If you prefer a graphic banner rather than a row of rounded pumpkins, the granny-square and oversized flat-pumpkin options create stronger edges. They work especially well where the garland will be seen front-on against a wall.
For a mantel or shelf where depth is welcome, the smaller stuffed pumpkins offer more dimension. Mini striped, ribbed, smiling, and no-sew character pumpkins can create a fuller display without relying on oversized forms.
The chunkier amigurumi and squishy pumpkins are better treated as statement pieces. Use fewer motifs, allow more empty space, and test the full strand’s weight before committing to a long swag.
Conclusion
A jewel-tone pumpkin garland can still feel unmistakably Halloween-themed without relying on traditional orange for every motif. The key is choosing one construction language and then letting color, texture, faces, leaves, or spacing provide controlled variation.
For the lightest-looking displays, start with the flat appliqué, coaster, or bullion-pumpkin ideas. Choose one of the square-based projects if you want a more structured banner. For a dimensional mantel garland, the mini stuffed, striped, ribbed, and sculpted pumpkins provide more depth. If you want the most direct route, begin with a tutorial already designed as pumpkin garland or bunting rather than adapting a standalone decorative pumpkin.
Whichever direction you choose, make one complete pumpkin first, test it on the intended cord and in the actual display location, and then plan the remaining color sequence. Use the original creator tutorials for exact construction details.
Frequently Asked Questions
What colors work well for a jewel-tone crochet pumpkin garland?
Emerald, deep teal, sapphire, amethyst, plum, ruby, garnet, burgundy, and peacock blue all fit the general jewel-tone direction. You do not need to use all of them. Three or four shades plus one consistent stem or cord color can produce a more cohesive result.
Can I turn a crochet pumpkin coaster or appliqué into a garland motif?
Often, yes, when the finished piece is reasonably light and has a shape that hangs cleanly. The conversion is a display adaptation rather than part of every source pattern, so make one motif first and test its hanging point, orientation, and spacing before making multiples.
How can I stop stuffed crochet pumpkins from twisting on the garland?
Test the attachment point on a completed pumpkin rather than deciding where it should hang while the piece is still unfinished. Temporarily suspend it, see where its natural center of balance falls, and adjust the hanging position before making the connection permanent. A detailed face also gives you a clear reference for which direction must remain forward.
Do all the pumpkins in one garland need the same yarn weight?
Not necessarily, but changing yarn weight can substantially change motif scale, bulk, and weight. If you mix tutorials or yarn sizes, compare completed samples before making the whole set. Visual descriptions such as “mini” are not reliable substitutes for comparing the actual finished pieces.
How many jewel-tone colors should I use?
There is no required number. A two-color ruby-and-burgundy strand can be just as deliberate as a five-color jewel palette. If using many shades, repeat them in a recognizable sequence or unite them with one stem, border, background, or hanging-cord color.
Are jack-o’-lantern embellishments suitable for garlands around children or pets?
Suitability depends on the components, how securely they are attached, and where the garland is displayed. Small detachable pieces and hanging cords deserve particular care. Decorative garlands should be placed out of reach when those features could create a hazard; do not assume a component is child- or pet-safe simply because it is commonly used in crafts.
How should I store a crochet pumpkin garland after Halloween?
Flat appliqués and square motifs can generally be stored with much less bulk than stuffed pumpkins. Dimensional pieces benefit from enough room that they are not tightly crushed. Before packing the strand away, arrange the cord so it does not become heavily tangled around stems, vines, leaves, or facial details.