Mini pumpkin bowls are the cutest way to corral keys, rings, candies, notions, and desk bits—and they double as instant fall decor. Below you’ll find a dozen tried-and-true tutorials ranging from plush, lidded candy dishes to tapestry-crochet baskets and teeny bowls sized for jewelry. I picked patterns with clear photos and step shots, plus a mix of yarn weights so you can stash-bust or go super-squishy. Most make up in an evening, and several include lids for dust-free storage. Skim the sizing notes to match your use case (think: entryway catch-all vs. bedside ring dish). Grab a hook, pick your palette—classic orange, terracotta stripes, olive green, or caramel plush—and let’s turn a small pile of yarn into charming, durable organization all over your home.
Plush Lidded Pumpkin Candy Basket
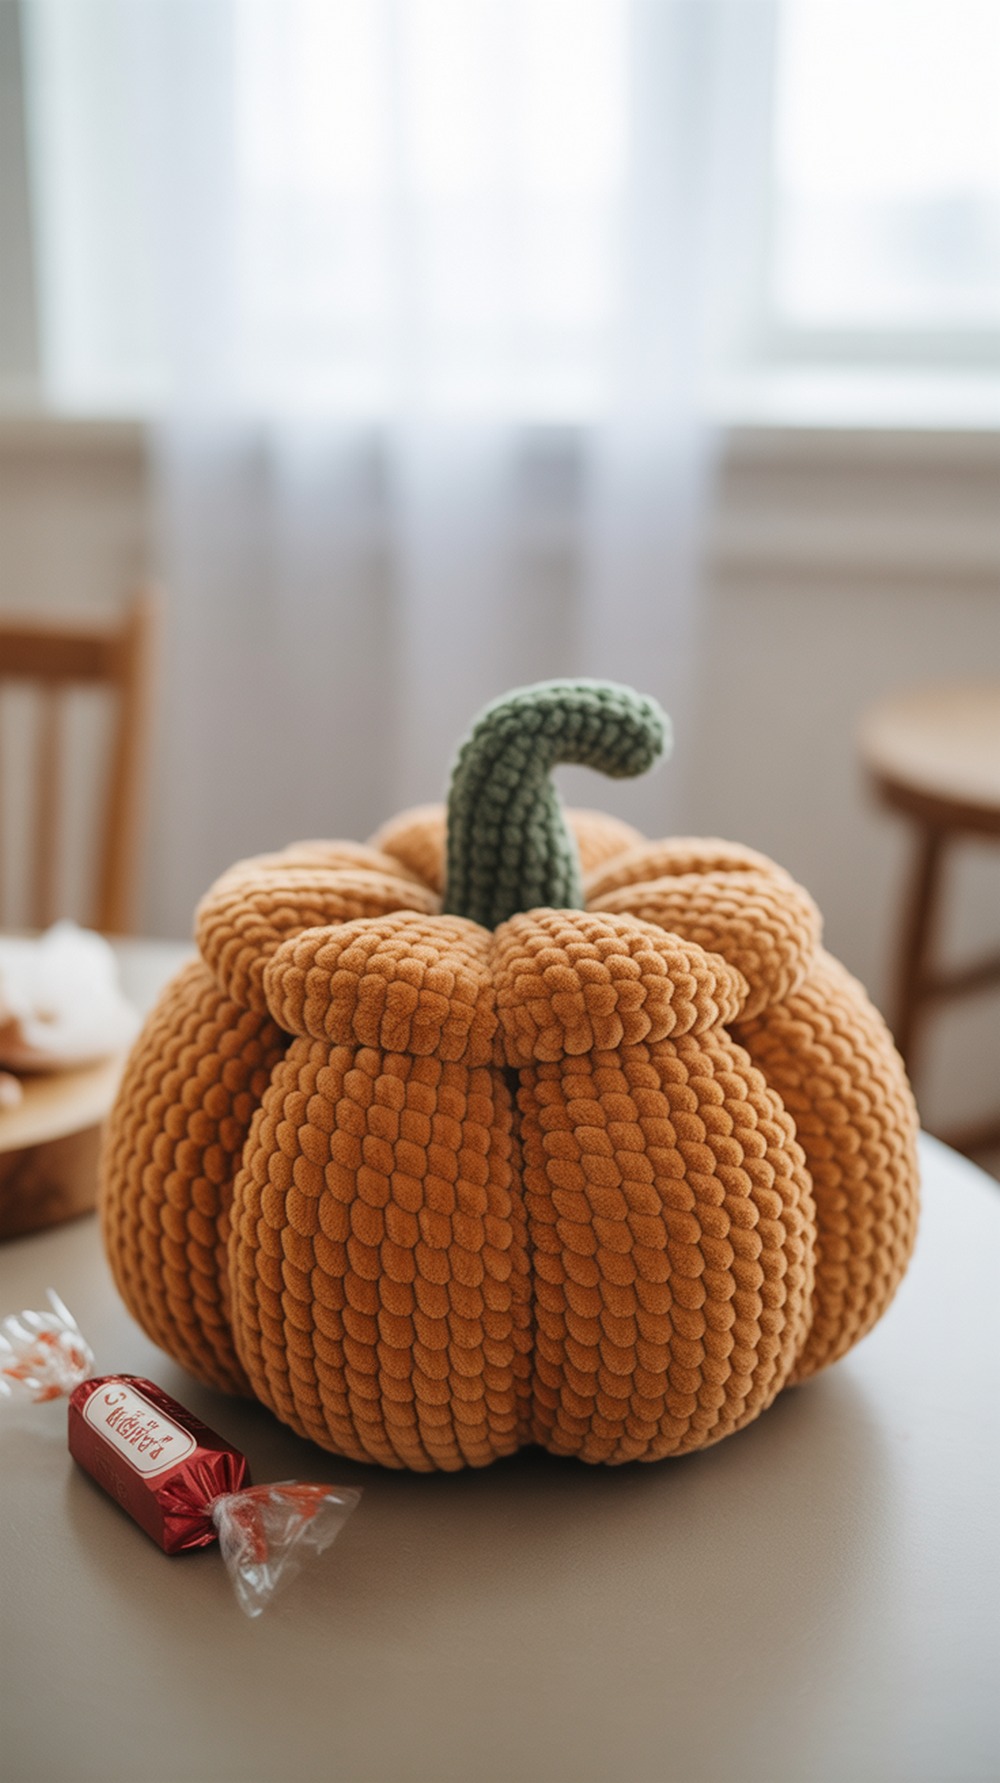
If you want plush, go for this lidded pumpkin basket worked in jumbo or super-bulky yarn. The dense stitches create a sturdy wall that still feels cloud-soft—perfect for candy, scrunchies, or remote batteries. The post highlights both a larger “Plush Big” version and a small version; you can downsize for trinkets by using the lighter of the two yarns and a smaller hook. Aim for a firm fabric so the bowl keeps its shape. Tip: pre-block the lid so it seats neatly. See the full instructions and size options in the Moogly pattern Tutorial.
Supplies:
- Jumbo (7) or Super Bulky (6) polyester plush
- Hook: 16 mm (Q) or 6.5 mm (K), per size
- Notions: stitch markers, yarn needle, scissors
Why it’s great: Squishy look, rigid feel, fast finish.
Classic Pumpkin Candy Dish
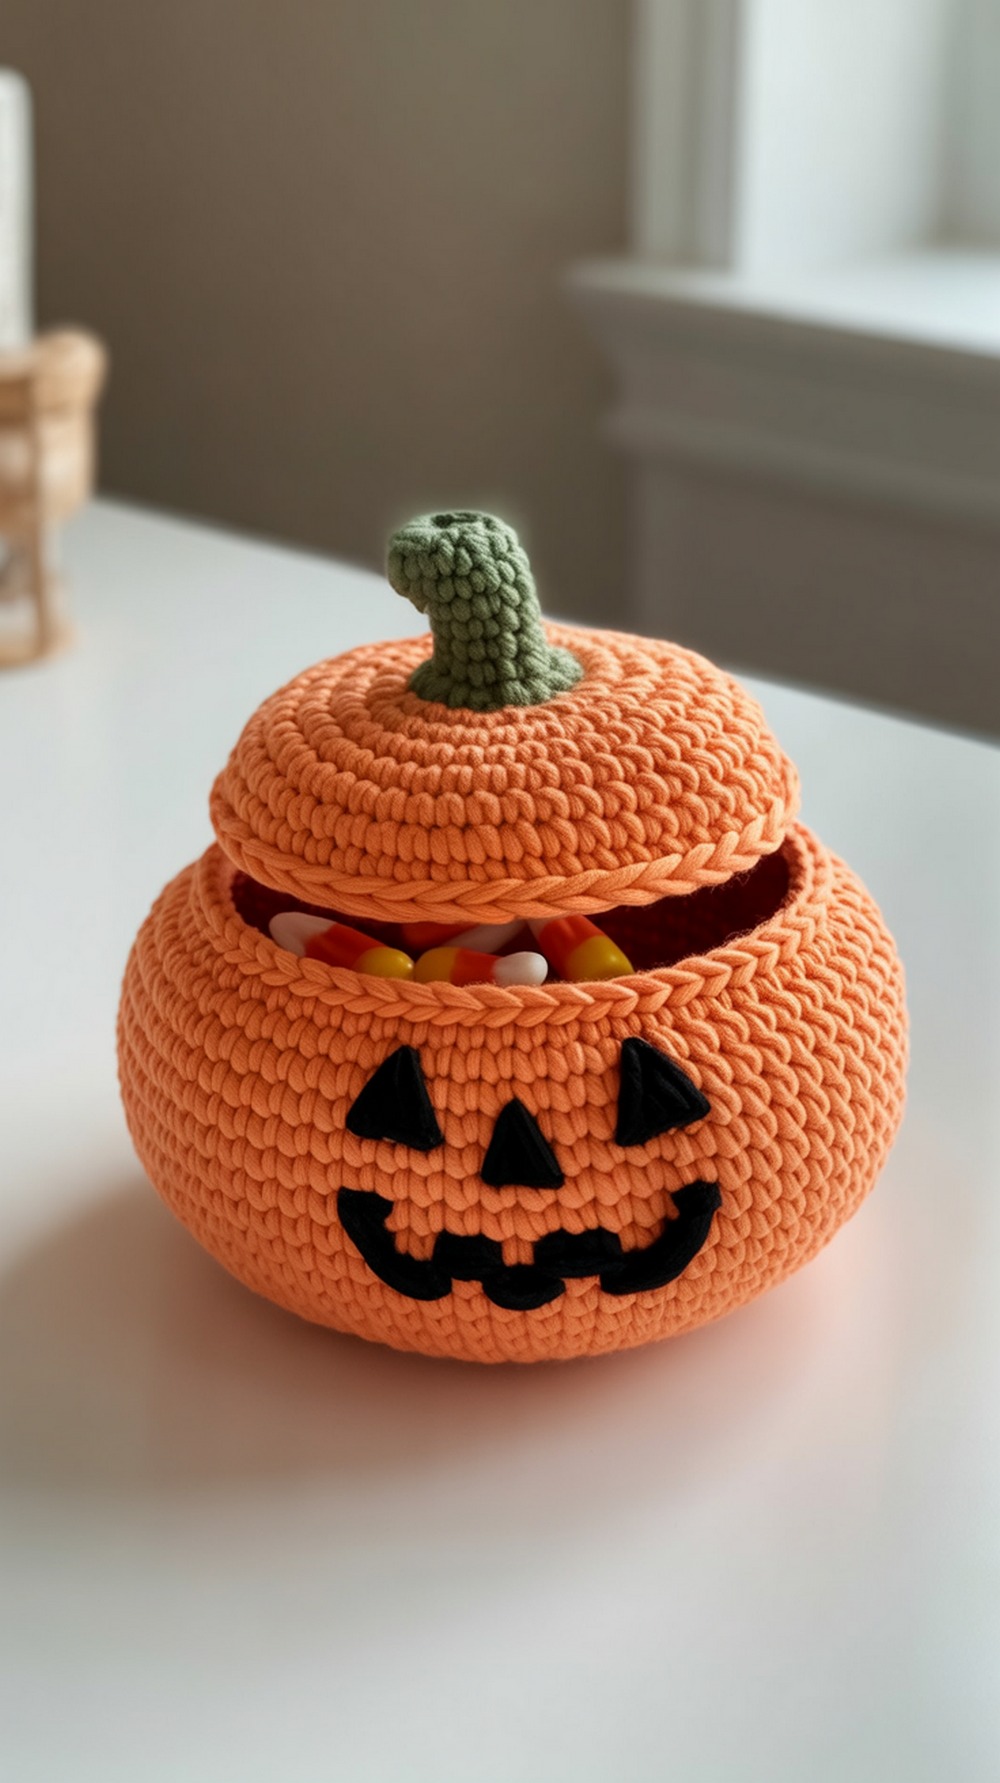
This sturdy bowl uses worsted yarn and a snug gauge to stand up on its own—and you can add safety eyes and a stitched smile or leave it plain. The pattern cleverly adds a liner and a separate lid stem for a polished finish. For mini trinket storage, stop a few rounds early and keep the same stitch pattern. Tip: if making the face, place eyes first, then position the mouth so the lid clears it. Follow Blackstone Designs’ step-by-step with photos and assembly notes in the Tutorial.
Supplies:
- Worsted (4) acrylic/cotton
- Hook: 4.0 mm (G)
- Notions: 18 mm safety eyes (optional), stitch marker, yarn needle
Why it’s great: Customizable—cute face or chic plain.
Mini Pumpkin Treat Bowl
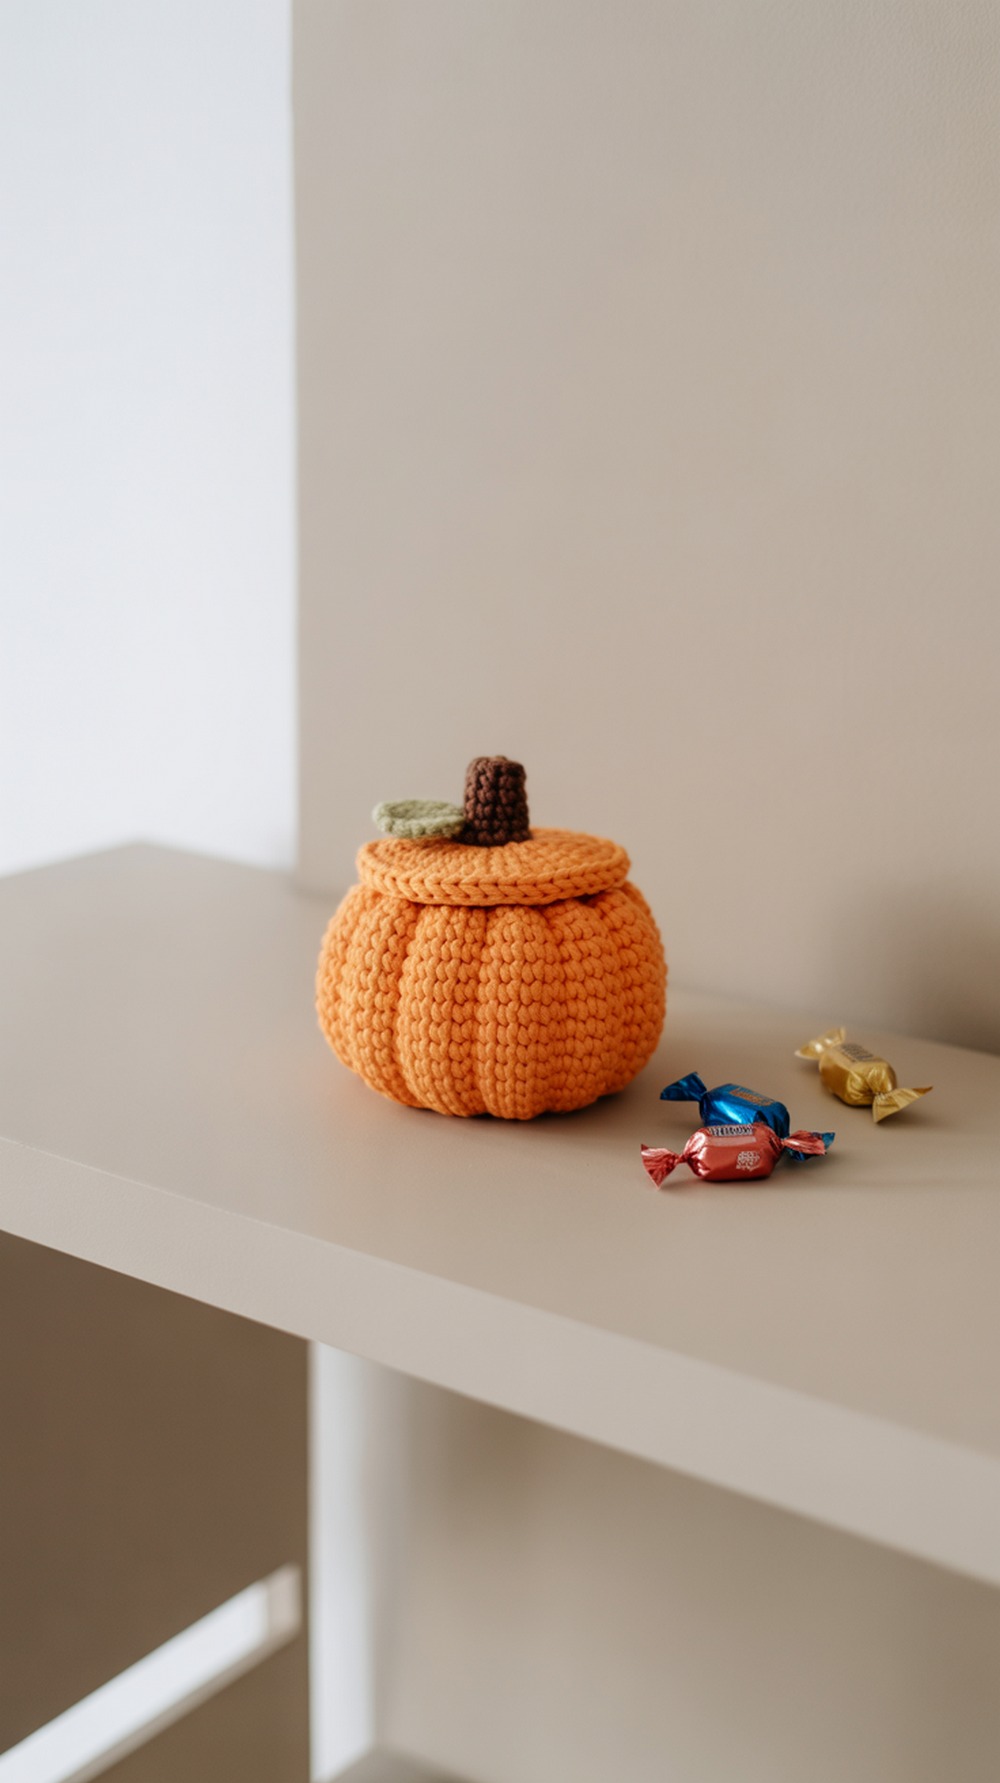
Want tiny? This treat bowl finishes about 3″ tall and 4.5″ wide—ideal for rings, lip balm, paperclips, or a handful of chocolates. It uses two hook sizes to shape the base and lid neatly, plus simple increases you can memorize after a couple rounds. Tip: swap to a smaller hook than listed if your walls feel floppy; you want a firm, basket-like fabric. The One Social Girl post includes clear materials, finished size, and photo styling—great for quick gifting. See the full walkthrough in the Tutorial.
Supplies:
- Worsted (4) in orange, brown, green
- Hooks: 5.0 mm (H) & 4.0 mm (G)
- Notions: yarn needle, scissors, stitch marker
Why it’s great: Speedy, stash-friendly, genuinely mini.
Halloween Pumpkin Basket
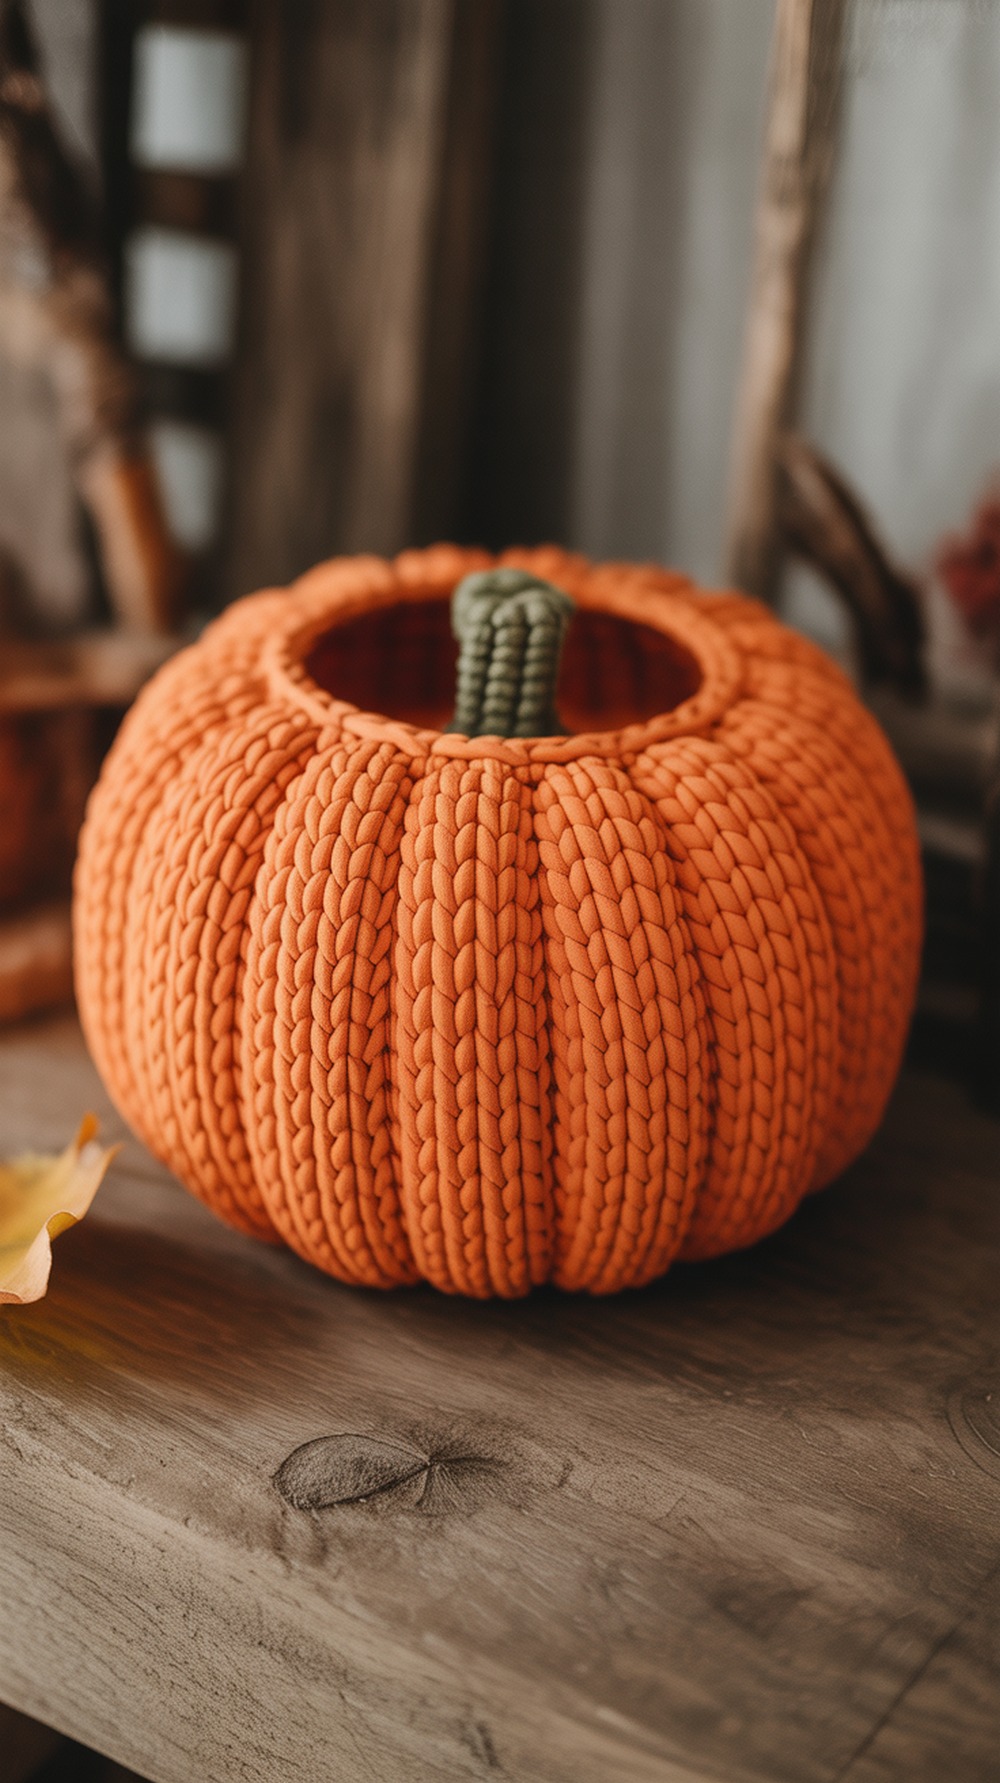
This design uses doubles, trebles, and strategic decreases to form dramatic pumpkin ridges—eye-catching even without a face. Work it larger for treats, or stop at an earlier round for a trinket bowl; the designer gives a note for making a smaller decor version. Tip: hold your yarn double for extra structure if you need stiffer sides. The guest post includes round-by-round instructions and photos. Get the shaping details in the My Hobby Is Crochet Tutorial.
Supplies:
- Worsted (4) yarn, held single or double
- Hook: per pattern (about 5–6 mm)
- Notions: stitch marker, yarn needle, optional handle hardware
Why it’s great: Sculpted ridges = instant pumpkin vibe.
Pumpkin Pots
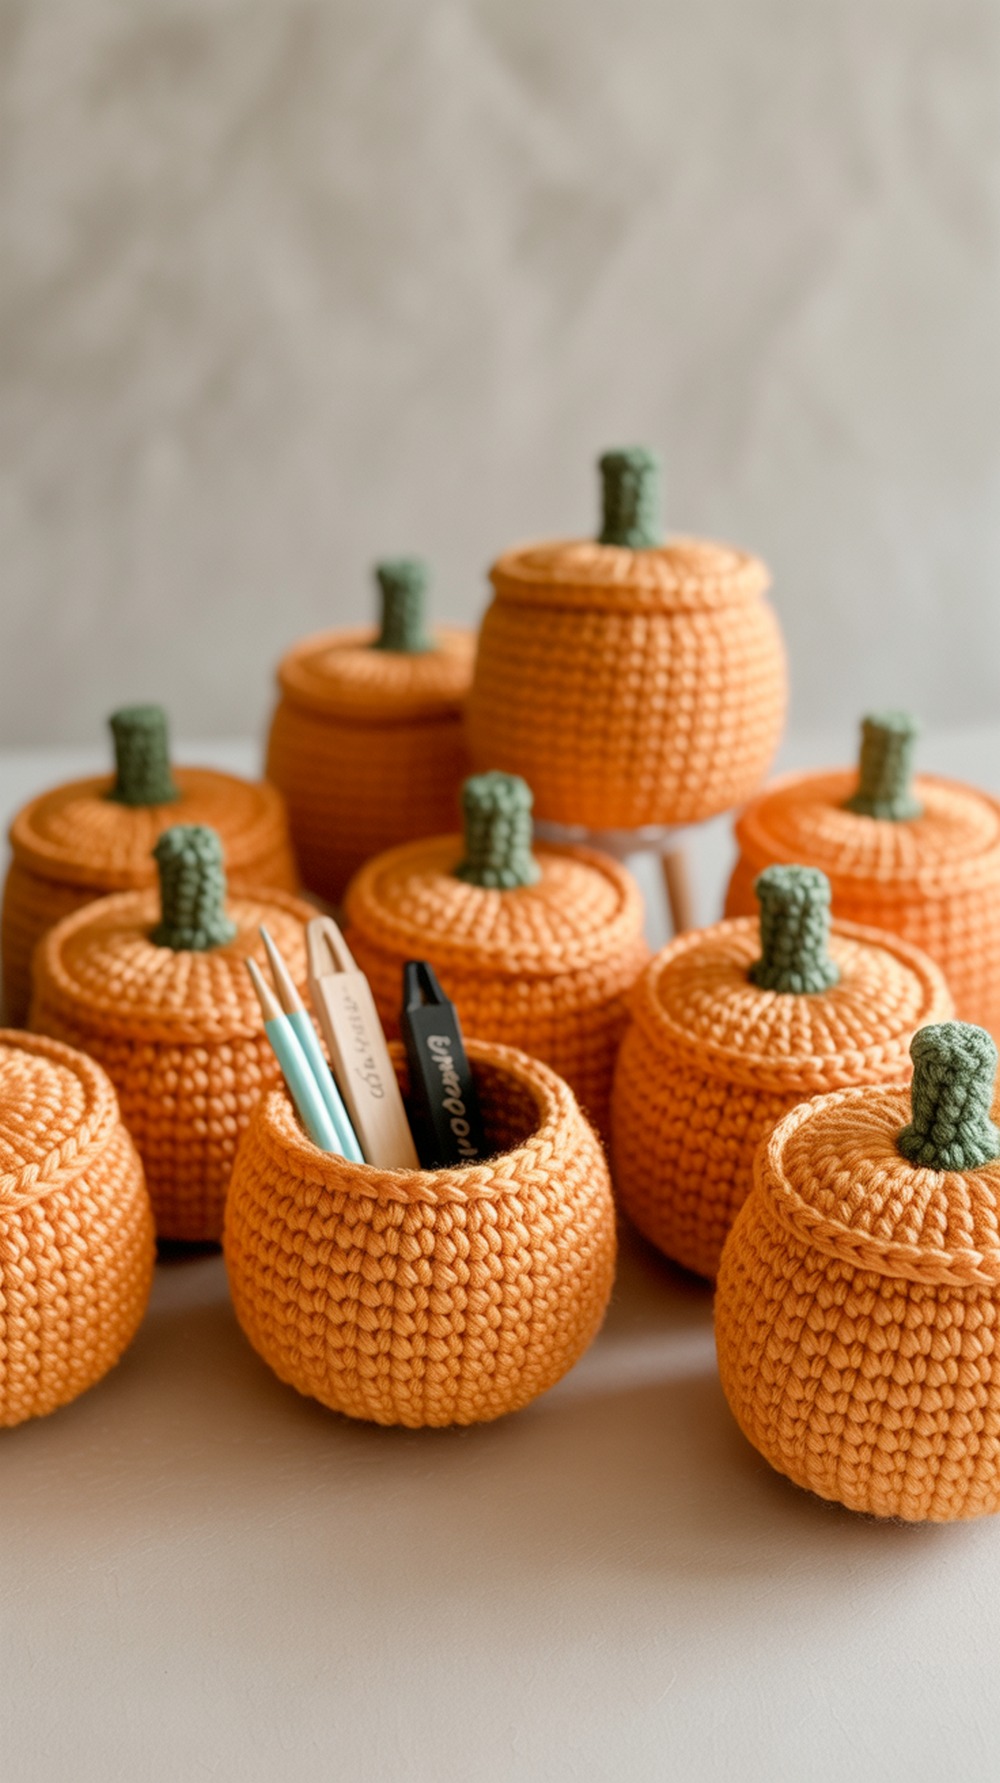
These “pots” are adorable small containers that can be lined up or stacked, each with a stubby stem lid. They’re perfect for hair ties, stitch markers, or wrapped sweets. The free blog version includes step photos and sizing tips; make them mini by stopping increases early and working fewer wall rounds. Tip: a short steam block on the lid rim helps it sit flush. Find the full instructions and options (plus a photo-rich PDF if you want) in the Hooked On Patterns Tutorial.
Supplies:
- Worsted (4) acrylic/cotton
- Hook: 4–5 mm (per pattern)
- Notions: yarn needle, scissors, optional felt for leaves
Why it’s great: Multiple tiny bowls from scraps.
Olive Pumpkin Bowl

Prefer understated? This petite bowl from DROPS works up in merino with a curved rim created by single crochets and slip stitches—elegant for jewelry or keys. The pattern provides a fixed small size (about 10 cm diameter), which makes it perfect for nightstands or vanities. Tip: because it’s fine wool, block gently over a small bowl to set the curve. Full diagrams and measurements are in the official pattern Tutorial.
Supplies:
- DK (3) merino (DROPS Merino Extra Fine)
- Hook: 3.5 mm
- Notions: blocking bowl, pins, yarn needle
Why it’s great: A refined, small catch-all with clean lines.
Pumpkin Basket Set
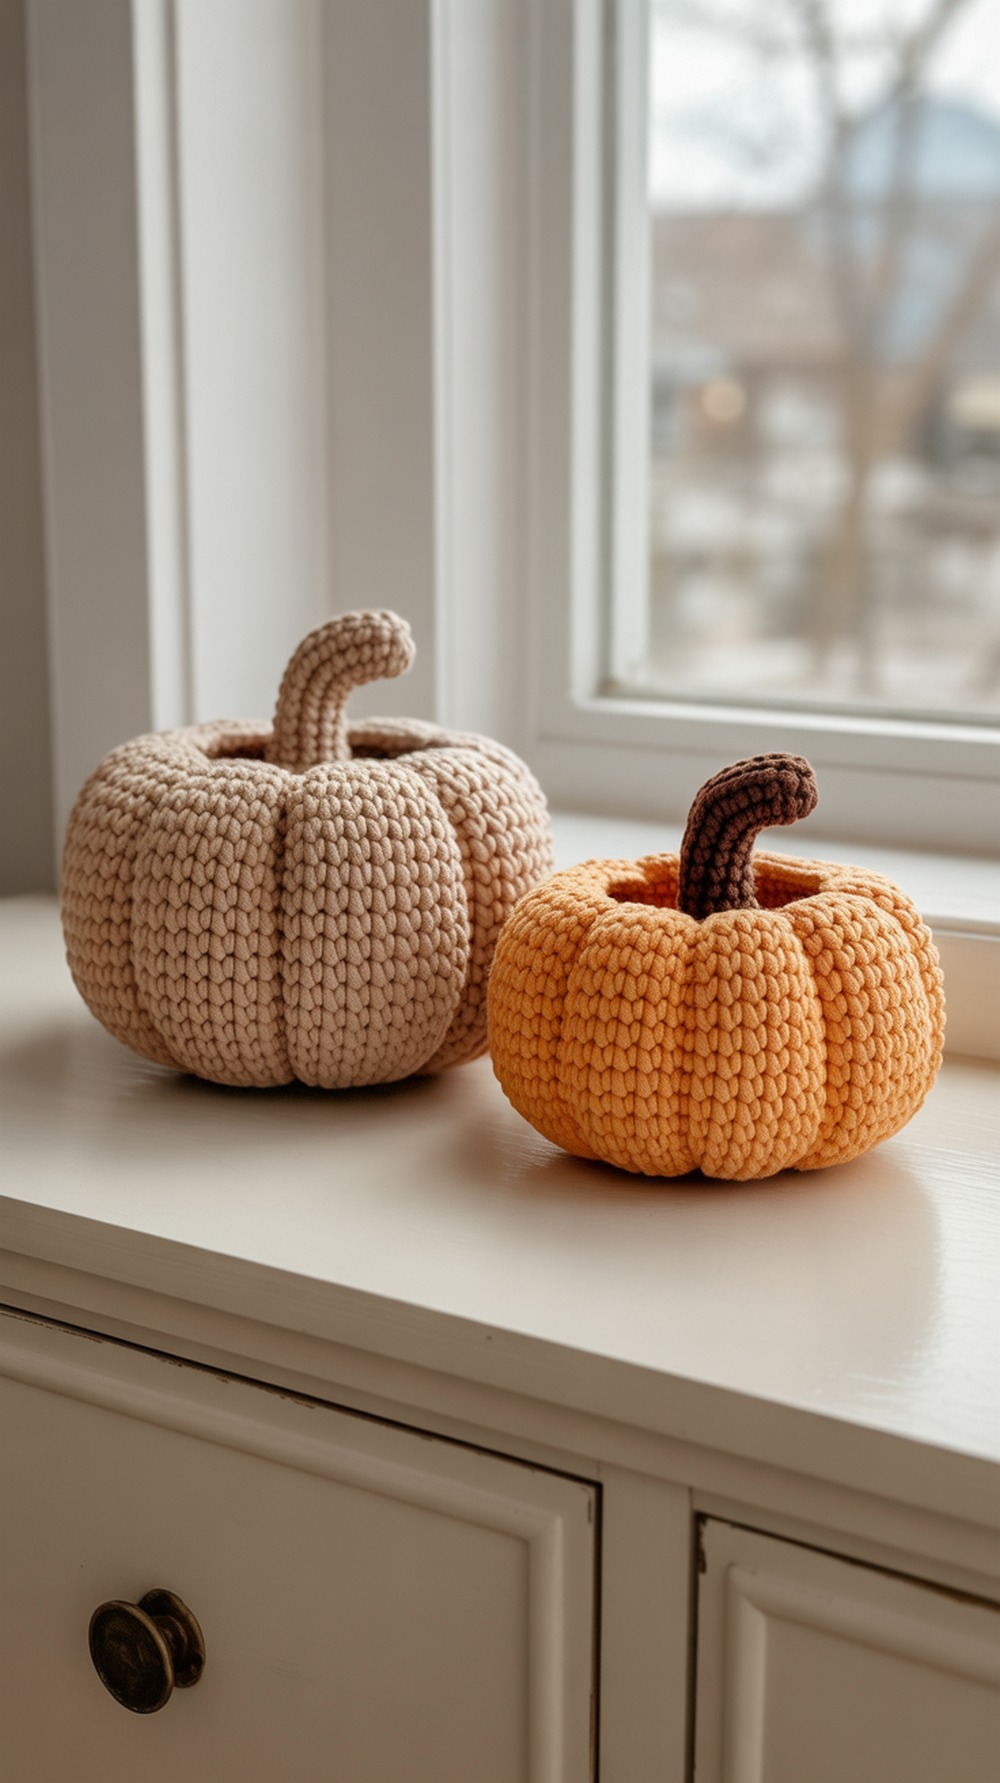
This set includes two shallow baskets sized just right for pocket change, earbuds, or tea bags. Made in single crochet with a back-loop turn for the wall transition, they’re easy, meditative, and quick. The post shares exact rounds, plus a sweet pumpkin applique you can add—or skip for a minimalist look. Tip: stitch markers every 12 stitches help keep count on small rounds. Get both sizes and the optional applique in Laura Jaworski’s Tutorial.
Supplies:
- Worsted (4) in tan/orange/brown
- Hook: 4.0 mm
- Notions: stitch marker, needle, scissors; optional fabric glue
Why it’s great: Two tidy bowl sizes from one pattern.
Tapestry Pumpkin Basket
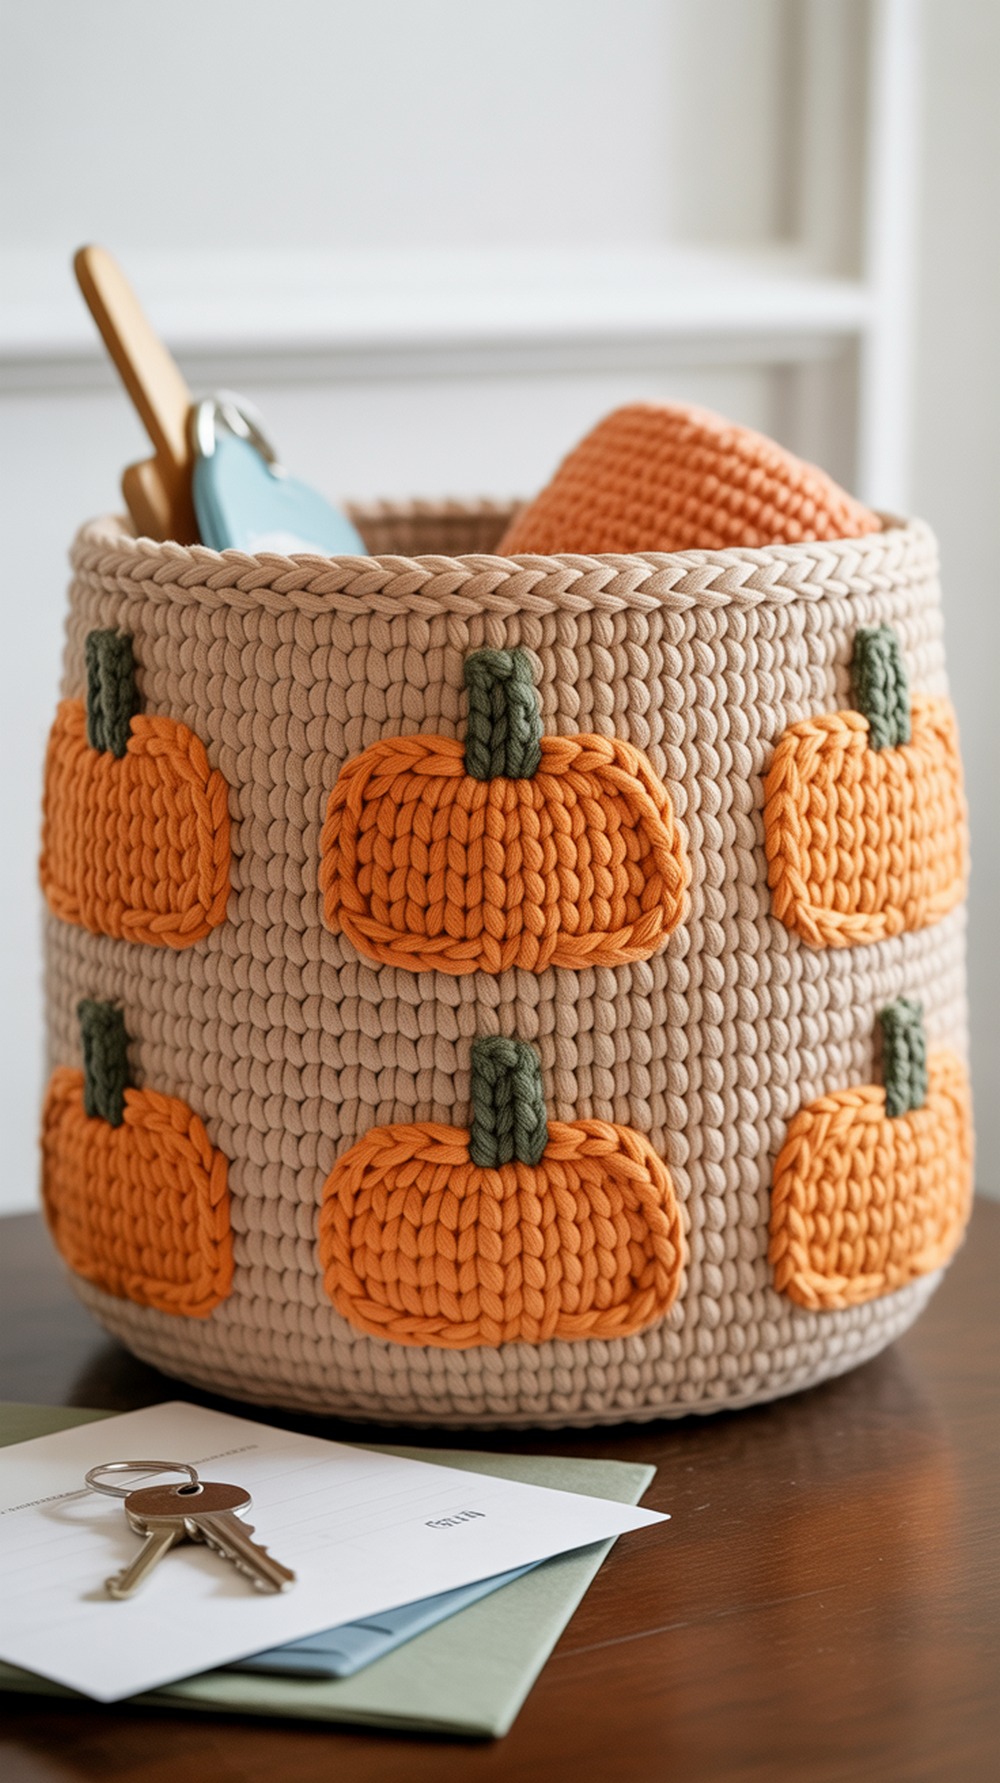
This graphic basket uses tapestry crochet to draw a pumpkin motif around the sides—eye-catching on an entry table. The designer explains how to keep color changes stacked neatly, which is priceless for crisp motifs. For trinkets, work fewer chart rows and keep the handles off. Tip: carry floats neatly and keep tension even so the walls don’t pucker. See charts, notes, and finishing in the Desert Blossom Crafts Tutorial.
Supplies:
- Worsted (4) acrylic in orange/tan/green
- Hook: 5.0 mm (H)
- Notions: stitch markers, yarn needle, scissors
Why it’s great: Bold, clean colorwork on a sturdy bowl.
Terracotta Stripe Pumpkin Basket
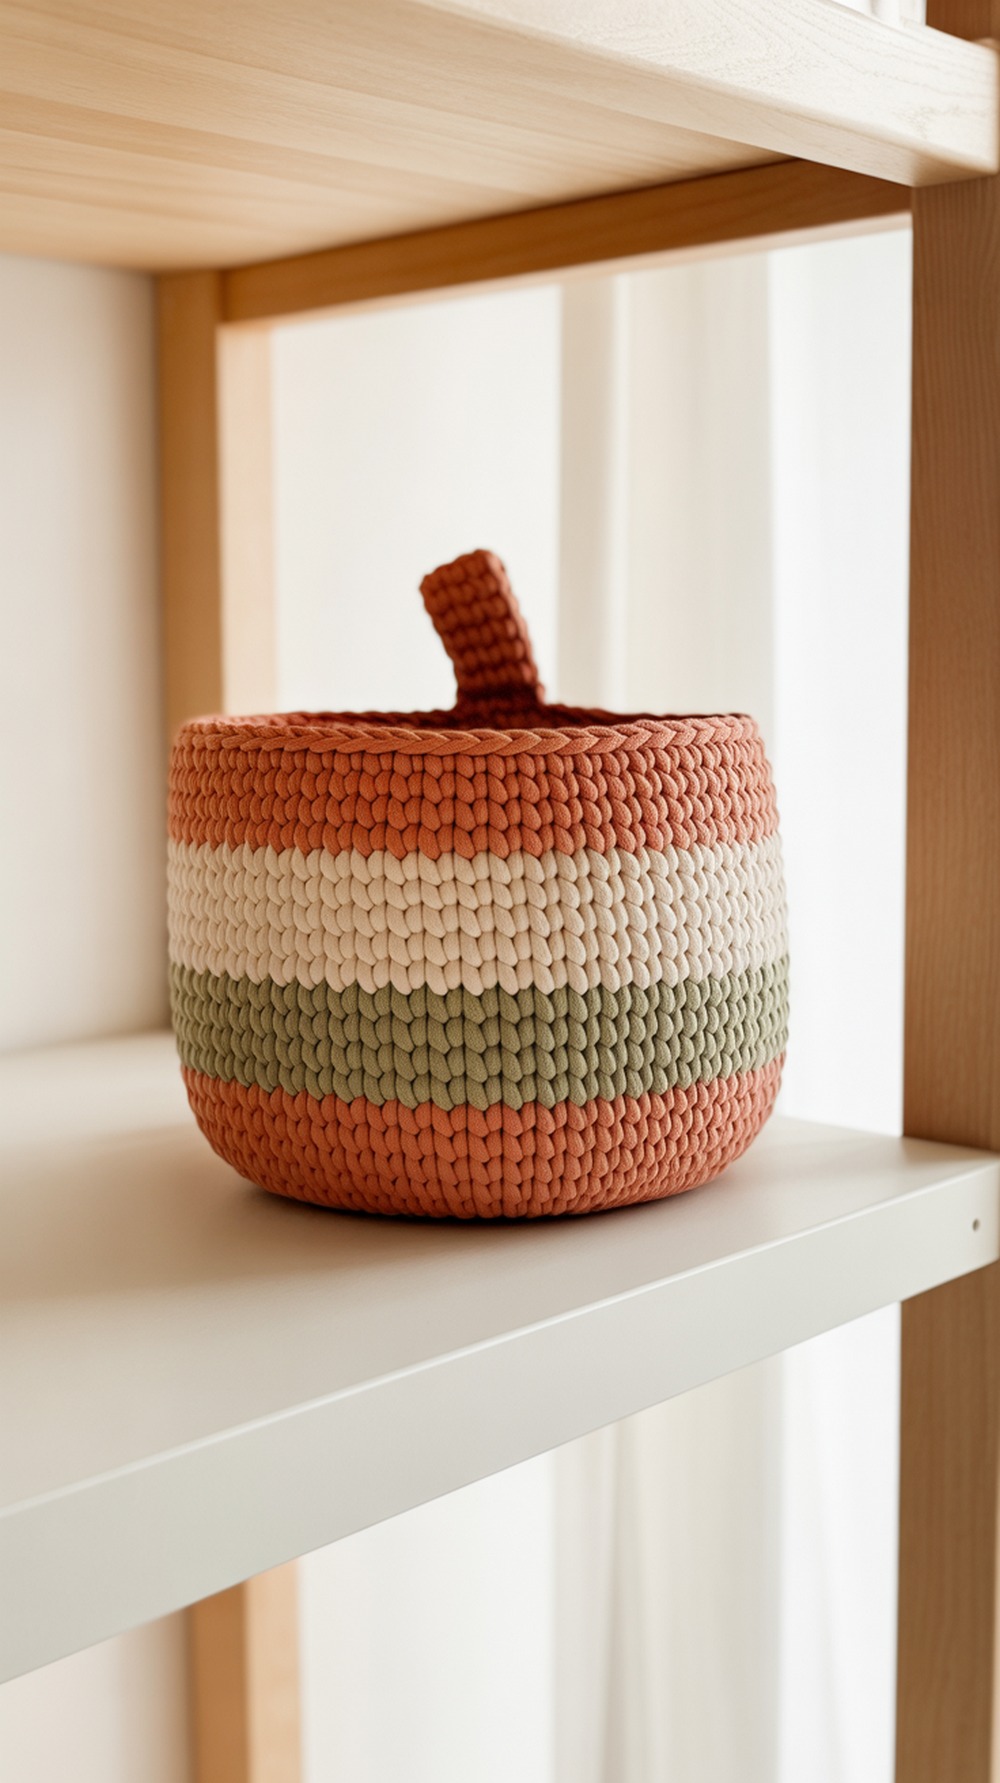
Worked in chunky cord-style yarn, this modern basket features terracotta, ecru, and sage stripes—a chic spin on pumpkin colors. It’s sturdy enough for countertops and craft shelves. For a mini trinket bowl, stop after establishing the side height and omit handles. Tip: switch to a smaller hook than the yarn band suggests to keep sides rigid. The Hobbycraft post includes UK-term instructions, supply list, and a chart. Full details in the Tutorial.
Supplies:
- Bulky macrame-style cord (terracotta/ecru/sage)
- Hook: 8 mm
- Notions: yarn needle, stitch markers
Why it’s great: Stylish stripes with serious structure.
Jack O’ Pumpkin Candy Bowl
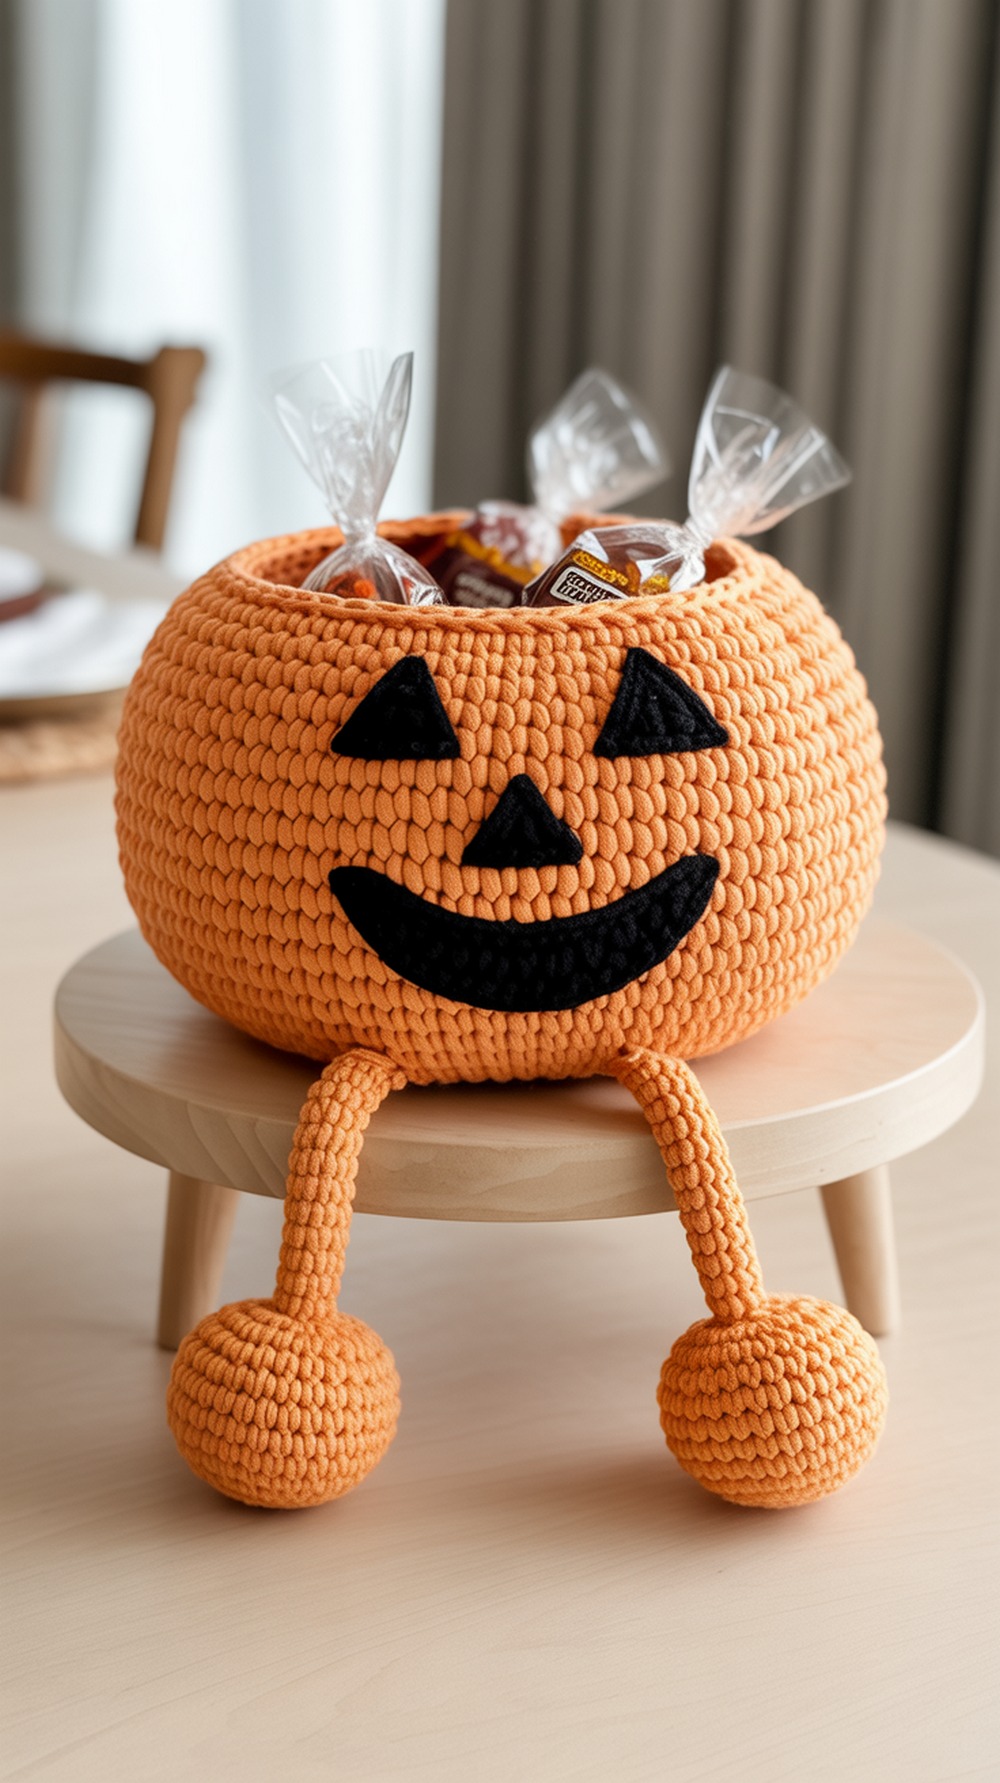
This playful bowl includes a ridged texture, googly eyes, and pom-pomed “legs.” Skip the face and legs for a simple pumpkin dish, or keep them for seasonal whimsy. The instructions are thorough and note how to upsize if you want more capacity. For a mini version, work fewer base increases and shorten the sides. Tip: add a crab-stitch edging for a tidy rim. Find the complete directions in the Pattern Paradise Tutorial.
Supplies:
- Worsted (4) acrylic
- Hooks: 6.5 mm (K) & 5.0 mm (H)
- Notions: googly eyes, pom-pom maker, yarn needle
Why it’s great: Functional bowl that doubles as decor.
Halloween Spider Candy Dish
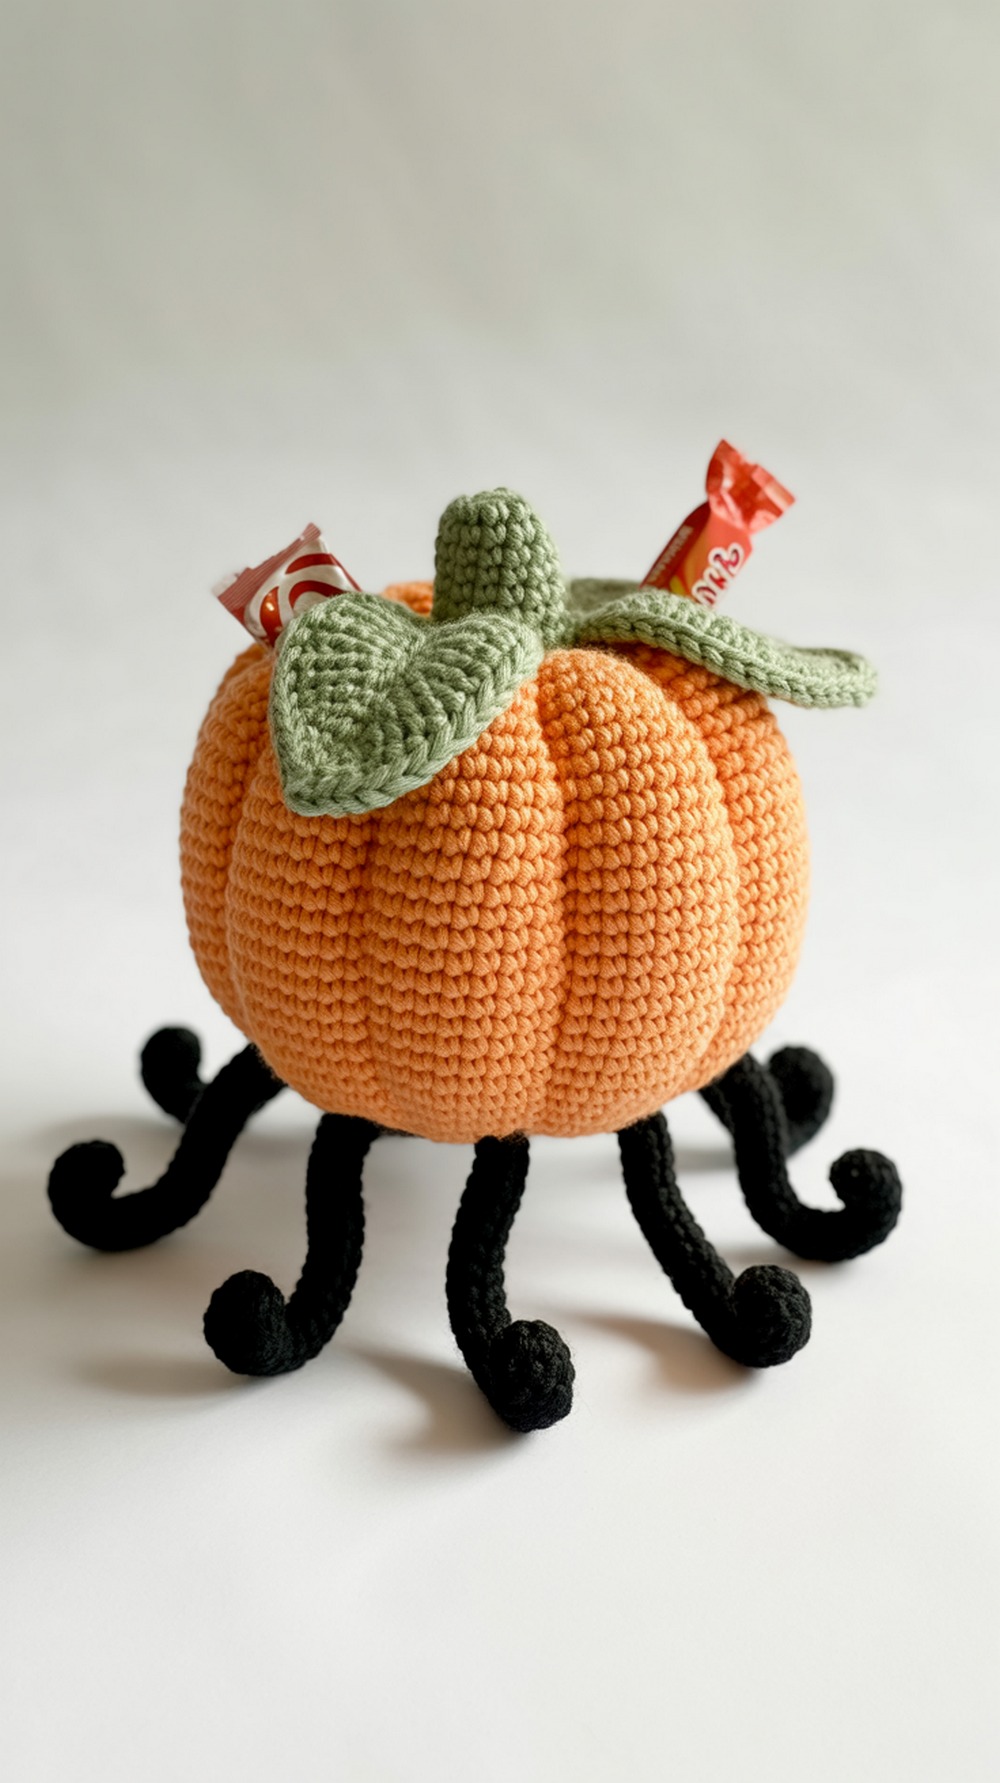
Another playful take: a pumpkin bowl paired with spidery legs and big cartoon eyes. Underneath the whimsy is a solid little vessel worked in rounds with a back-loop turn that helps the walls sit upright. For a simple trinket bowl, make only the pumpkin portion and finish with a clean round of single crochet. Tip: add a circle of plastic canvas between two bases if you want extra rigidity. Full step-by-steps are in Connie’s Spot Tutorial.
Supplies:
- Worsted (4) acrylic in orange/green/black
- Hook: 4.5 mm & G/4.0 mm
- Notions: safety eyes, chenille stems (for legs), plastic canvas (optional)
Why it’s great: Cute novelty twist with sturdy shaping.
Pumpkin Bowl With Lid

This lidded bowl features post-stitch ribs and a clever eyelet round—thread a slim ribbon through for a giftable finish. The post shows full written rounds plus photos of the lid, stem, and leaf curl. For trinkets, stop the body after the first rib section and keep the same lid. Tip: match your ribbon to your yarn for a monochrome look that feels upscale. Get the step-by-step on the Posh Pooch Designs blog Tutorial.
Supplies:
- Worsted (4) acrylic
- Hook: 5.0 mm (H)
- Notions: ¼” ribbon, yarn needle, scissors
Why it’s great: Pretty, gift-ready bowl with secure lid.
Conclusion
Pick one easy win—like the palm-sized treat bowl or the plush lidded basket—and you’ll have a finished, functional piece in a single evening. Small bowls are perfect for corralling clutter and make charming host gifts. As you gain confidence, try tapestry colorwork or playful legs for seasonal flair. Bookmark this list so you can return when you need a quick make or a last-minute present. Happy hooking, and may your hooks stay fast and your bowls stay perfectly pumpkin-shaped!
FAQs
What yarns work best for mini pumpkin bowls?
Cotton and sturdy acrylics hold shape well. For plush versions, use jumbo/super-bulky polyester and a smaller hook than usual for firm walls.
Machine wash or hand wash? Drying tips?
Hand wash is safest; reshape and air-dry over a bowl. If using cotton or acrylic without glued embellishments, a gentle machine cycle in a mesh bag works; always air-dry to prevent warping.
How do I scale a pattern smaller or larger?
Adjust the number of increase rounds in the base (fewer for smaller, more for larger), then work the sides to your desired height. Keep the lid diameter matching the bowl opening.
Which fibers are safest for kitchen/bath use or light heat exposure?
Cotton is best for kitchens/baths; it’s absorbent and heat-tolerant. Avoid polyester near heat sources. For decorative tealights, always use a glass insert.
What joins/edgings improve durability?
Back-loop round to turn the wall, then finish with crab stitch (reverse SC) or slip-stitch edging for a firm rim. Seam in tails securely and consider a felt or plastic-canvas base insert.
Typical time and yardage for baskets, pillows, and mats?
Mini bowls: 60–120 yds and 1–2 hours. Medium bowls: 120–200 yds and 2–4 hours. Pillows/mats vary widely; expect 300–800 yds and half a day or more.
Any tips for photographing small projects?
Use bright natural light, a clean background, and shoot slightly above the rim to show depth. Include scale (a ring, key, or candy) and focus on stitch texture.
How do I fix curling, stretching, or wavy edges?
Curling base: add an extra increase round. Wavy rim: remove an increase round or block gently. Stretchy walls: drop hook size; consider tighter stitches or a lining.