Small totes with pockets and bow accents are the perfect “grab-and-go” projects: quick yardage, sturdy stitches, and lots of room for personality. Below you’ll find a curated dozen that blend mini-tote practicality with bow flair or clever pockets you can actually use. I looked for tutorials with crisp step photos, dimensions, and materials lists so you can size up or down without guesswork. Expect mostly cottons (for structure and washability), dense stitches to keep shape, and add-on details like bows, linings, or fold-away pockets. Try starting with one pocketed style for everyday errands, then make a cute bow clutch to match—same yarn, different vibes. Ready to stitch a tiny carryall that still fits your phone, keys, and a lip balm? Let’s pick a favorite and get hooking.
Mini Camellia Pocket Tote

This mini take on the Camellia Tote keeps the bag’s segmented construction—oval base, dense side panels, and a central accent panel—but scales it for everyday essentials. The tutorial shows how to add a crocheted interior pocket sized for a phone, plus sturdy tapering straps that won’t stretch out. Work the base tightly, then choose a dense stitch for the accent so small items don’t peek through. Add a purse organizer insert if you want extra compartments. Finish with a subtle bow key-fob on one handle for a sweet nod to the coquette trend. Get the step-by-step photo “Part 1” and pocket instructions in “Part 2.” Tutorial.
Supplies: Worsted mercerized cotton (#4) • 2.0–3.5 mm hooks • stitch markers • yarn needle • optional purse organizer
Why it’s great: A polished, structured tote with a true interior pocket that looks boutique-made.
Audrey Stripe Mini Tote
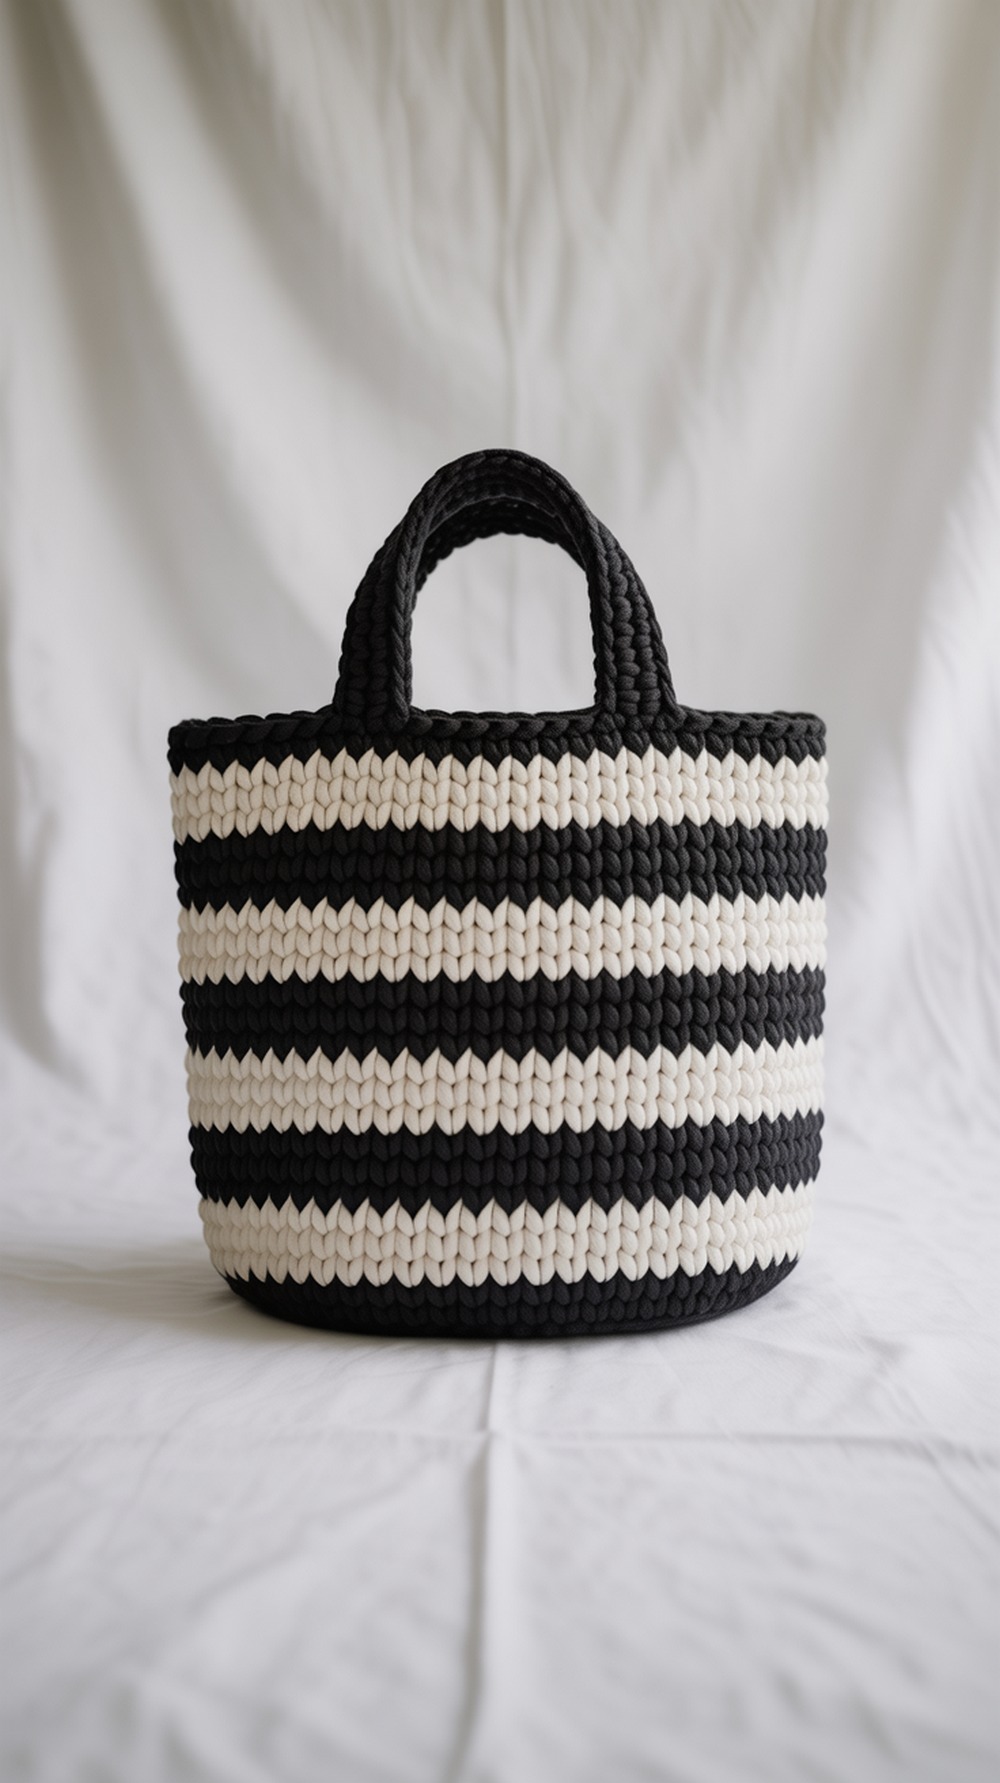
Turn the chic striped Audrey Tote into a mini by shortening the height and narrowing the base. The pattern’s rectangle-to-tote construction is beginner friendly, and the graphic stripes make placement of a small inside slip pocket easy—just seam a tight swatch to the lining or directly to the body before assembly. Use cotton or tape yarn for crisp edges, then add a slim bow charm on one handle for a minimal coquette touch. If you need longer straps, swap to leather or crochet an i-cord. Follow the step photos to get neat, even stripes. Tutorial.
Supplies: Tape yarn or cotton (#4–#5) • 5.5–6 mm hook • yarn needle • measuring tape
Why it’s great: High-contrast stripes elevate a simple mini tote instantly.
Beginner Rectangle Market Tote
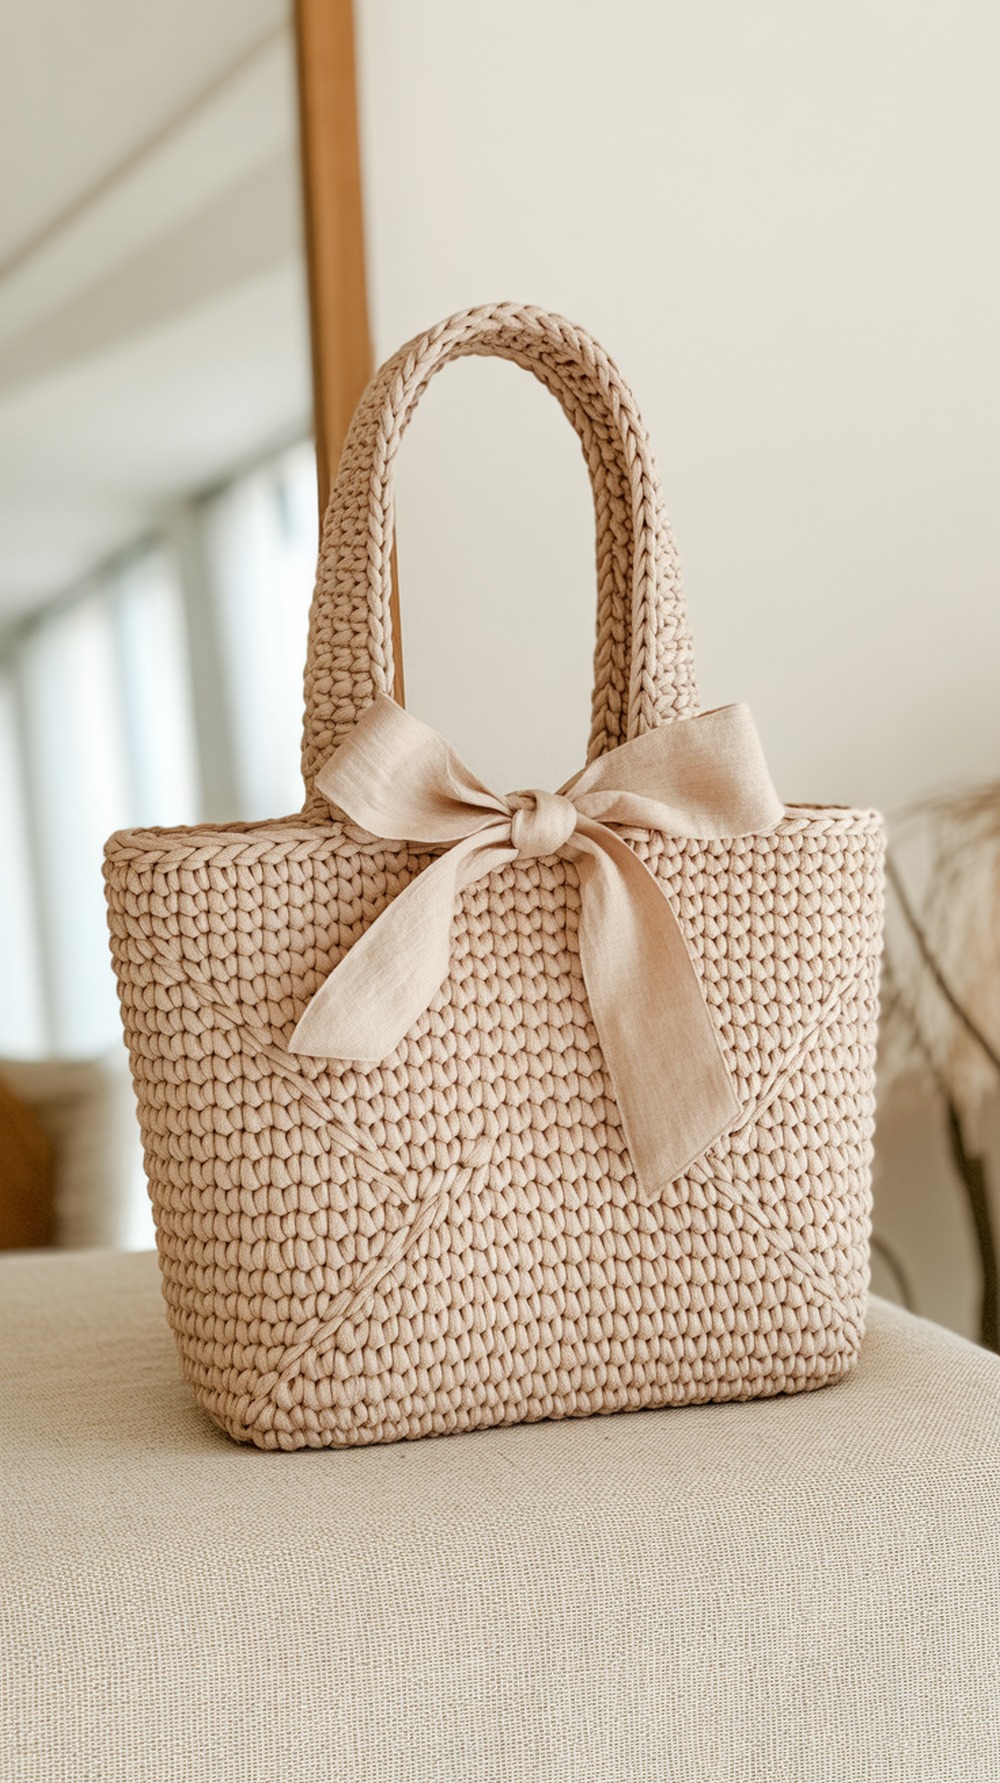
This clever tote is folded from a single rectangle—perfect for shrinking into a mini. Crochet a tighter rectangle, seam per the guide, then stitch a narrow bow band you can tie around one handle. Tape yarn keeps the “raffia” vibe lightweight yet sturdy. The post includes a walkthrough and video; simply reduce the starting chain and rows to hit your target width/height. Consider a tiny inner patch pocket (whipstitched on) for cards. A great first bag that looks advanced thanks to its origami folds. Tutorial.
Supplies: Bulky tape yarn (#5) • 5 mm hook • tapestry needle • clips or markers
Why it’s great: One rectangle = a polished mini with near-zero shaping fuss.
Criss Cross Mini Tote
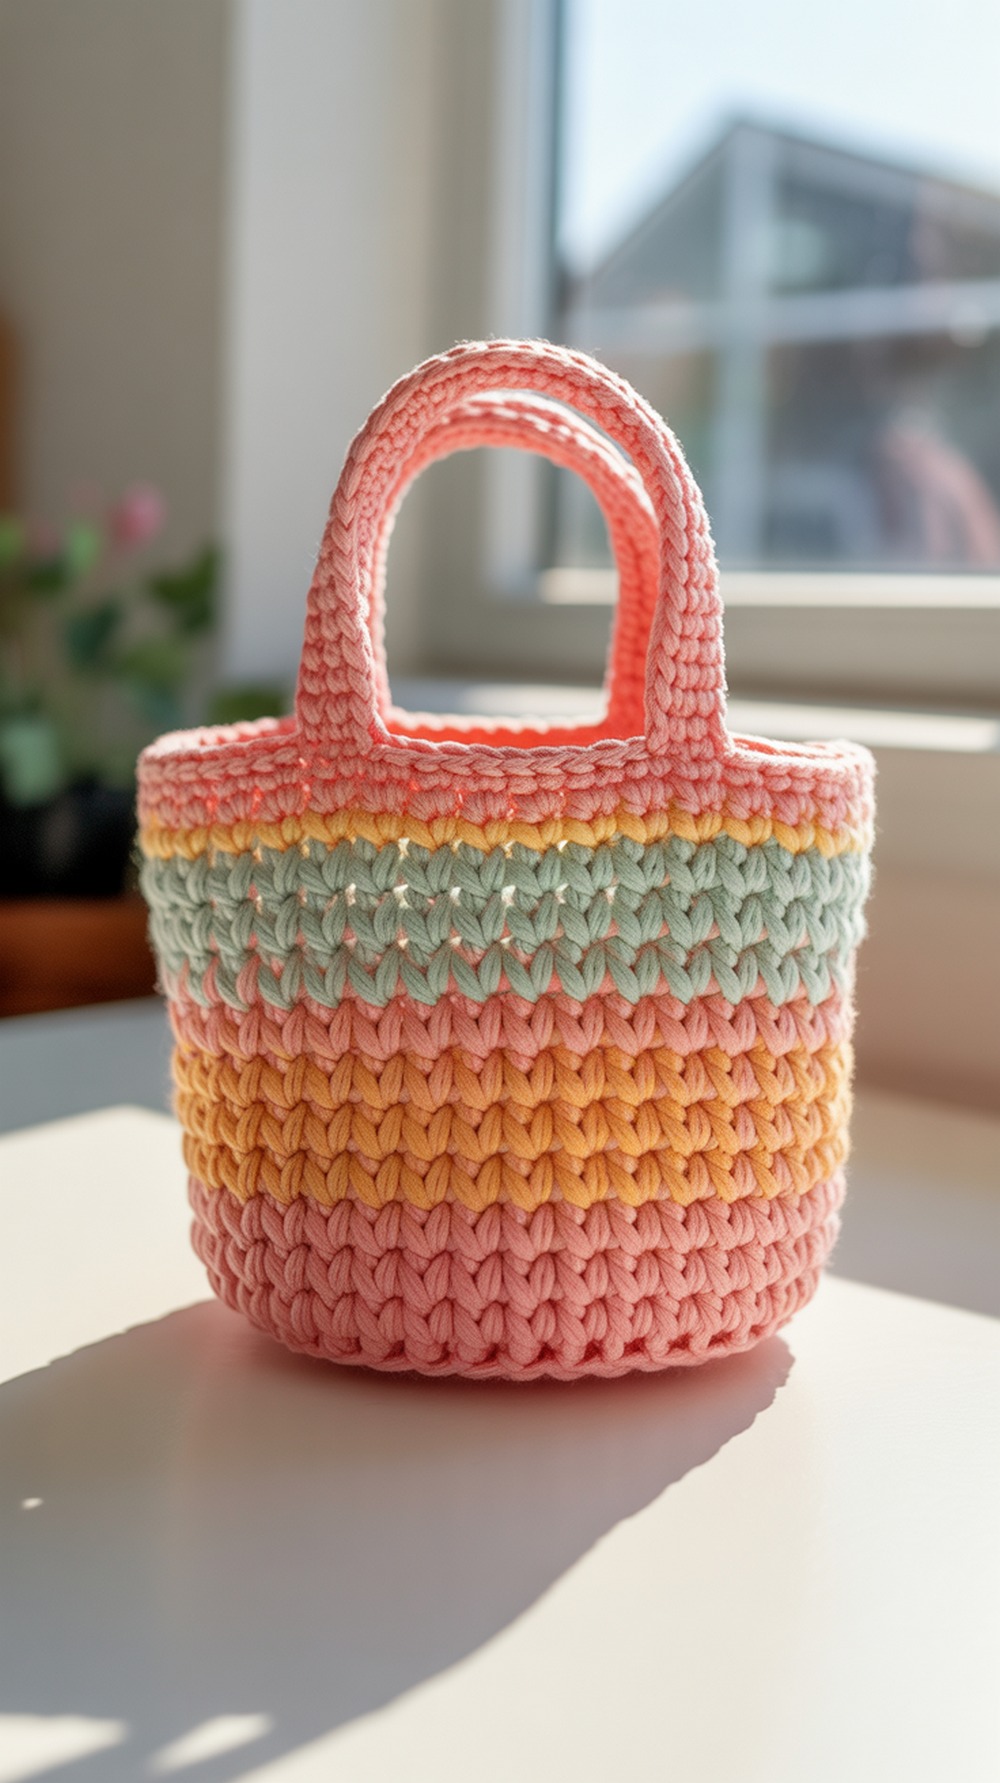
Use the pattern’s child size as your “mini” foundation, then add a small, dense single-crochet rectangle as a front patch pocket before working the top rounds. The criss-cross double crochet bands give beautiful texture without sacrificing structure, and cotton yarn helps the tote keep shape. The tutorial includes finished dimensions and notes for resizing, so scaling is straightforward. Add a petite bow applique to the pocket for charm. Great stash buster—one skein covers most minis. Tutorial.
Supplies: Worsted cotton (#4) • 4–5 mm hook • yarn needle • stitch markers
Why it’s great: Fast texture, easy to size, and perfectly pocket-friendly.
Rainbow Pocket Market Mini
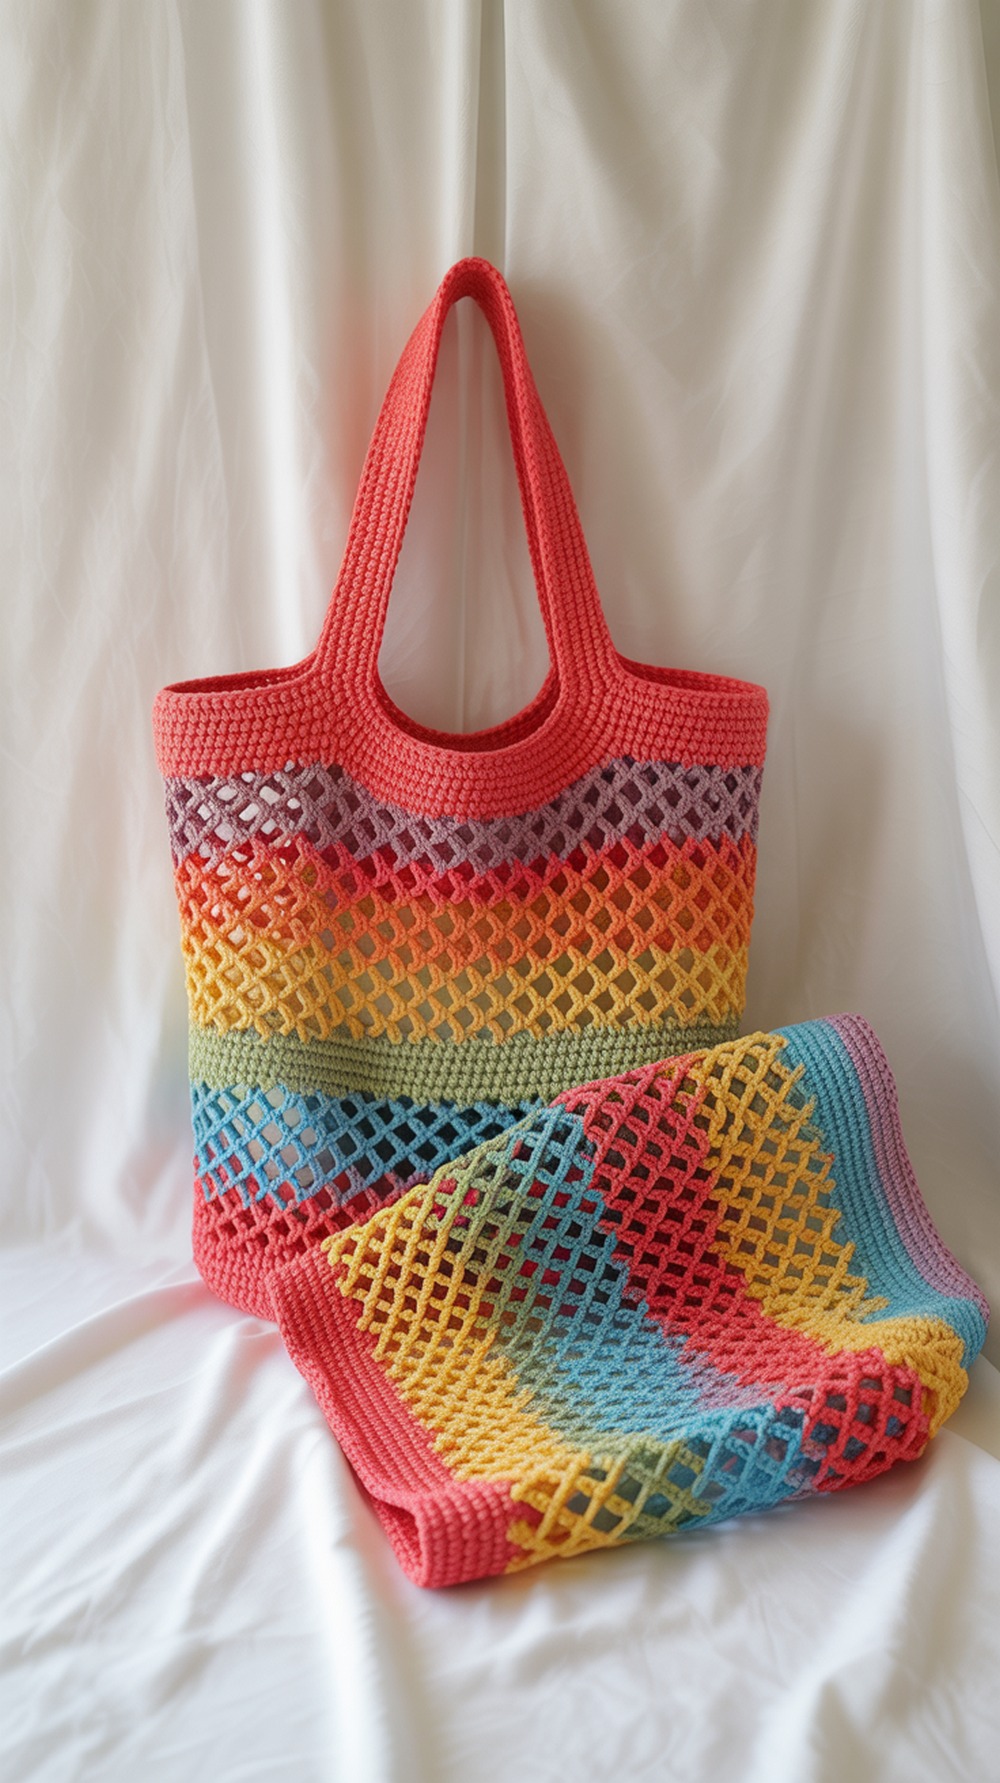
A pocket that’s part of the pattern! This mesh market bag folds into its own base pocket—shrink your hook and stitch count for a mini and you’ve got a reusable carry that tucks into itself. The tutorial shows round-by-round pocket construction and strap options. Use sturdy cotton for washability; keep your bow on a key ring so it doesn’t snag the mesh. Rainbow stripes are classic, but you can color-block for a softer look. Tutorial.
Supplies: Worsted cotton (#4) • 5.5 mm + 3.75 mm hooks • button (optional) • yarn needle
Why it’s great: The bag IS the pocket—zero extra sewing.
Granny Hex Mini Tote
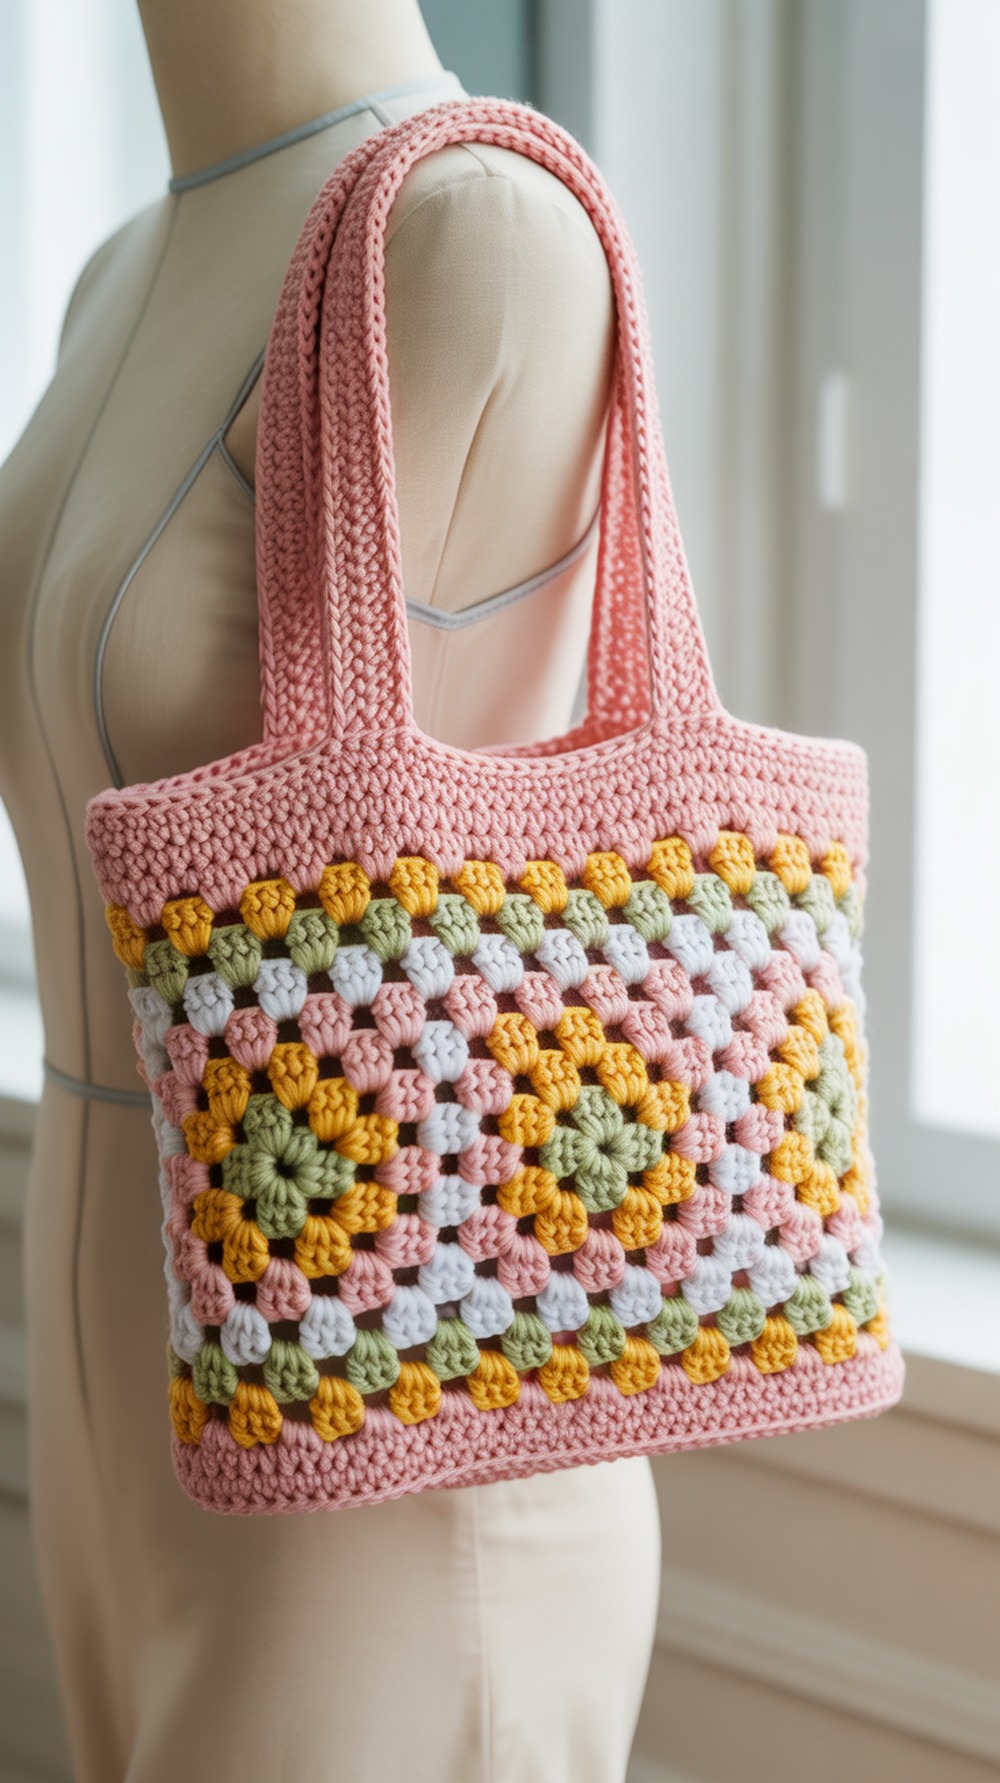
Assemble three hexagons and two half-hexes, then add handles—this modular pattern is perfect for a mini version by stopping a round early or using a smaller hook. The page details yarn amounts and handle placement. Add a slender bow to one handle when blocking for a sweet accent. Keep motifs dense or line the bag to protect small items. Works beautifully in coordinated scraps or a planned colorway. Tutorial.
Supplies: Bulky acrylic (#5) • 6 mm hook • stitch markers • yarn needle
Why it’s great: A geometric mini with big color-play potential.
Every Day Tote
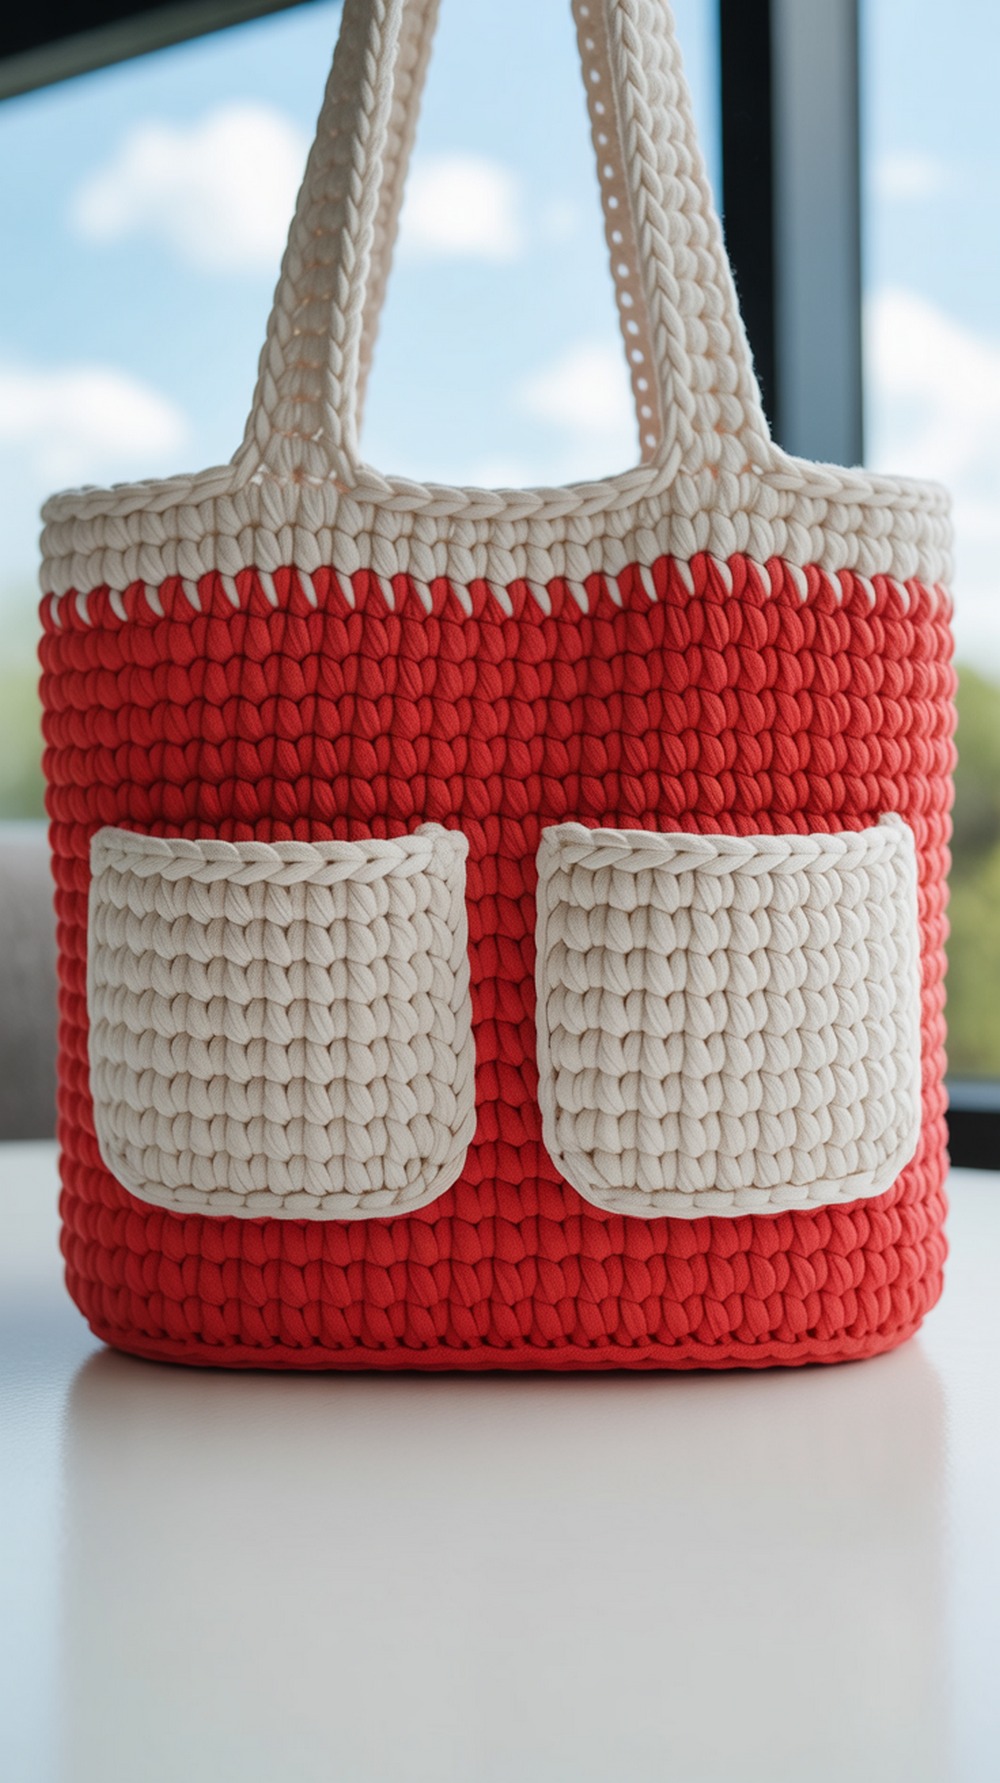
This pattern includes two front slip pockets right in the instructions—ideal for a mini that still carries a phone and transit card. It’s worked double-stranded for structure, with a contrasting base and straps. Follow the join-in-the-round notes to keep the seam hidden (the pocket covers most of it!). Add a neat bow keychain to one strap. The tutorial shows pocket sizing and assembly with pins—very beginner-friendly. Tutorial.
Supplies: Light/worsted cotton held double (#3/#4) • 2.25 mm & 3.75 mm hooks • pins • needle
Why it’s great: Built-in pockets and clean color blocking = instant everyday mini.
Garden Utility Mini Tote
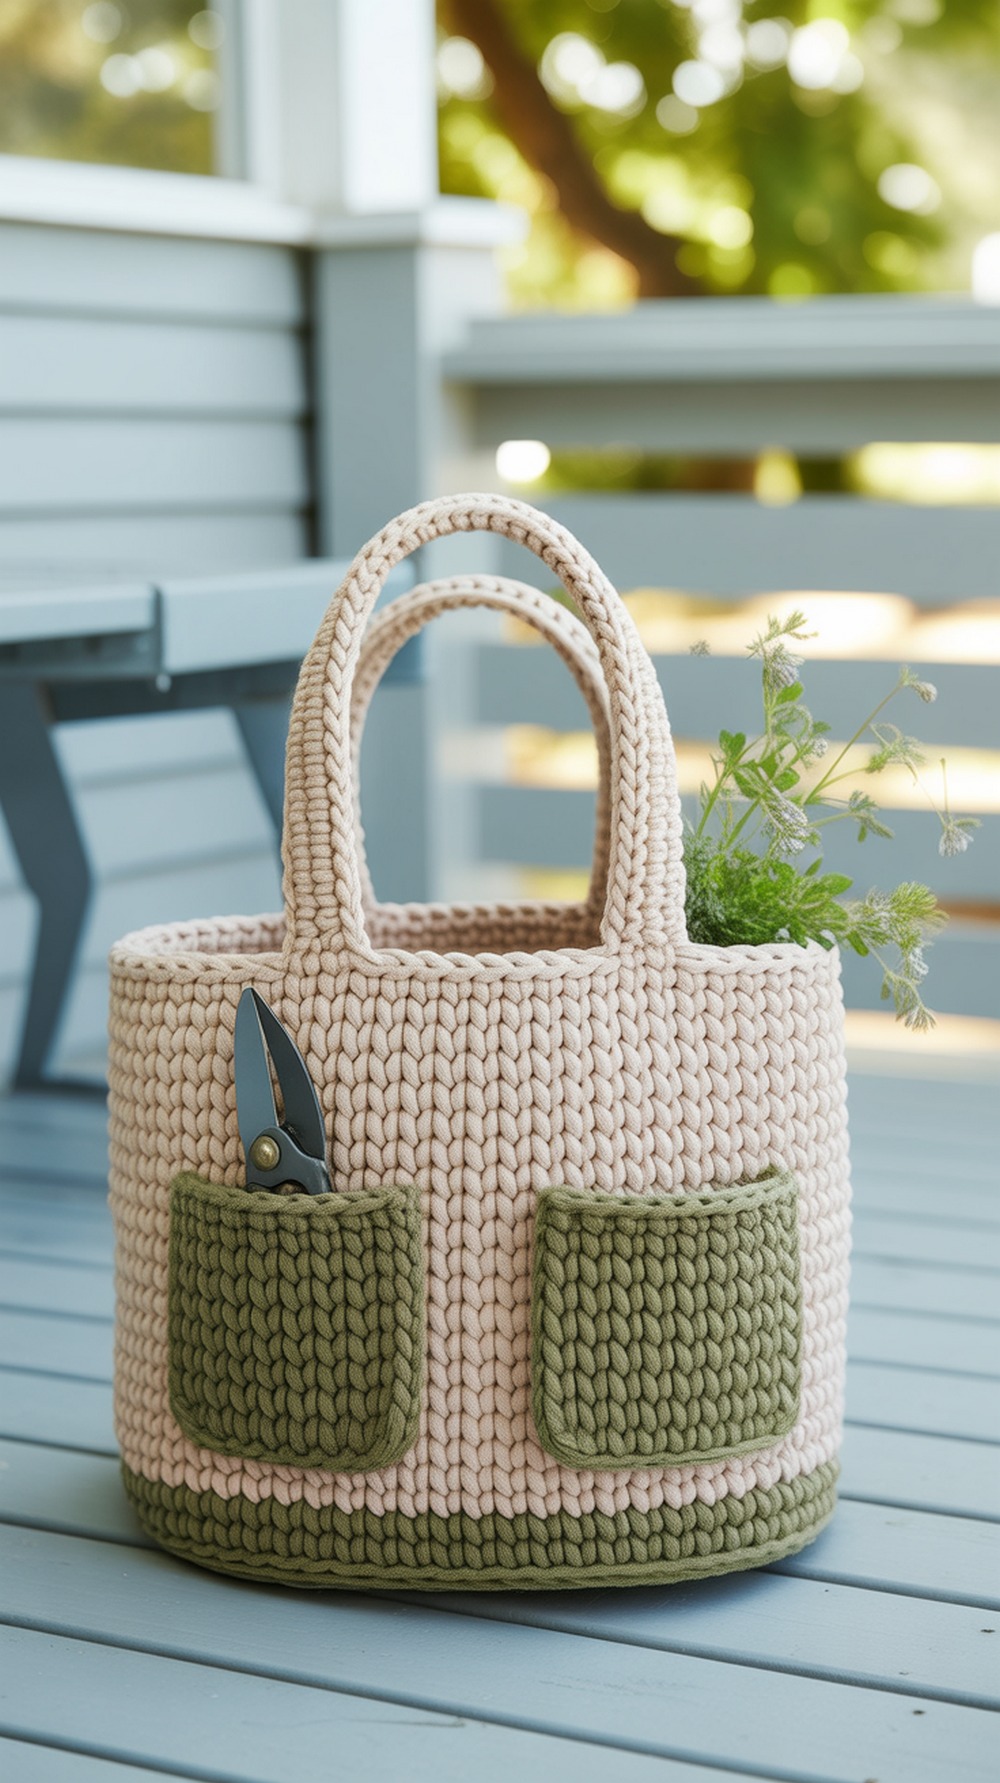
Scale this garden tote down to mini size and you’ll keep the signature front utility pockets—great for sunglasses, pens, or hooks. Worked in sturdy cotton with a seamed base, it stands on its own. The tutorial shows color placement and pocket construction; stick to earthy neutrals with a pop of green for that classic garden look. Add a tiny bow patch to a pocket seam if you like. Durable and giftable. Tutorial.
Supplies: Worsted cotton (#4) • 5 mm hook • stitch markers • yarn needle • measuring tape
Why it’s great: Real, structured external pockets on a compact tote.
Watermelon Slice Mini Tote
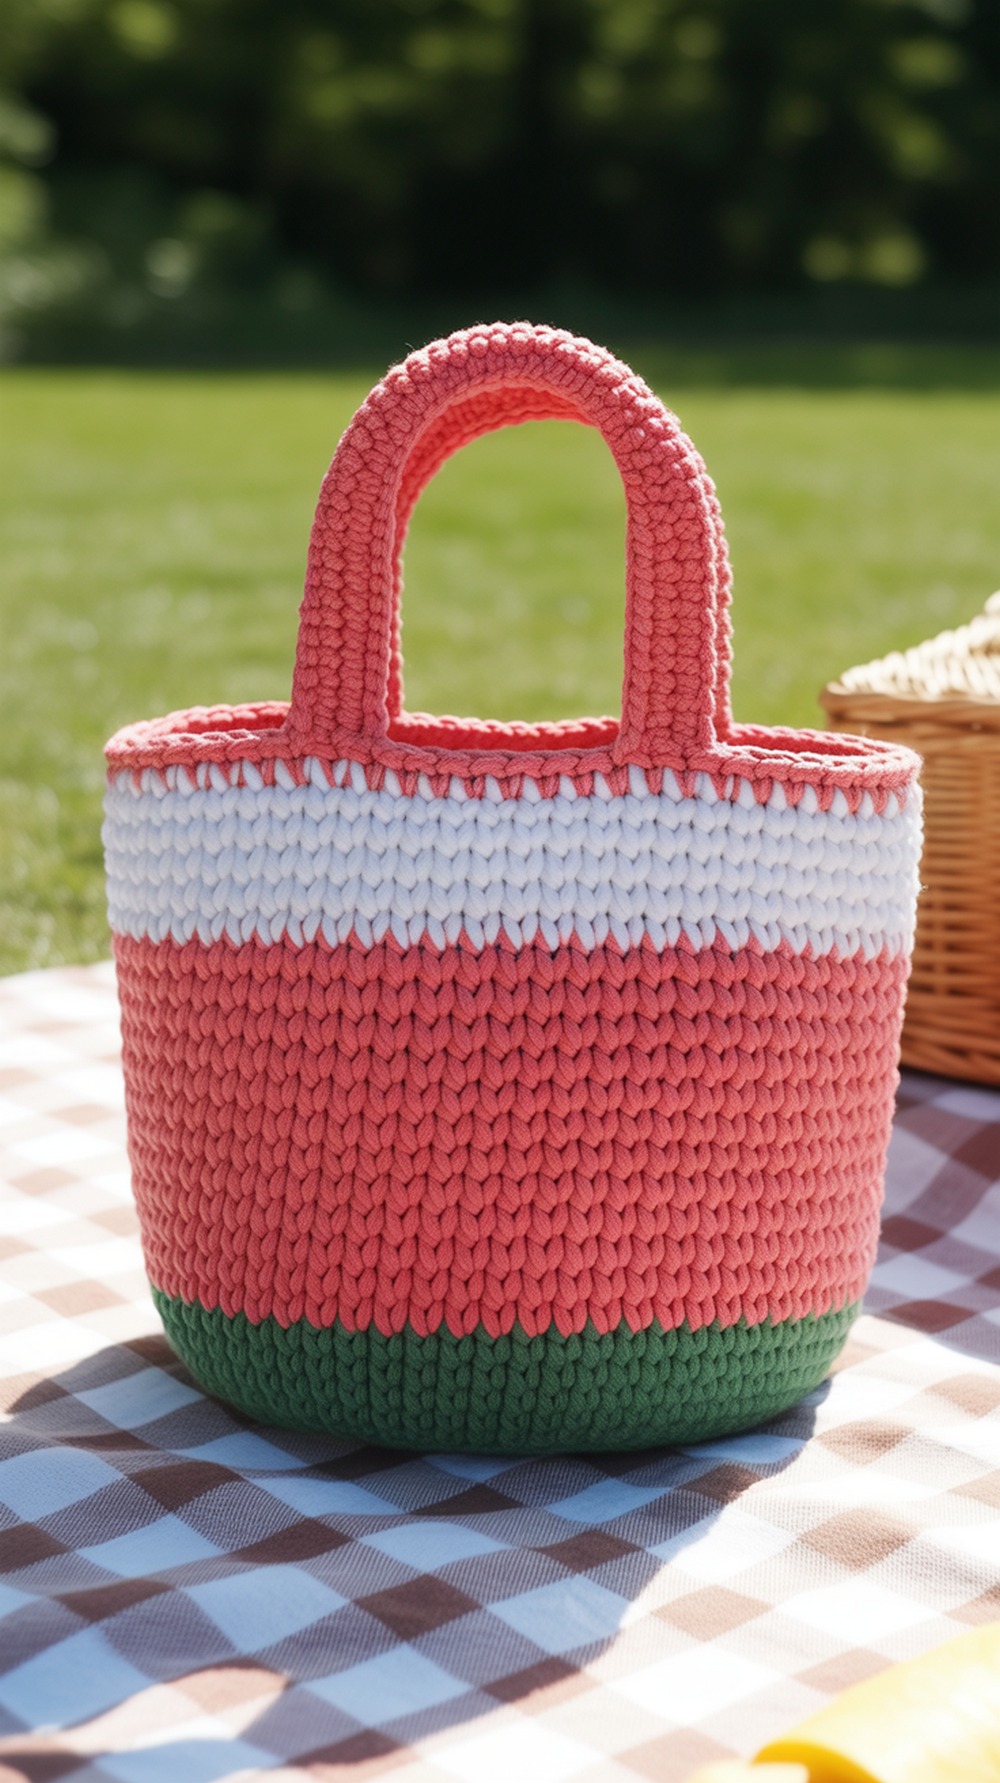
A novelty mini that still functions: dense stitches form a watermelon rind base, white “pith,” and juicy pink body. Keep it small by dropping a hook size and trimming rounds; add an optional tiny bow tag at the handle for a playful finish. The step photos and color changes make this a great teaching project for kids or quick gifts. Sturdy cotton = easy washing after summer outings. Tutorial.
Supplies: Worsted cotton (#4) • 5 mm hook • black embroidery or beads (seeds) • needle
Why it’s great: Cheery colors plus reliable structure—seasonal but useful.
Little Bow Gift Bag
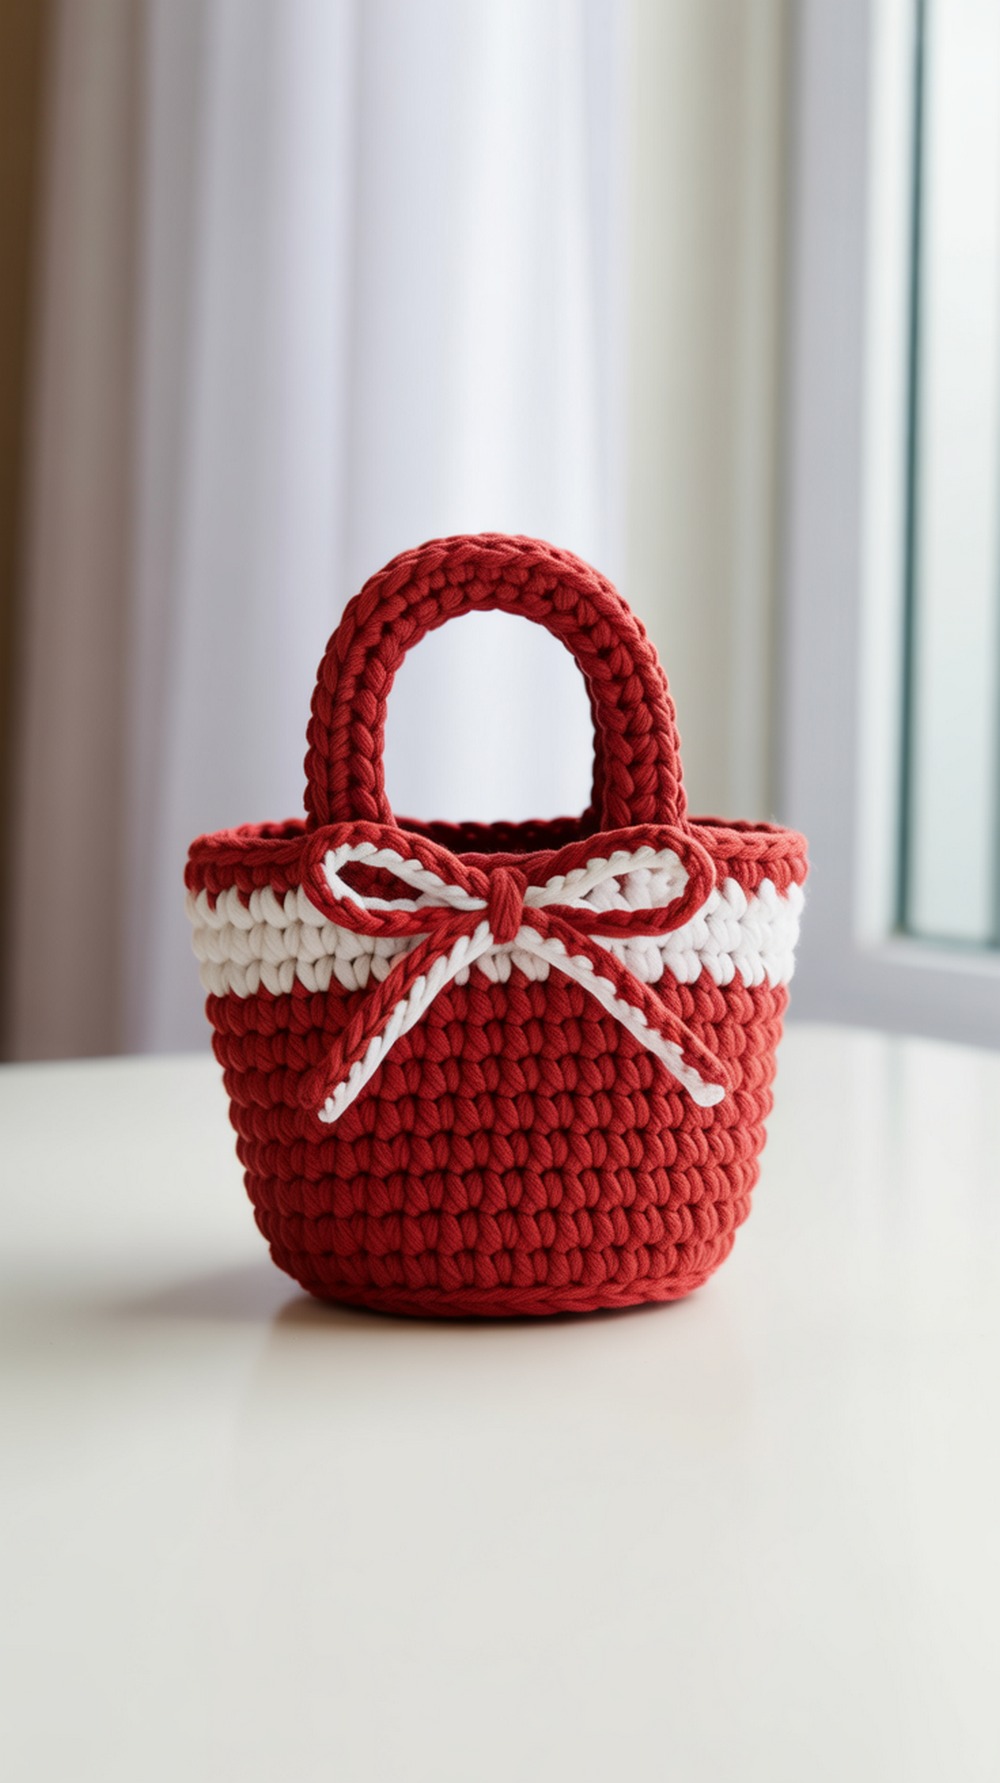
Think of this as a mini tote for gifting—tight stitches, doubled yarn, and a clever bow that threads through to close the top. Use it as a reusable pocket for treats, lip balm, or jewelry, or scale up slightly for a tiny carryall. The tutorial includes hook, yardage, and step images; it’s a speedy make and a perfect “bow-accent” companion to your other minis. Work in holiday red/white or switch to neutrals. Tutorial.
Supplies: Worsted acrylic held double (#4) • 6.5 mm hook • stitch markers • needle
Why it’s great: Built-in bow closure = instant giftable charm.
Big Bow Clutch
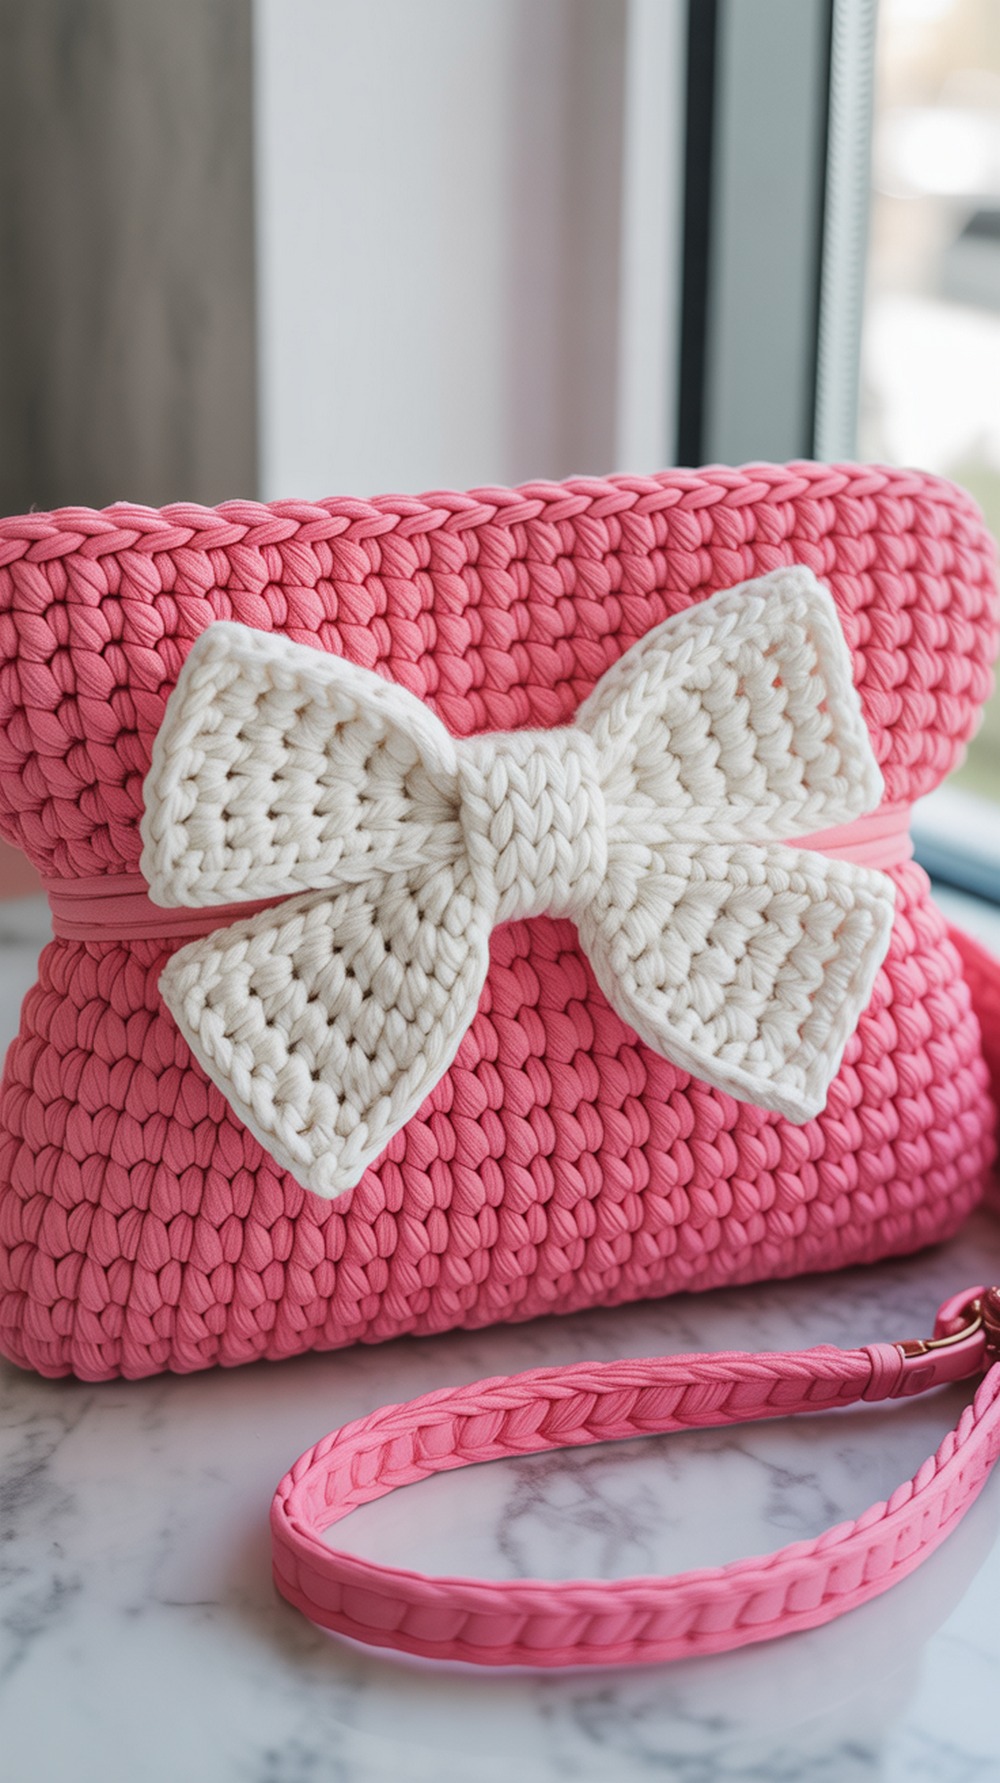
Pair your mini pocket tote with this Bow-to-Go clutch—perfect for phone + cards when you don’t need a full bag. The pattern includes adult and child sizes, color suggestions (Flamingo/Real Teal with Soft White), and a video. Work tightly for structure; add a wrist strap or cross-body chain per the instructions. It’s a fast make that nails the bow trend and looks adorable clipped inside a larger tote. Tutorial.
Supplies: Worsted acrylic or cotton (#4) • 5 mm hook • ½″ button • yarn needle
Why it’s great: A polished bow statement piece that stitches up quickly.
Agnes Bow Clutch
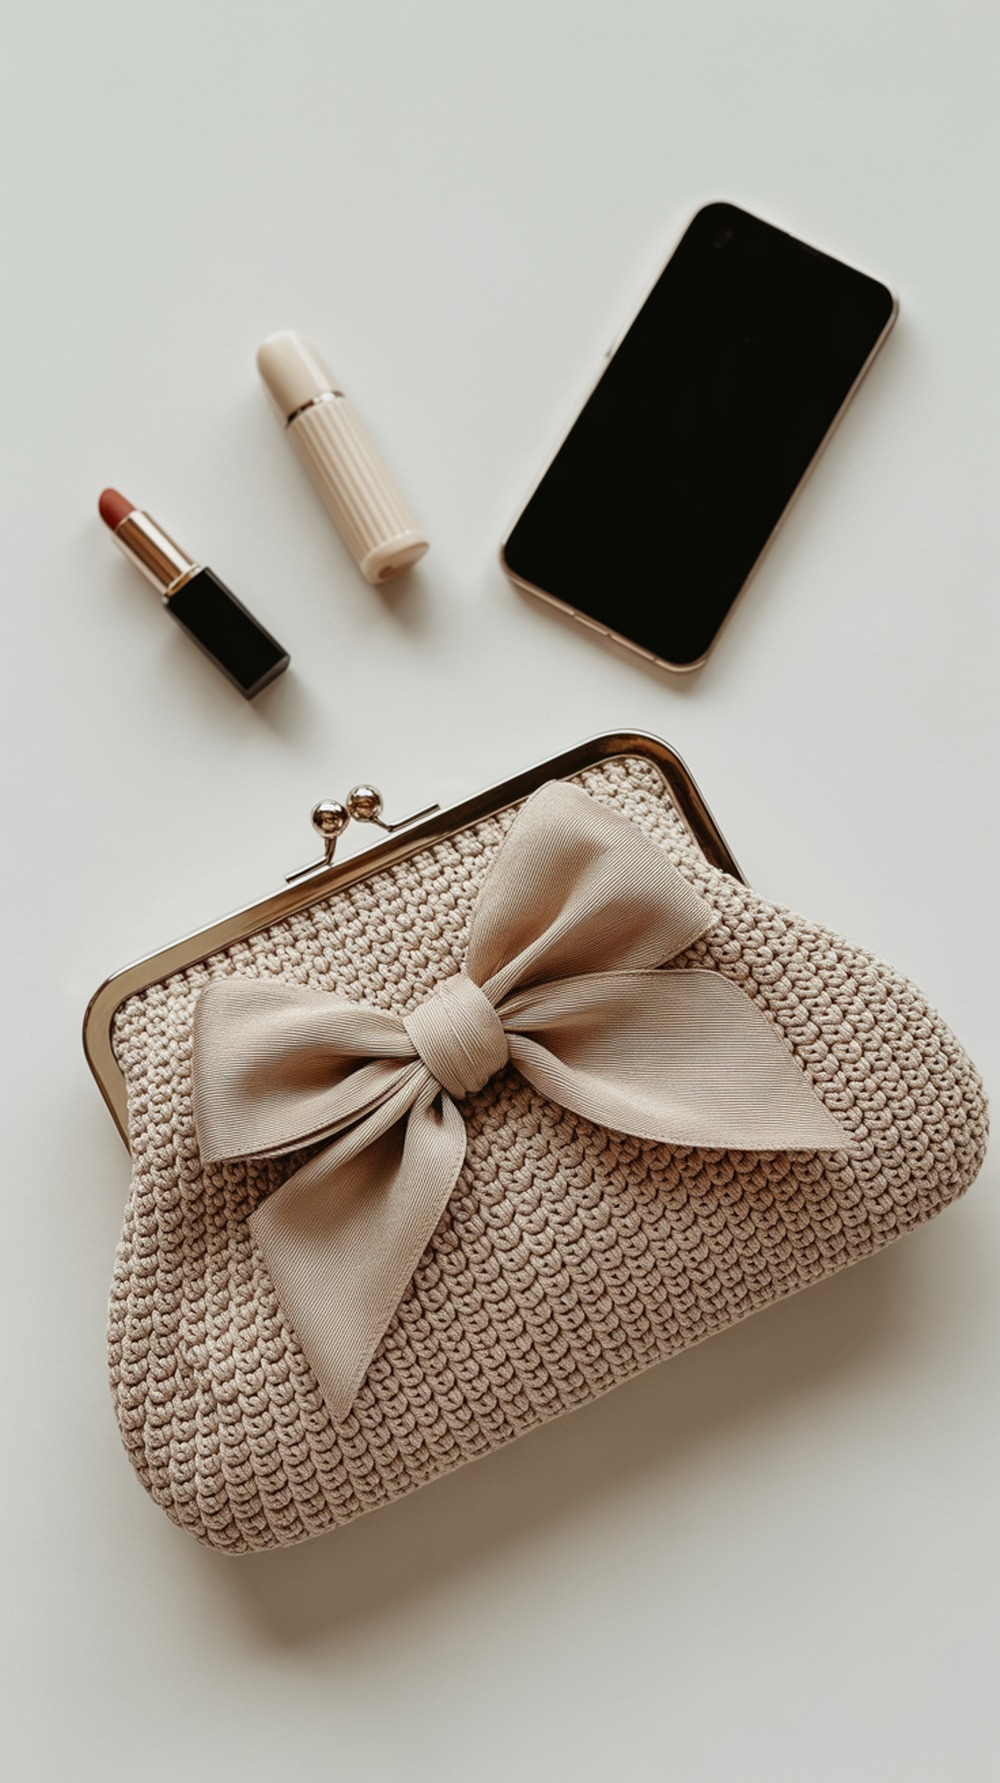
This sleek bow-accent clutch doubles as an organizer pouch inside your mini tote. The tutorial includes notes for durability, optional lining, and a purse frame for a professional finish. Keep the bow subtle in tonal shades or go high-contrast for a statement. It’s sized for makeup or charging cables and transforms any mini tote into an organized carry. A great advanced-beginner project if you want neat finishing practice. Tutorial.
Supplies: Worsted cotton or acrylic (#4) • hook per gauge • optional purse frame • lining fabric & needle
Why it’s great: Clean lines + optional lining = long-wear accessory that elevates any tote.
Conclusion
Pick one easy win tonight: a ready-to-gift Little Bow Bag or the Every Day Tote with its two handy pockets. Dense cotton, simple seams, and tiny accents like bows or key-fobs add personality without fuss. As you finish, block lightly for crisp edges, then snap a photo in soft daylight so your stitches shine. Bookmark this list for weekend makes and quick gifts—you’ll have a whole bow-pocket mini set in no time.
FAQs
What yarns are best for home-use mini totes and pockets?
Cotton or cotton-blend (#3–#4) gives structure, resists stretching, and washes well. Tape/raffia-look yarns add a crisp, modern feel.
Machine wash or hand wash—and how should I dry?
If the yarn label allows, machine wash cold in a bag; reshape and air-dry flat. For non-washable straps/frames, spot-clean and dry flat.
How do I scale patterns down to “mini”?
Use a smaller hook, reduce chains/rounds proportionally, and stop increasing sooner on bases. Check fit by laying your phone/wallet on the base.
What fibers are safest for kitchen/bath or heat?
100% cotton for hot surfaces and damp areas; avoid acrylic near heat since it can melt or deform.
Best joins/edgings for durability?
Whipstitch or mattress stitch for panels; single-crochet around edges and handles; add slip-stitch edging to reduce stretch.
Typical time and yardage for minis?
Clutches/bow pouches: 50–150 yds, 1–3 hours. Mini totes: 150–350 yds, 3–6 hours, depending on stitch density and pockets.
Quick photo tips for projects?
Shoot near a window, simple background, and style with 1–2 props max. Hold the bag naturally to show scale.
How do I fix curling, stretching, or wavy edges?
Block lightly, add a round of single crochet to stabilize, and consider a smaller hook for straps or a tight slip-stitch edge.