Ear warmers are the sweet spot between “cute hair day” and “toasty ears,” and a bow trim makes them extra gift-able. Below you’ll find 15 hand-picked projects—from classic cinched bands to oversized statement bows—each with a clear, photo-rich tutorial and sensible sizing notes. I’ve noted yarn weights, hook sizes, and notions so you can shop your stash first. If you’re brand new, choose a bulky yarn option to finish fast; if you love texture, try griddle, herringbone, or ribbing for a plush feel that still lies flat under a hood. Pick a color that matches the tutorial’s sample for a polished, “just like the photo” result, then customize width or bow scale to your style. Let’s make cozy happen!
Big Cheer Bow Ear Warmer
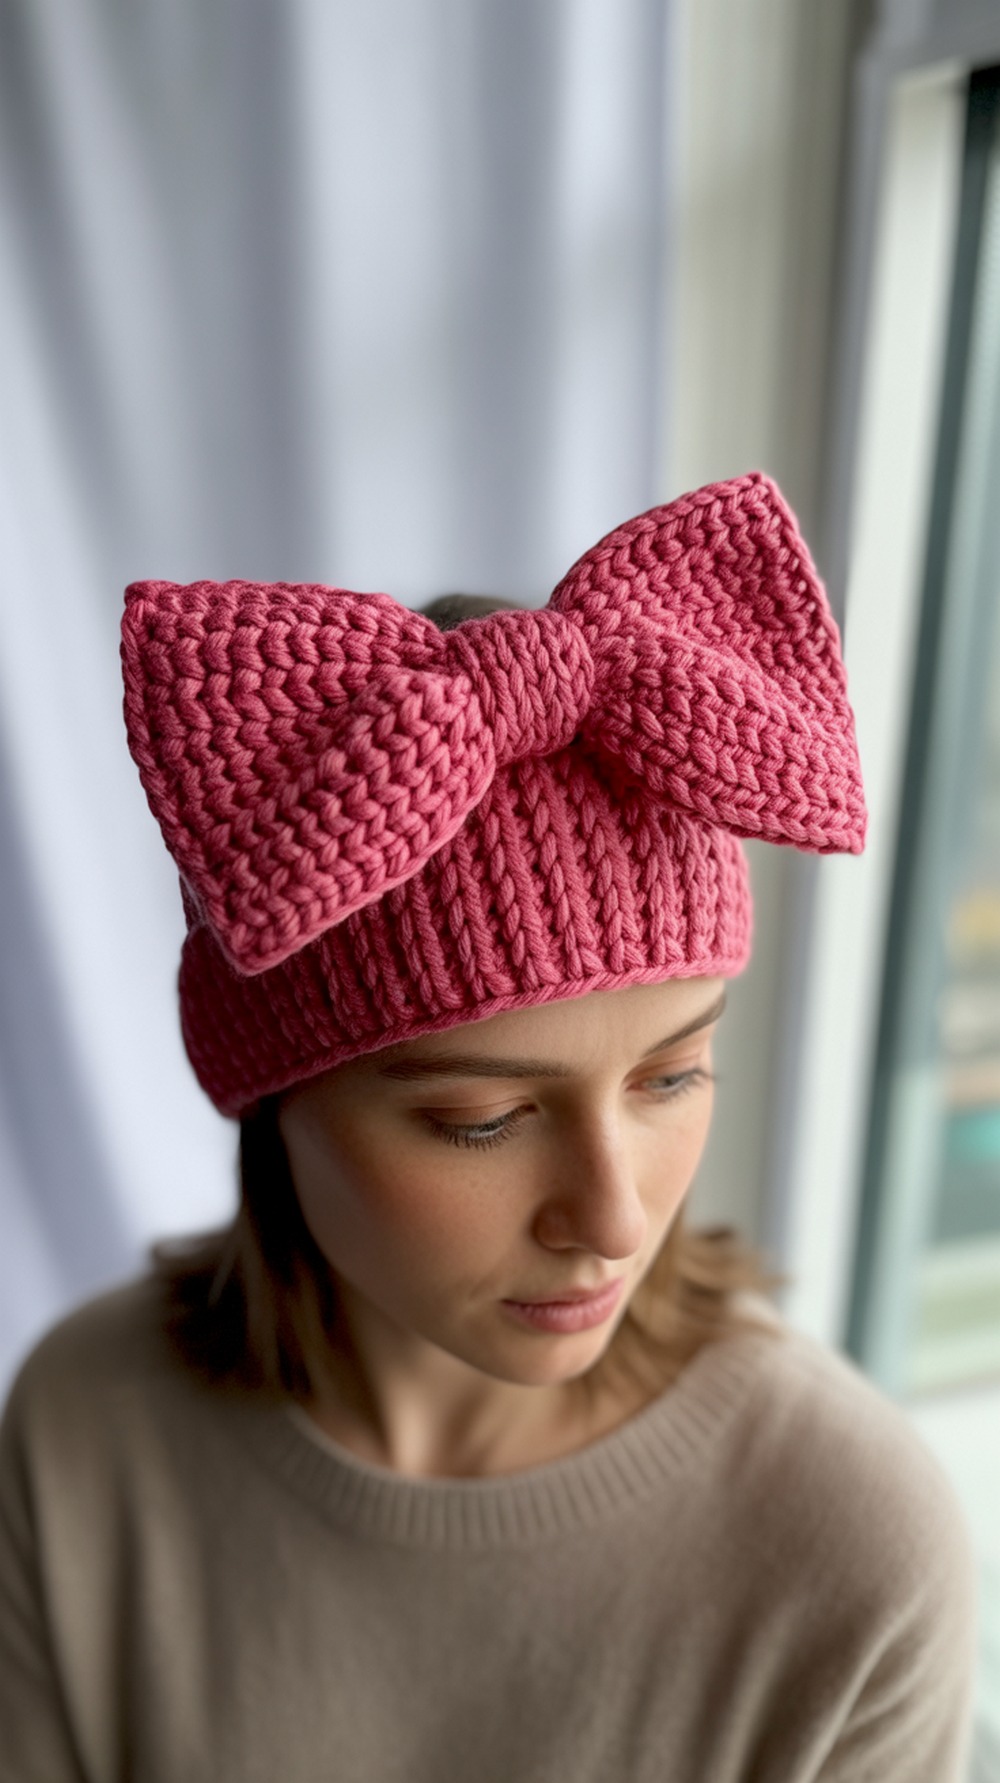
Go bold with a large, cheer-style bow that sits front-and-center on a snug crocheted band. The tutorial sizes from baby to adult and uses simple stitches you likely know already. Keep the band slightly shorter than head circumference for gentle negative ease, then follow the wrap-and-cinch steps to sculpt that perfect bow. Aim for team colors or a bright pop to liven up winter jackets. Work in bulky acrylic for resilience and quick progress. When seaming, stretch the band a touch so it grips without squeezing. Ready to strut? See the full write-up and video in this Tutorial.
Supplies: #5 bulky acrylic, 6.0 mm hook, yarn needle, measuring tape, stitch markers
Why it’s great: Big, photogenic bow with easy, adjustable sizing.
“Put a Bow On It” Earwarmer
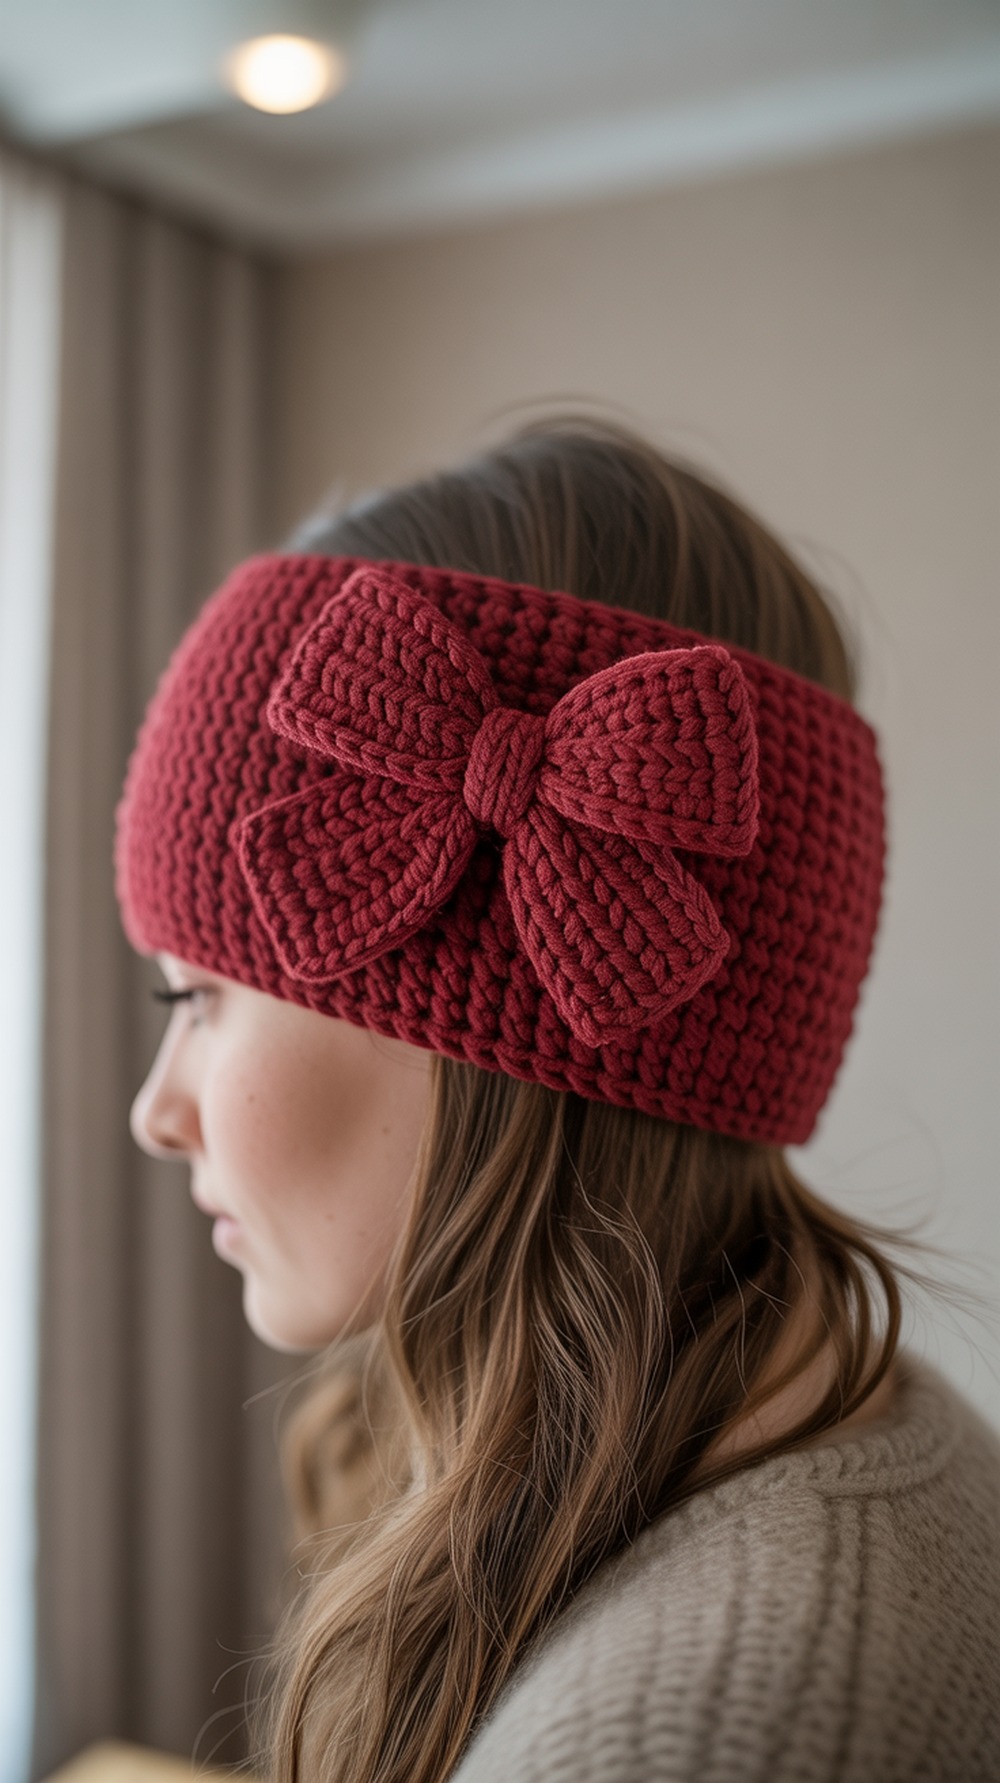
This textured band cinches under a separate strip to form a tidy bow—polished, not bulky. The stitch pattern adds visual interest without gaps, so ears stay warm on windy walks. Follow the row counts for adult sizing, or add/subtract repeats in pairs to fine-tune length. Use a firm acrylic or wool blend so the bow keeps its shape, and lightly block before wrapping the center for sharp edges. Add a hidden few stitches through the bow to anchor the wrap. Find the full pattern in this Tutorial.
Supplies: Worsted acrylic/wool (#4), 5.0 mm hook, yarn needle, scissors
Why it’s great: Structured bow with comfy, textured band.
Baby Bow Headband
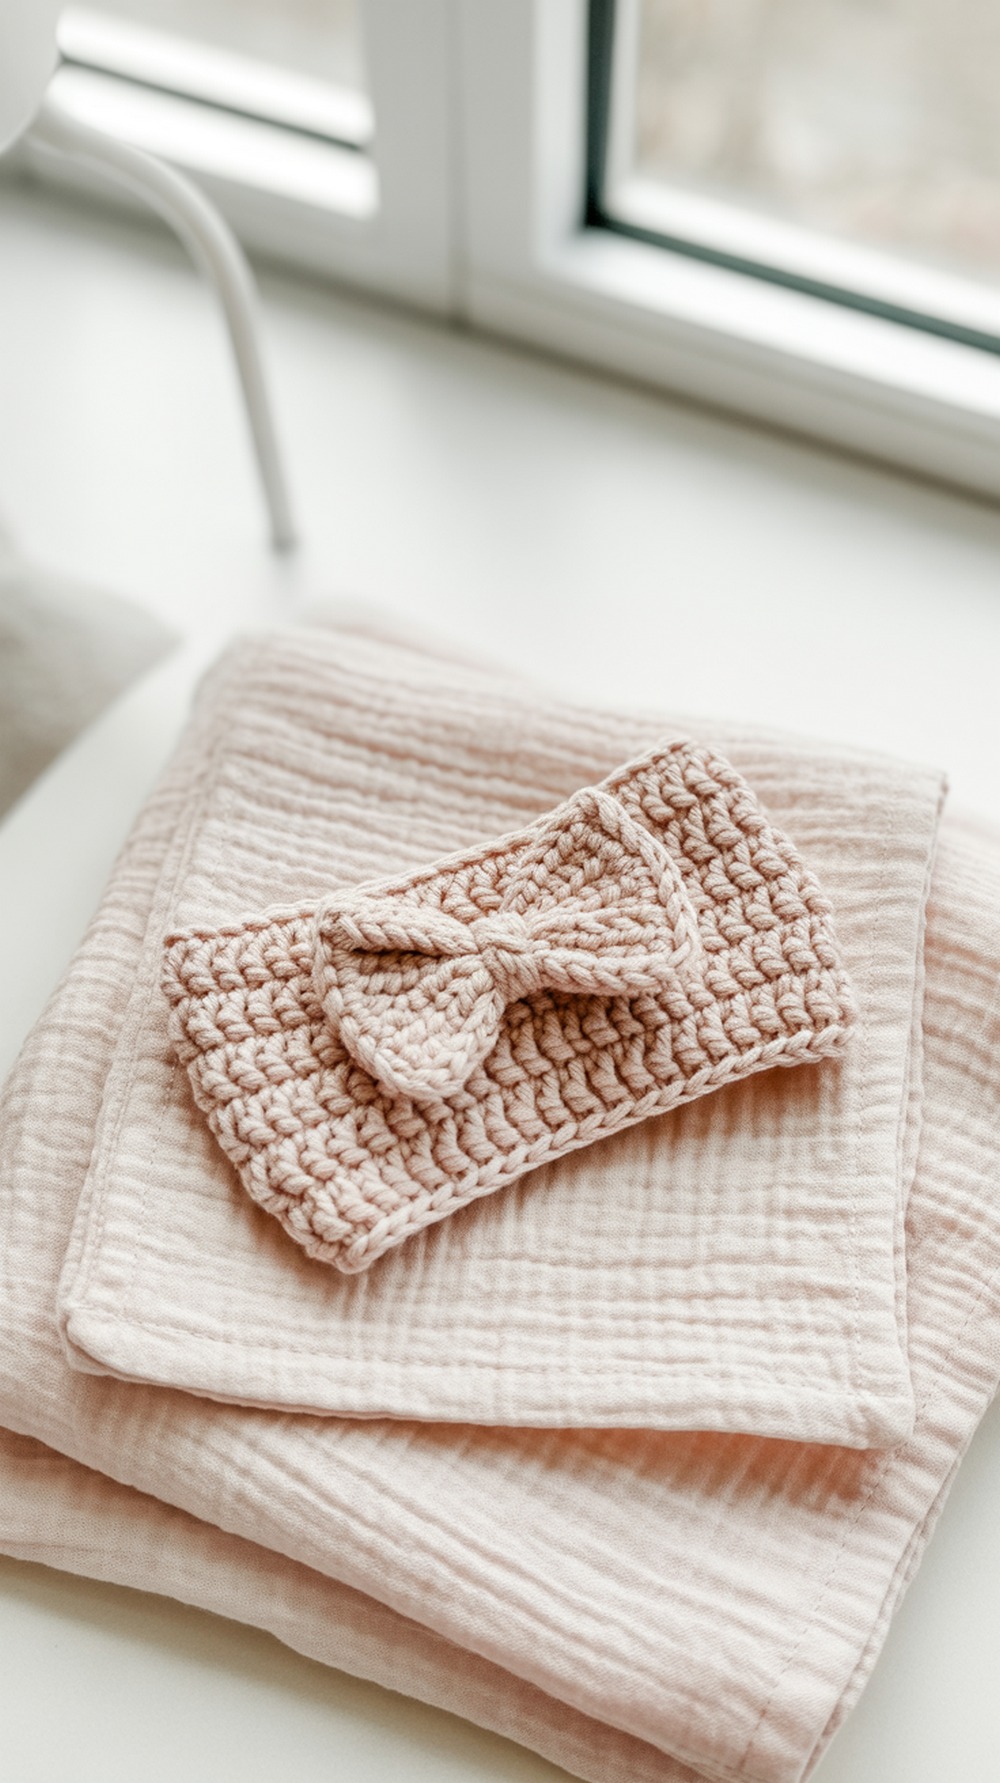
Need a fast shower gift? This baby headband features a petite bow and an excellent size chart for newborn through toddler. The stitch pattern is simple, the edges are neat, and there’s a video if you prefer to follow along. Use soft, skin-friendly cotton or acrylic; avoid wool for sensitive little ones. Measure baby’s head if possible, aiming for 1–2″ negative ease. Sew the bow securely with several passes and weave ends carefully—no loose tails. Full pattern and video in this Tutorial.
Supplies: DK/worsted soft cotton or acrylic, 4.0–5.0 mm hook, yarn needle, measuring tape
Why it’s great: Clear sizing and gentle, baby-safe finish.
Classic Bow Ear Warmer
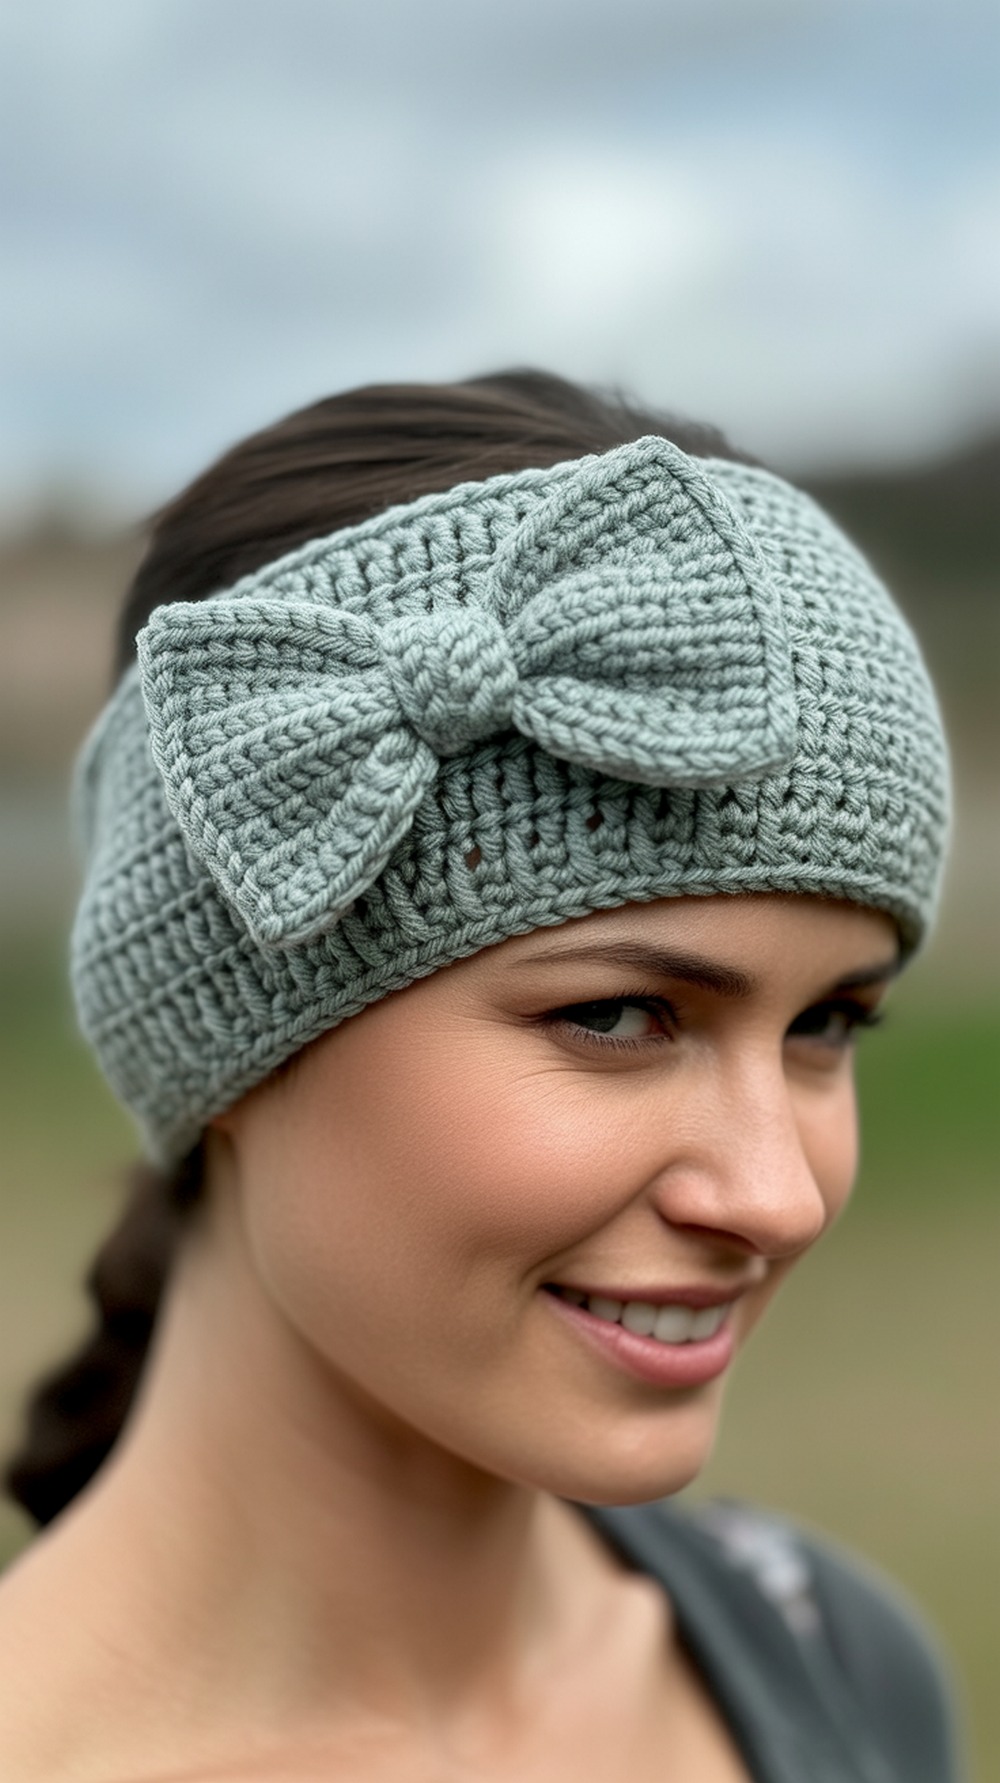
A clean, adult-sized bow ear warmer that keeps the silhouette simple and chic. The band works in rows, then joins; the separate bow strip wraps and defines the shape. Two small buttons lend a polished back closure—handy if you don’t want to pull over styled hair. Keep the wrap snug for crisp edges, and steam block lightly to set. Swap to wool blend for extra warmth. The straightforward instructions are ideal weekend crafting. Full steps in this Tutorial.
Supplies: Worsted (#4) acrylic/wool, 5.0 mm hook, 2 small buttons, yarn needle
Why it’s great: Minimal look with secure, adjustable closure.
Linley “Bow Look” Bulky Ear Warmer
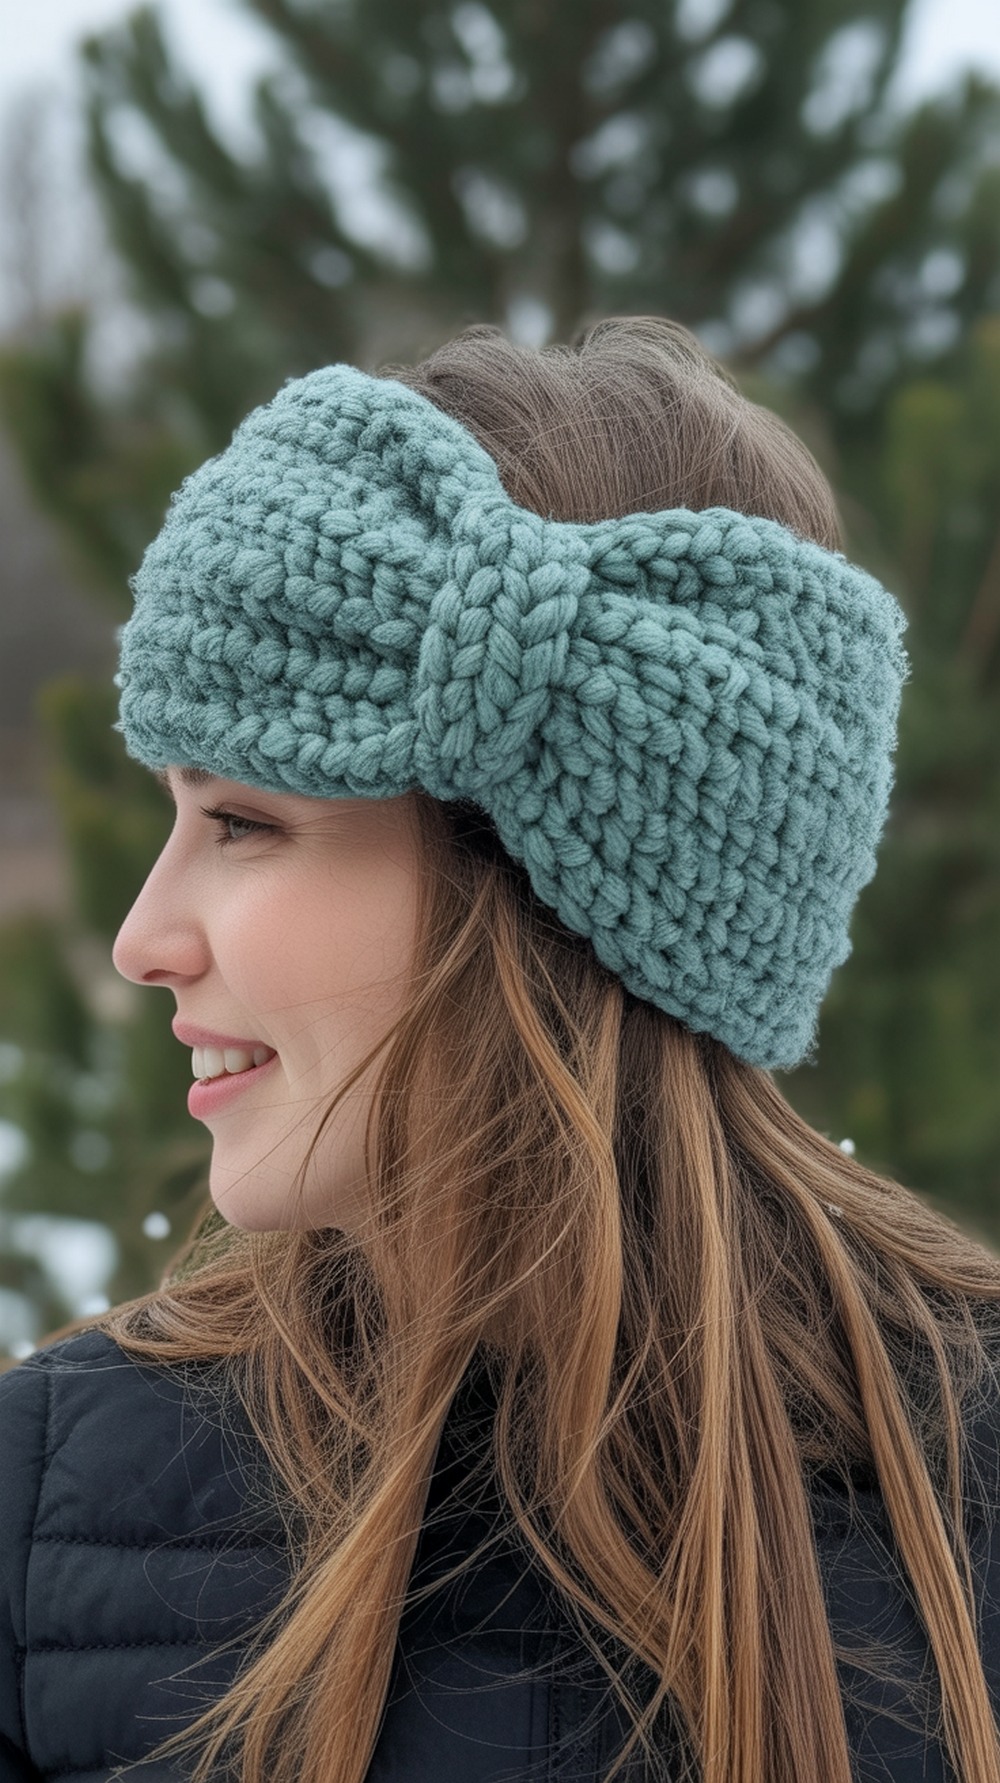
Bulky yarn + a clever banded center = a faux-bow that reads modern, not girly. The Linley ear warmer is worked flat and seamed, then a small strip gathers the center for that bow-like silhouette. It’s fast, warm, and photogenic—great for markets or last-minute gifts. The designer suggests ~100 yds of #5 bulky for adult S/M; check the notes to resize. Tip: match your wrap yarn exactly to the band for a seamless look. Full pattern in this Tutorial.
Supplies: #5 bulky (e.g., Wonderfluff), 6.5 mm hook, yarn needle, tape measure
Why it’s great: Quick, cozy, and cinched for a bow effect.
Cute Crochet Bow Headband
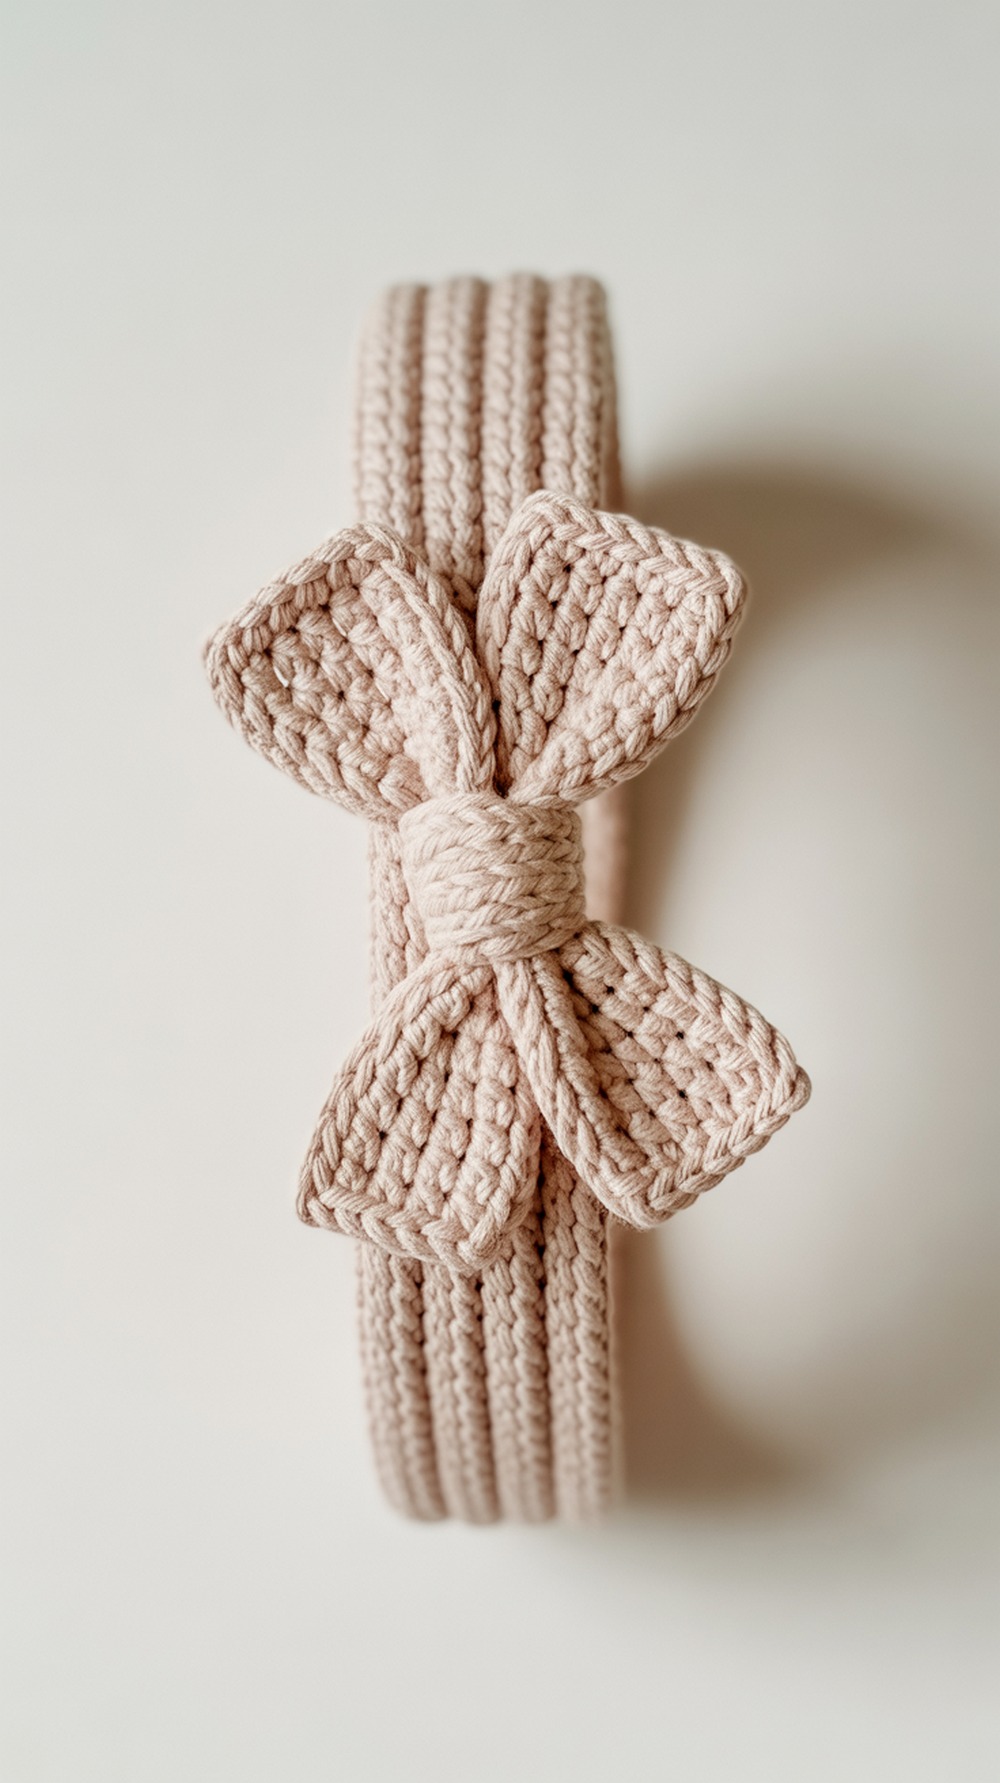
This tutorial includes a full video and size chart so your bow headband fits right the first time. The bow is dainty, sitting flat against a neat band—perfect for daily wear under a hood. Work to the provided lengths for each age, then wrap the center and secure firmly through the band. Choose springy acrylic for memory that keeps the bow perky. Blocking is optional; finger-press the bow loops to even them. Details in this Tutorial.
Supplies: Worsted acrylic, 5.0 mm hook, yarn needle, scissors, measuring tape
Why it’s great: Video support and multi-size chart.
Lion Brand Beginner Bow Headband
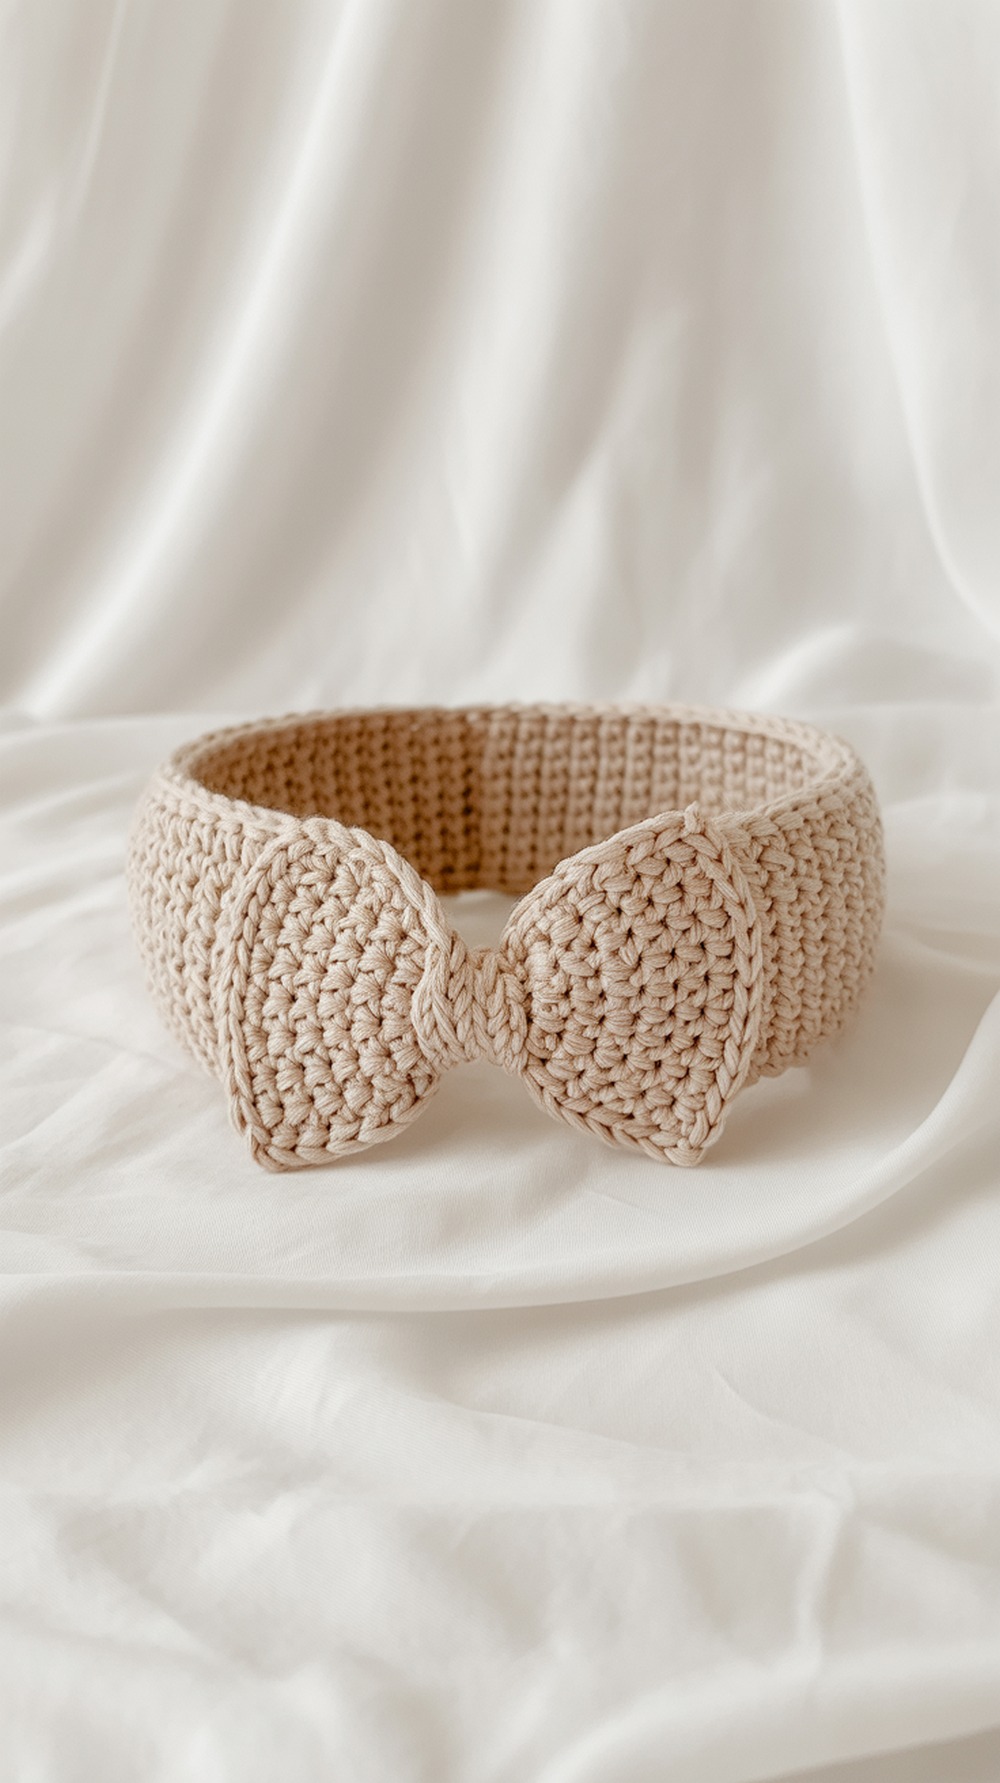
A beginner-level pattern from a major yarn brand—ideal if you want a straightforward recipe. The band is simple crochet; the bow is built separately, then seamed and wrapped. Gauge isn’t critical; focus on finished length (about 18″ unstretched for adult). Acrylic works well for washability and bounce. Tip: if your band feels loose, go down a hook size and re-measure. Grab the official instructions in this Tutorial.
Supplies: Worsted (#4), 5.0 mm hook, yarn needle, tape measure
Why it’s great: Clear, beginner-friendly brand pattern.
Chunky Bowtie Headwarmer
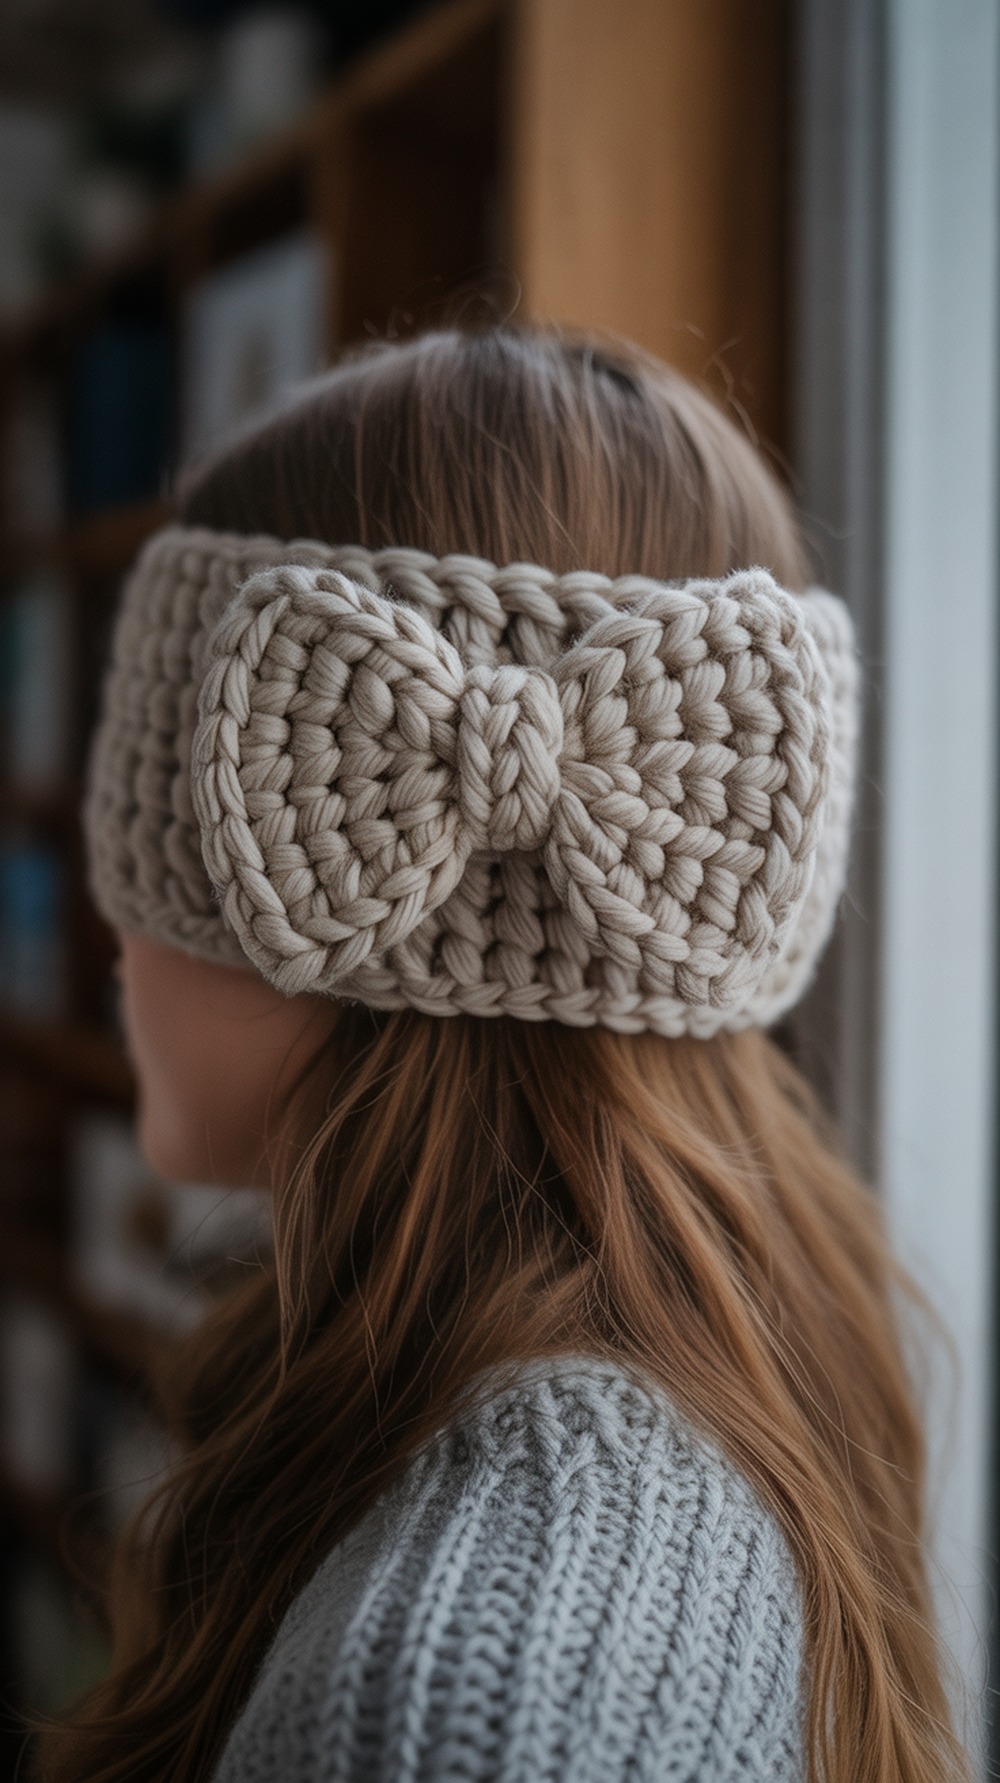
If you’re short on time, this chunky “bowtie” headwarmer is a half-hour hero. It’s single-stitch friendly and perfect for gift stacks. Work to length with negative ease, seam, then add the center wrap to define the bow. Bulky yarn gives cushy warmth and prominent stitch detail. Steam lightly to settle edges, avoiding over-flattening the bow. Complete directions (and a printable) in this Tutorial.
Supplies: #5/#6 chunky acrylic, 6.5–8.0 mm hook, yarn needle, scissors
Why it’s great: Super quick, beginner-friendly bow look.
Subtle Bow Ear Warmers
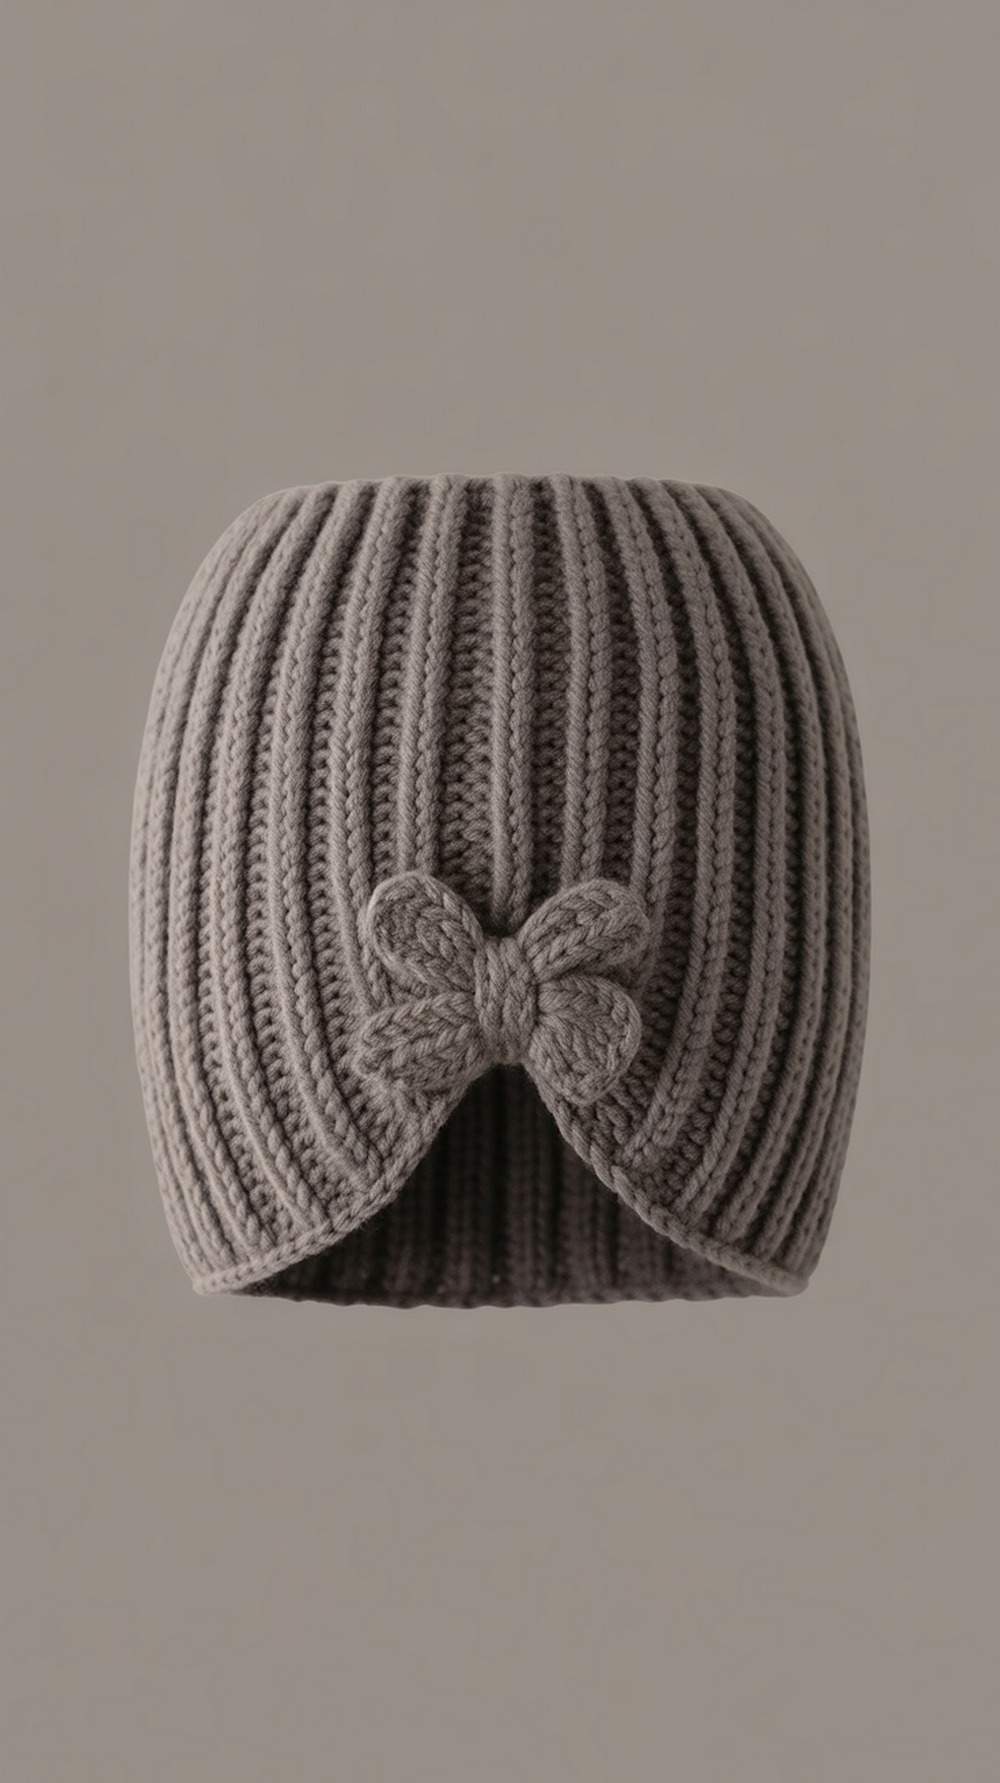
Prefer understated? This pattern uses a ridged, stretchy stitch for the band and a smooth panel to create a gentle, integrated bow—no bulky loops. Sizes span baby to adult, and customization notes let you tweak width and circumference. Use elastic-feeling acrylic or wool blend so the rib snaps back. Work the bow panel just long enough to cinch without puckering. All sizes and steps are in this Tutorial.
Supplies: Worsted acrylic/wool, 5.0 mm hook, yarn needle, measuring tape
Why it’s great: Sleek, low-profile bow effect.
Bow Headband with Button Back
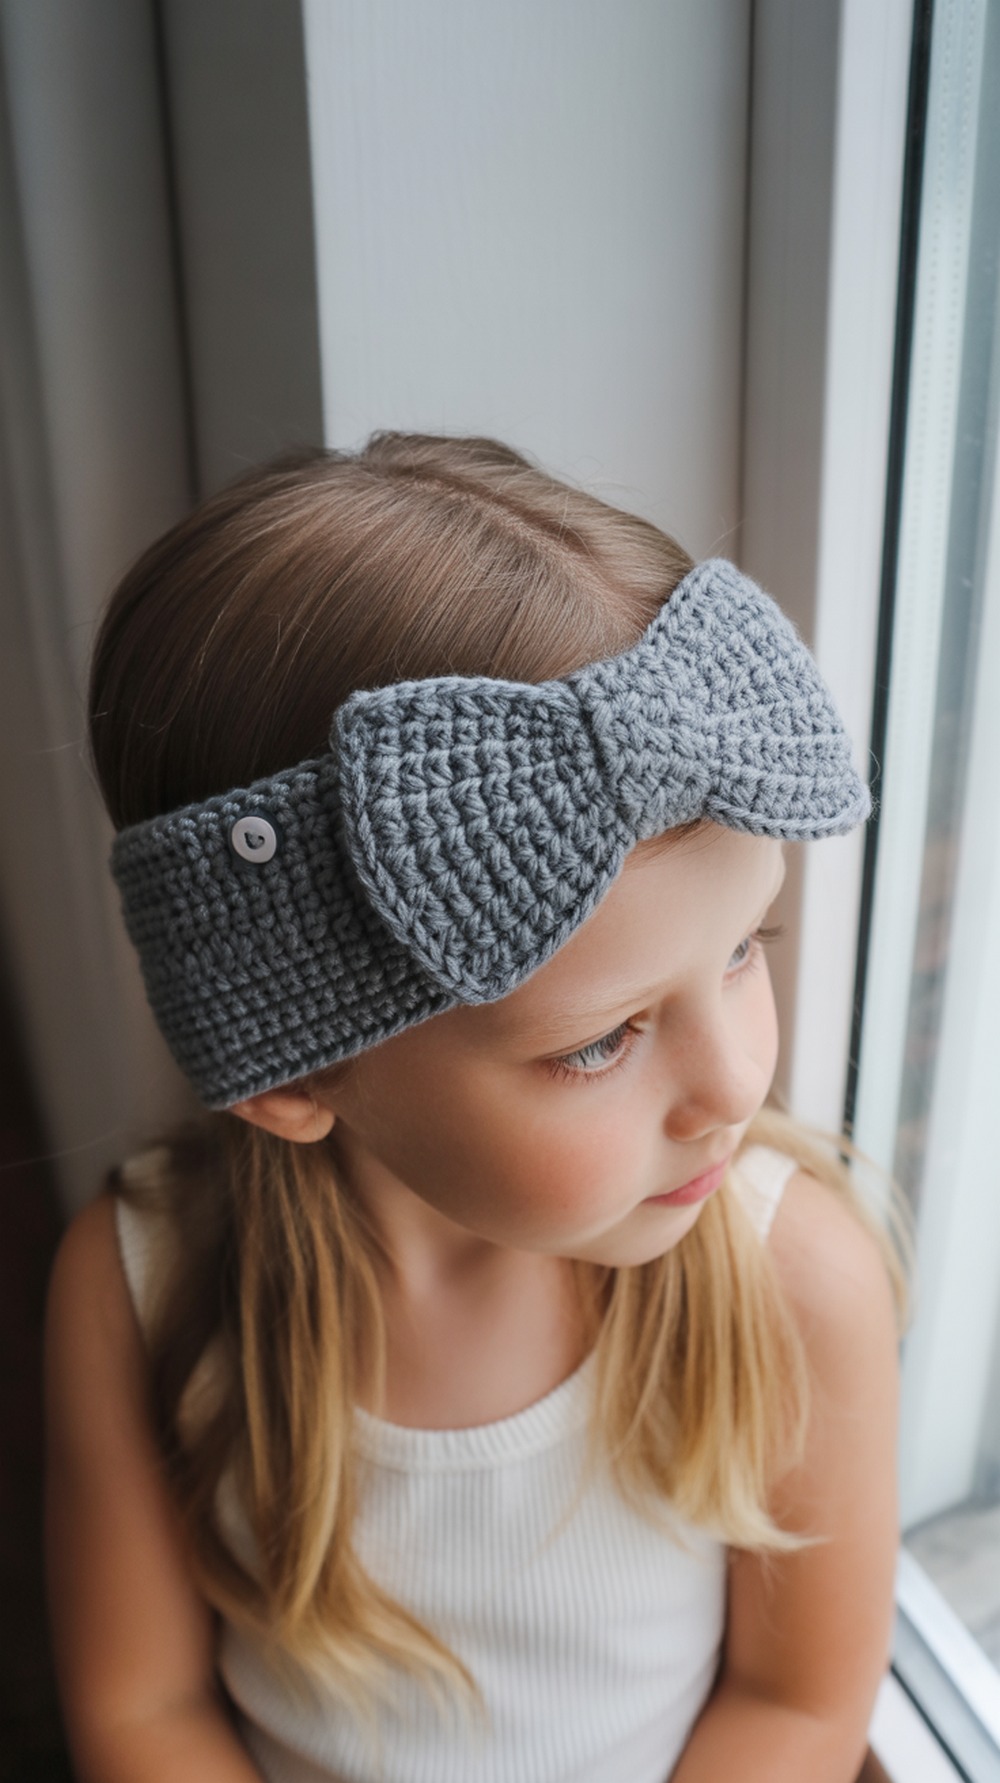
This approachable headband includes a sized band and an optional buttoned closure, great for folks who dislike pulling accessories over their hair. The bow reads classic and tidy; sew it on securely and tack the corners if you want a perfectly symmetrical look. Choose worsted acrylic or cotton for definition. Tip: reinforce button area with a few extra stitches. Full walkthrough in this Tutorial.
Supplies: Worsted yarn (#4), 5.0 mm hook, 1–2 small buttons, yarn needle
Why it’s great: Easy on/off with a timeless bow.
Herringbone “Gathered Bow” Headband
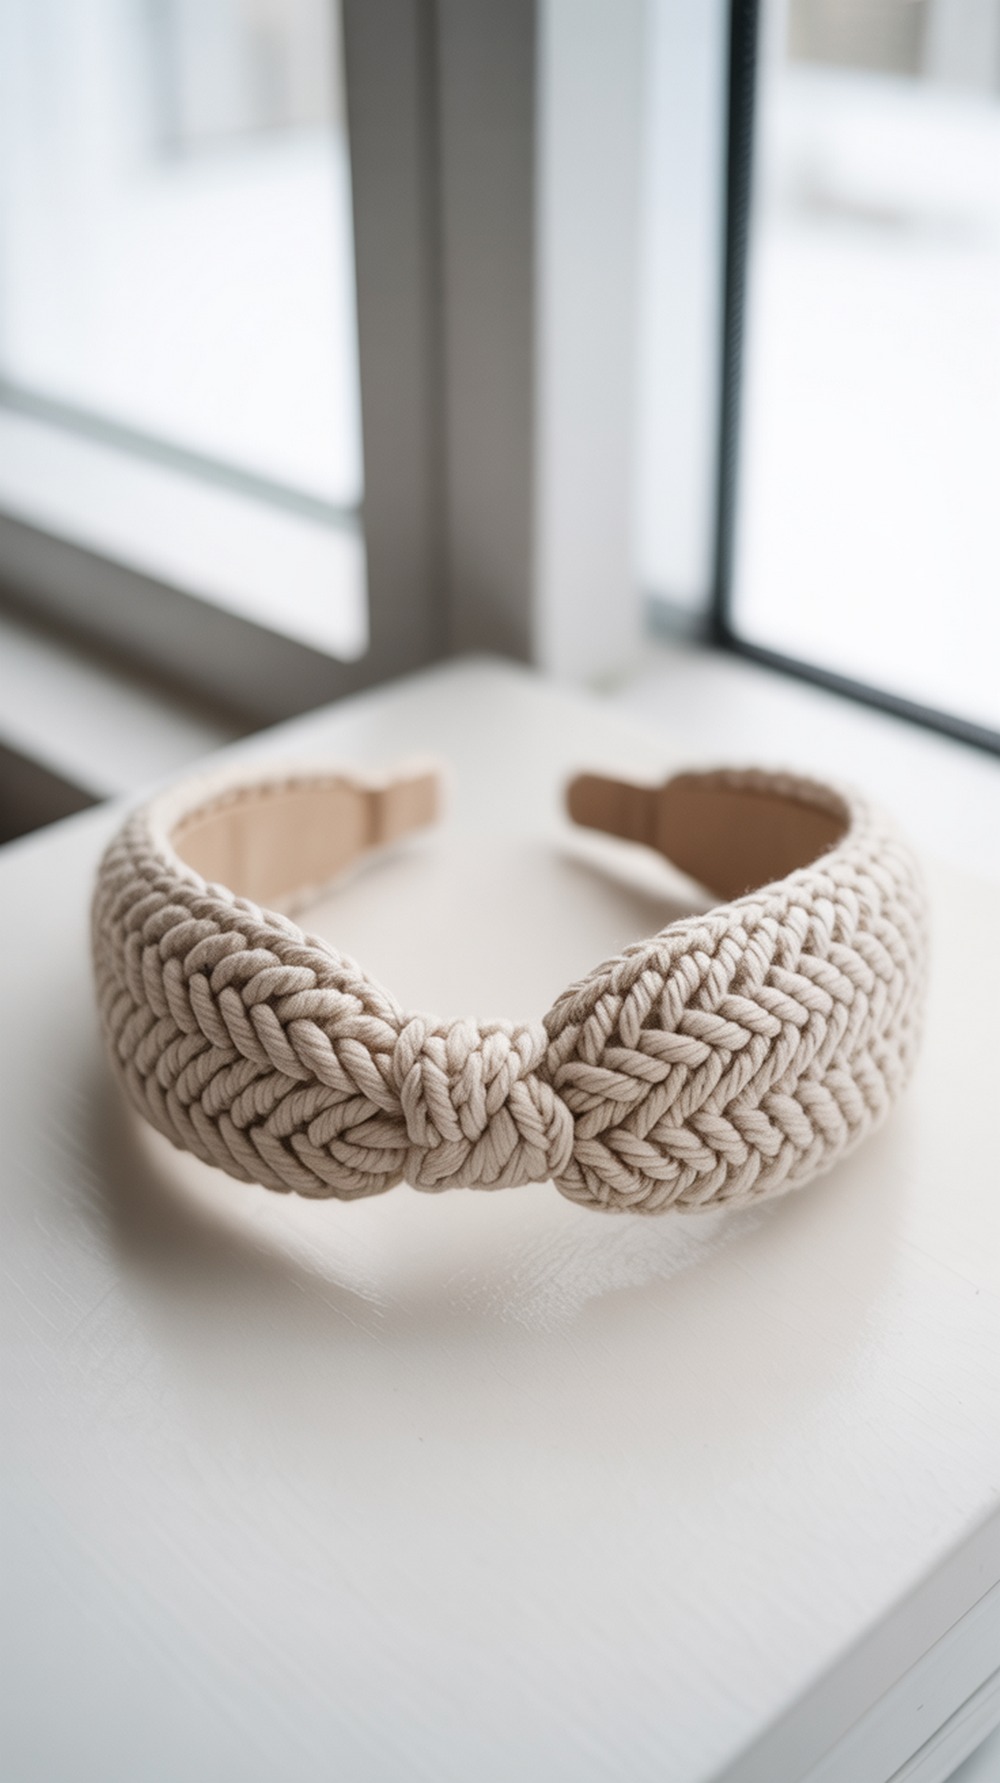
Work in the round with herringbone half double crochet, then gather the seam and wind yarn around the center to form a refined bow-like pinch. The fabric is sleek and warm with minimal bulk—ideal under coats and earphones. The tutorial shows how to finish cleanly. Stick to a classic winter neutral for the polished look; soft acrylic works, but wool blend holds shape best. Full details in this Tutorial.
Supplies: Worsted acrylic/wool, 5.0 mm hook, yarn needle
Why it’s great: Elegant stitch + neat, gathered center.
Big Bow Headband
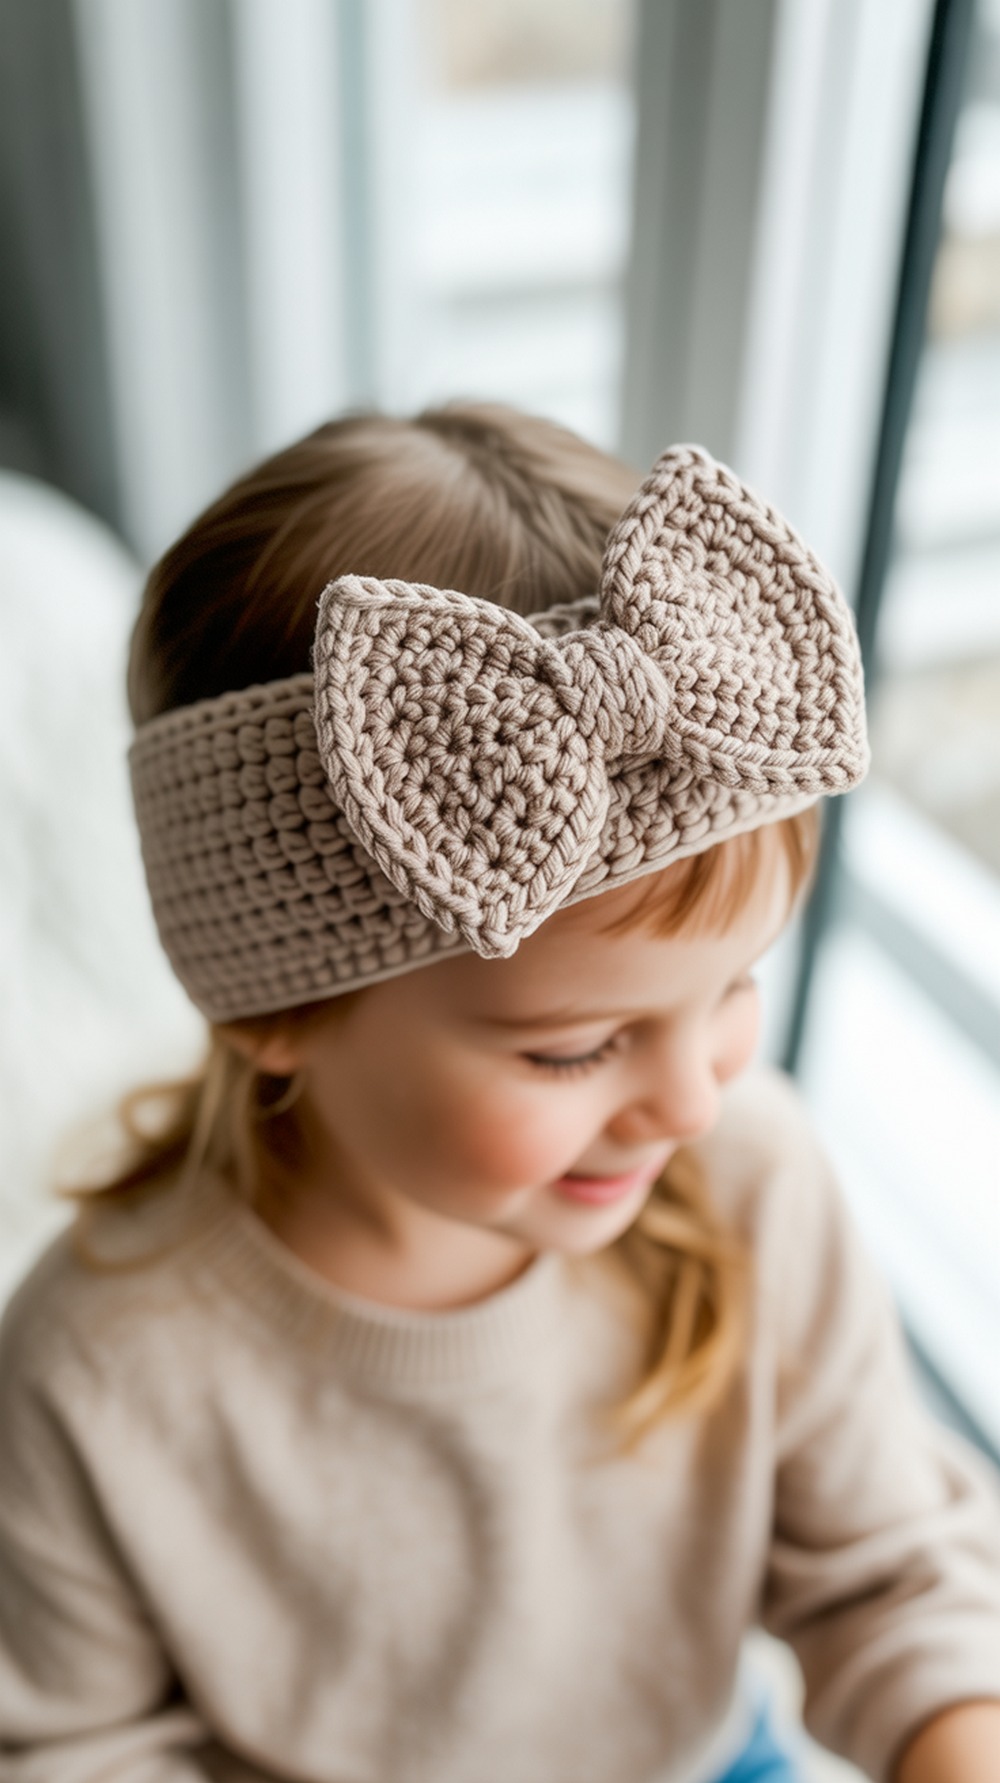
Straight rows of half double crochet become a soft band and an oversized bow—great for beginners wanting maximum impact. The finishing is simple: seam the band, shape the bow, and wrap the center. Keep tension even so edges stay straight; block lightly for crisp sides. Choose a cheerful color to make the bow pop in photos. Full step-by-step photos live in this Tutorial.
Supplies: Worsted acrylic/cotton, 5.0 mm hook, yarn needle, scissors
Why it’s great: Statement bow with easy stitches.
Sweetheart Bow Headband
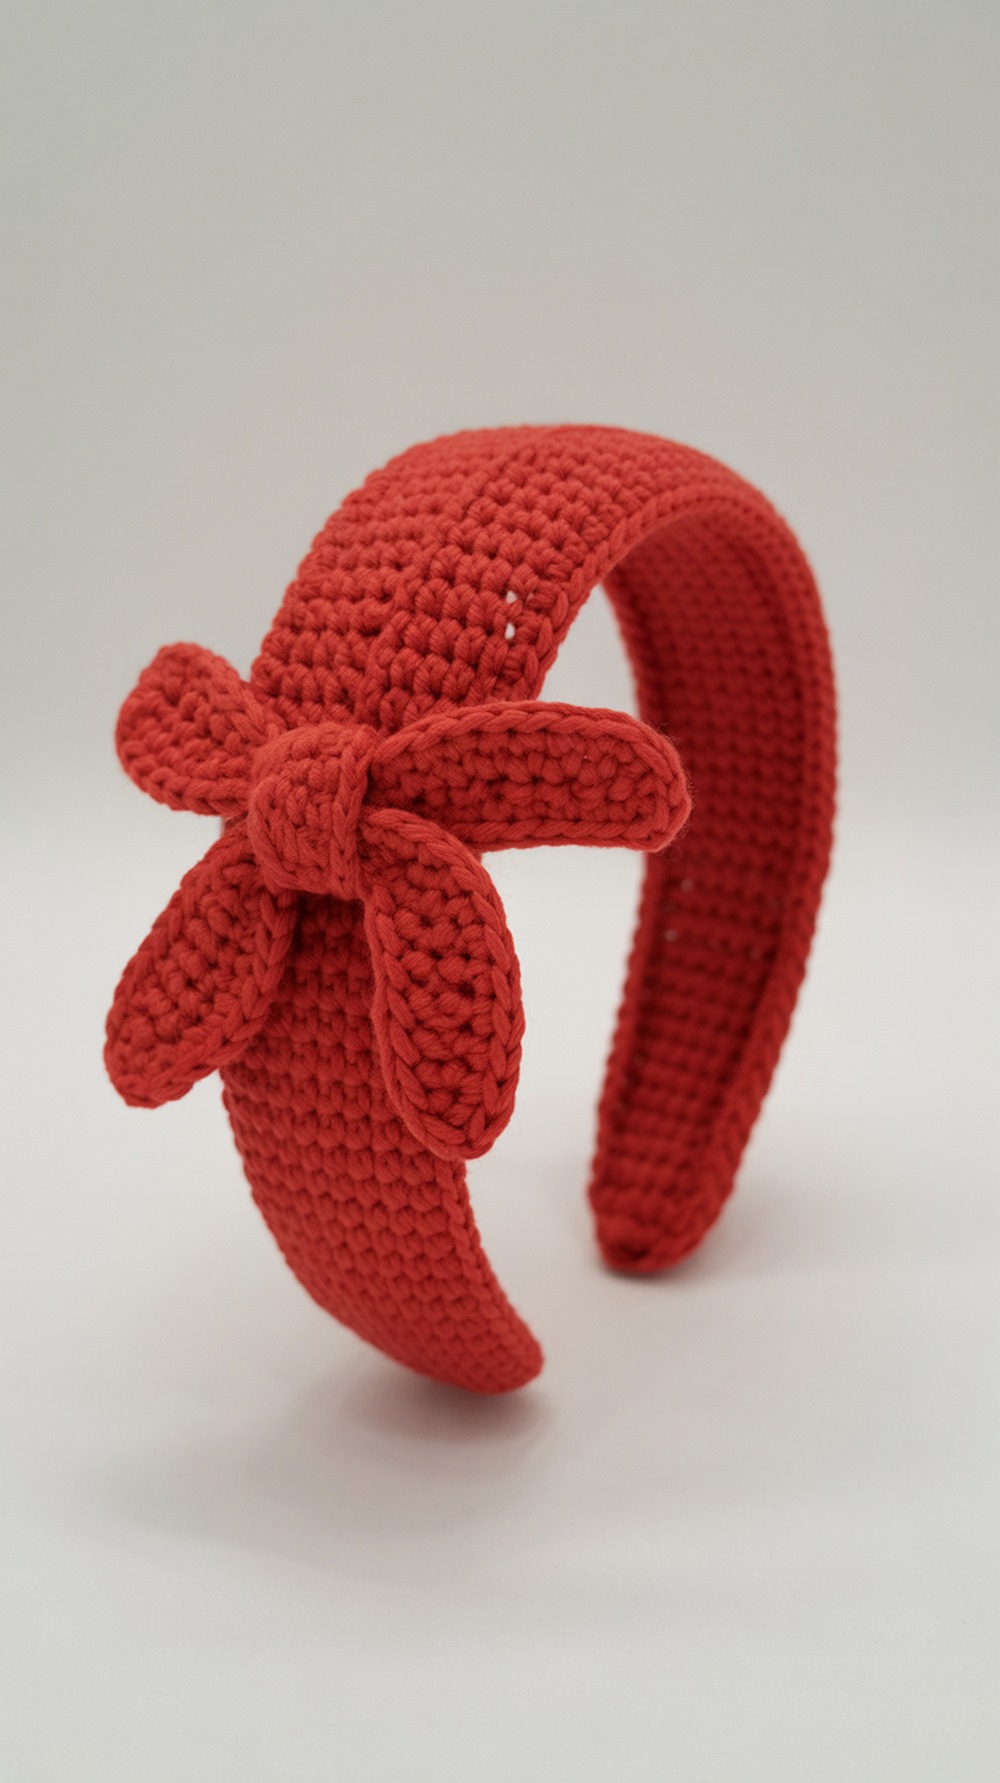
An i-cord style band with a classic bow done in single crochet—simple, striking, and unmistakably sweet in Cherry Red. Because the band has stretch, focus on finished length rather than gauge. The bow is worked flat and seamed; pull the wrap snug for crisp edges. Acrylic is washable and holds color brilliantly. This brand pattern is short, clear, and great for confident beginners. See it in the Tutorial.
Supplies: Worsted acrylic (Red Heart Super Saver), 5.0 mm hook, yarn needle
Why it’s great: Iconic red bow with easy construction.
Ribbed Ear Warmer

Prefer texture? This back-loop-only ribbed band is warm, stretchy, and easy to size. Add a narrow center wrap to transform it into a subtle bow-trim style without adding bulk. Work to your head measurement minus 1–2″, seam, then wrap. Cotton blends feel sleek; acrylic bounces back. Tip: steam block lightly to set ribs, then wrap so the “valleys” line up neatly. Full pattern in this Tutorial.
Supplies: Worsted cotton/acrylic, 5.0 mm hook, yarn needle, measuring tape
Why it’s great: Stretchy rib + optional bow cinch.
Elisa Ear Warmer
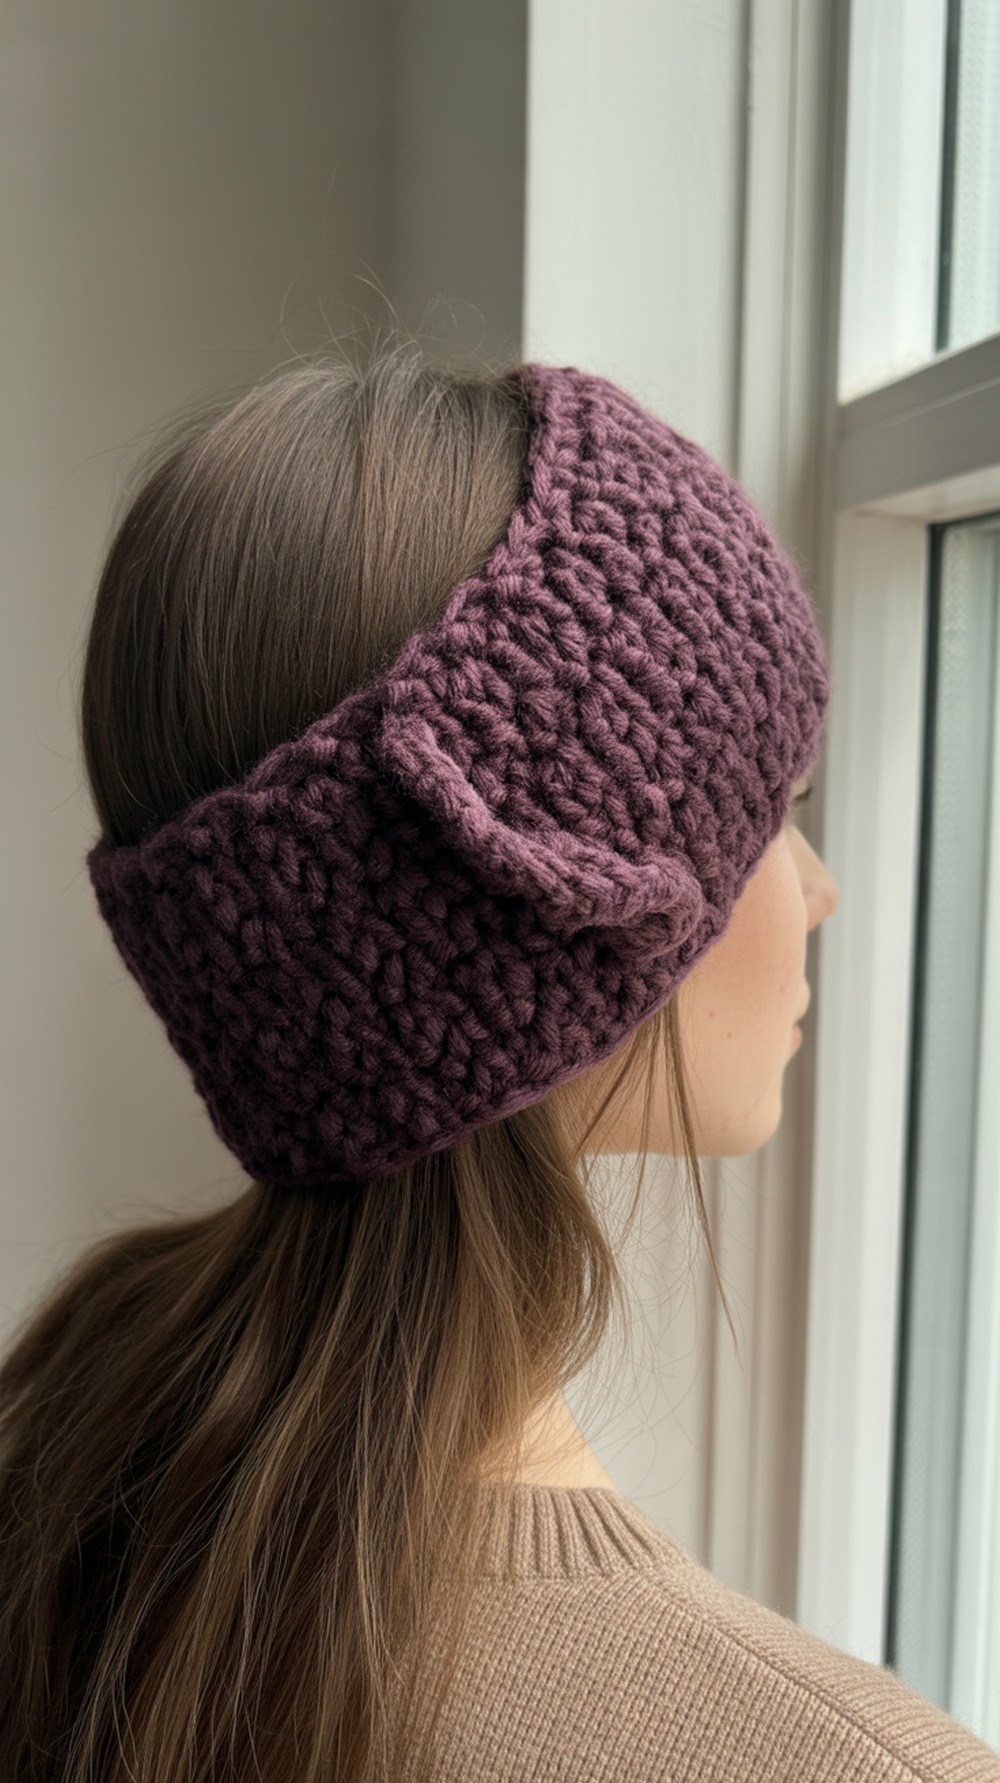
A textured adult ear warmer that finishes with a narrow wrap to create a tasteful bow-like pinch. The stitch combo is beginner-friendly and produces a dense, wind-blocking fabric. Follow the length chart, then adjust width by adding rows before seaming. Wool blend gives warmth; acrylic keeps it easy-care. Secure the center wrap with several passes and tack through the band so it doesn’t slide. Pattern page here in the Tutorial.
Supplies: Worsted acrylic/wool, 5.0 mm hook, yarn needle, scissors
Why it’s great: Plush texture with a refined, cinched center.
Conclusion
Pick one fast win—bulky yarn + center wrap—and you’ll have a bow-trim ear warmer before your tea cools. As you level up, try textured stitches (herringbone, ribbing) or scaled-up bows for emphasis. The links above include size charts and videos so your first fit succeeds. Save this list for gifting season, and share it with a friend who loves cozy makes. Happy hooking—and enjoy that warm, bow-topped glow all winter.
FAQs
What yarns work best for bow-trim ear warmers?
Worsted (#4) acrylic/wool blends are the sweet spot: warm, resilient, and good stitch definition. For super fast makes, choose #5 bulky. For babies or sensitive skin, soft cotton or anti-pilling acrylic.
Machine wash or hand wash—and how do I dry?
Unless the pattern specifies otherwise, wash acrylics on gentle, cold, in a mesh bag. Hand wash wool and lay flat to dry. Always lay ear warmers flat and reshape the bow while damp.
How do I scale patterns for different head sizes?
Measure head circumference and subtract 1–2″ for negative ease. Work to that length before seaming. Keep bow width proportional—about 25–40% of band length looks balanced.
What fibers are safest for kitchen/bath or damp conditions?
For ear warmers worn in wet snow or rain, acrylics and superwash wools dry faster and hold shape. Avoid untreated wool if it might felt; avoid fuzzier yarns with lots of halo under hoods.
Which joins/edgings increase durability?
Back-loop rib bands seam well with mattress stitch. For center wraps, stitch through the band in several places before wrapping to prevent slipping. Weave ends in multiple directions.
Typical time and yardage?
Bulky bow ear warmers: 60–120 yds, about 30–60 minutes. Worsted textured versions: 120–180 yds, 1–2 hours. Oversized bows add ~10–20 yds.
Any tips for photographing finished projects?
Use natural window light, a neutral background, and shoot vertically. Focus on the bow wrap and stitch texture. A sweater in complementary tones keeps attention on the headband.
How do I fix curling, stretching, or wavy edges?
Curling: block lightly or go up a hook size. Stretching: reduce length or switch to springier yarn. Wavy edges: check tension, avoid over-blocking, and finish with a tidy single-crochet edge before wrapping.