A simple crochet cotton bag is one of those projects that is nice to make and useful.
This type of bag is ideal for your daily errands, trips to the library, or carrying your small essentials in something handmade. It has a beautiful clean, practical look and the tutorial makes the construction simple so it’s a lovely project to work on in a calm crochet session.
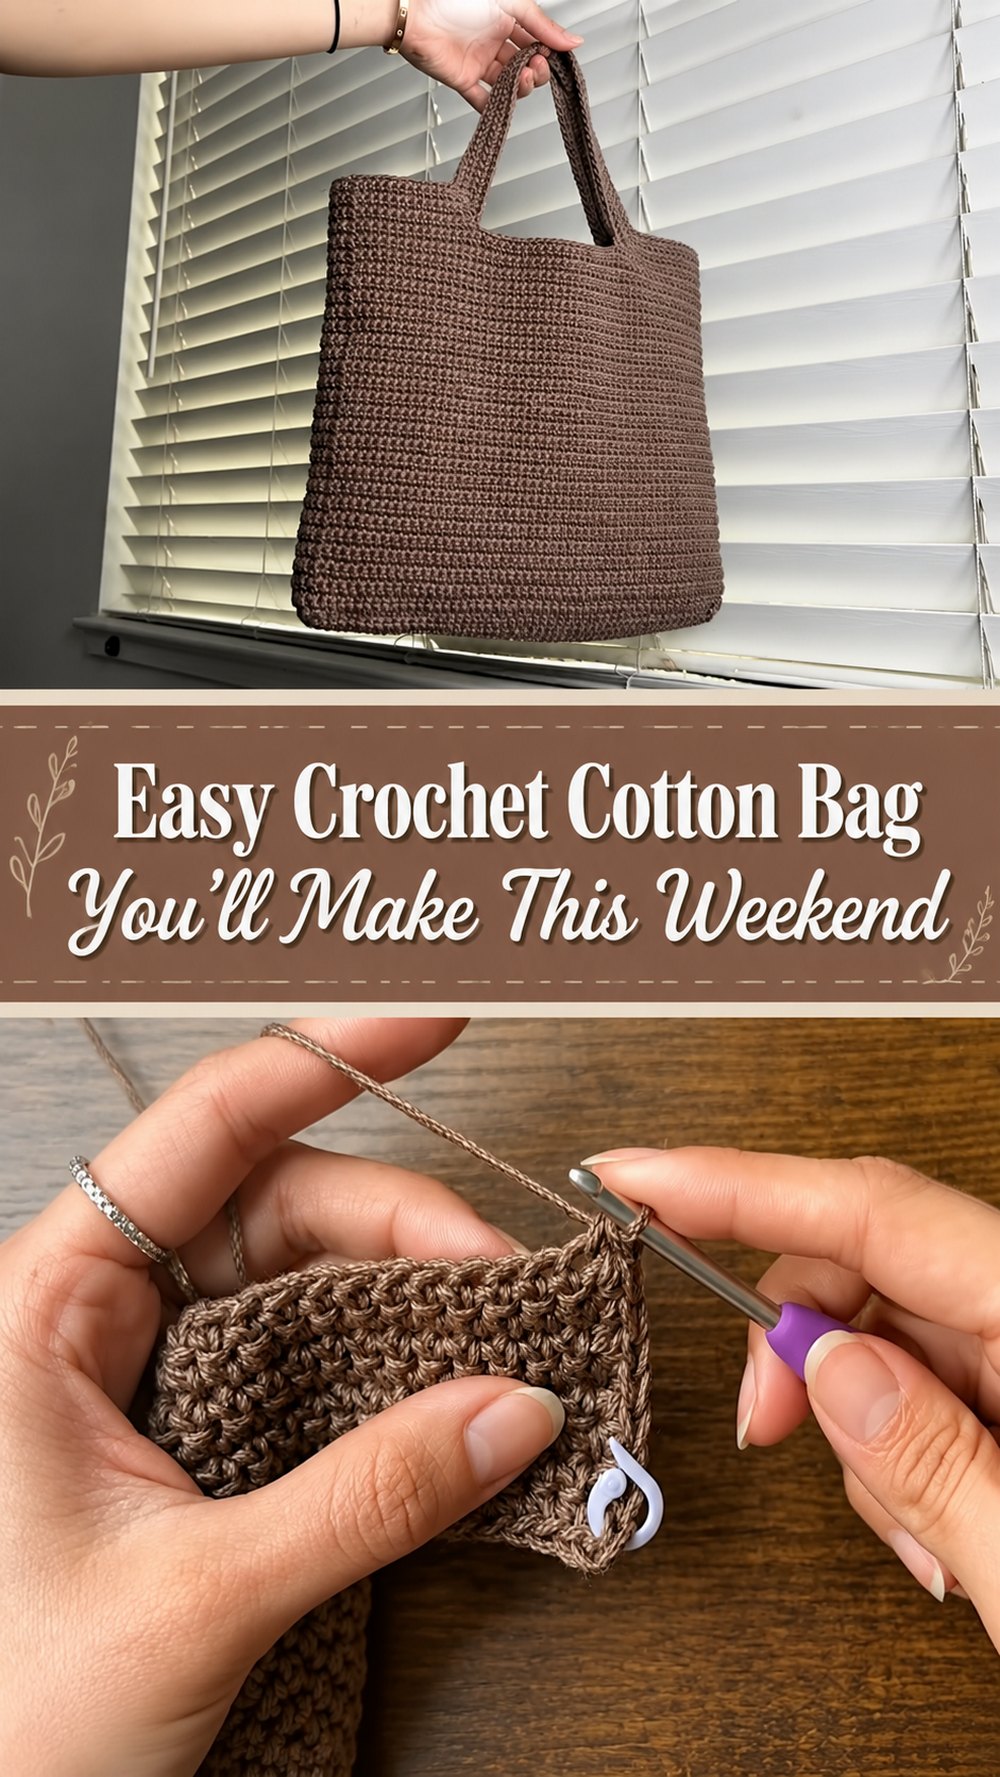
Why You’ll Love This Project
This is an easy to wear, easy to customise and just wonderful practical bag. Since the tutorial uses a very simple stitch pattern, it is a nice choice for beginners or anyone who wants a useful finish without lots of complicated shaping.
What you’ll need:
- cotton thread
- Crochet Needle
- Scissors
- Needle for Yarn
- Stitch markers
Choose a yarn and hook size that will give you the fit and feel you would like.
Yarn Suggestions for This Project
Cotton yarn is a great yarn to use for this type of bag because it gives the fabric structure and helps it keep its shape. For a nice everyday tote, a smooth cotton or cotton blend is good.
Level of Skill
That’s a good start. This tutorial shows a simple tote bag made with one simple stitch pattern.
Size & Fit Guide
To adjust the size of the bag , increase or decrease the starting width , and continue to work on the body until it reaches the desired height . You can also make the strap shorter or longer depending if you want a shoulder or shorter hand held tote.
Stitches Used
- Chain stitch Single crochet
The tutorial only uses one stitch so it’s nice and simple to follow.
How to do it
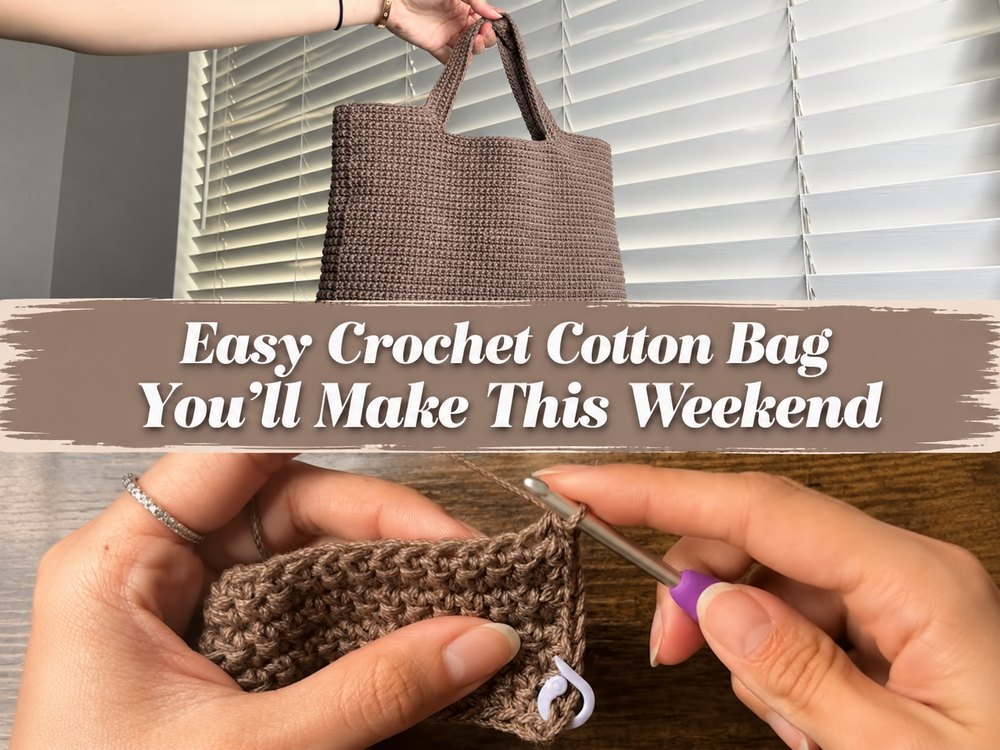
Begin the Foundation
Start by crocheting the base or the bottom part of the bag. Keep your stitches even from the start so the shape stays neat.
Main Section Work
When the base is complete, work up in the main stitch pattern to create the body of the bag. This project keeps the stitch work simple so that it’s easy to get into a steady rhythm.
Change the size
Continue until the bag reaches your desired height. For a smaller everyday bag, you can stop earlier; for a roomier tote, go further.
Join or create
When the body is finished, shape the top opening and smooth the area for the strap so that both sides fit together nicely.
Edges Finish
Add the straps, tidy the top edge and weave in all ends. A tidy finish makes a big difference on a plain cotton bag.
Useful Tips
- Use stitch markers to mark the beginning of each round or row.
- Early width check so bag fits your needs.
- Keep your tension even so the fabric looks even.
- If you do two straps, check frequently to ensure they match.
- Securely weave in the ends as the bags will get a lot of use.
Frequent Mistakes to Avoid
- Too close a setting.
- Sides losing thread
- One strap longer than the other one
- Choosing yarn that is too stretchy
- Don’t forget to check the bag size as you go
Customization Ideas
- Add stripes or colour blocks
- Adjust strap length up or down
- Add a simple border to the top Sew in a lining for support
- Add a button or small inside pocket.
Tips on Style
This bag works well with casual everyday outfits. Great for markets, books, beach items or small handmade gifts. It is also a good gift for someone who likes practical handmade things.
Care & Directions
Wash gently in cool water if necessary, reshape whilst damp and dry flat. Cotton bags do give a little with wear, so once washed they should be reshaped to keep their shape.
Time Required
Depending on your speed, yarn, size and stitch pattern this can take a few hours.
Summary
Crocheting a cotton bag is a rewarding project because it’s simple, useful and easy to make your own. This is the kind of pattern that you can come back to over and over again in different sizes and colours.
FAQs
Can beginners make this bag?
Yes, it is a good beginner-friendly project with a simple stitch pattern.
Is cotton yarn a good choice for bags?
Yes, cotton is popular for bags because it gives better structure.
Can I make it bigger?
Yes, adjust the width at the start and repeat until you reach your desired size.
Can I use another stitch?
You can, but a simple stitch keeps the bag sturdy and easy to use.
Should I add a lining?
A lining is optional, but it can help the bag hold small items more securely.