Crochet hair bows are one of the nicest small projects to keep in your yarn basket because they work up fast, use very little yarn, and instantly make clips, headbands, and ponytails feel more special. I picked eight bow ideas that give you a good mix of styles, from classic boutique shapes to soft velvet bows and baby headbands. Each one comes from a different tutorial source so you get variety without repeating the same look. These are great for gift toppers, market prep, back-to-school accessories, or simply using up leftovers in a way that still looks polished and fun.
Crochet Minnie-Style Boutique Hair Bow
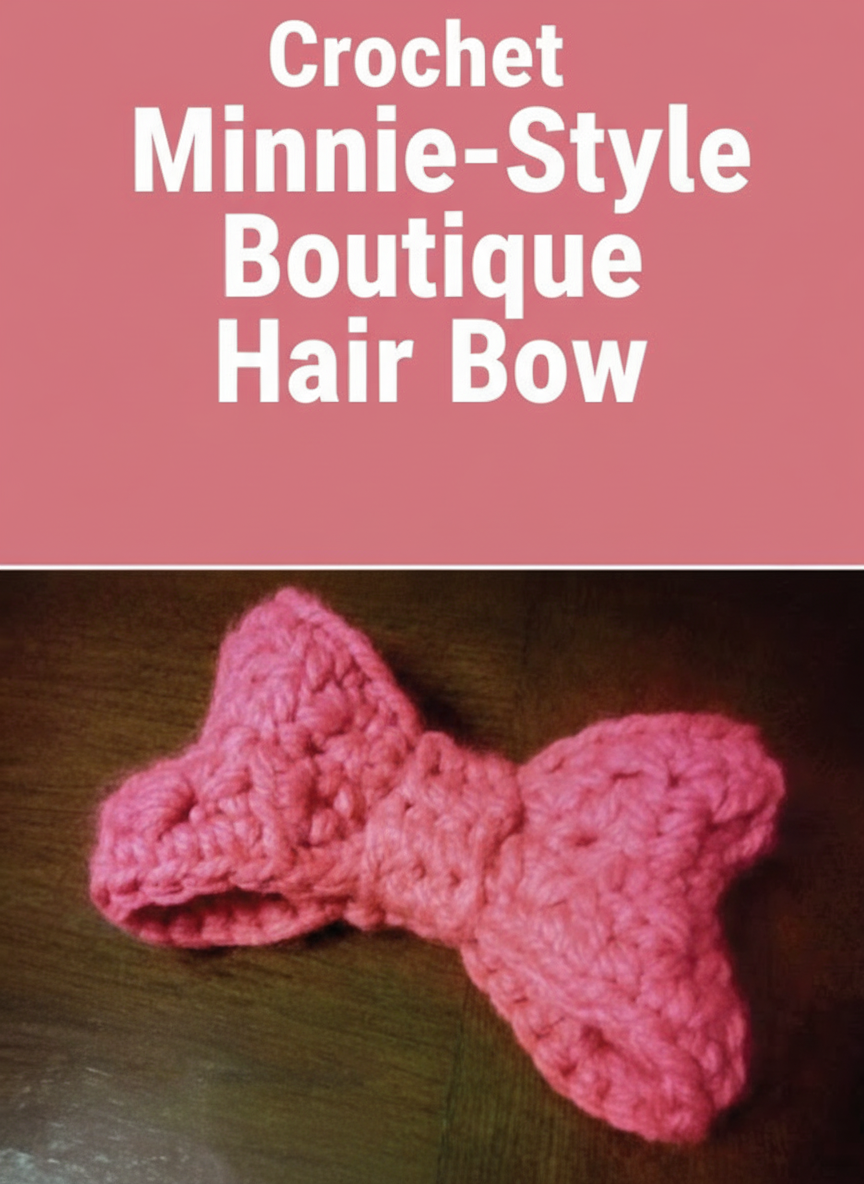
This bold crochet hair bow is a fun pick when you want that classic oversized boutique look with strong shape and clean edges. The Stitch11 version measures about 5.5 inches wide in bulky yarn, so it is ideal for a statement clip or a headband centerpiece. For a smaller everyday bow, switch to worsted yarn and a smaller hook so it sits flatter and lighter in the hair. It is especially cute for dress-up outfits, birthdays, or themed photo days. I’d stitch the finished bow onto a snap clip for easy wear, then test placement before sewing permanently. Tutorial.
Hashtags: #crochethairbow #crochetaccessories #minnieinspired #handmadehairclip
Supplies:
- Bulky weight yarn
- 6.5 mm crochet hook
- Tapestry needle
- Hair clip or plain headband
- Sewing thread or strong yarn for attaching
Why it’s great:
A structured crochet bow like this stands up beautifully and gives instant impact with very little yarn.
Crochet Chunky Braided Hair Bow
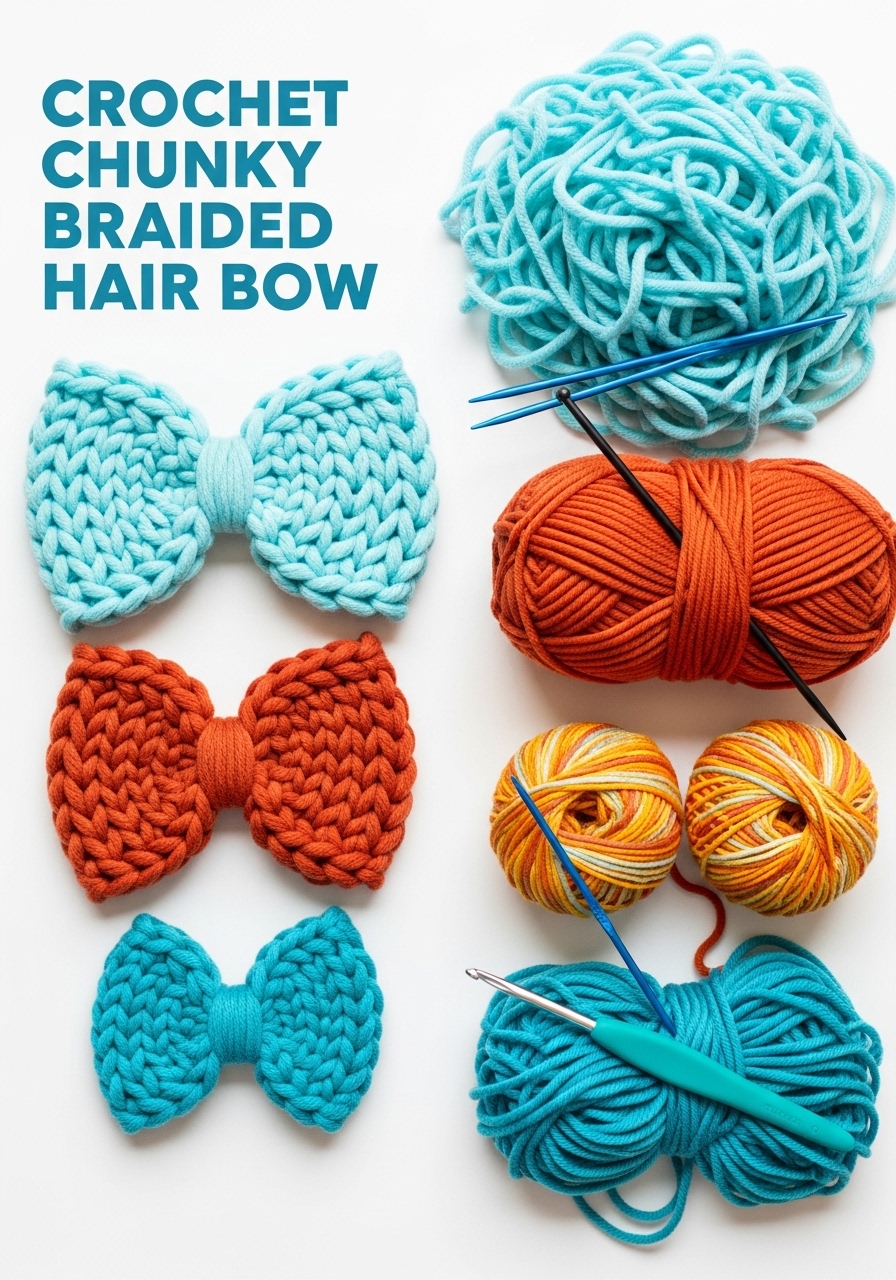
This crochet hair bow has a clever braided look that makes it feel more detailed than it really is. Persia Lou shows it in multiple yarn weights, and the smallest version is specifically noted as a cute option for a hair bow or headband. That makes it a smart pattern if you want one design you can scale up or down. Try fingering or light yarn for a neater hair accessory, and keep your tension even so the woven sections stay defined. This is a lovely choice for makers who want a softer boutique style without adding separate tails or extra layers. Tutorial.
Hashtags: #crochetbow #hairbowideas #crochetforgirls #yarnscrapproject
Supplies:
- Chunky, worsted, or fingering yarn
- Hook matched to yarn weight
- Yarn needle
- Alligator clip or nylon headband
- Scissors
Why it’s great:
The braided texture gives this crochet bow a polished look while still staying quick and beginner-friendly.
Crochet Kiki Bow Headband
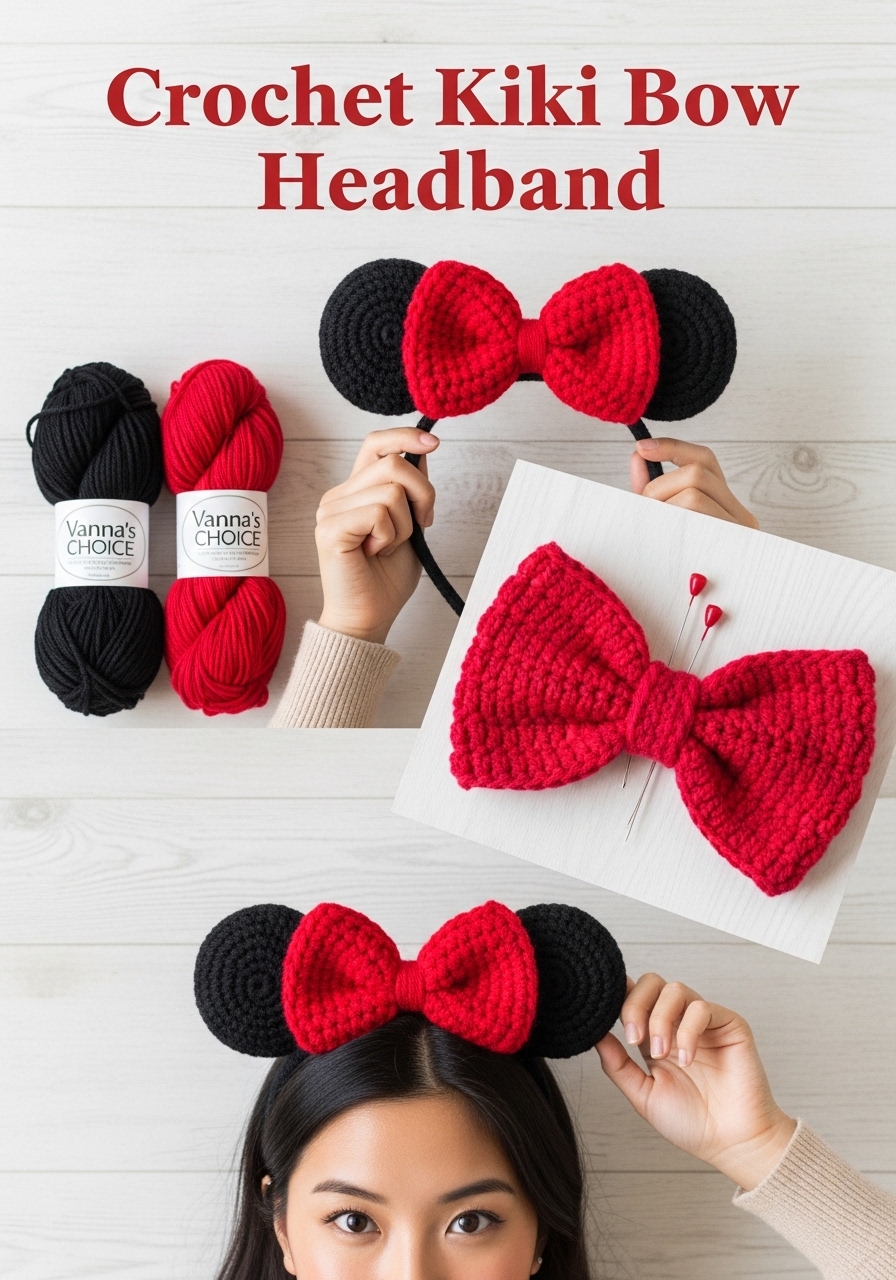
If you want a dramatic crochet hair bow that still feels wearable, this Kiki-inspired headband is a standout. All About Ami uses red worsted yarn in Scarlet and a narrow crocheted covering over a toothed headband, which helps the finished bow hold its shape well. The rectangle-and-wrap construction is straightforward, so it is a good confident beginner project if you want a cosplay-style accessory or a bold everyday statement piece. My tip is to keep your stitches snug and consistent around the headband base so the bow stays centered and does not twist after a few wears. Tutorial.
Hashtags: #crochetheadband #crochethairbow #kikiinspired #handmadeaccessory
Supplies:
- Medium worsted weight yarn in red
- 2.75 mm crochet hook
- Headband with teeth
- Yarn needle
- Glue gun
Why it’s great:
This crochet bow gives you a bold, costume-worthy look while still being simple in construction.
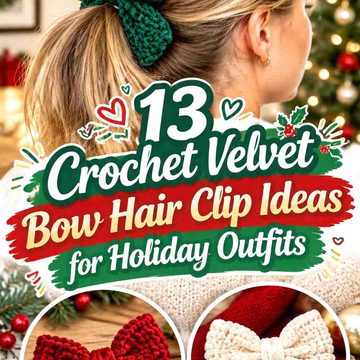
Crochet Velvet Hair Bow with Tails
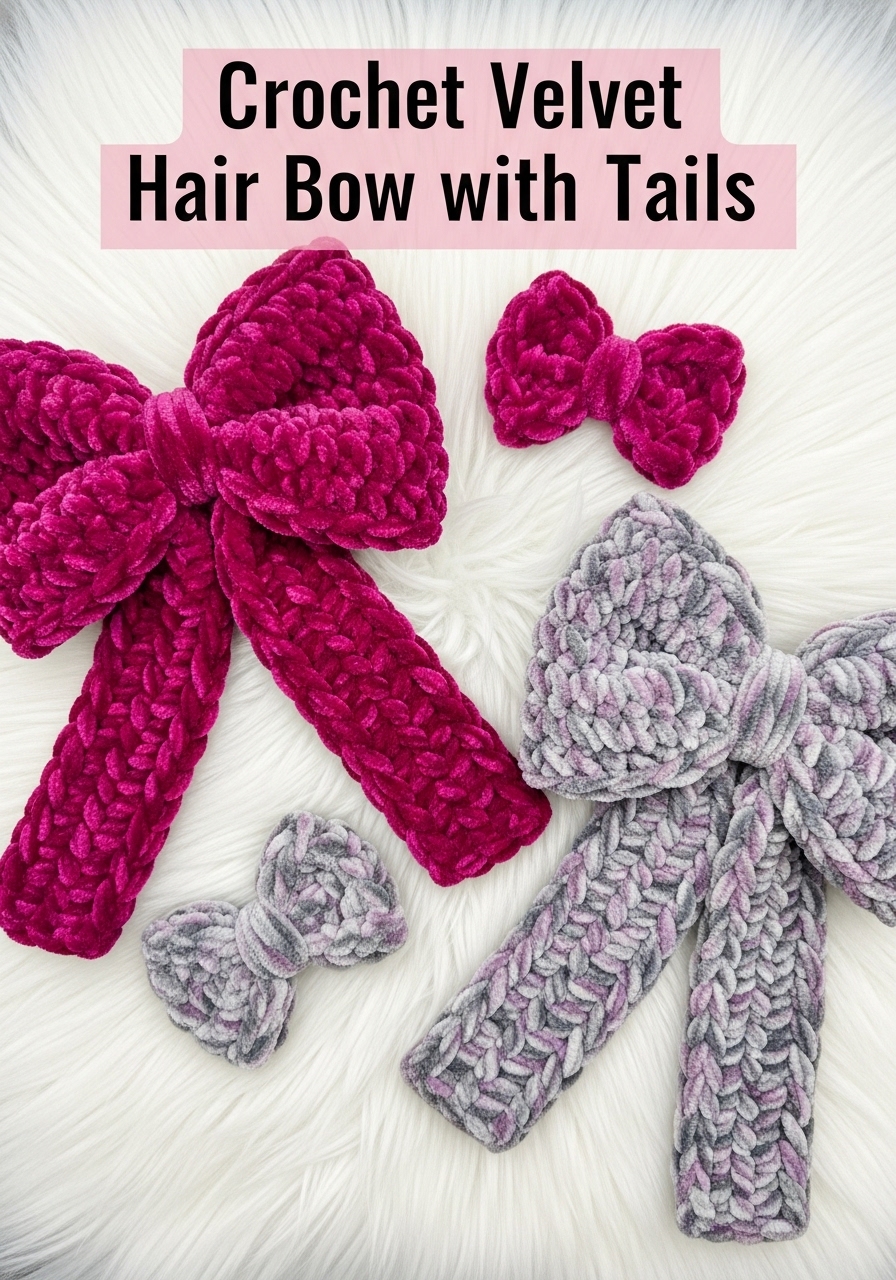
This crochet hair bow pattern from Crochet Dreamz is one of the fastest in the group, and it comes in two sizes, making it easy to create matching sets for kids and adults. It uses super bulky velvet yarn and only a small amount of yardage, so it is perfect for market prep or last-minute gifts. The tutorial also shows finished bows in burgundy, white, and gray, plus a version with tails for a softer hair accessory look. I would choose the smaller size for clips and the larger one for ponytail elastics, especially when you want a plush, luxe finish. Tutorial.
Hashtags: #crochetvelvetbow #crochethairclip #quickcrochetproject #bowtutorial
Supplies:
- Size 5 super bulky velvet yarn
- 6 mm crochet hook
- Tapestry needle
- Elastic tie or clip
- Scissors
Why it’s great:
A velvet crochet bow looks rich and giftable while taking only minutes and a tiny bit of yarn.
Crochet Textured Toddler Bow Headband

This crochet bow headband from Hookfully is designed for toddlers and children from about 1 to 6 years, so it is a great option when you want something giftable and size-specific. The headband uses DK weight yarn, a 4 mm hook, and up to around 50 yards, which keeps the project light, practical, and easy to stash-bust. The thick texture in both the band and the bow gives it a cozy, boutique feel without needing extra embellishment. My best tip is to make the gauge swatch first here, because a slightly tight band can change the fit more than you expect. Tutorial.
Hashtags: #crochetbowheadband #toddlercrochet #crochetforgirls #handmadeheadband
Supplies:
- DK weight yarn
- 4 mm crochet hook
- Yarn needle
- Measuring tape
- Scissors
Why it’s great:
This crochet bow headband feels substantial and sweet while still using just one skein and simple stitches.
Crochet Puff Bow Hair Tie

This crochet hair bow tutorial from Meladora’s Creations is especially handy because it shows how to build the bow and attach it directly onto a rubber band. That means you finish with a ready-to-wear ponytail accessory instead of sewing onto hardware later. It uses worsted yarn, a 4.5 mm hook, and puff stitches, which give the bow lovely texture and a fuller, puffed shape. This is a smart pick for stash yarn and quick gift sets. I would make two or three in coordinated colors and keep the center wraps snug so the bow holds its shape after repeated stretching. Tutorial.
Hashtags: #crochethairtie #puffstitchcrochet #crochetbowtutorial #quickgiftidea
Supplies:
- Worsted weight yarn
- 4.5 mm hook
- Rubber band hair elastic
- Tapestry needle
- Scissors
Why it’s great:
Because the crochet bow attaches right onto the elastic, it turns into a finished accessory in one sitting.
Crochet Knotted Bow Hair Headband
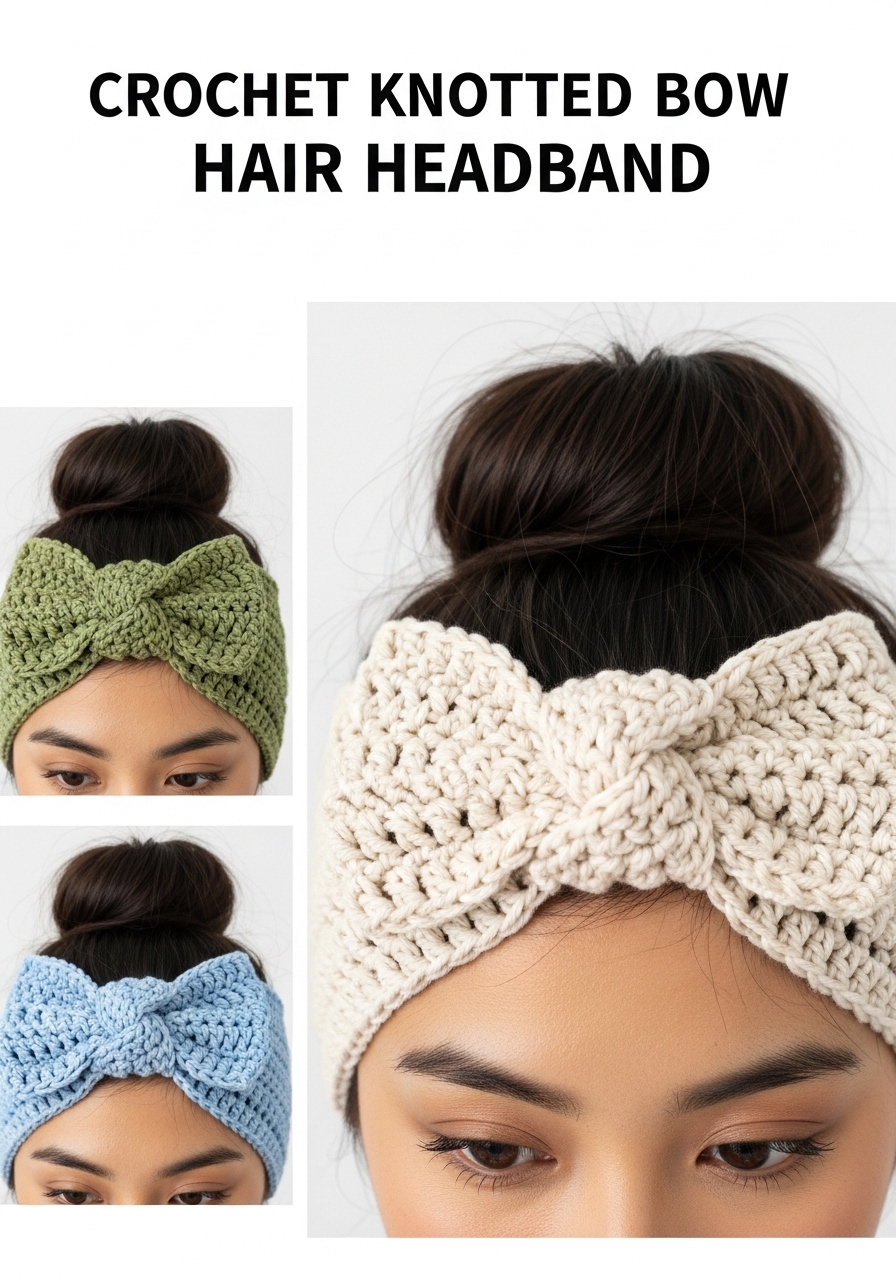
This crochet bow project from Yay For Yarn works as either a headband or an earwarmer, which makes it one of the most flexible ideas here. The tutorial explains that the pattern can be made in any size and with any yarn weight, and notes that thinner yarn works well for a spring or summer hair accessory. That makes it ideal if you want a softer, flatter bow for everyday wear instead of a stiff statement piece. My suggestion is to use a slightly smaller hook than usual so the knot stays crisp and the fabric does not stretch out too quickly. Tutorial.
Hashtags: #crochetbowheadband #knottedbow #crochetaccessory #everydaycrochet
Supplies:
- Yarn of choice
- Hook matched to yarn
- Yarn needle
- Measuring tape
- Stitch markers
- Scissors
Why it’s great:
This crochet bow style is easy to size up or down, so it works for babies, kids, and adults without changing the basic idea.
Crochet Baby Bow Headband
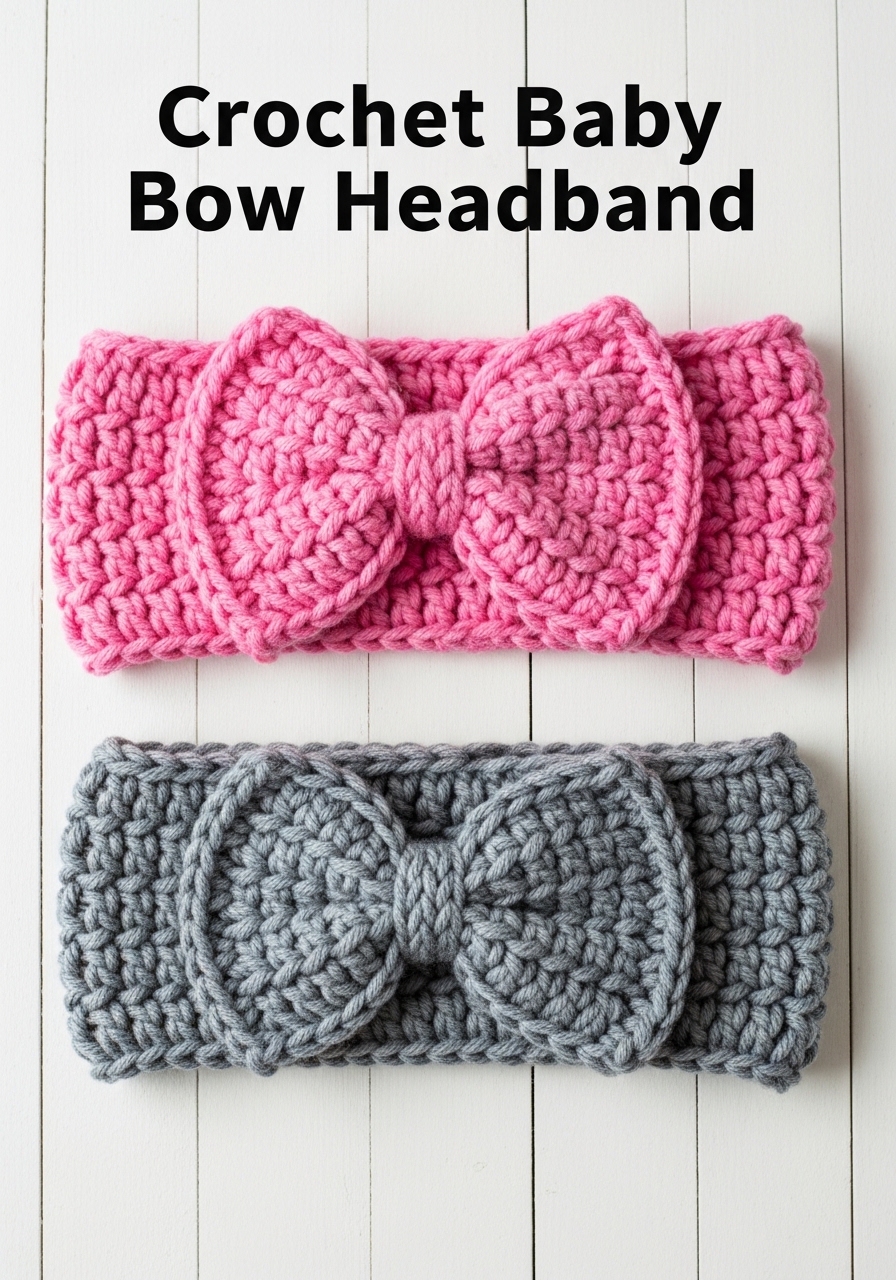
This crochet baby bow headband from Winding Road Crochet is a smart last-minute gift because it uses worsted weight yarn, works up quickly, and is designed as a simple bow-and-band combo. The tutorial specifically suggests making several from stash yarn in different colors, which is perfect if you want a baby shower set or a little market collection. Because the project is lightweight and small, it is also easy to customize with softer elastics or a gentler fit. I’d keep the seam at the back very flat and test stretch before gifting so it feels comfortable for short baby-photo wear. Tutorial.
Hashtags: #crochetbabybow #babyheadband #crochethairbow #babygiftidea
Supplies:
- Worsted weight yarn
- Appropriate hook for size 4 yarn
- Yarn needle
- Scissors
- Soft elastic or headband base if preferred
Why it’s great:
This crochet bow is quick, practical, and easy to batch-make in several colors for gifting.
Conclusion
A crochet hair bow is one of those rare projects that is both quick and genuinely useful. Pick one easy style first, make it in your favorite yarn weight, and then repeat it in a few colors once you know the shape you like best. These little bows are perfect for gifts, stash-busting, and everyday handmade charm.
FAQs
1. What yarn works best for crochet hair bows?
Cotton is great for crisp shape, acrylic is budget-friendly and easy to find, and velvet or chenille gives a plush boutique look. For baby bows, softer worsted yarns are usually the easiest balance of comfort and structure.
2. Can I wash crochet hair bows in the machine?
Usually yes for acrylic and many cotton blends, but place them in a mesh bag and air dry flat so the bow shape stays neat. Velvet bows are safer with gentler washing.
3. How do I make a crochet hair bow bigger or smaller?
Change the yarn weight and hook size first. You can also add more foundation chains or extra rows to widen the loops and make a fuller bow.
4. What is the best way to attach a crochet bow to hair accessories?
For clips, sew the bow on with strong thread or yarn. For ponytail elastics, crochet directly around the band or stitch the bow firmly onto the elastic.
5. Why does my crochet bow look floppy?
Your hook may be too large, your yarn too soft, or your tension too loose. Try a smaller hook and tighter stitches for a firmer shape.
6. How much yarn does a crochet hair bow usually take?
Most small bows use just a scrap amount. Even larger statement bows usually need only a small portion of one skein unless you are using plush bulky yarn.
7. How long does it take to make one?
Simple crochet hair bows can take 5 to 30 minutes. Headband versions may take closer to 45 to 90 minutes depending on size and stitch texture.
8. How can I photograph crochet hair bows nicely for Pinterest or shop listings?
Use soft natural light, a plain background, and close framing so the stitch texture shows clearly. A clip, elastic, or child-sized headband in the shot helps buyers understand the scale fast.