Leg warmers are the coziest shortcut to an outfit glow-up—no sizing drama, minimal shaping, and loads of texture to play with. This collection sticks to projects you can finish fast (think evenings, not weeks), keeps yarn costs low with stash-friendly weights, and includes sizes from kids to adults where possible. You’ll find comfy ribs, pretty cables, playful scallops, and trendy flares—plus smart tips to customize height and calf width as you go. Each idea links to a clear, photo-rich tutorial so you can skim materials, follow along, and get that instant-gratification “I made these!” feeling. Pick your palette, cue a show, and crochet your way to warmer walks, comfier studios, and cuter boots.
Classic Ribbed Stripes
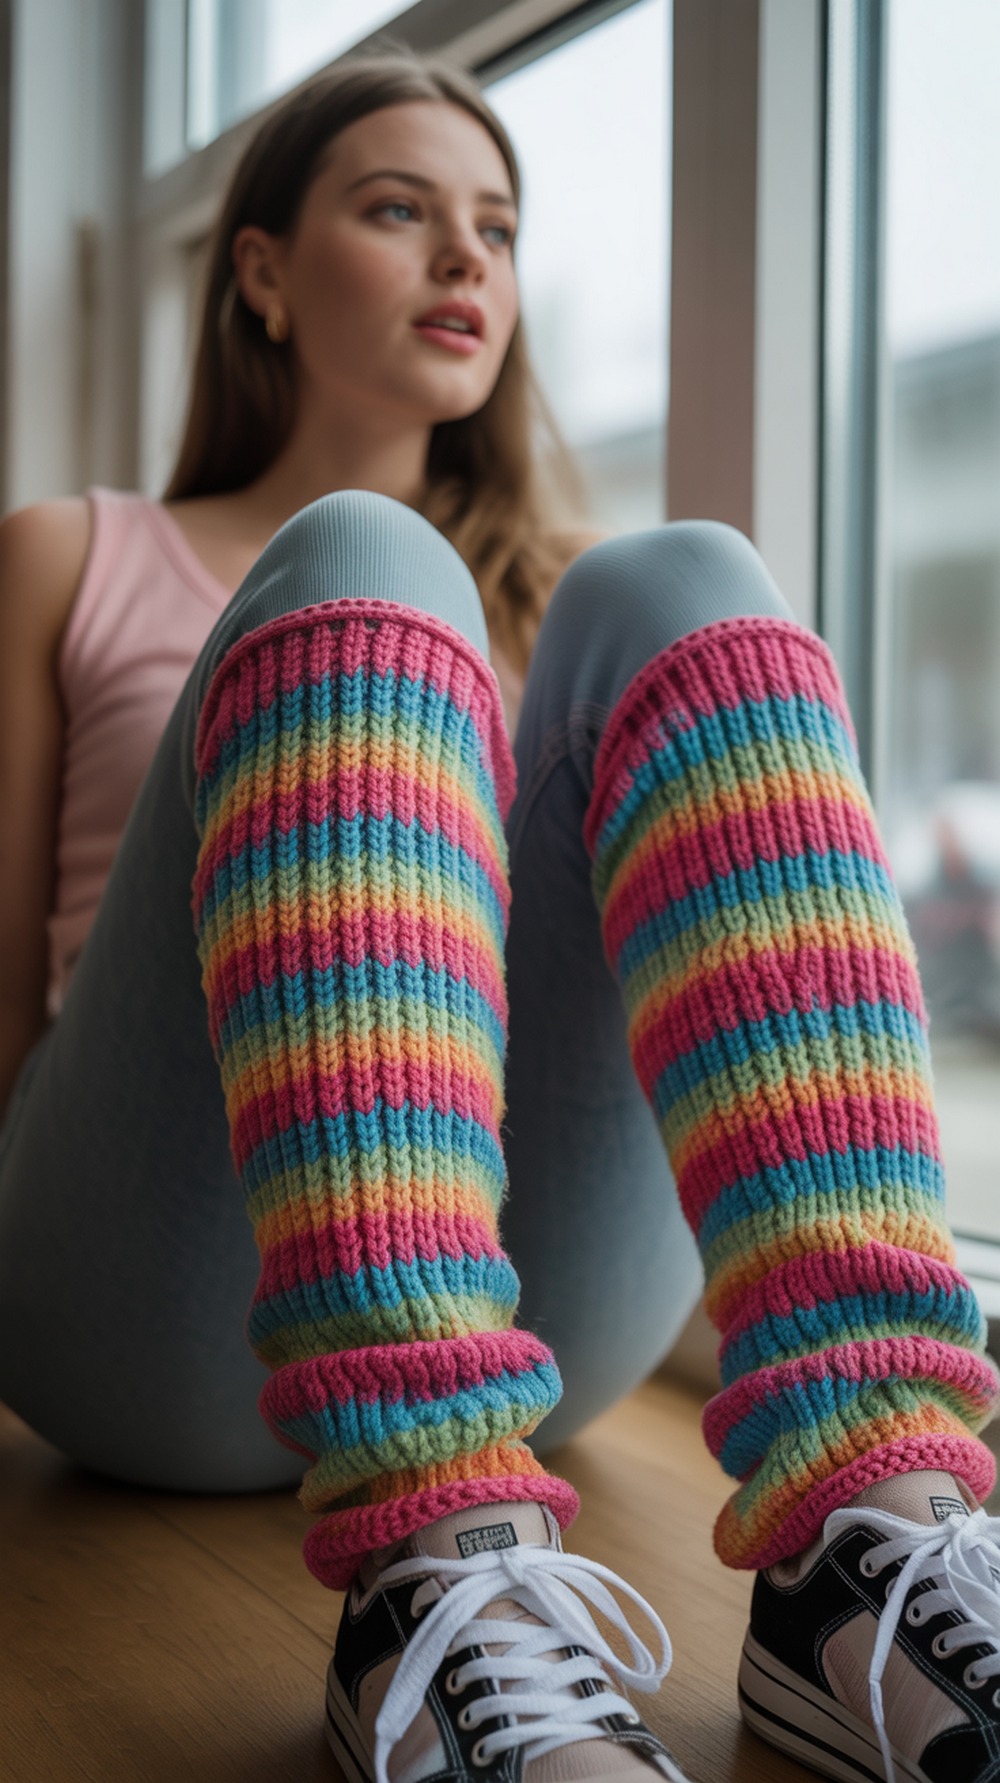
If you love that retro dance-class look, these ribbed leg warmers are it—simple stitches worked in the round with easy colorplay. The pattern is written for multiple sizes, and the fit is forgiving thanks to all-over ribbing. Use self-striping worsted to let the colors do the work, or stash-bust bold solids. Measure around the widest part of your calf and keep the ribbing a touch snug so they stay up. Add or subtract rounds for knee-high or ankle-skimming lengths. Get the step-by-step on Yarnspirations and dive right in with the tutorial link in the next line. Tutorial
Supplies:
- Worsted acrylic (self-striping works great)
- 5.0 mm (H/8) hook
- Yarn needle, scissors
Why it’s great: Stretchy rib = comfy, stay-put fit.
Flared Retro Finish
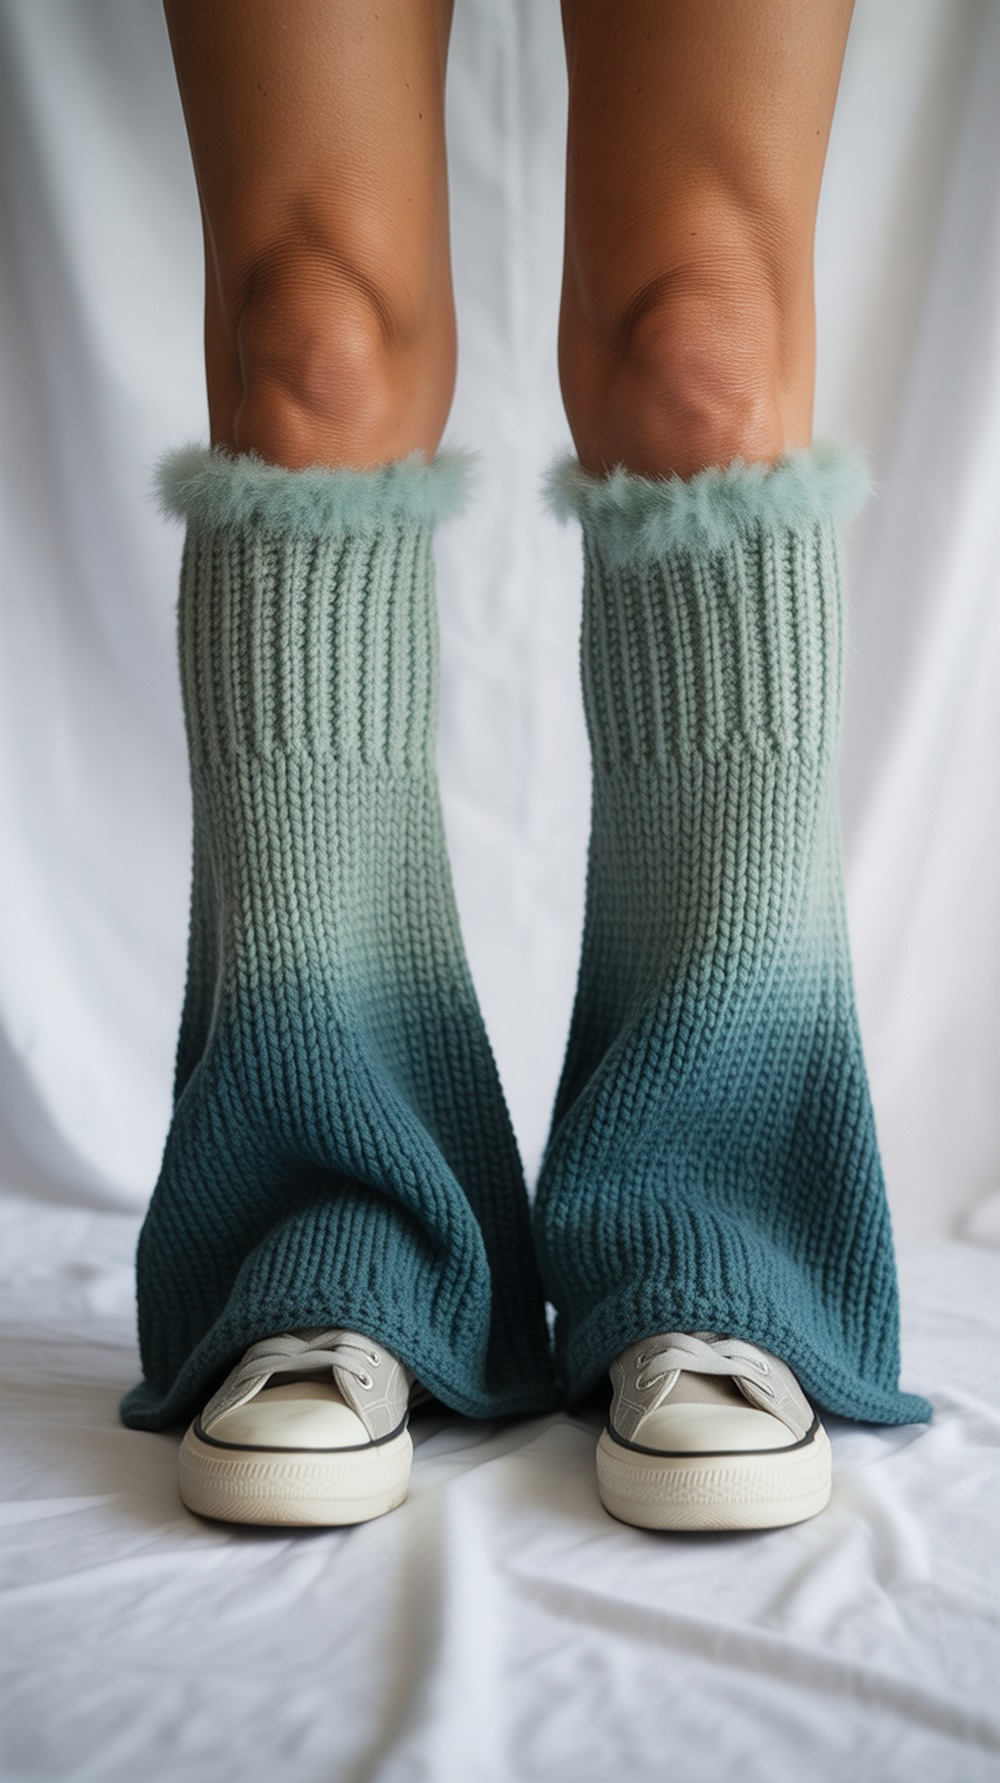
Want a fashion moment? Try flared cuffs. This easy pattern uses post-stitch ribbing for grip, then opens into a gentle bell that drapes over shoes—so cute with Mary Janes or skates. Worked top-down, you can stop early for a micro flare or keep going for dramatic swoosh. Self-shading yarn creates smooth color gradients with zero ends to weave. Tip: block the flare lightly so it hangs evenly. The tutorial breaks it down with stitches you likely know already, making it a perfect “weekend wearable” make. Tutorial
Supplies:
- Bulky halo or brushed acrylic/nylon
- 6.0 mm (J/10) hook
- Markers, tapestry needle
Why it’s great: Trendy silhouette, super simple shaping.
Cable Luxe (Boot Cuffs or Full Length)
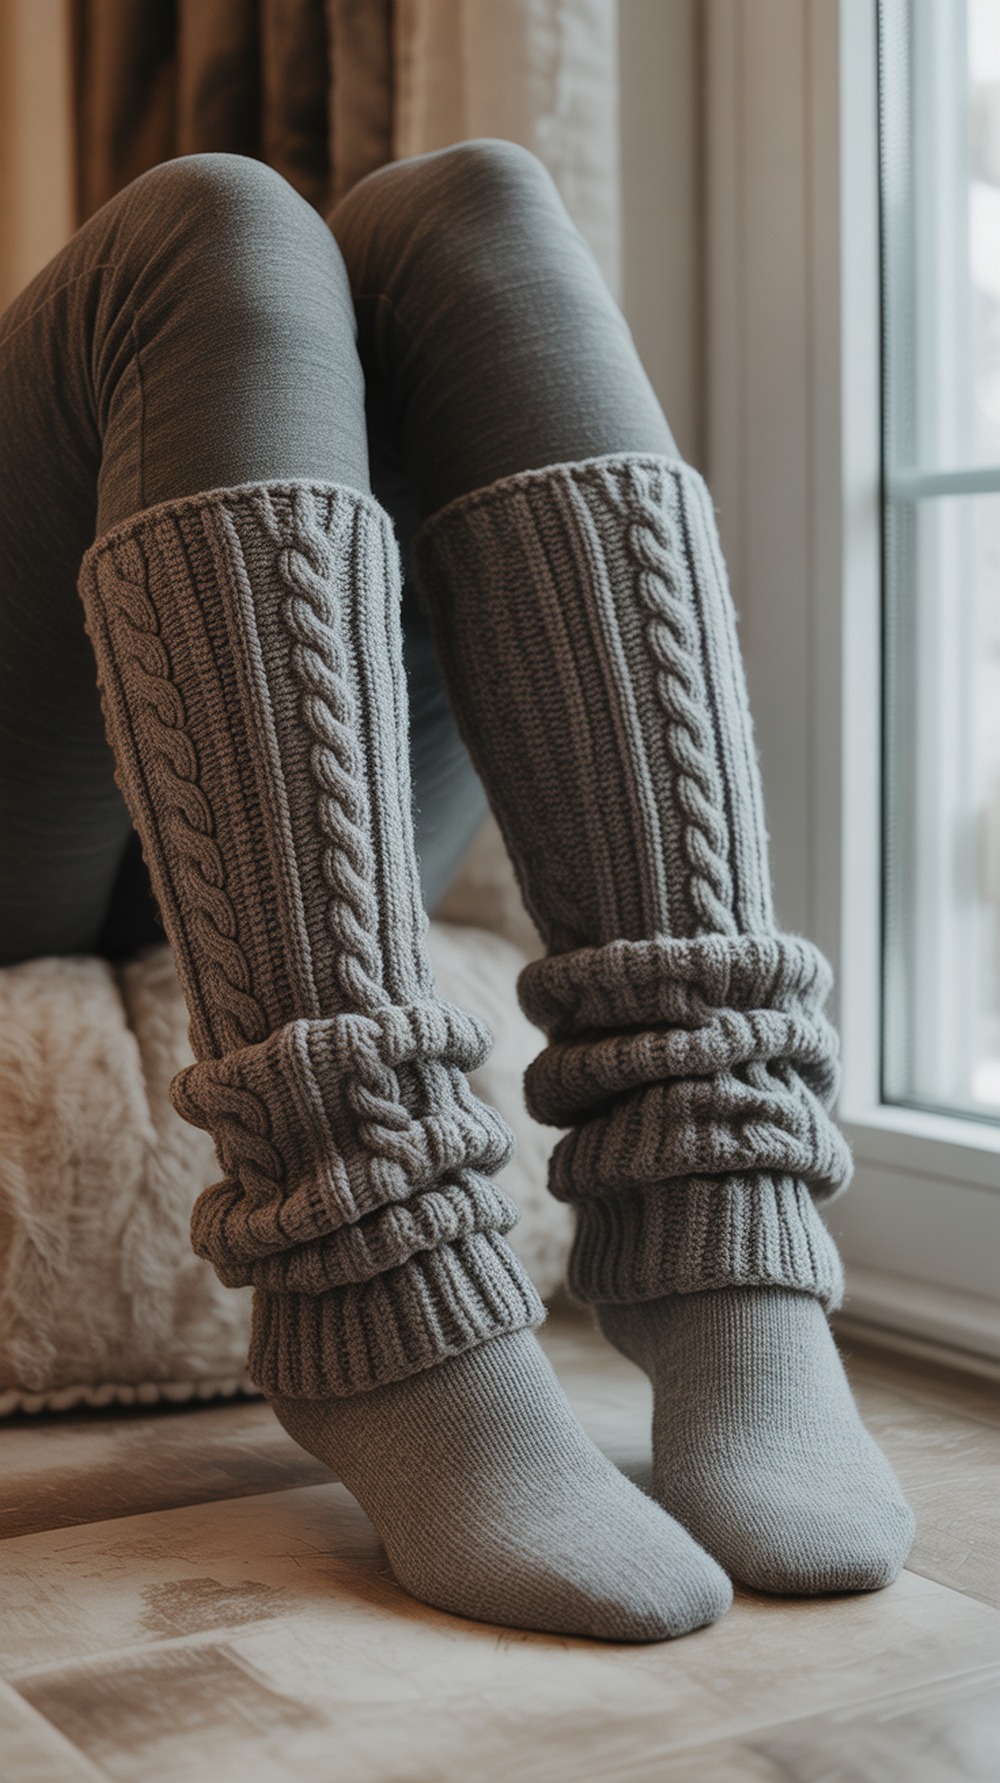
Crave texture? Crochet cables deliver instant luxury. This pattern teaches a tidy ribbed cuff, a cabled body with front-post twists, and a seamless join—no sewing! Make the short version for boot cuffs or keep stacking cable repeats for full leg warmers. Use a smooth worsted so your cable definition pops. Sizing is simple: rib to a snug circumference, then work cables to your desired height. The photo tutorial is super detailed, making cables approachable even if it’s your first time. Follow the tutorial for stitch-by-stitch pics. Tutorial
Supplies:
- Worsted acrylic/wool (e.g., Heartland)
- 4.5–5.0 mm hook
- Markers, needle, tape measure
Why it’s great: High-end look with approachable steps.
Slouchy One Skein Rib
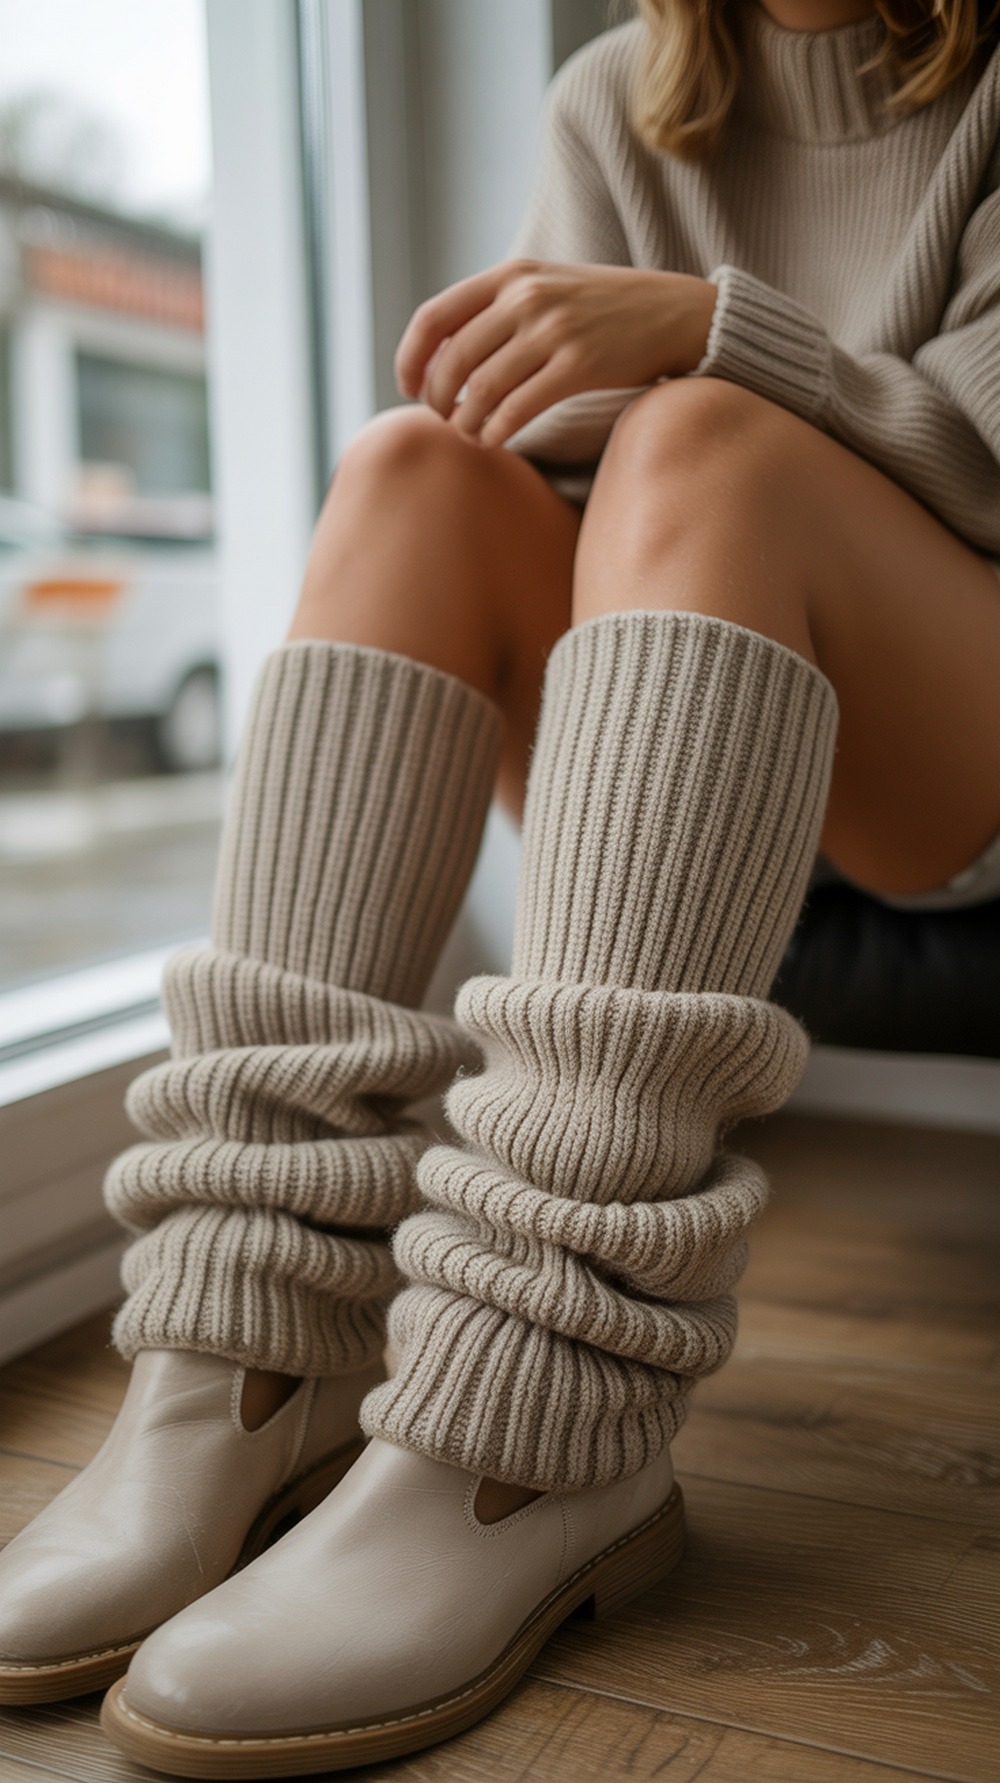
These slouchy ribs check every box: beginner-friendly, one skein, and irresistibly cozy. The design mixes front/back post stitches for plush cuffs and a simple textured body you can try on as you go. Work until the slouch looks right, then mirror the cuff—done. Fisherman’s-style wool adds bounce and warmth; acrylic works too. Tip: keep the foundation a bit snug so the slouch doesn’t slide. Follow Sigoni’s tutorial for resizing notes and a video for tricky parts. Tutorial
Supplies:
- Worsted wool or acrylic (≈1 skein)
- 5.0 mm hook
- Needle, scissors, ruler
Why it’s great: Fast, forgiving, perfect TV-project.
Family Size Set (Baby to Adult)
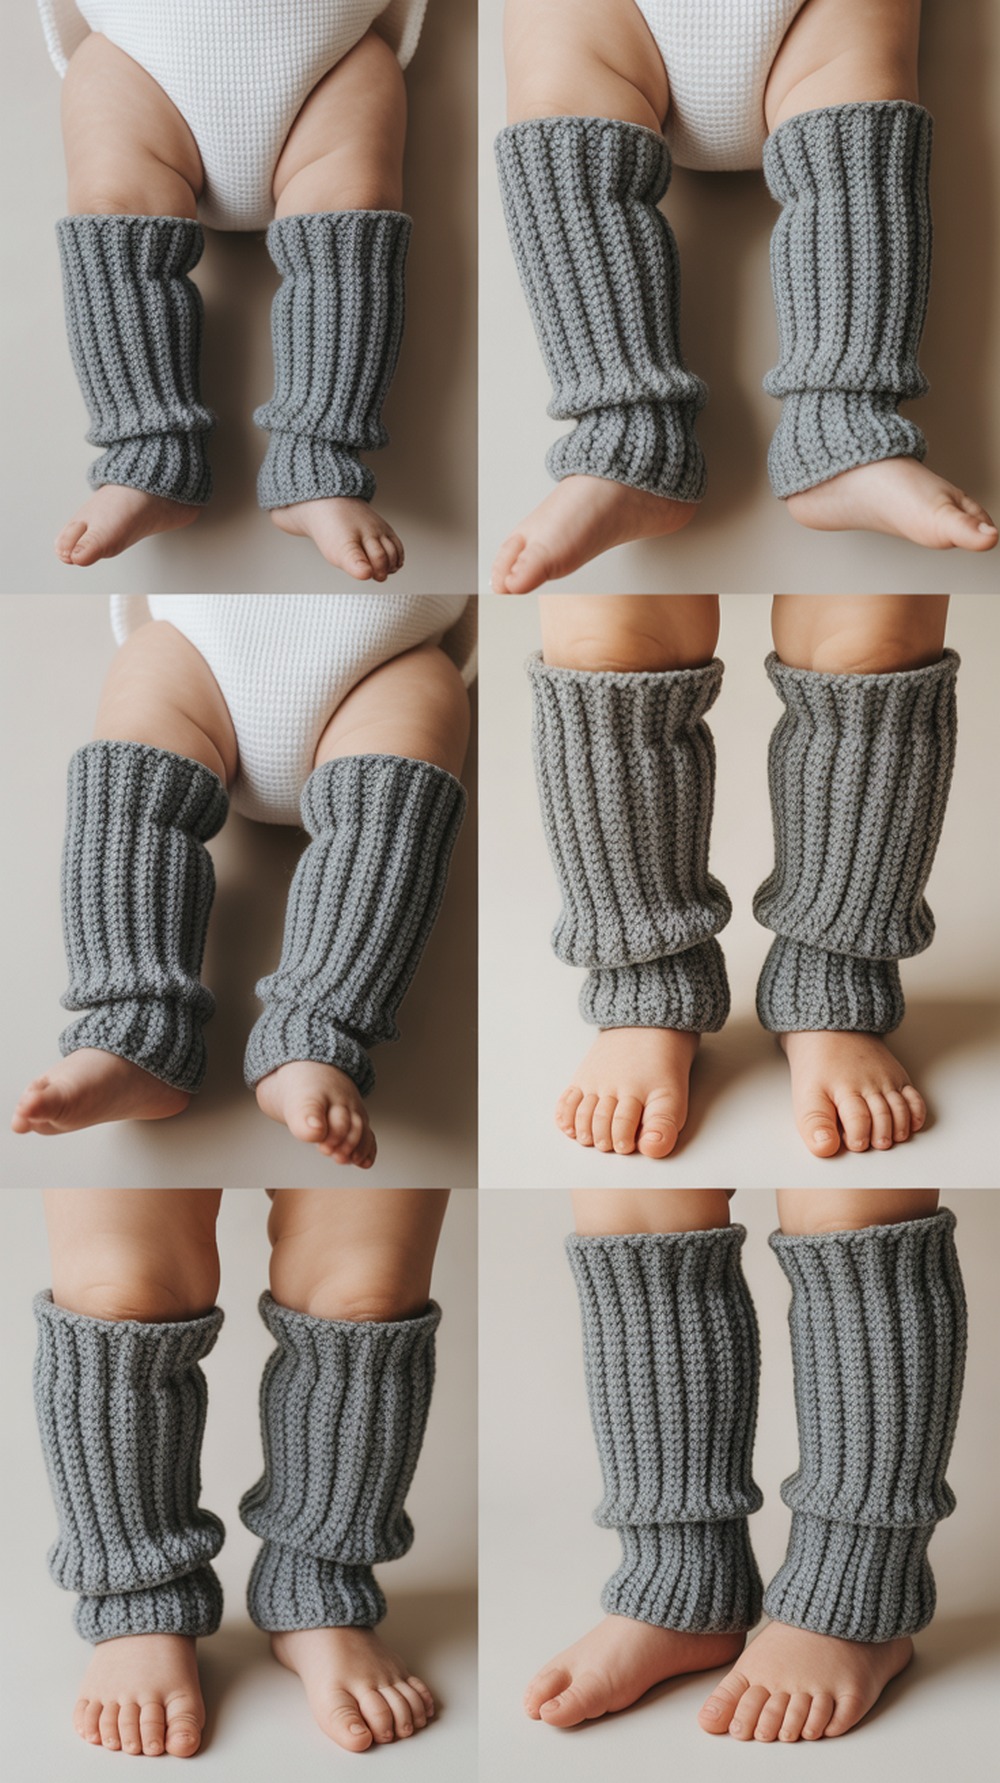
Make a pair for everyone. This pattern includes seven sizes—from newborn up to adult—and still manages to be yarn-thrifty (often one skein per pair). The texture alternates front/back post stitches with simple rows for stretch and comfort; the spiral body construction means fewer joins to manage. There’s a sizing chart plus yardage estimates so you can plan gifts efficiently. Tip: choose tweed or heather for a classic look that matches coats. Grab the tutorial for all sizes in one post. Tutorial
Supplies:
- Worsted yarn (yardage listed per size)
- 6.0 mm & 8.0 mm hooks
- Marker, needle, tape measure
Why it’s great: All sizes, minimal yarn, easy repeat.
Easy Seam Up Rectangles
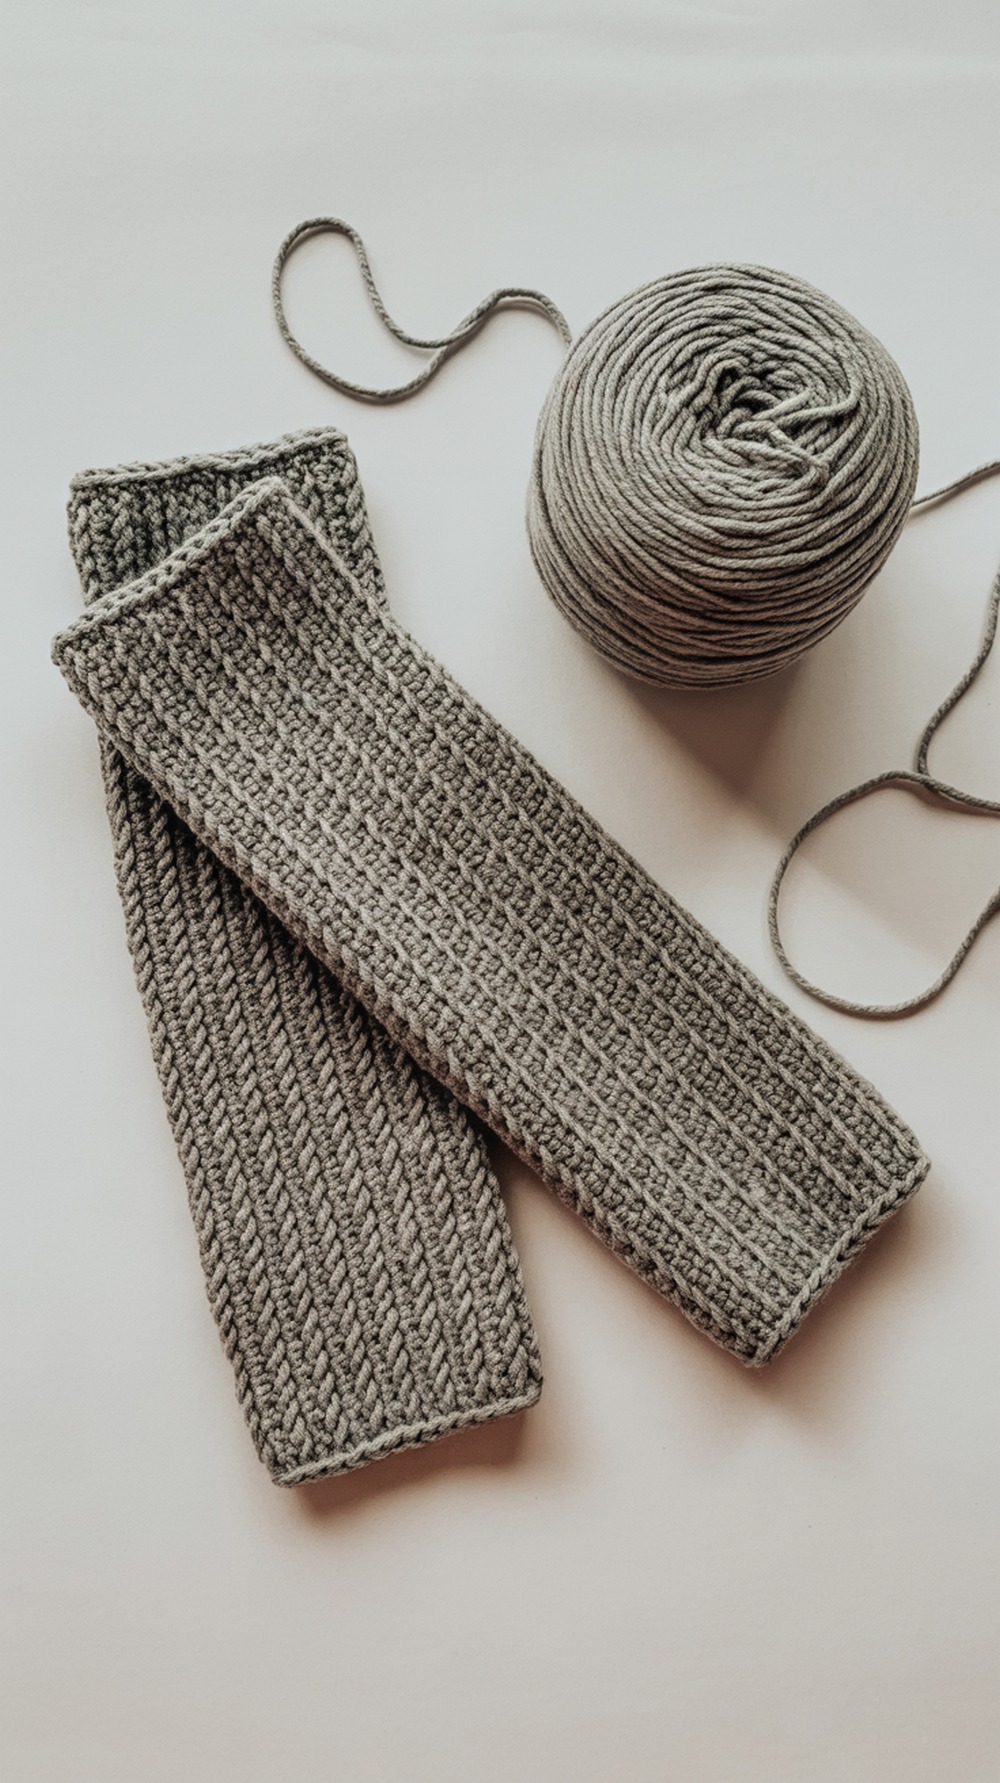
Prefer working flat? These are built as rectangles with knit-look ribbing, then seamed into tubes—clean and confidence-boosting for beginners. The alternating hdc/slip-stitch rows make a stretchy fabric that hugs the calf without squeezing. The pattern includes eight sizes from Baby to Adult Large plus a video. Tip: keep slip-stitch rows relaxed; if you’re tight, bump up hook size by 0.5 mm. Head to the tutorial for photos, sizing, and gauge notes. Tutorial
Supplies:
- Worsted yarn (see size chart)
- 5.5 mm hook
- Yarn needle, stitch marker
Why it’s great: Flat construction, knit-look texture.
Raspberry Scallops
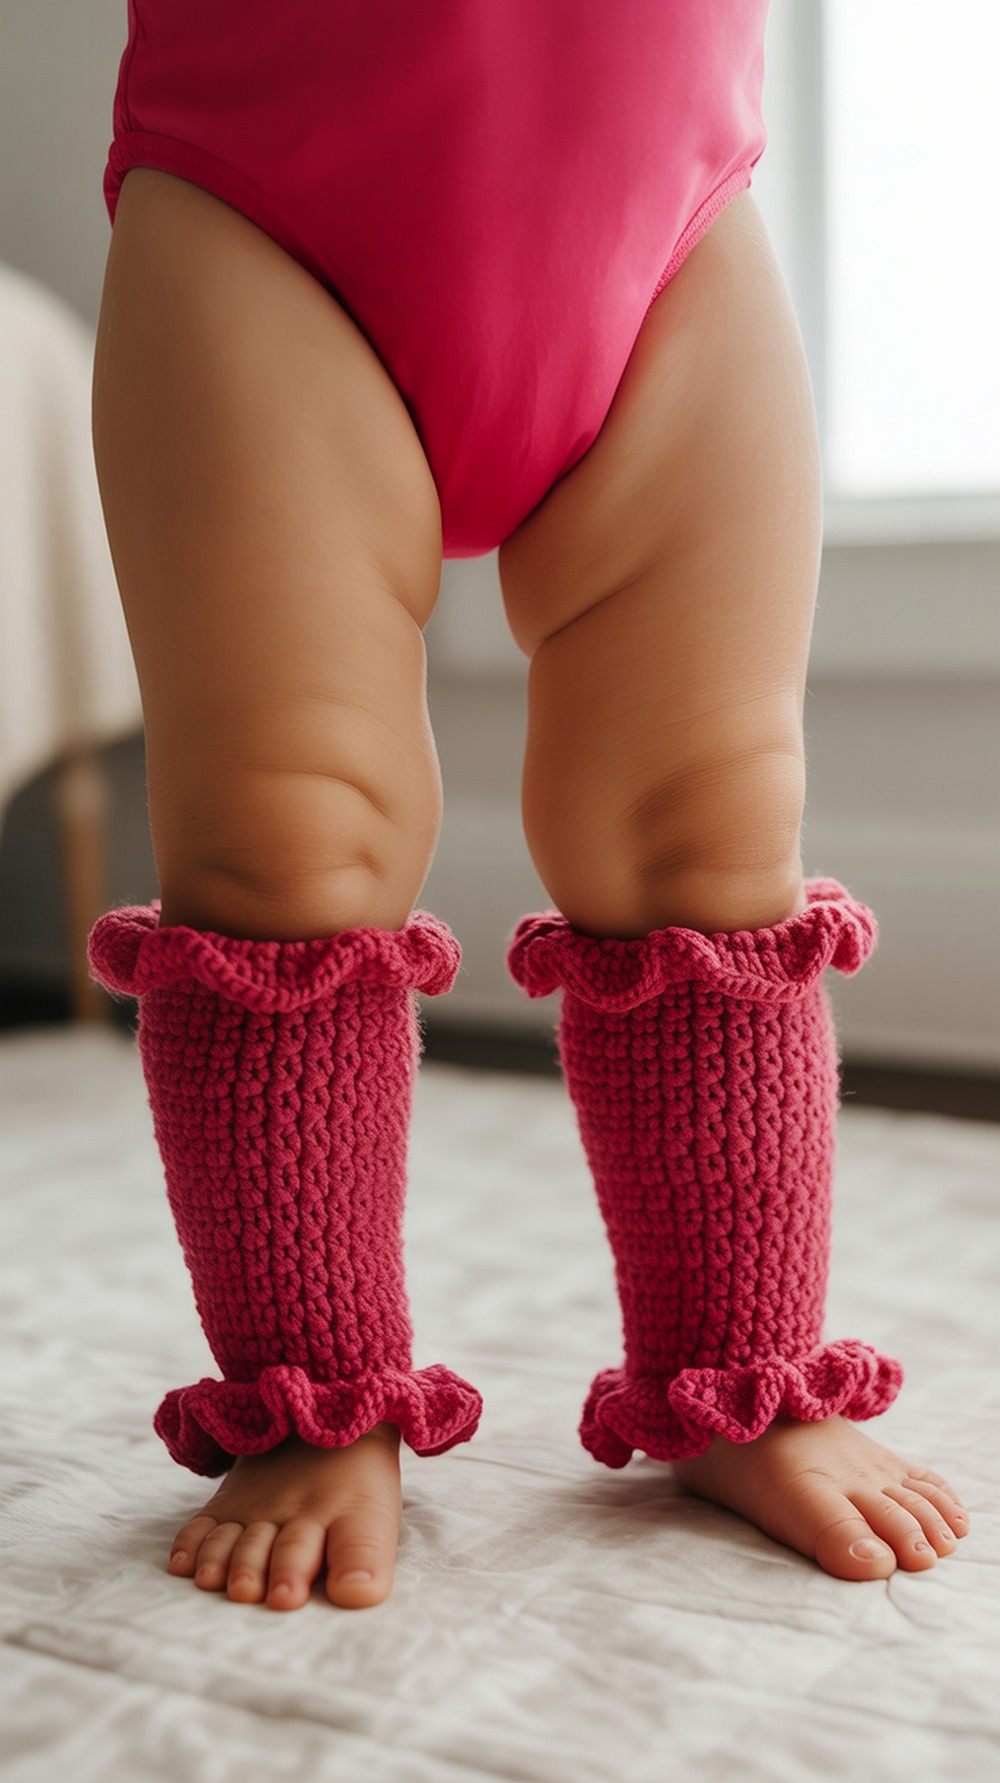
Quick, cute, and perfect for dance or gymnastics, these child-sized warmers feature an easy textured body and scalloped edges for a polished finish. The pattern explains how to adjust the starting chain and repeats for larger calves or longer legs. Use a vibrant worsted acrylic so the scallops stay perky and wash well. Tip: match the top and bottom scallops in stitch count so the edges mirror neatly. Find the kid-approved tutorial on Repeat Crafter Me. Tutorial
Supplies:
- Worsted acrylic (e.g., Vanna’s Choice in Raspberry)
- 5.0 mm (H/8) hook
- Needle, scissors, measuring tape
Why it’s great: Fast gift with cheerful, photo-ready edges.
Two Hour Chunky Rib
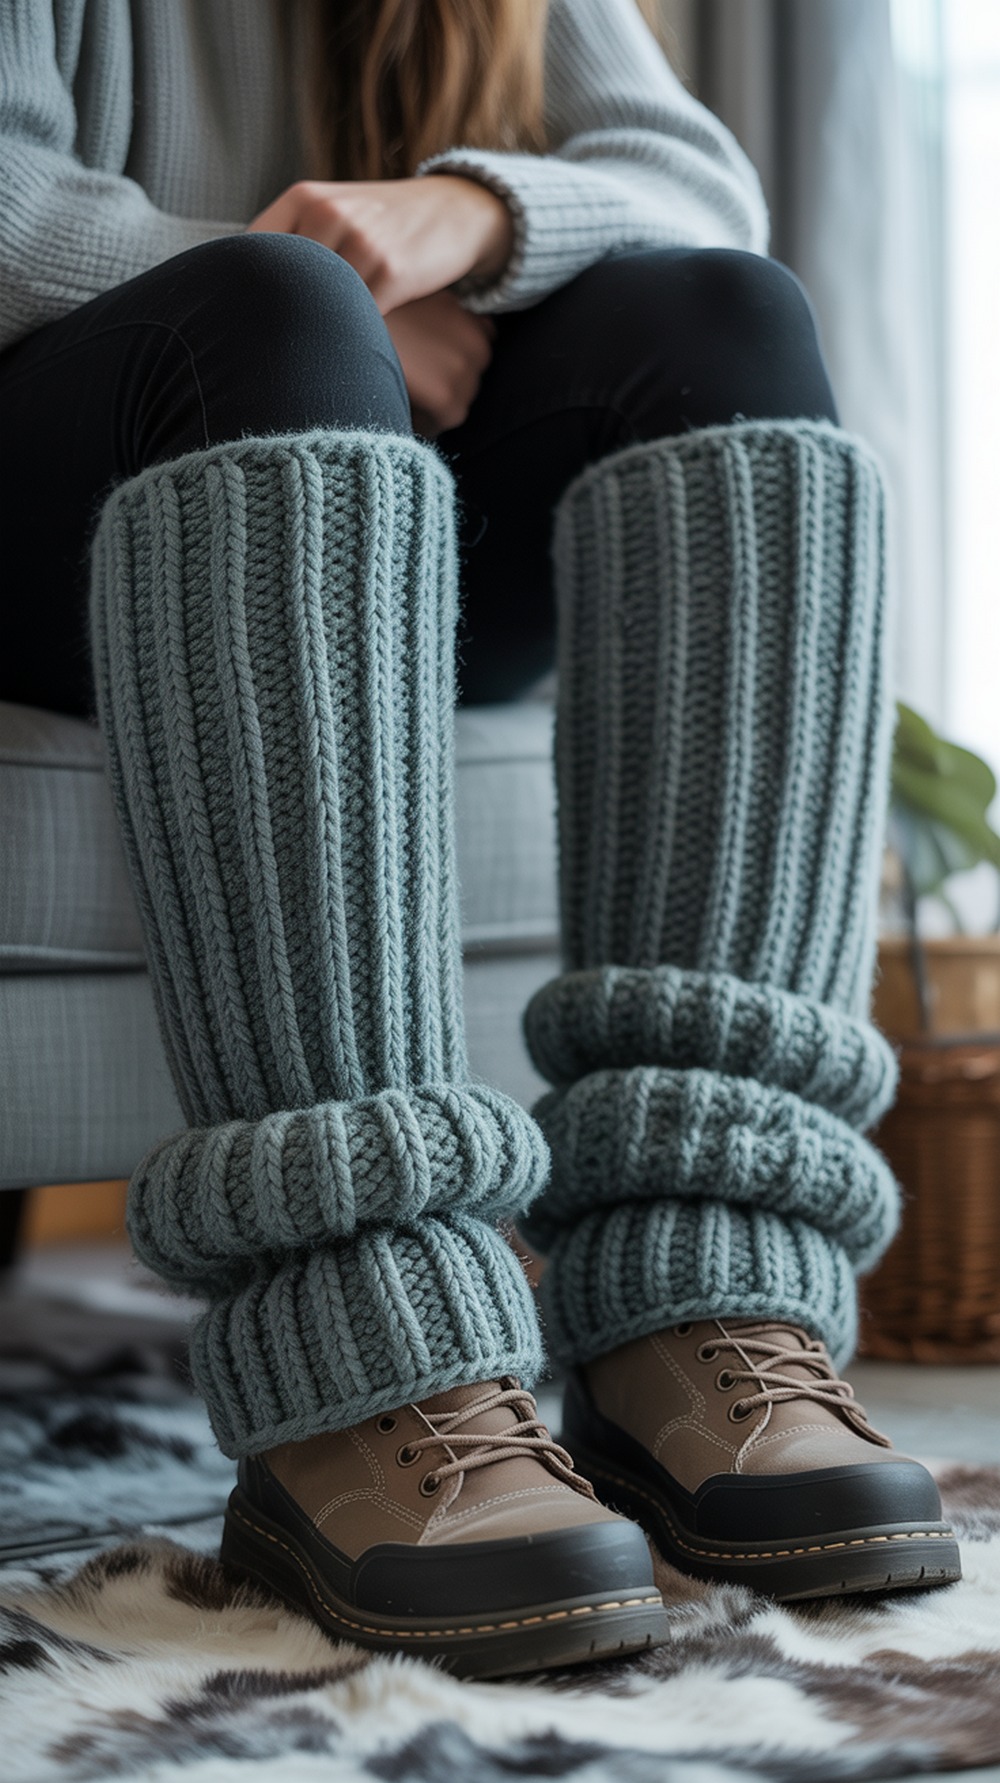
Need warmers today? This beginner pattern uses super-chunky yarn and a big hook for instant gratification. You’ll work stretchy ribs that mold to the calf and finish both in around two hours—great for last-minute gifts or a cold snap. Variegated bulky yarn adds icy swirls without color-changing hassle. Tip: check length as you go—bulky yarn “grows” less after blocking, so aim for the exact height you want. Follow Projectarian’s clear tutorial with yarn, gauge, and time notes. Tutorial
Supplies:
- Super-bulky acrylic/wool (e.g., Katia Inca Ice)
- 12 mm hook
- Yarn needle, ruler
Why it’s great: Ultra-fast, ultra-cozy.
Conclusion
Pick one that matches your yarn stash and time—slouchy ribs for TV time, flares for fashion, chunky for speed, or cables for drama. Leg warmers are the ultimate low-risk canvas to test color, texture, and fit, and every linked tutorial walks you through confidently. Bookmark this list for gifting season, pin your favorites, and share your finished makes—you’ll be surprised how many outfits they upgrade.
FAQs
What yarns work best for leg warmers?
Worsted and bulky yarns shine—acrylic for easy care, wool or wool blends for warmth and bounce. Tweeds and heathers hide wear; smooth plies show stitch definition.
Machine wash or hand wash? Drying tips?
Check the yarn label. Acrylic: machine wash cool, tumble low. Wool blends: gentle cycle or hand wash, lay flat to dry. Avoid high heat to prevent felting or stretching.
How do I scale patterns for different calves or heights?
Make the cuff/rectangle to a snug calf circumference (usually 1–2″/2.5–5 cm negative ease). Add or subtract body rounds/rows for height. Many patterns include sizing charts—measure as you go.
What fibers are safe for kitchen/bath or heat?
For warmers worn near space heaters, pick wool or cotton blends (less melt risk than pure acrylic). Avoid open flames regardless of fiber.
Best joins/edgings for durability?
Use slip-stitch joins and sturdy post-stitch cuffs. For seamed rectangles, mattress stitch or slip-stitch seams are strong and tidy. Reinforce cuffs with a final round of single crochet.
Typical time and yardage?
Bulky pairs: 1–3 hours, ~100–150 yds (90–140 m). Worsted adult pairs: 4–8 hours, ~250–450 yds (230–410 m). Kids’ sizes need far less—often under 150 yds (140 m).
Any tips for photographing finished projects?
Natural light, simple background, and a full-length shot showing how they sit over shoes. Include a close-up of stitch texture.
How do I fix curling, stretching, or wavy edges?
Curling: block lightly and add a tighter cuff round. Stretching: use smaller hook on cuffs or add elastic thread. Wavy edges: reduce stitches in the last round or block to measurements.