Looking for practical makes you’ll use every day (and gift on repeat)? This collection rounds up lanyards and badge holders that are sturdy, quick, and beginner-friendly—plus several ways to add beads for personality and durability. You’ll find flat straps, corded styles, bead-crochet ropes, and slim card pouches that clip to any clasp. Most projects use cotton or cord you likely have in your stash, and many finish in under an evening. I noted yardage, sizing tips, and one actionable tweak for comfort and safety. Pick one to match your work badge, keys, or event pass—and make a few extras for teachers, healthcare friends, and conference buddies. Let’s get you hooked on stylish, hardworking Crochet that shines with beads!
Creekside Textured Lanyard

A simple, textured strap that looks polished in cotton and stands up to daily wear. The Creekside Lanyard works flat, then folds around a swivel clasp; add a couple of large-hole wooden or silicone beads near the join for a subtle pop and extra grip when clipping on your badge. Chain any even number to size it for a neck lanyard or wristlet; cotton stops stretching and keeps the stitch definition crisp. For extra strength, stitch a small square where the strap overlaps the clasp. Follow the written pattern and video here and add your bead flair as shown. Tutorial
Supplies: worsted cotton (#4), 4.0 mm hook, swivel clasp, yarn needle, scissors
Why it’s great: Clean texture + easy length tweaks make it a fast, everyday staple.
Summer Market Beaded Lanyard
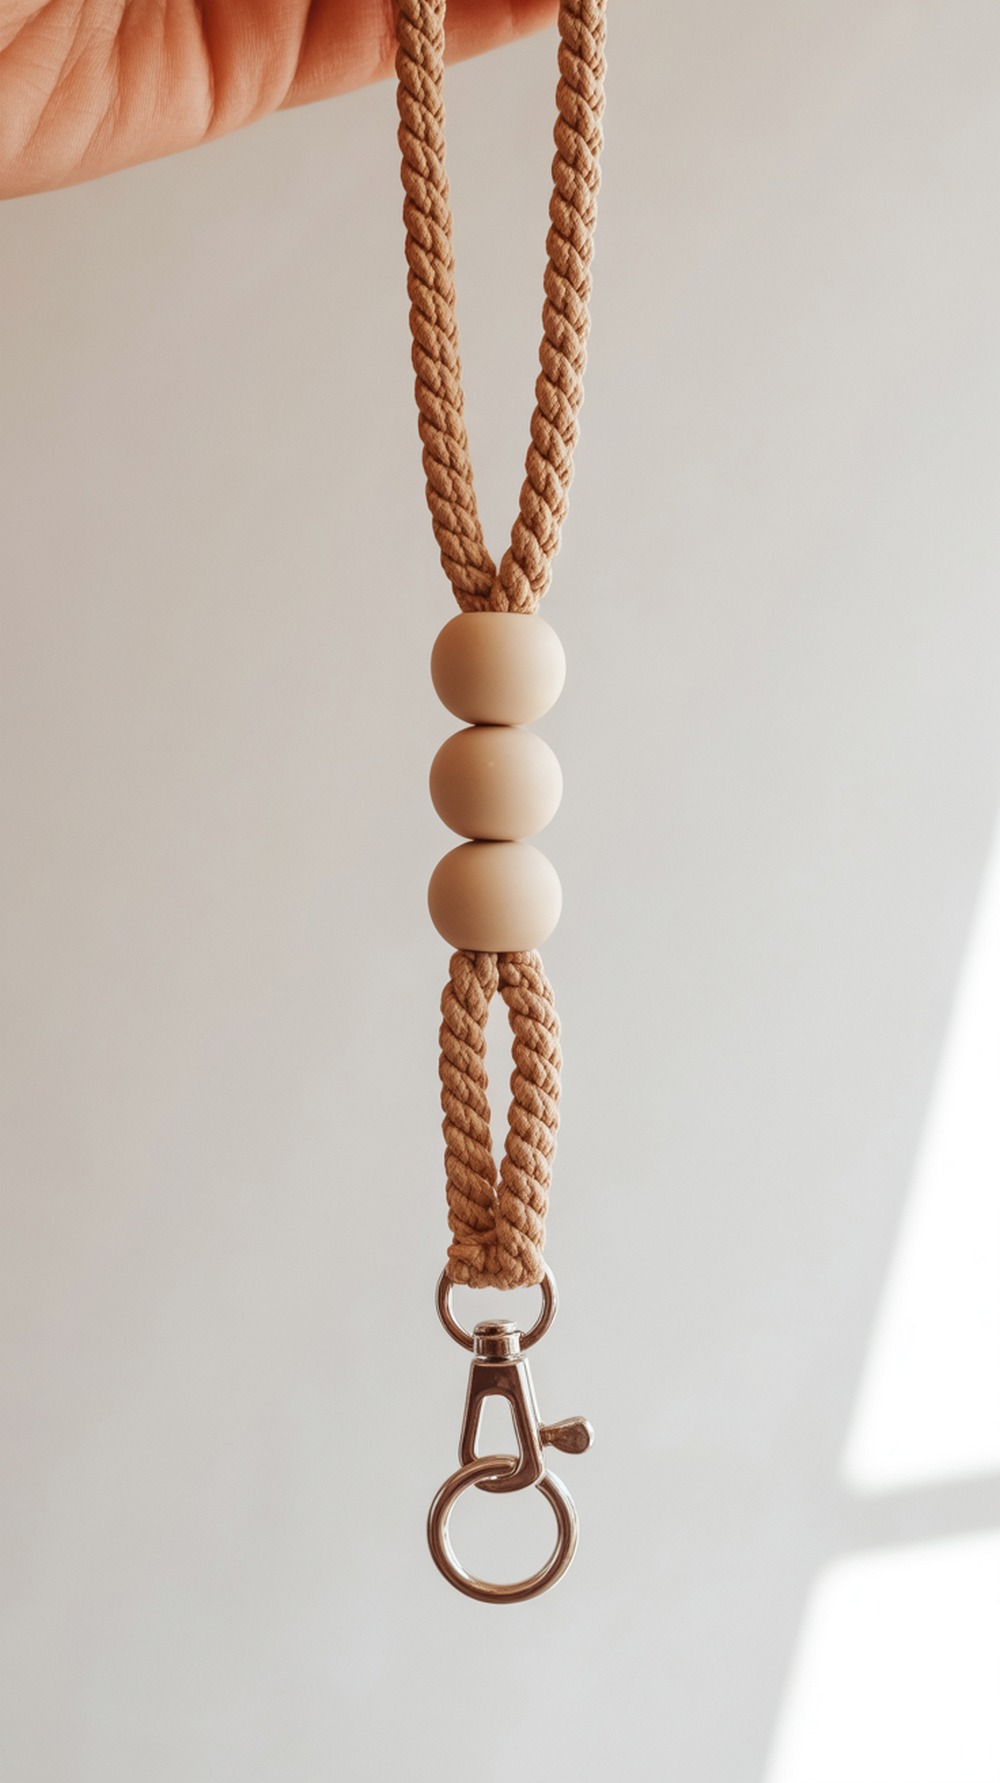
Built for beads from the start! This clever design anchors a bead at the magic-ring base and threads 3–4 accent beads into the chain strap so they sit comfortably at the collarbone. It’s fast in 3 mm cord and uses wrap knots for a neat finish. The tutorial includes bead-adding steps with a smaller hook, sizing notes, and hardware placement, so you can customize length or add more beads for a name/initial. Pair with a horizontal badge holder for easy tap-and-go. Make one in 20 minutes once you’ve tried it. Tutorial
Supplies: 3 mm cord, 9 mm/6 mm/4 mm hooks, 12 mm beads (5 mm hole), D-ring lobster clasp, scissors
Why it’s great: Designed for beading—quick, sturdy, and market-friendly.
Crochet Beaded Badge Necklace

Prefer jewelry vibes? This badge necklace uses size-10 thread and a beaded-chain technique so seed beads sparkle along a slim Crochet strand. The step photos and video walk you through adding beads as you go, working treble-cluster accents, and sewing on clip ends that attach to any badge sleeve. It’s lightweight, dressy, and perfect for conferences or choir nights. Choose tone-on-tone beads for subtle shine or contrast for pop; adjust length before adding hardware. Tutorial
Supplies: size-10 cotton thread, steel hook, seed beads, 2 small clips, badge sleeve
Why it’s great: Elegant beaded look that still feels soft and wearable.
Beaded Lanyard (Pony Bead Stripe)
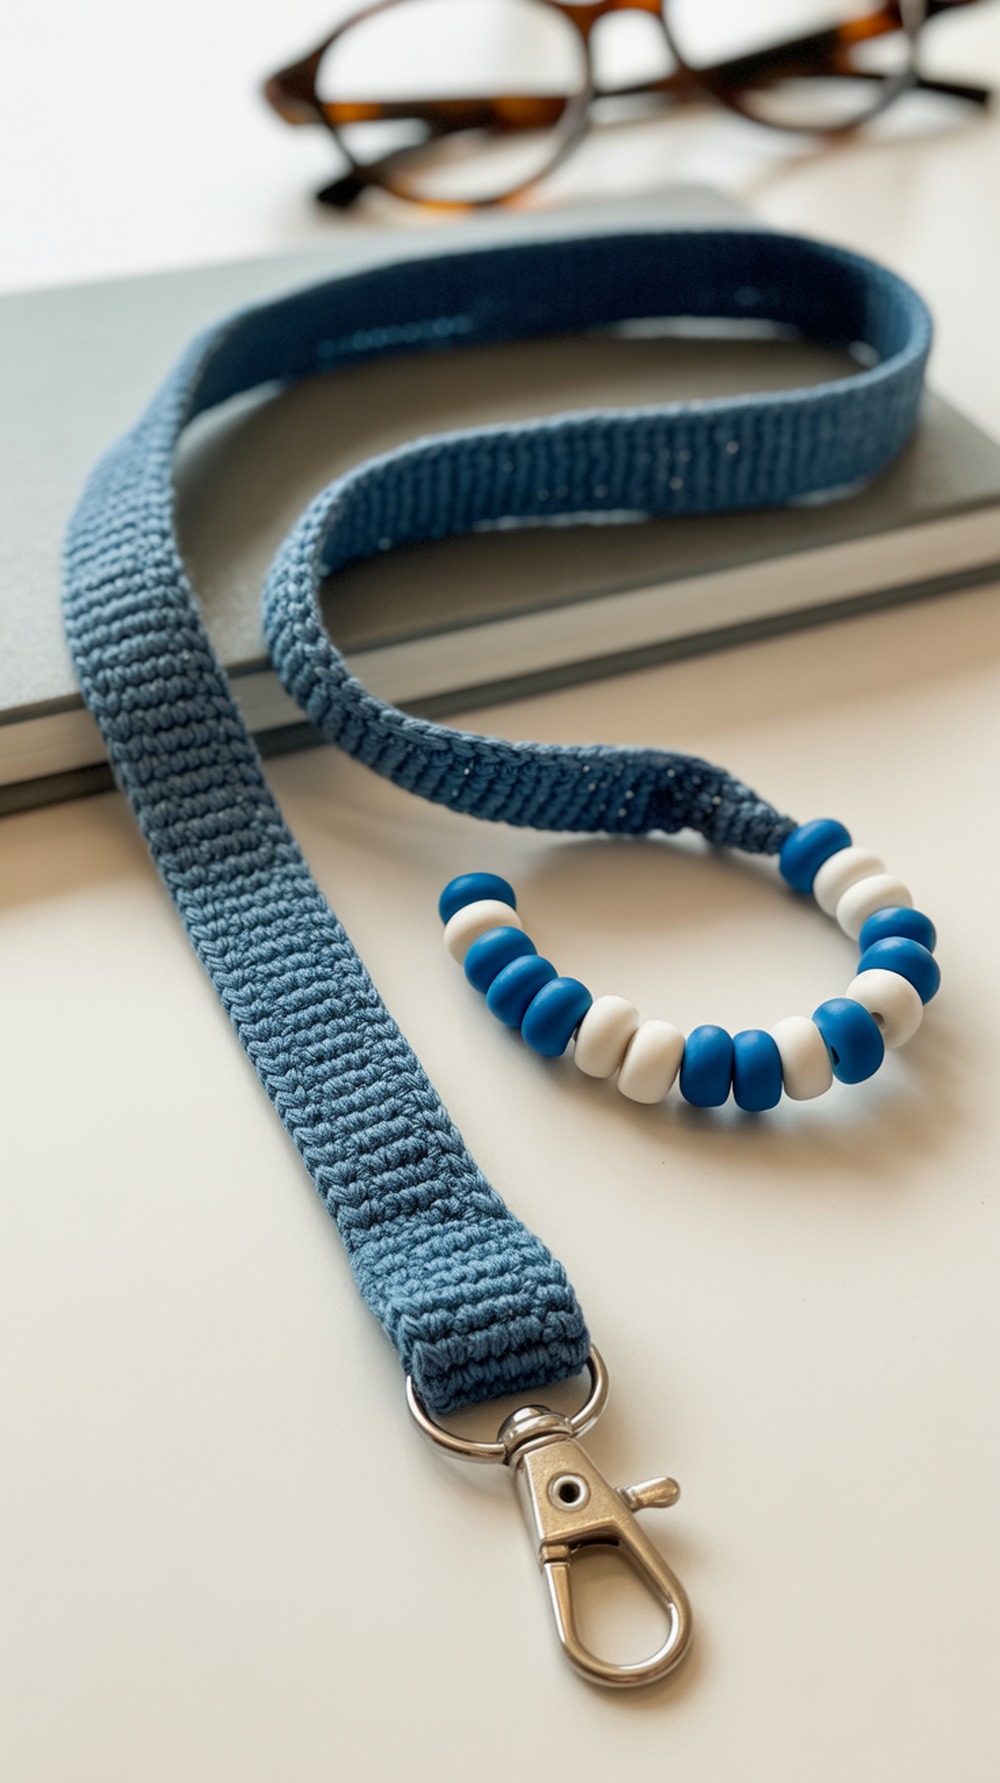
A true bead-forward strap: thread 20–30 pony beads onto sturdy cotton and slide one up every few rows as you single-crochet a slim strip. The pattern shows exactly when to place beads, how to attach a D-ring and clip, and a neat overlap seam. Works beautifully in self-striping cotton so the yarn does the colorwork while beads add punctuation. Great stash-buster and gift item. Size by adding or removing repeats. Tutorial
Supplies: worsted cotton, 5.0 mm hook, 25–30 pony beads, D-ring, clip, needle
Why it’s great: Low-sew, rhythmic, and the beads do the style heavy lifting.
Star Stitch Lanyard (bead optional edge)
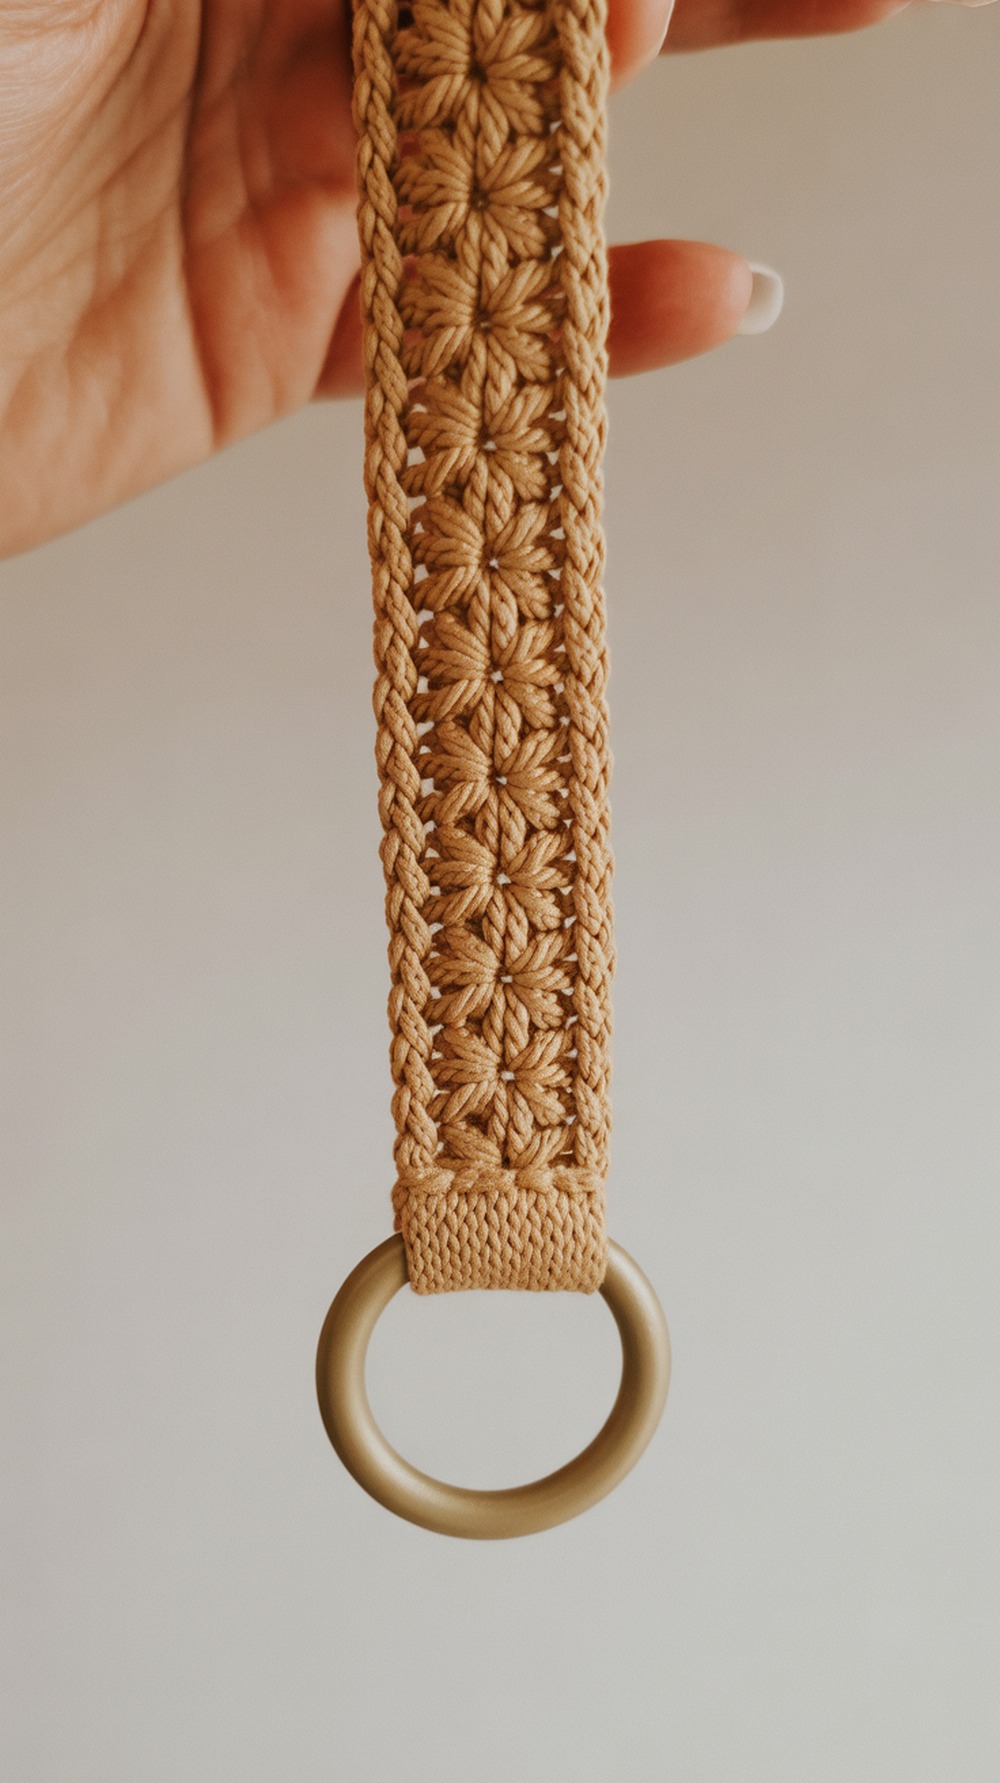
This pretty star-stitch strip gets raised edges by slip-stitching around both sides—perfect channels to nest a few large-hole beads near the clasp for a tidy stop-knot effect. The pattern is written in UK terms, notes chain multiples for custom length, and recommends cotton to reduce stretch. Add beads at the overlap end only if you like a clean strap. Ideal as a neck lanyard or key wristlet. Tutorial
Supplies: DK/worsted cotton, appropriate hook, D-ring + clasp, needle
Why it’s great: Star texture feels boutique with or without bead accents.
Tulip Glow Lanyard (try glow yarn + beads)
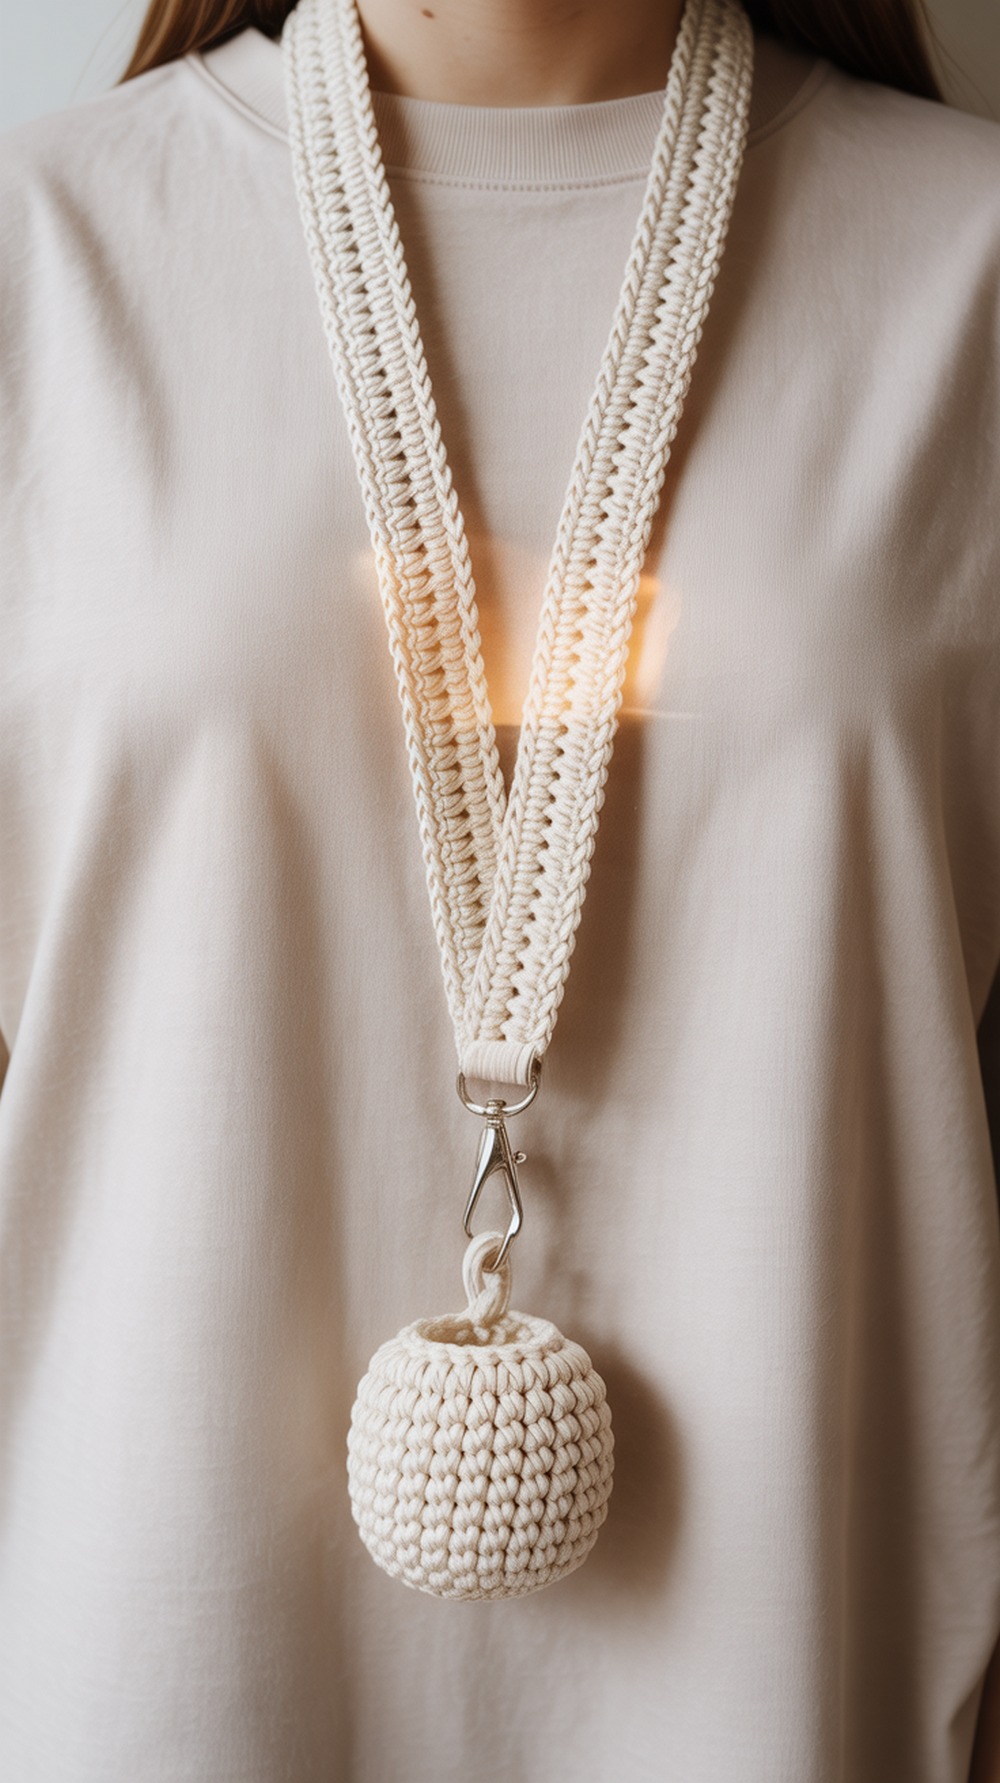
A flat strap worked in tulip stitch (puff + chain) for a vintage look—then cinch around your clasp. The tutorial suggests glow-in-the-dark yarn; for a beaded twist, slide a few large-hole acrylic beads onto the strap near the neck where they won’t rub your skin. The written pattern and video make it beginner-friendly, and you can lengthen by repeating rows. Great for theme parks or evening events. Tutorial
Supplies: worsted yarn (DIY Glow or cotton), 4.0 mm hook, lobster clasp, needle
Why it’s great: High-visibility fun with comfy puff texture.
Crochet Key Card Holder

Make a slim pouch for cruise or office key cards, then clip it to your beaded lanyard. This quick pattern favors cotton for strength and privacy, and links a printable version. The opening lets you slide the card without removing the lanyard. Size to your card and add a button or snap if you like. It’s a perfect companion to any strap above and an easy gift set. Tutorial
Supplies: worsted cotton, 4.0–4.5 mm hook, key ring/lobster clasp, needle, scissors
Why it’s great: Ten-minute pouch that upgrades any lanyard setup.
Lanyard Keychain
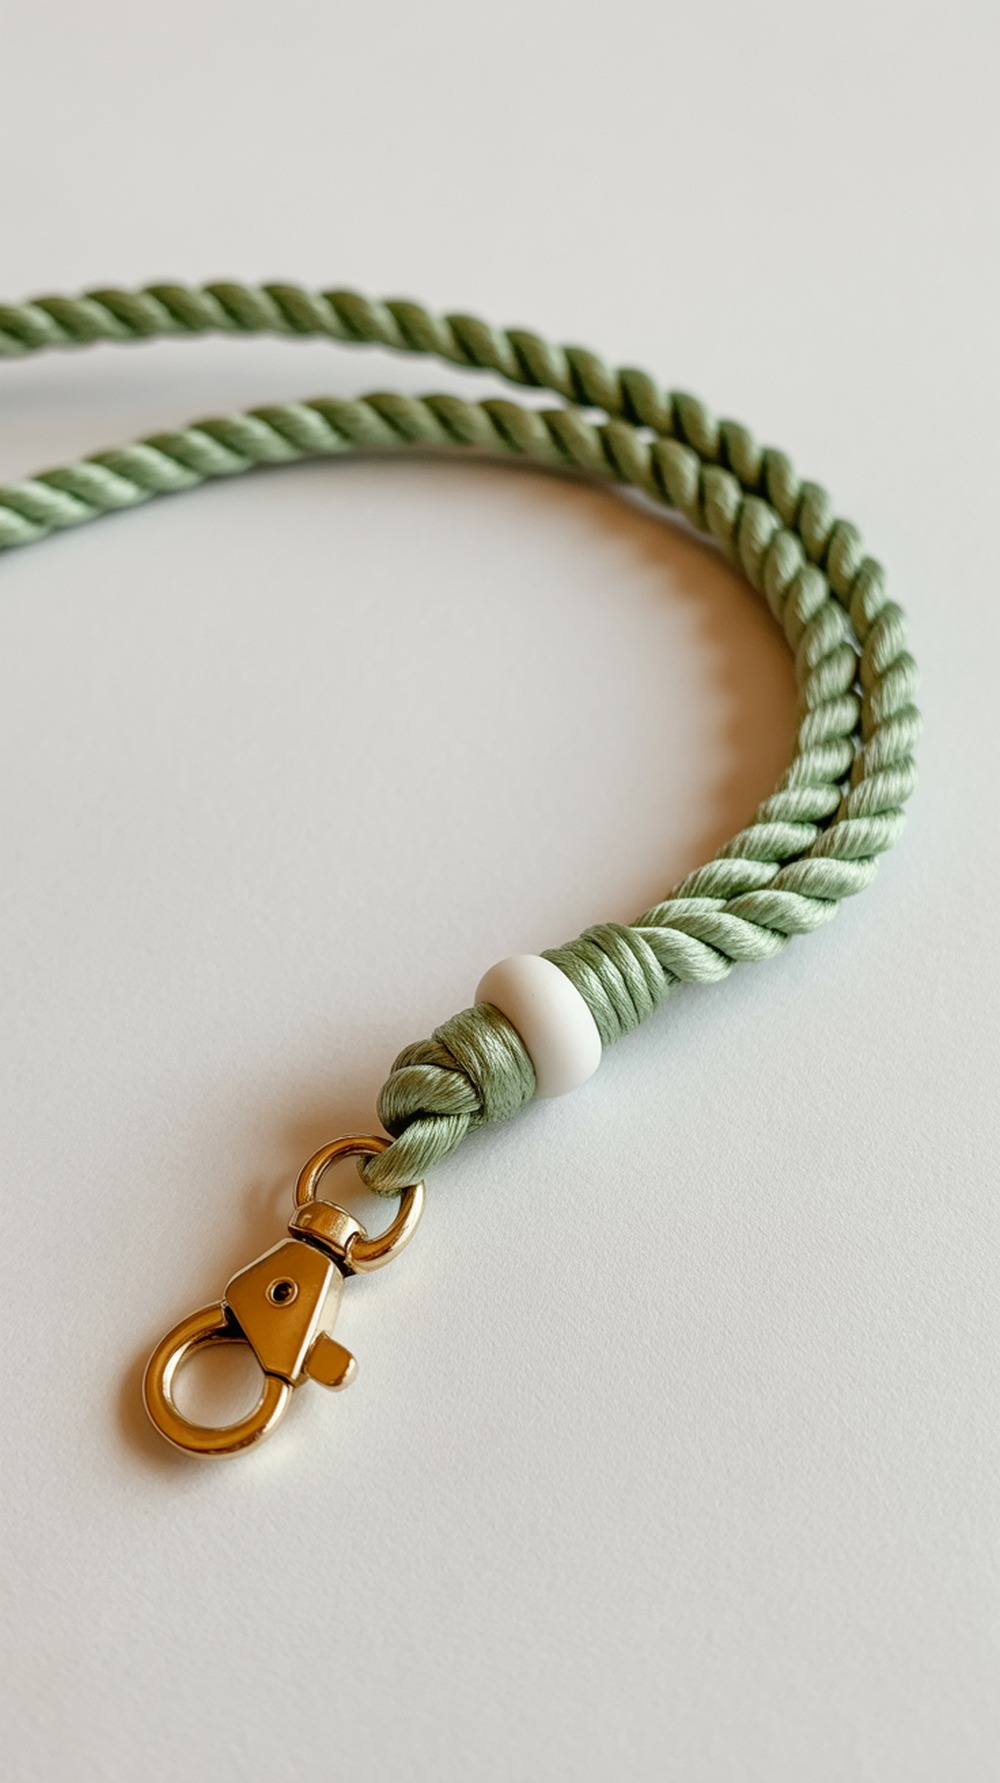
Two routes: lucet-fork cord or a chunky Crochet cord (Romanian/I-cord). Either way, you get a dense strap that’s great for threading a couple of statement beads before attaching hardware. The tutorial shows lengths for wrist or neck and how to wrap the base neatly. Use macramé cord or double-strand cotton for durability. Add silicone or wood beads near the neck for comfort and balance. Tutorial
Supplies: macramé cord or cotton yarn, 12 mm hook or lucet fork, key ring + lobster clasp, needle
Why it’s great: Super sturdy strap with flexible cord options.
Linen Stitch Lanyard
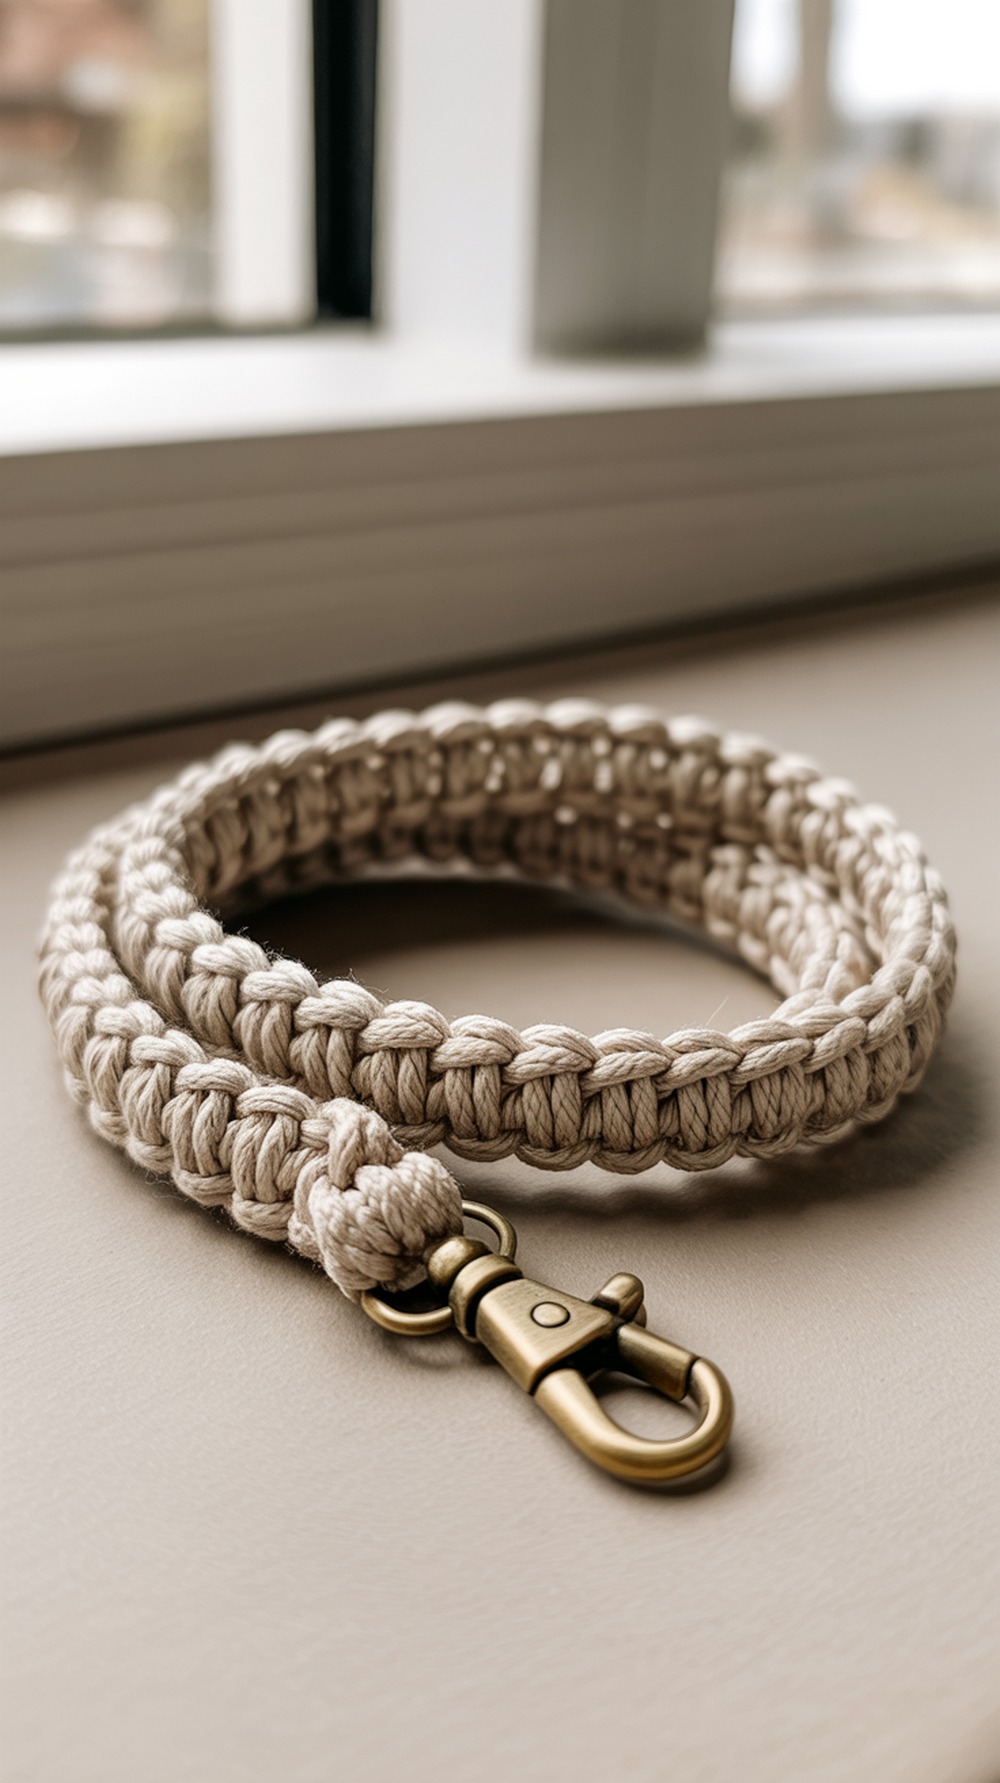
Work a slim, flexible strap in linen (moss) stitch with a calm, woven look. The video shows the full sequence; to bead, pre-load a few large-hole beads and park them near the clasp zone before seaming so they act like tidy “stoppers.” Measure 32–36″ for neck or 12″ for wrist. Great way to practice tension and get a reversible texture that won’t snag clothing.
Supplies: worsted cotton, 4.0–4.5 mm hook, swivel clasp, needle
Why it’s great: Easy rhythm + sleek texture that pairs well with beads.
Crochet Lanyard with Beads

If you want a straight-up bead tutorial, this one strings 16 beads onto worsted yarn, then places them as you Crochet a slim strap. It’s fast, visual, and perfect for first-time bead handling with yarn. Use smooth pony or silicone beads with 5 mm+ holes, and keep beads away from the back of your neck for comfort. Finish with a lobster clasp and a tight overlap seam.
Supplies: worsted yarn, 5.0 mm hook, 16–24 large-hole beads, lobster clasp, needle
Why it’s great: Learn bead placement in a simple, repeatable strap.
Bead Crochet Rope Lanyard
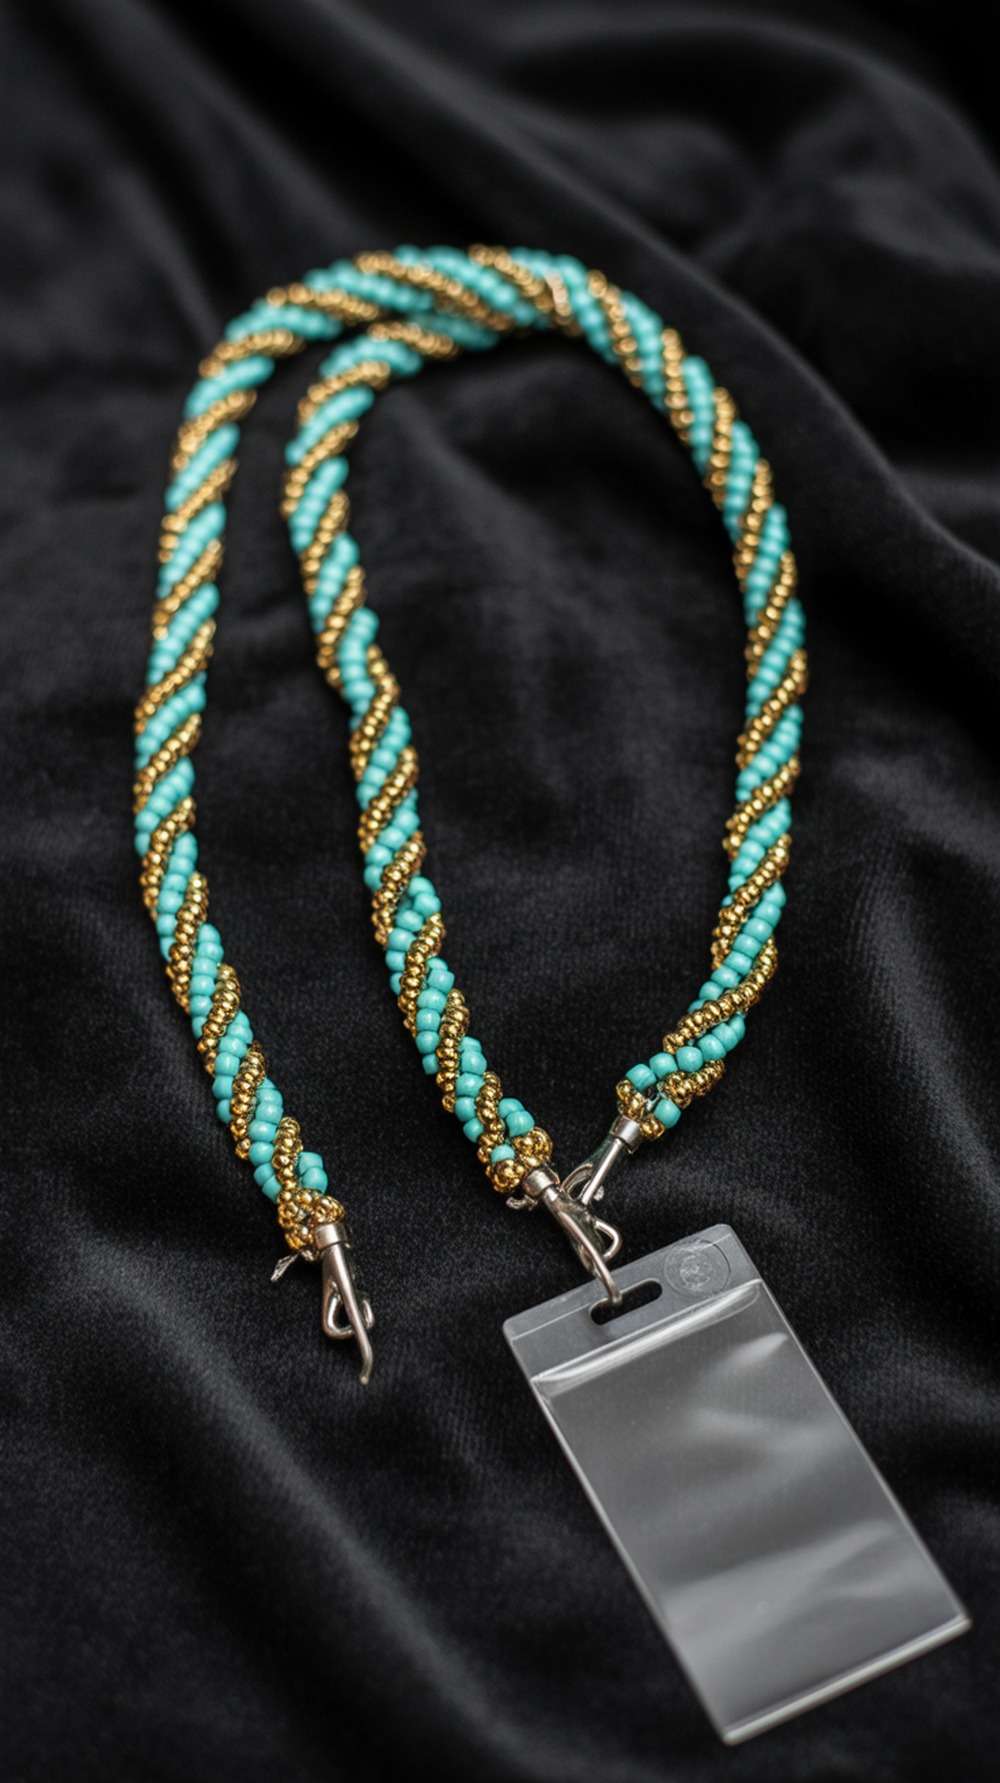
For a jewelry-grade look, make a tubular bead-crochet rope and add badge clips. This technique tutorial covers forming the ring, working slip-stitch rounds with pre-strung seed beads, and building a continuous rope. Use strong beading thread and size-11/0 beads; plan your pattern, then Crochet to your target length and attach findings and a badge clip. It’s elegant, durable, and surprisingly meditative once your hands learn the rhythm. Tutorial
Supplies: beading thread, steel hook, size-11/0 seed beads, badge clips, needle-nose pliers
Why it’s great: Professional, flexible rope that doubles as a necklace.
Teacher Style Strap with Bead Math
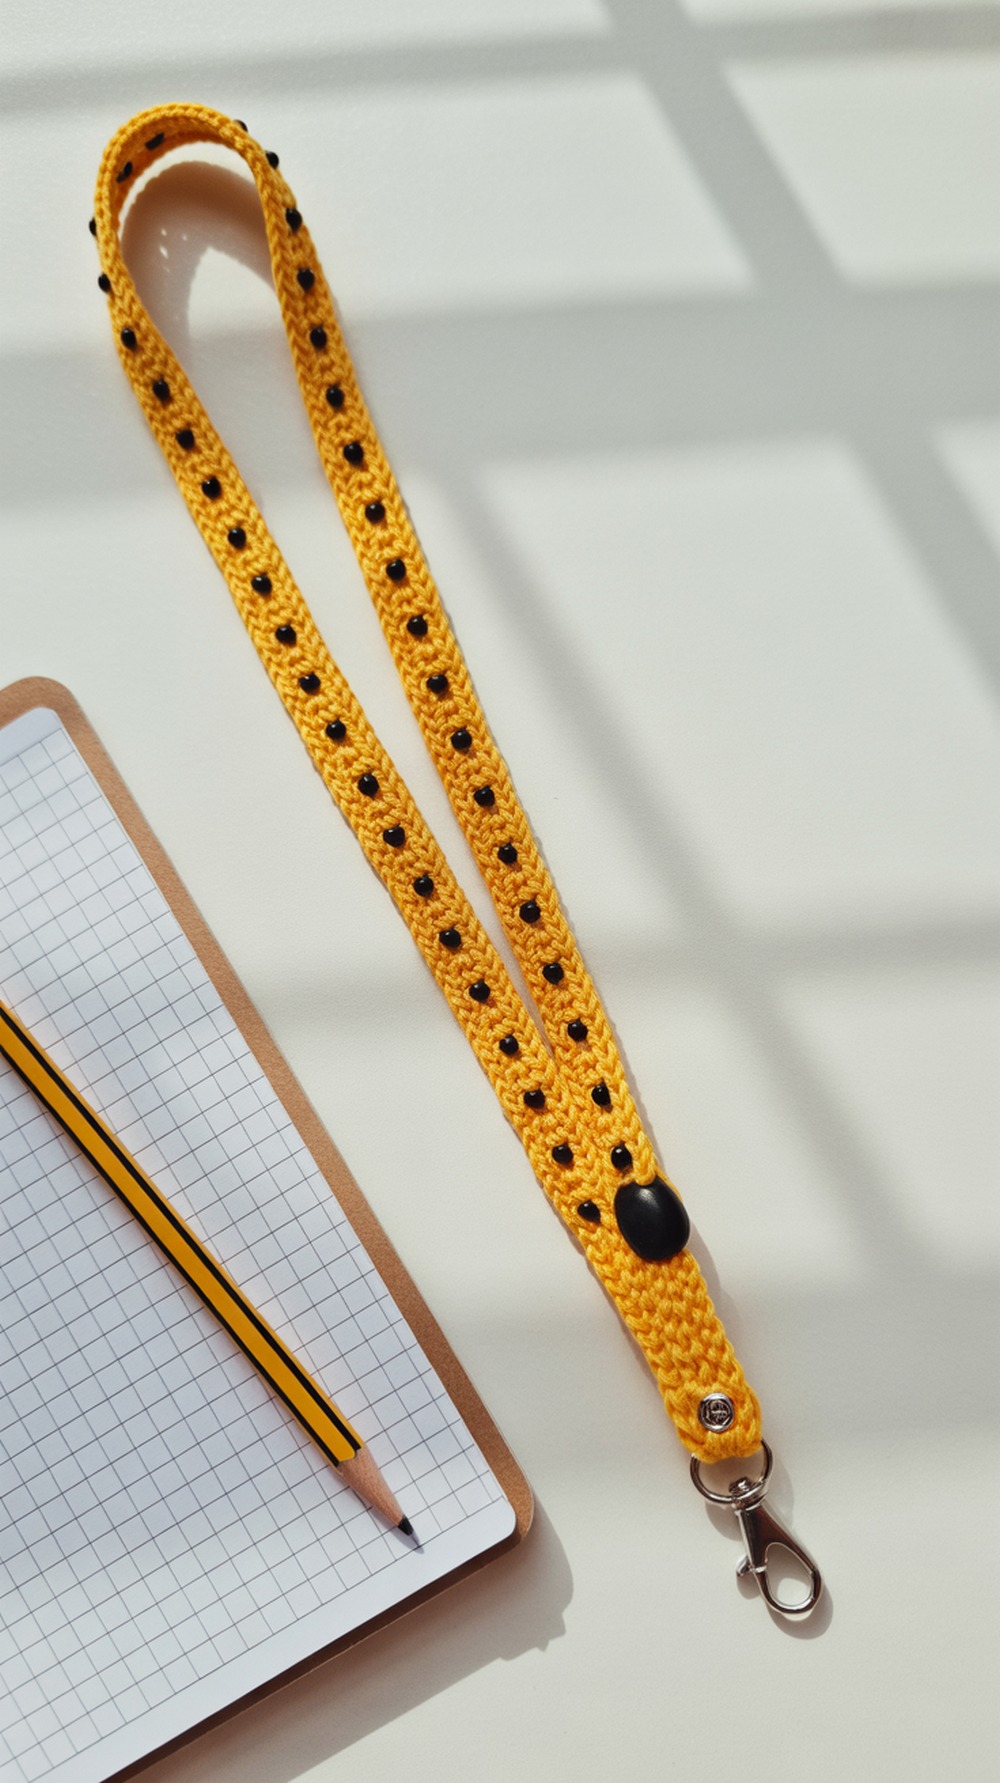
Start with a long chain in cotton thread or yarn, then work a minimal strap and add beads at predictable intervals. This follow-up post shows how to calculate bead counts (e.g., 221 chains → 220 sts; beads every 5th stitch → ~44 beads) so you can pre-string exactly what you need. Finish by seaming around a clasp and keep beads away from the neck zone. Great for precise planners! Tutorial
Supplies: cotton thread/yarn, matching hook, large-hole beads, clasp hardware, needle
Why it’s great: Clear math = zero guesswork for perfect bead spacing.
Conclusion
You’ve got options—from soft cotton straps with a few statement beads to sparkly seed-bead ropes that read like jewelry. Start with one simple win (try #2 or #4), then mix lengths, colors, and bead shapes to match your badge holders. These make excellent gifts and craft-fair sellers, too. Bookmark this list, share it with a crafty friend, and come back whenever you need a fast, personal make that gets daily use. Happy hooking!
FAQs
What yarns work best for lanyards and badge holders?
Cotton (worsted or thread) and macramé cord are ideal—low stretch, grippy stitch texture, and strong. For bead ropes, use beading thread or size-10 cotton.
Machine wash or hand wash—and how to dry?
Hand wash in cool water, especially if beads/metal hardware are attached. Press in a towel, reshape, and air-dry flat. Remove hardware if possible.
How do I scale patterns for neck vs. wrist?
Aim for ~32–36″ (81–91 cm) for neck lanyards and ~12″ (30 cm) for wristlets; many patterns note chain multiples so you can add or subtract repeats.
What fibers are safest for kitchen/bath or heat?
Cotton tolerates regular washing and mild heat better than acrylic. Keep plastic beads and elastic away from high heat—no dryers or hot dashboards.
How do I make joins/edgings durable?
Fold and stitch an overlap around the hardware (box stitch or whipstitch through 3 layers). Add a tight wrap knot or sew in 1″ of tail for security.
Typical time and yardage?
Flat straps: 15–60 minutes; 15–50 yards. Bead-rope styles: 1–3 hours; thread + several grams of beads. Pouches: 10–30 minutes; ~30 yards.
Any photo tips for finished projects?
Shoot near a window, style with your keys/badge, and focus on stitch and beads. Keep backgrounds clean and colors true.
Fixing curling, stretching, or wavy edges?
Block lightly, switch to smaller hook for edging, and line overlap areas with ribbon for stretch control. Place beads away from high-flex points.