Crochet herringbone fabric is dense, chic, and naturally sturdy—perfect for slim zip pouches and petite crossbody bags that protect phones, cards, and everyday bits. Below you’ll find 14 project-sized ideas that all use a herringbone stitch (HHDC/HBDC or HSC) and finish neatly with a zip or secure top. Each one includes a reliable tutorial, quick supply notes, a why-it’s-great snapshot. Want a true crossbody? Add tiny D-rings before the final round and clip on a strap; many of these tutorials show zippers, linings, and hardware placements you can borrow. Pick your favorite pouch size first (phone, wallet, makeup), grab a cotton or raffia-style yarn, and let the herringbone texture do the heavy lifting.
Herringbone Zipper Pouch
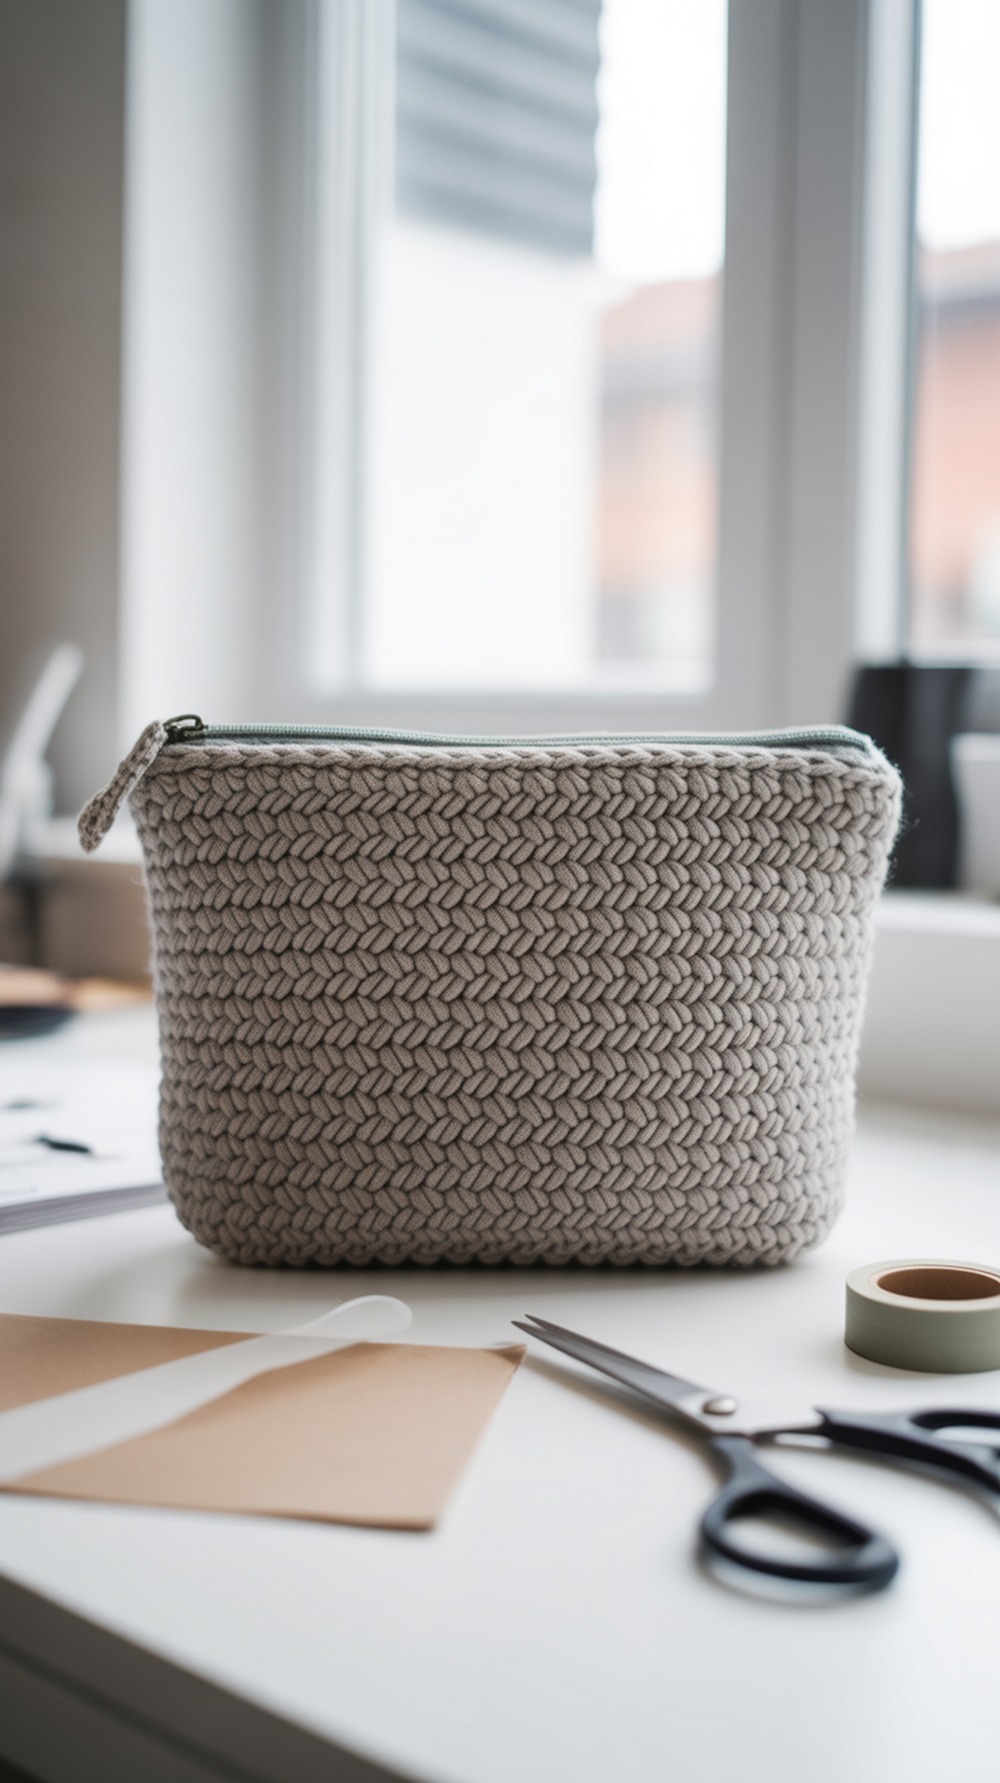
This compact pouch builds a flat base and crisp sides with herringbone double crochet, then adds a stitched-in zipper for a tidy finish. It’s a great “first zipper” project and the dense fabric protects hooks, makeup, or tech cables. Follow the measurements in the pattern, or add 2–4 extra rows for taller storage. Action tip: before seaming, crochet a short tab on each side to catch D-rings so you can clip a crossbody strap later. See the Herringbone Zipper Pouch tutorial for step photos and assembly tips. Tutorial
Supplies: worsted cotton, 4.0 mm hook, zipper (≈9″), yarn needle, stitch markers
Why it’s great: sturdy, sits upright, easy zipper install
The Herringbone Clutch
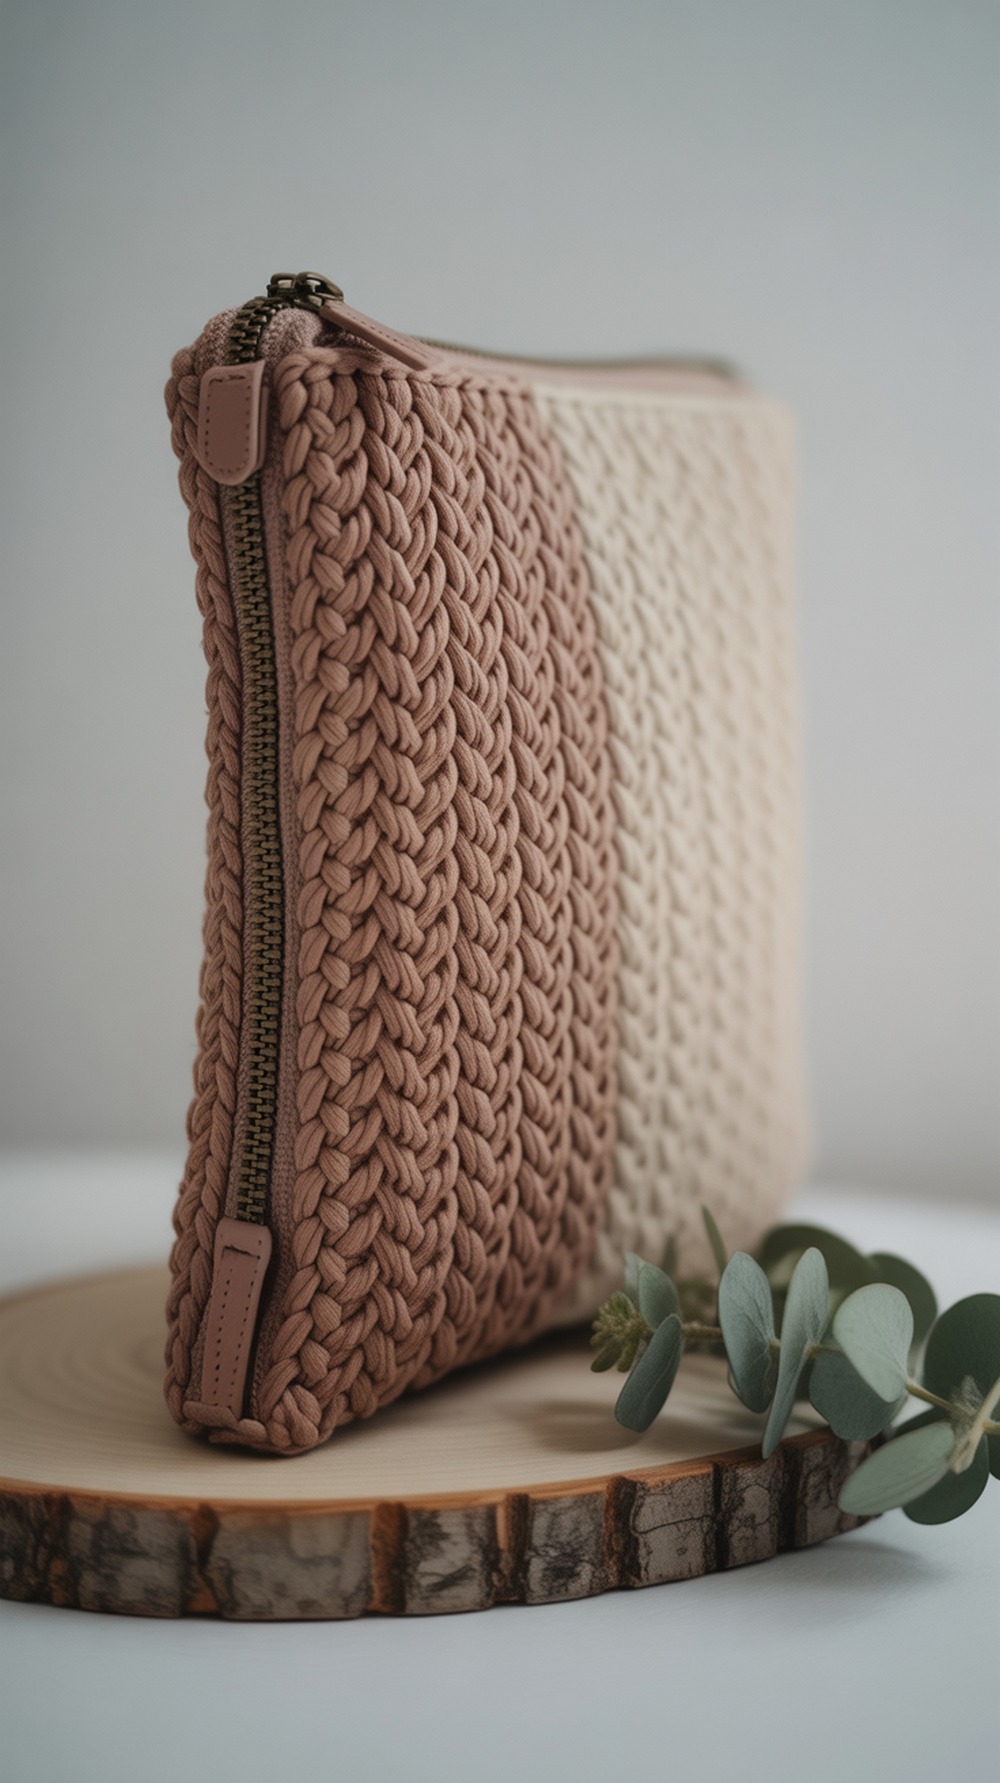
Worked in herringbone half double crochet, this clutch includes sizing for shortie, standard, and fold-over—and a full walkthrough for adding a zipper and lining. Make the standard size, sew the zipper, then crochet slim side tabs to hold D-rings for an instant crossbody. Yardage scales with width/height, so it’s easy to customize for your phone and wallet. Action tip: fuse heavyweight interfacing to the lining so the herringbone texture stays sharp in daily use. Tutorial
Supplies: aran or worsted yarn, 6.0–6.5 mm hook (held double if needed), zipper, fabric/lining, needle & thread
Why it’s great: flexible sizes + clear zipper tutorial
Herringbone Crochet Clutch
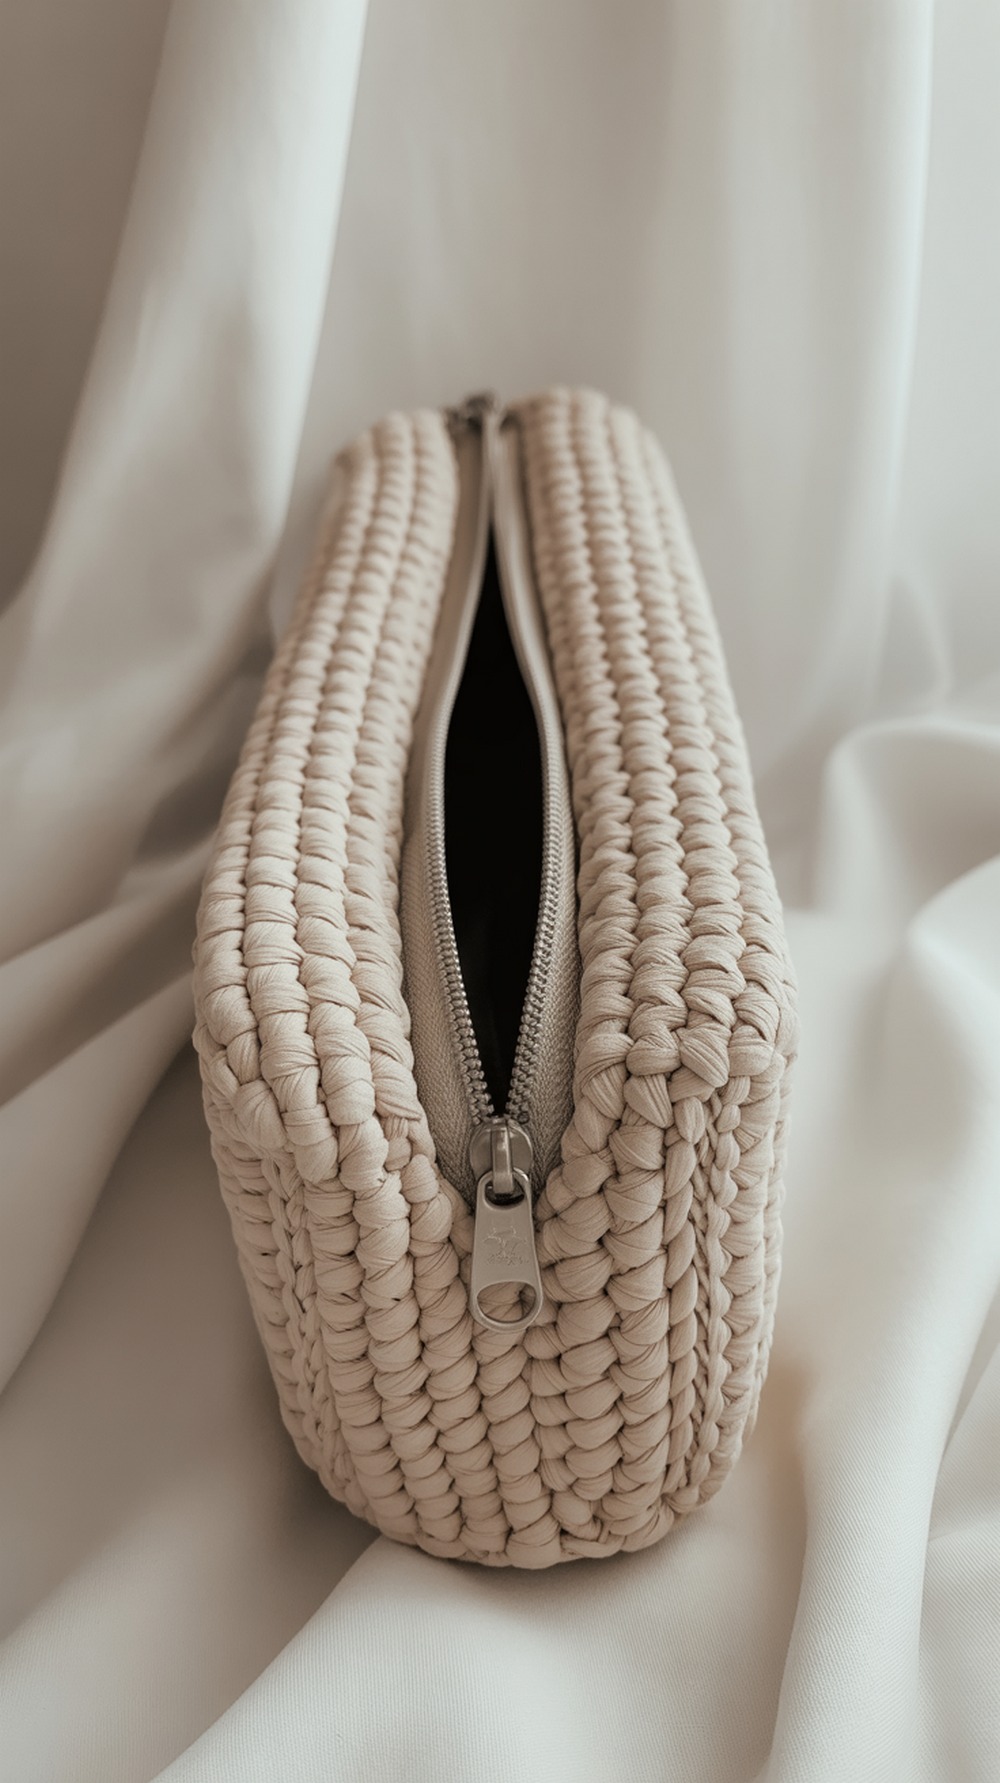
This beginner-friendly rectangle of HBDC folds into a sleek clutch. The tutorial shows exact gauge, yardage (≈130 yds), and a clean finish—swap the magnetic clasp for a sewn zipper to make it market-ready and spill-safe. Add small side loops before seaming if you want crossbody functionality. Action tip: choose mercerized cotton or tightly spun wool-blend to emphasize the stitched “woven” look and reduce pilling. Tutorial
Supplies: worsted cotton, 4.5–5.0 mm hook, zipper or clasp, lining fabric, hand-sewing notions
Why it’s great: super fast make with upscale texture
Half Herringbone Cell Phone Wristlet Pouch

Sized for phones, this HHDC wristlet pouch works in the round with a neat loop handle. For a zip-top, leave an opening, whip-stitch a zipper to the inner edge, and you’ve got a secure mini crossbody when you clip on a strap. Great stash-buster and a fast gift. Action tip: block lightly before inserting the zipper so the mouth measures true and stitches don’t pucker while sewing. Tutorial
Supplies: worsted cotton/acrylic, 4.5–5.0 mm hook, 6–7″ zipper, keyring/D-ring, yarn needle
Why it’s great: perfect phone size; sturdy texture
Herringbone Raffia Zipper Pouch
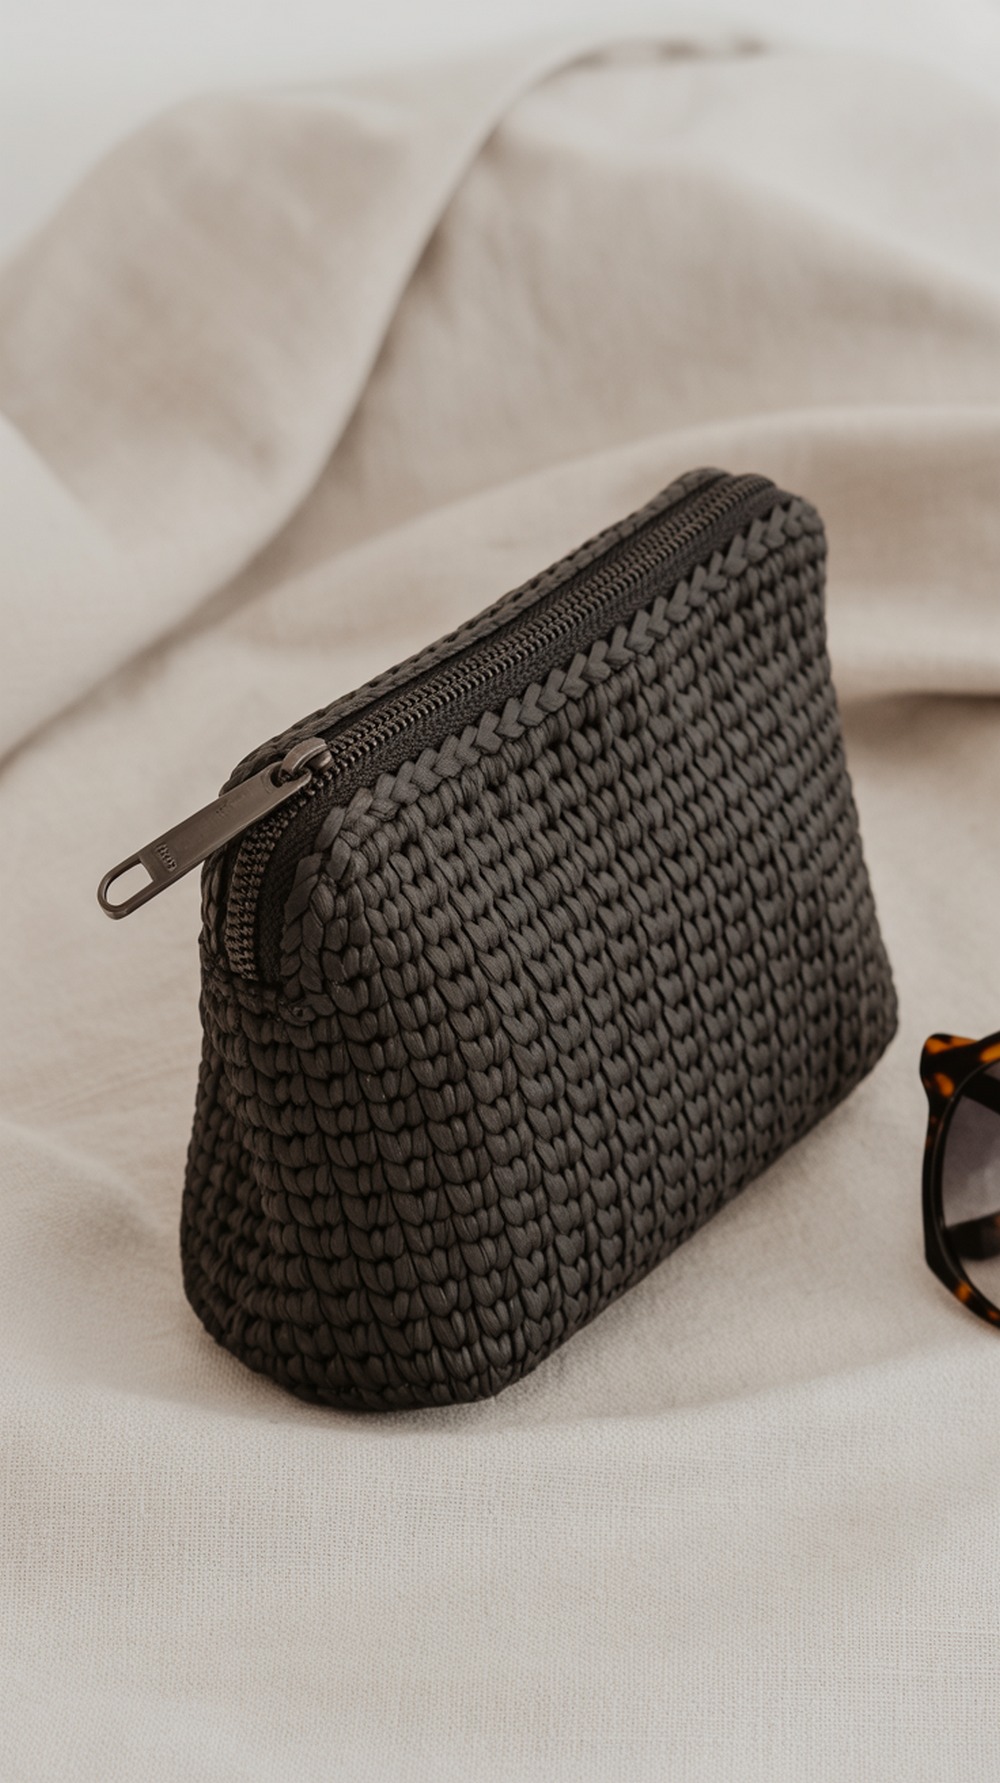
Raffia yarn plus herringbone stitch equals a crisp, leather-like pouch that doesn’t need a lining. The video teaches the stitch and shows a tidy zip install right into the crochet edge. Keep it a clutch or attach small side tabs for a convertible crossbody mini. Action tip: steam-block gently (don’t press) to smooth the raffia and square the corners before sewing the zipper. Tutorial
Supplies: raffia or paper yarn, 4.0–4.5 mm hook, nylon zipper, clips, tapestry needle
Why it’s great: sleek, lightweight, holds shape without lining
Herringbone Stitch Crossbody Bag
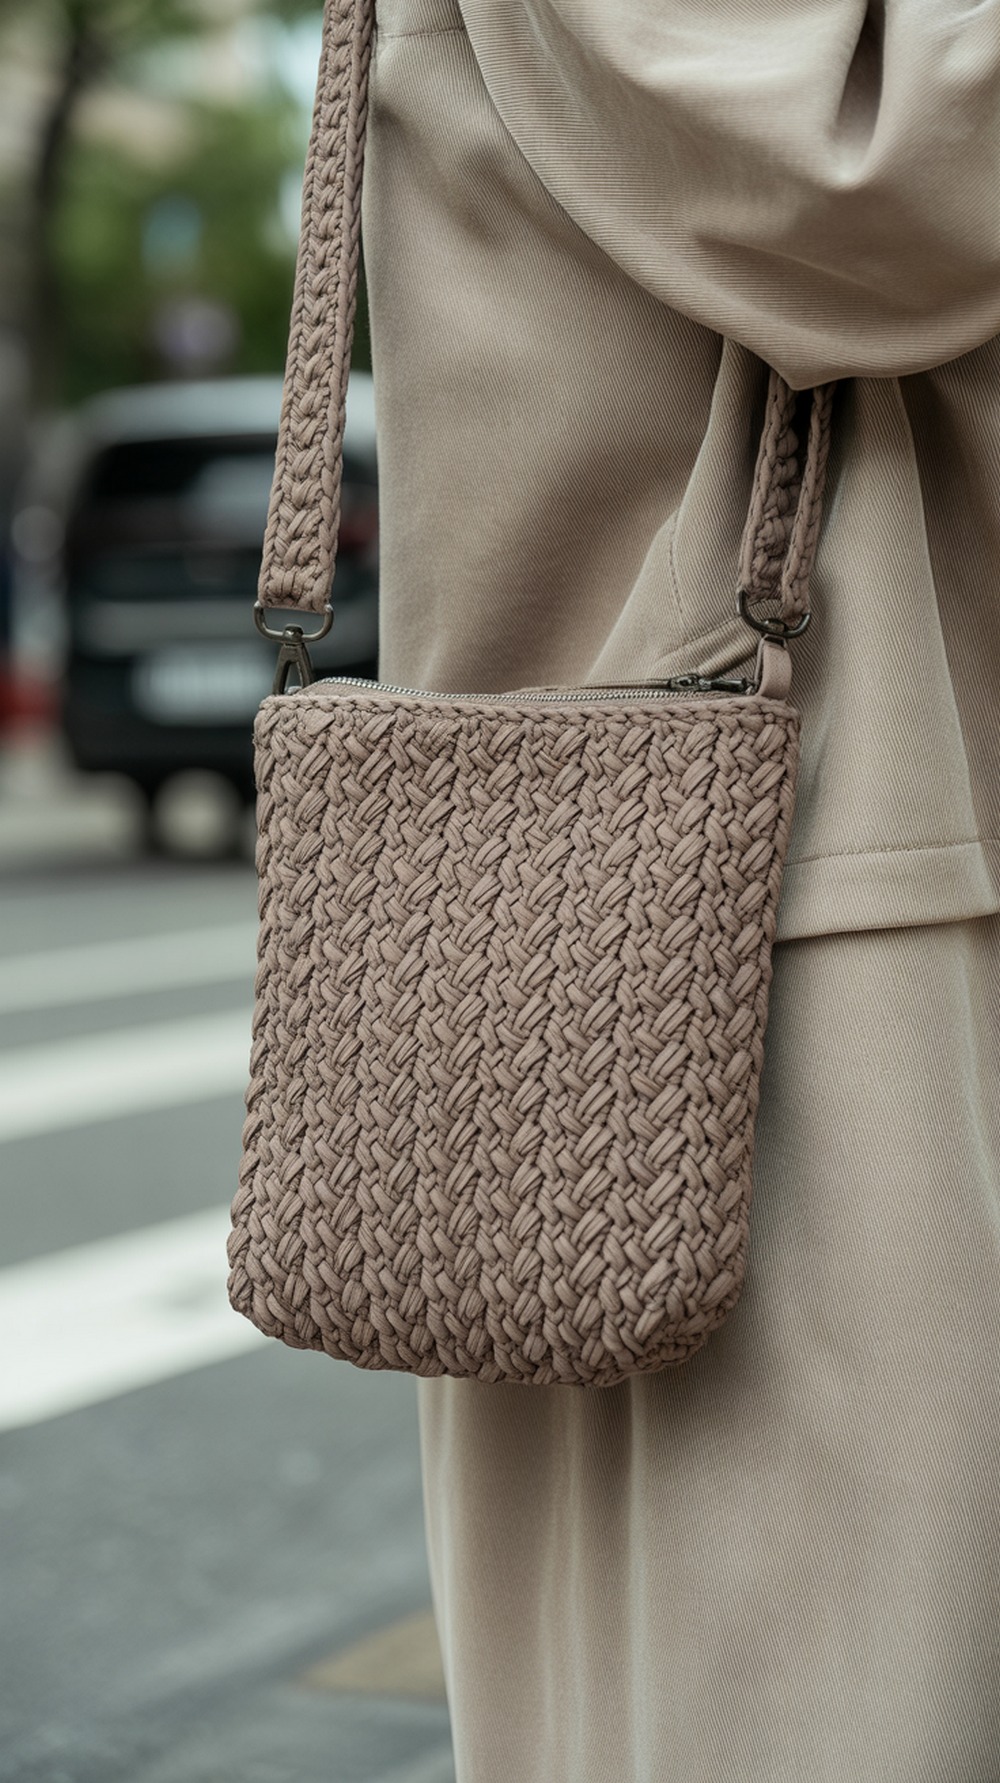
Make a compact crossbody with all-over herringbone texture. This step-by-step video covers shaping, sides, strap, and finishing details. To add security, stitch in a zipper under the top edge or attach a zipper tape to the lining before insertion. Action tip: measure your phone’s width and height; start with a base just wider than your case and work up to desired depth.
Supplies: sturdy cotton/poly cord (3–5 mm), 5.0–6.0 mm hook, zipper (optional), D-rings, swivel clips
Why it’s great: one-video start-to-finish bag build
Herringbone Handbag with Zipper
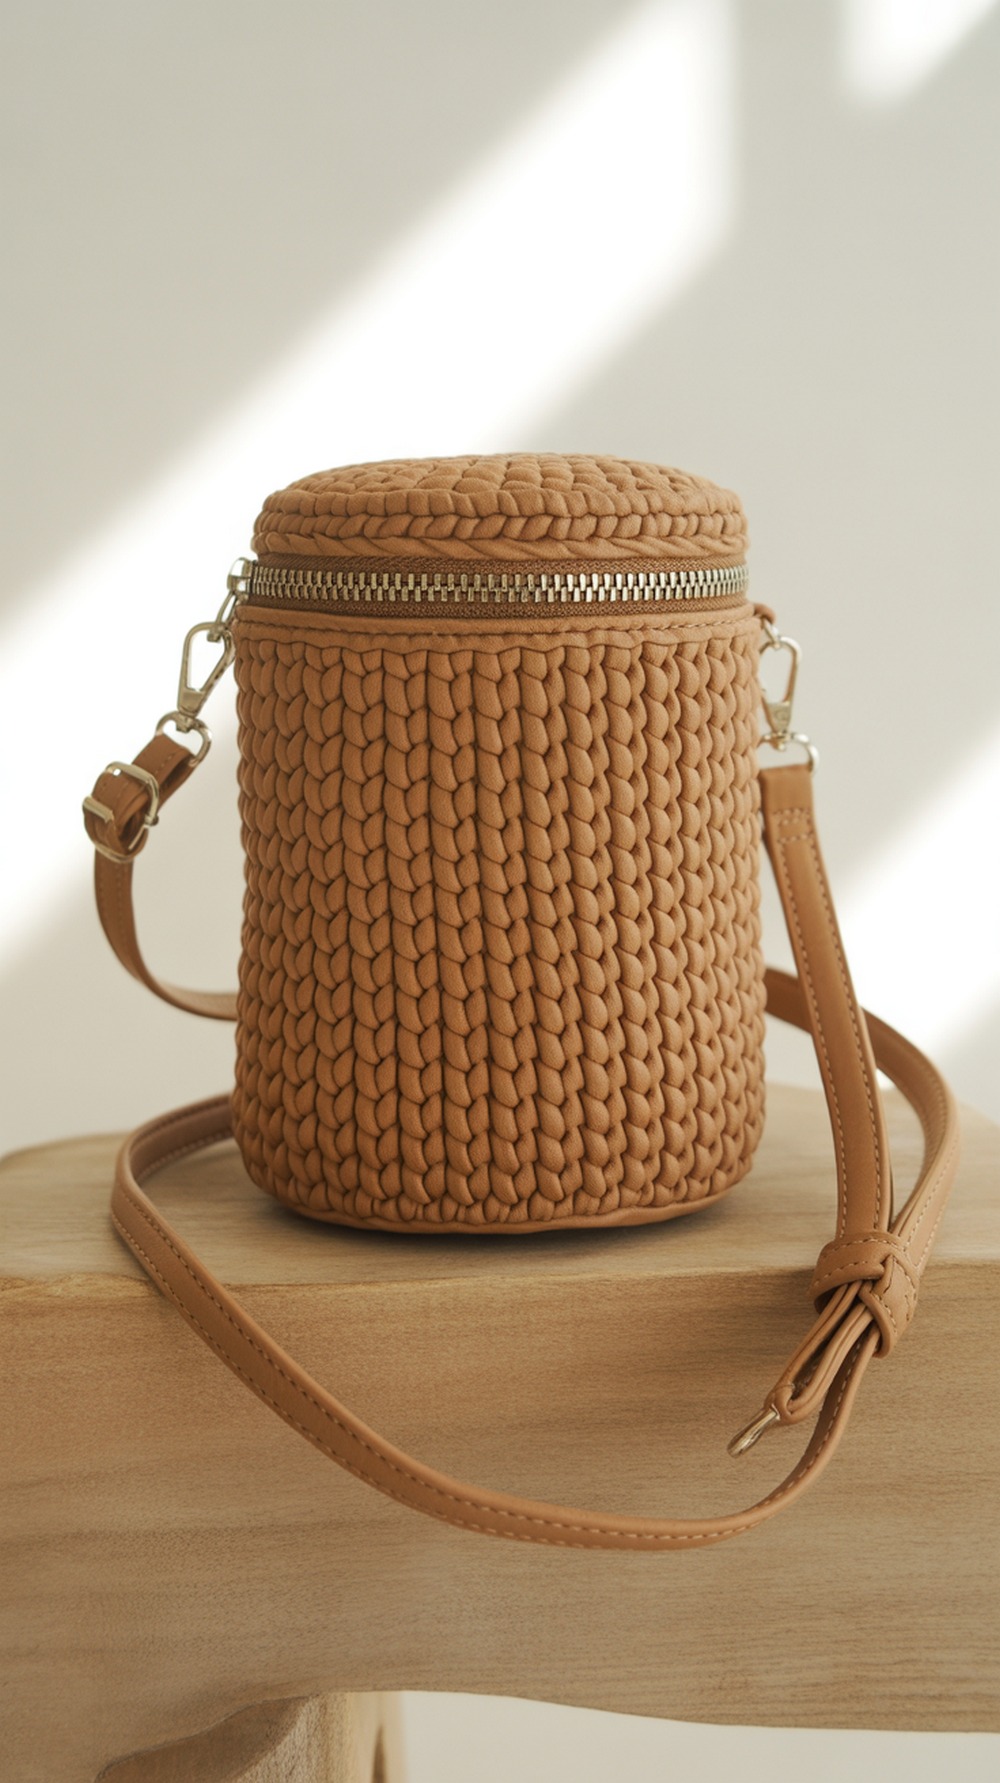
Prefer a firmer silhouette? This herringbone single-crochet handbag tutorial shows shaping, a flat base, and a built-in zipper track at the top. Scale the height for a “mini–camera bag” feel and add a longer strap for true crossbody wear. Action tip: switch to a smaller hook for the final two rounds to snug the mouth before inserting the zipper—your pouch will look professionally finished. Tutorial
Supplies: polyester cord or t-shirt yarn, 5.0–6.0 mm hook, matching zipper, strap hardware
Why it’s great: dense herringbone wall + clean zip top
Herringbone Drawstring Bag
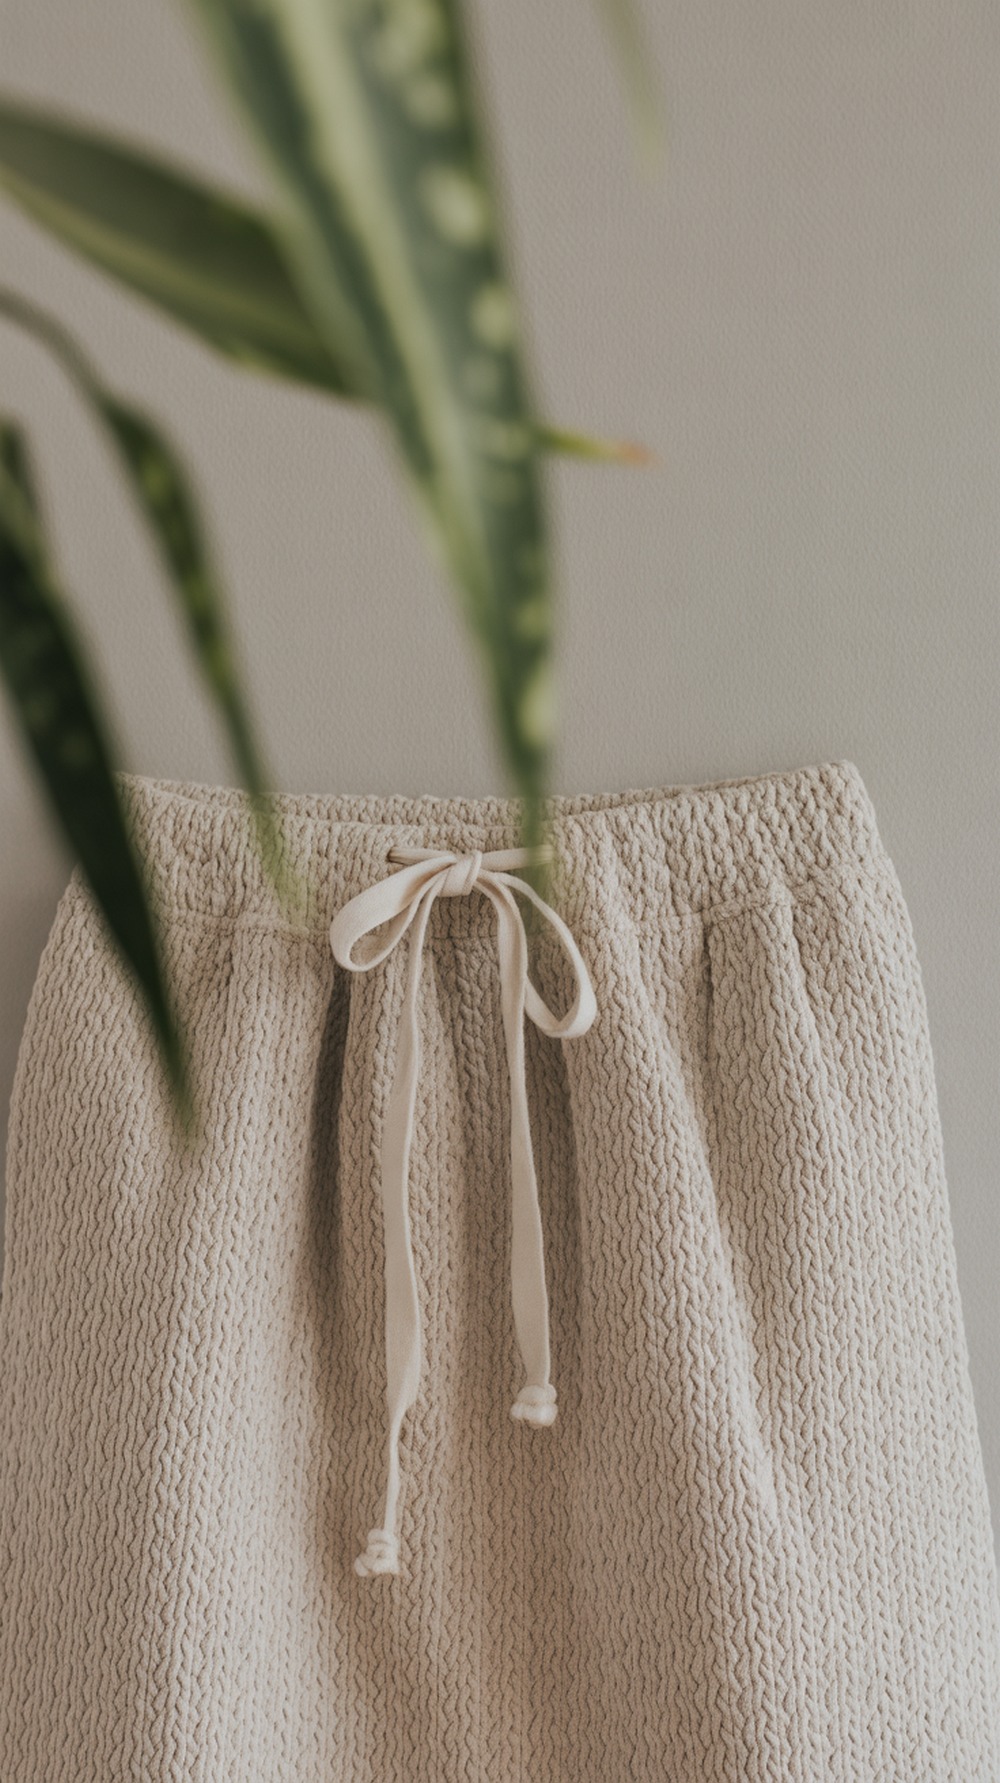
This free pattern builds a neat cylinder in herringbone with a folded hem and drawstring. For a zip-pouch hybrid, line the top channel and add a zipper under the fold, keeping the drawstring decorative. Add D-rings at the side seams for a strap. It’s a durable, everyday mini that works up fast. Tutorial
Supplies: DK/worsted cotton, 3.5–4.5 mm hook, lining fabric, zipper (optional), cord or i-cord
Why it’s great: easy cylinder construction, tough texture
Neo Herringbone Bag
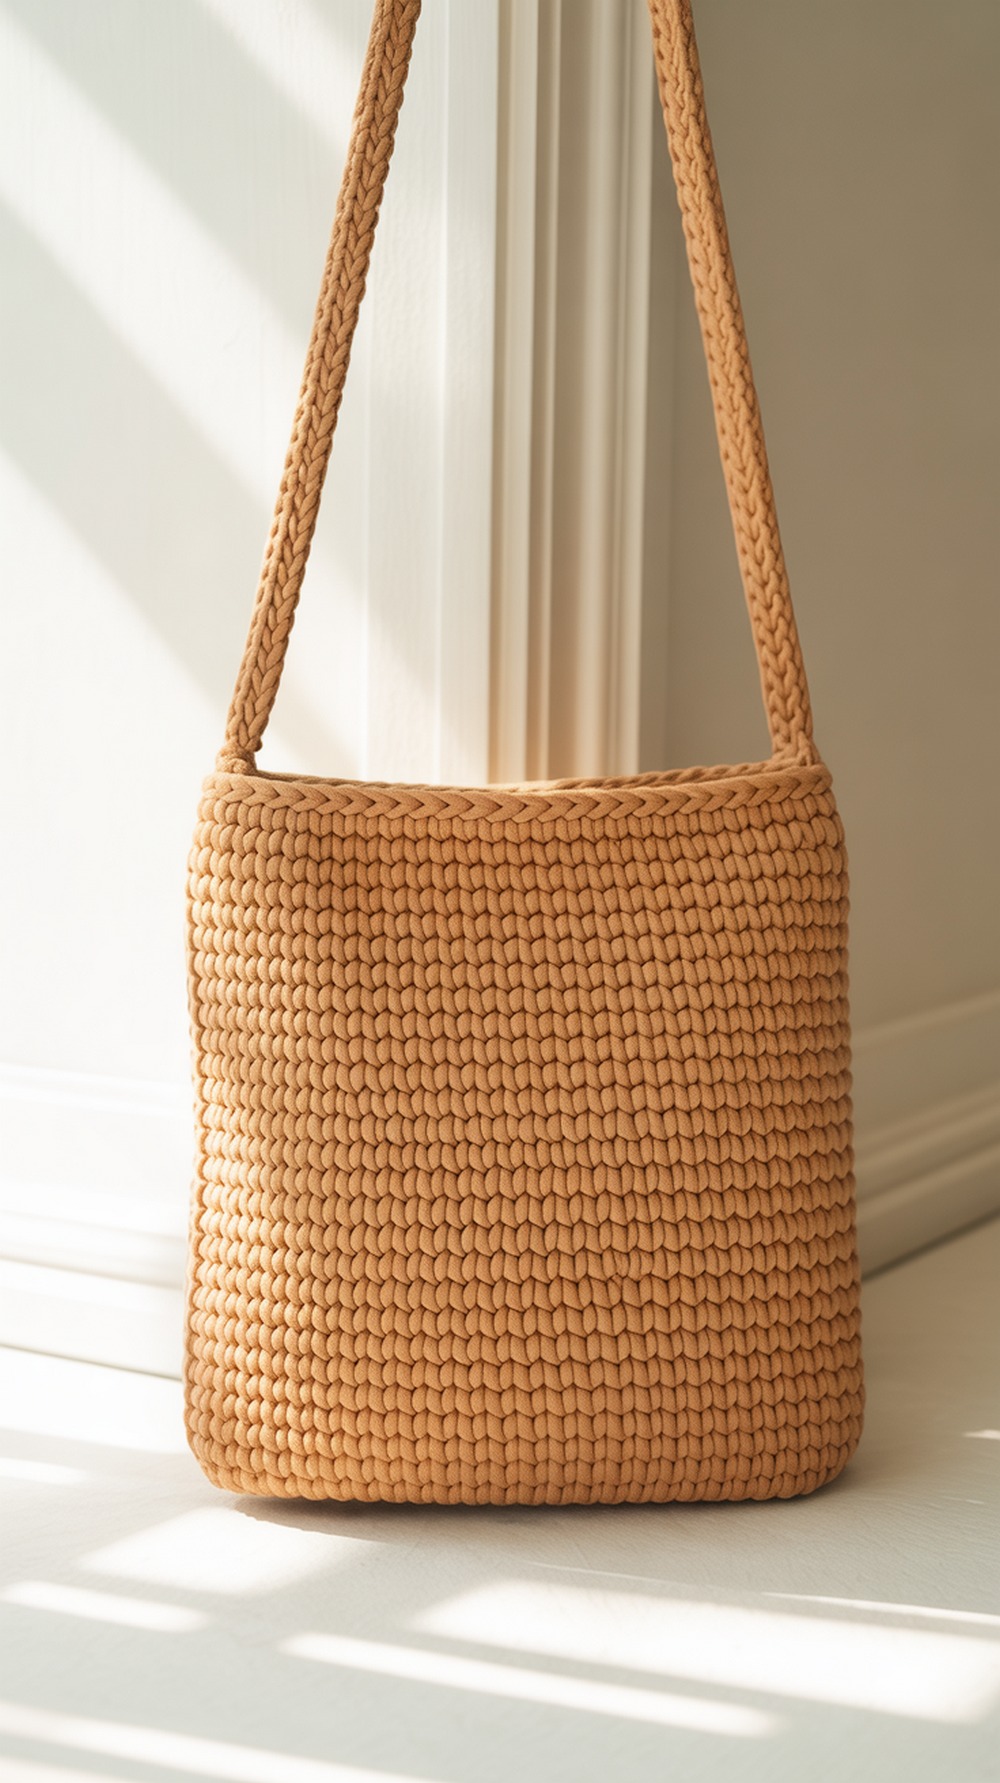
This popular tote uses herringbone single crochet for a smooth, woven look. Shrink the width/height for a compact crossbody and finish with a recessed zipper panel for security. The stitch creates firm walls that keep their shape. Action tip: make the strap as an I-cord or tight HHDC band to prevent stretching. Tutorial
Supplies: bulky yarn or cord, 6.5 mm hook, zipper panel/lining (optional), D-rings, strap clips
Why it’s great: ultra-modern, dense fabric that wears well
Herringbone Crossbody Boho Bag
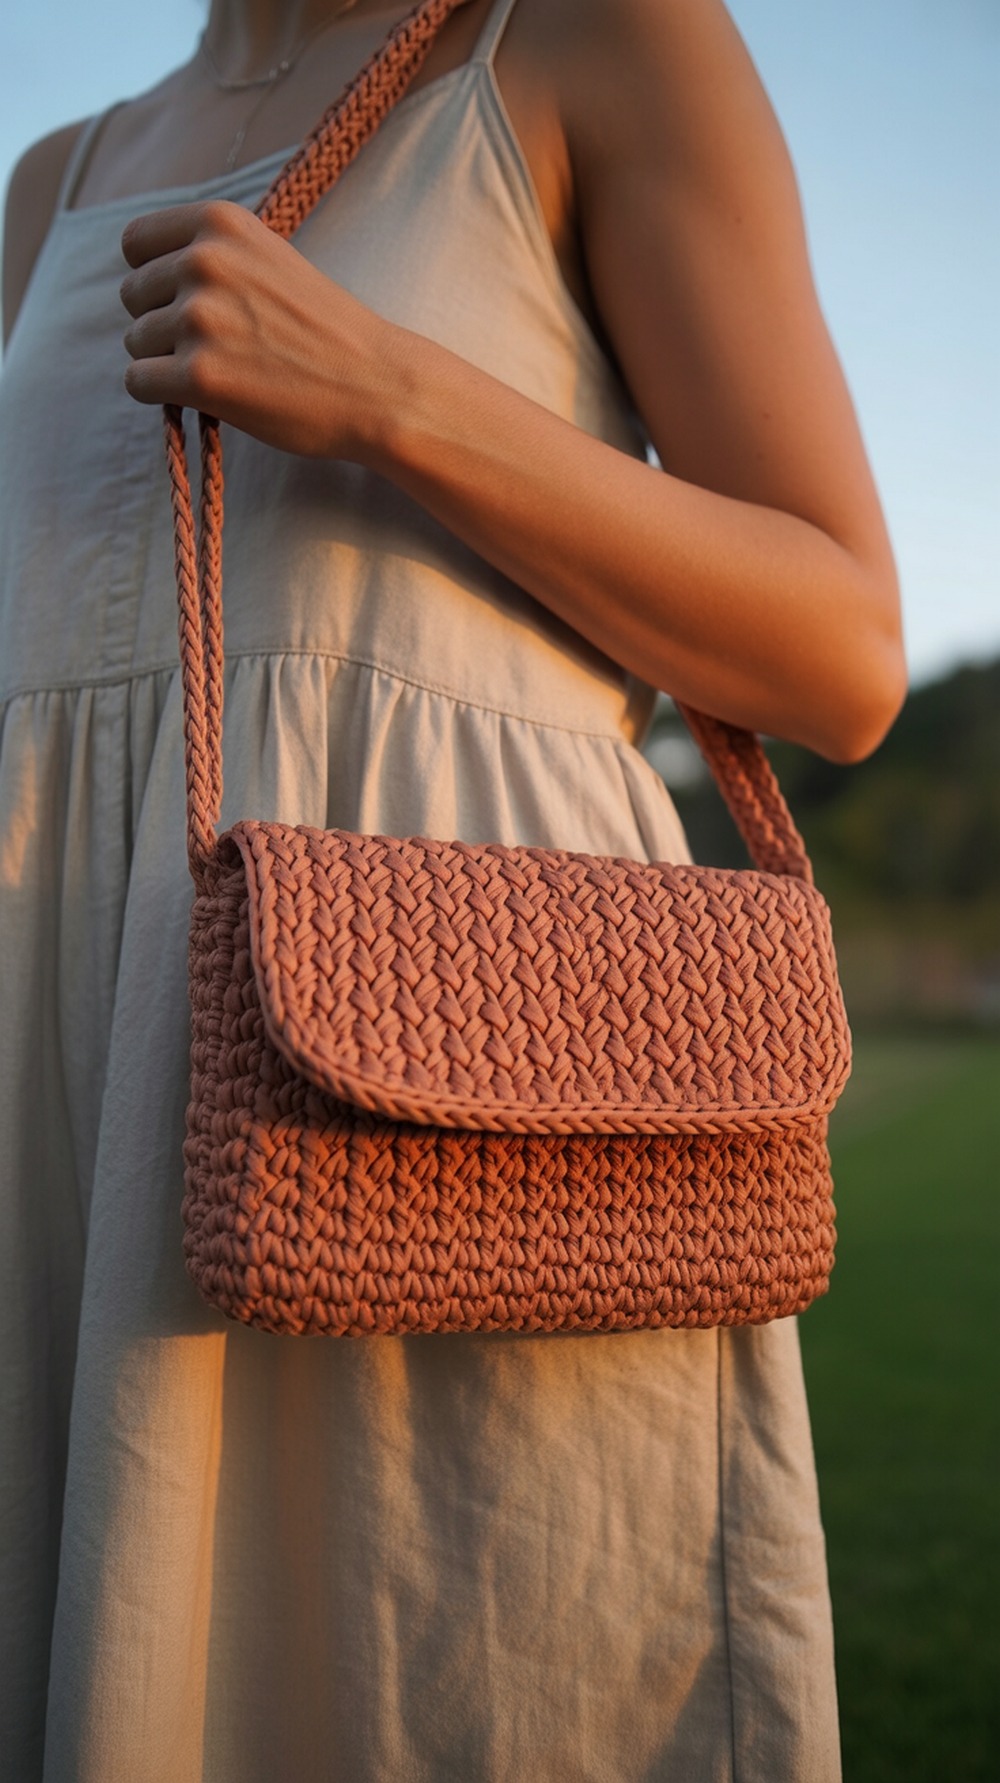
A boho-leaning crossbody worked in herringbone with a simple flap. To zip it, sew a zipper under the flap or install a recessed zipper between body and lining. Keep the strap narrow and dense to avoid stretch. Action tip: use matching sewing thread and tiny backstitches along the zipper tape—small stitches hide beautifully in the herringbone valleys. Tutorial
Supplies: worsted cotton/acrylic, 4.5–5.5 mm hook, zipper, lining fabric, sewing needle
Why it’s great: trendy shape that’s easy to secure
Herringbone Half Double Stitch Pouch
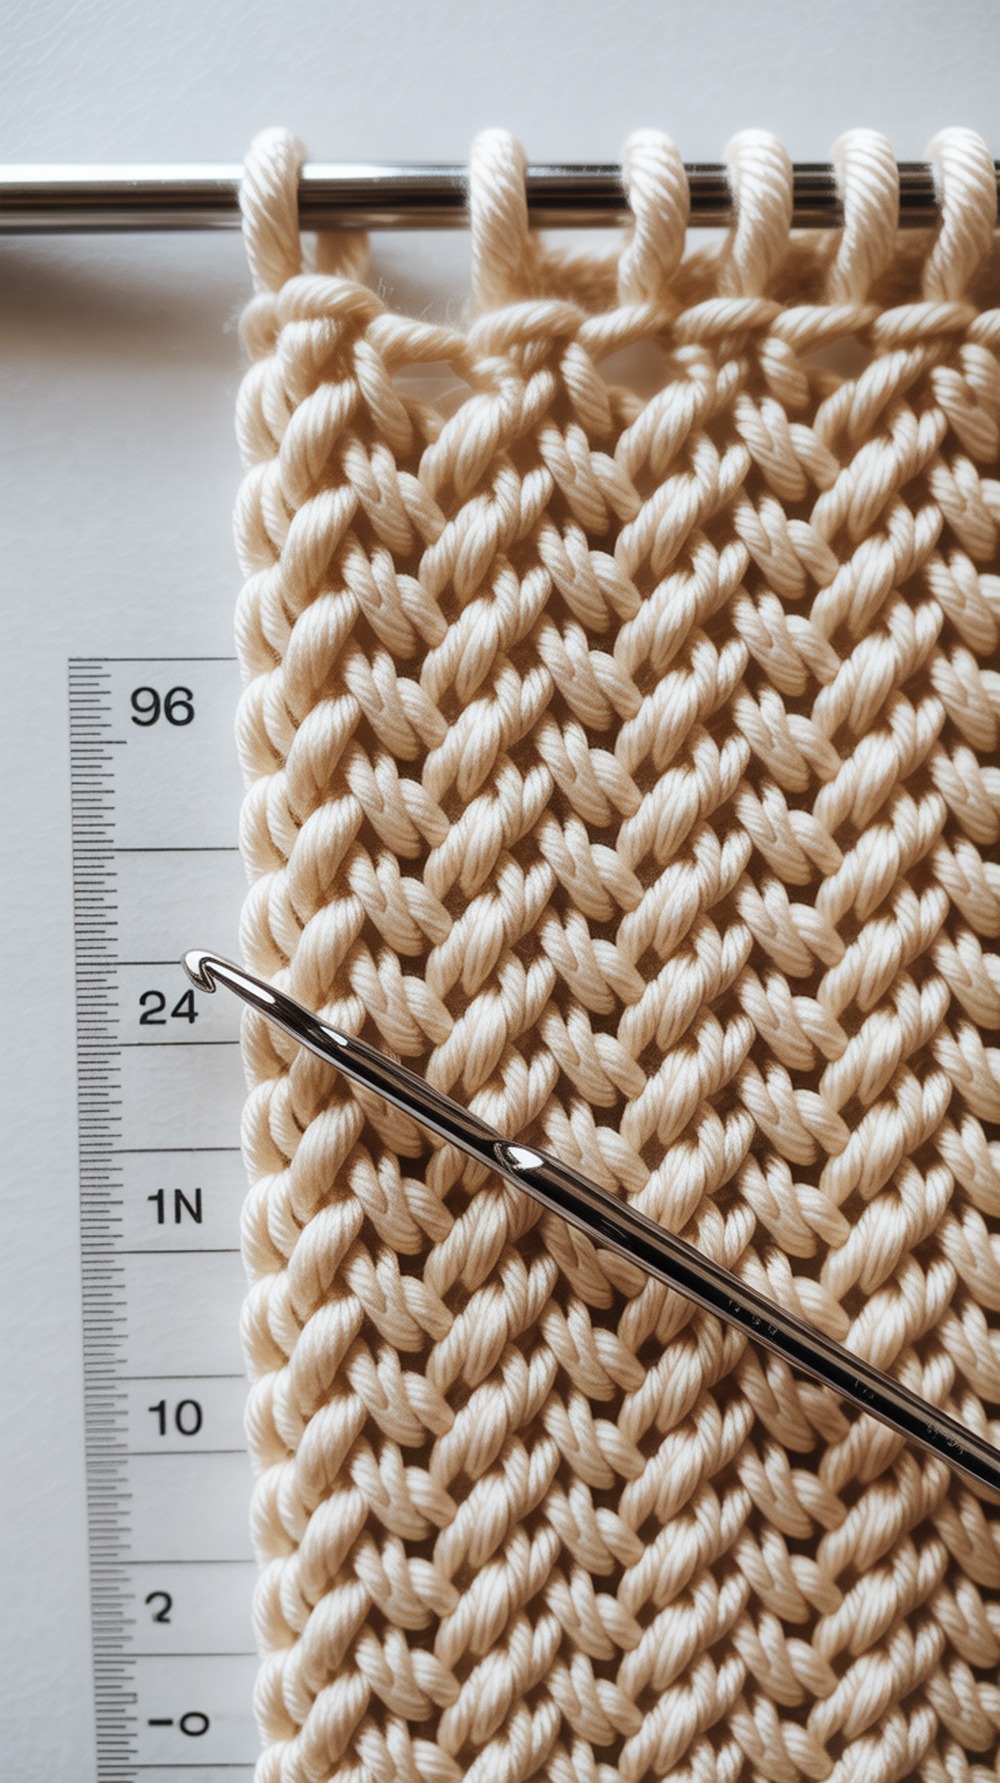
If your stitches look twisted or loose, master HHDC first. This stitch tutorial breaks down the motion and shows how to keep edges straight—key for zipper installs. Practice swatching to find your “no-gaps” tension, then build your pouch rectangles confidently. Action tip: move down 0.5 mm on the final two rows so the zipper edge doesn’t flare. Tutorial
Supplies: any practice yarn, preferred hook size, ruler/gauge tool, scrap zipper (for tests)
Why it’s great: sets you up for pro-level herringbone fabric
Sewing a Zipper on Crochet

A crisp zipper makes the pouch. This guide shows choosing zipper length, pinning/hand-sewing to crochet, and keeping teeth straight. Use small backstitches through the zipper tape and top row only, avoiding the body so the fabric doesn’t tunnel. Action tip: baste with fabric glue or clips, then stitch; steam lightly to relax waviness. Tutorial
Supplies: nylon zipper, hand-sewing needle, strong thread, clips, fabric glue (optional)
Why it’s great: demystifies the zipper step with photos
Herringbone Stitch Crochet Bag
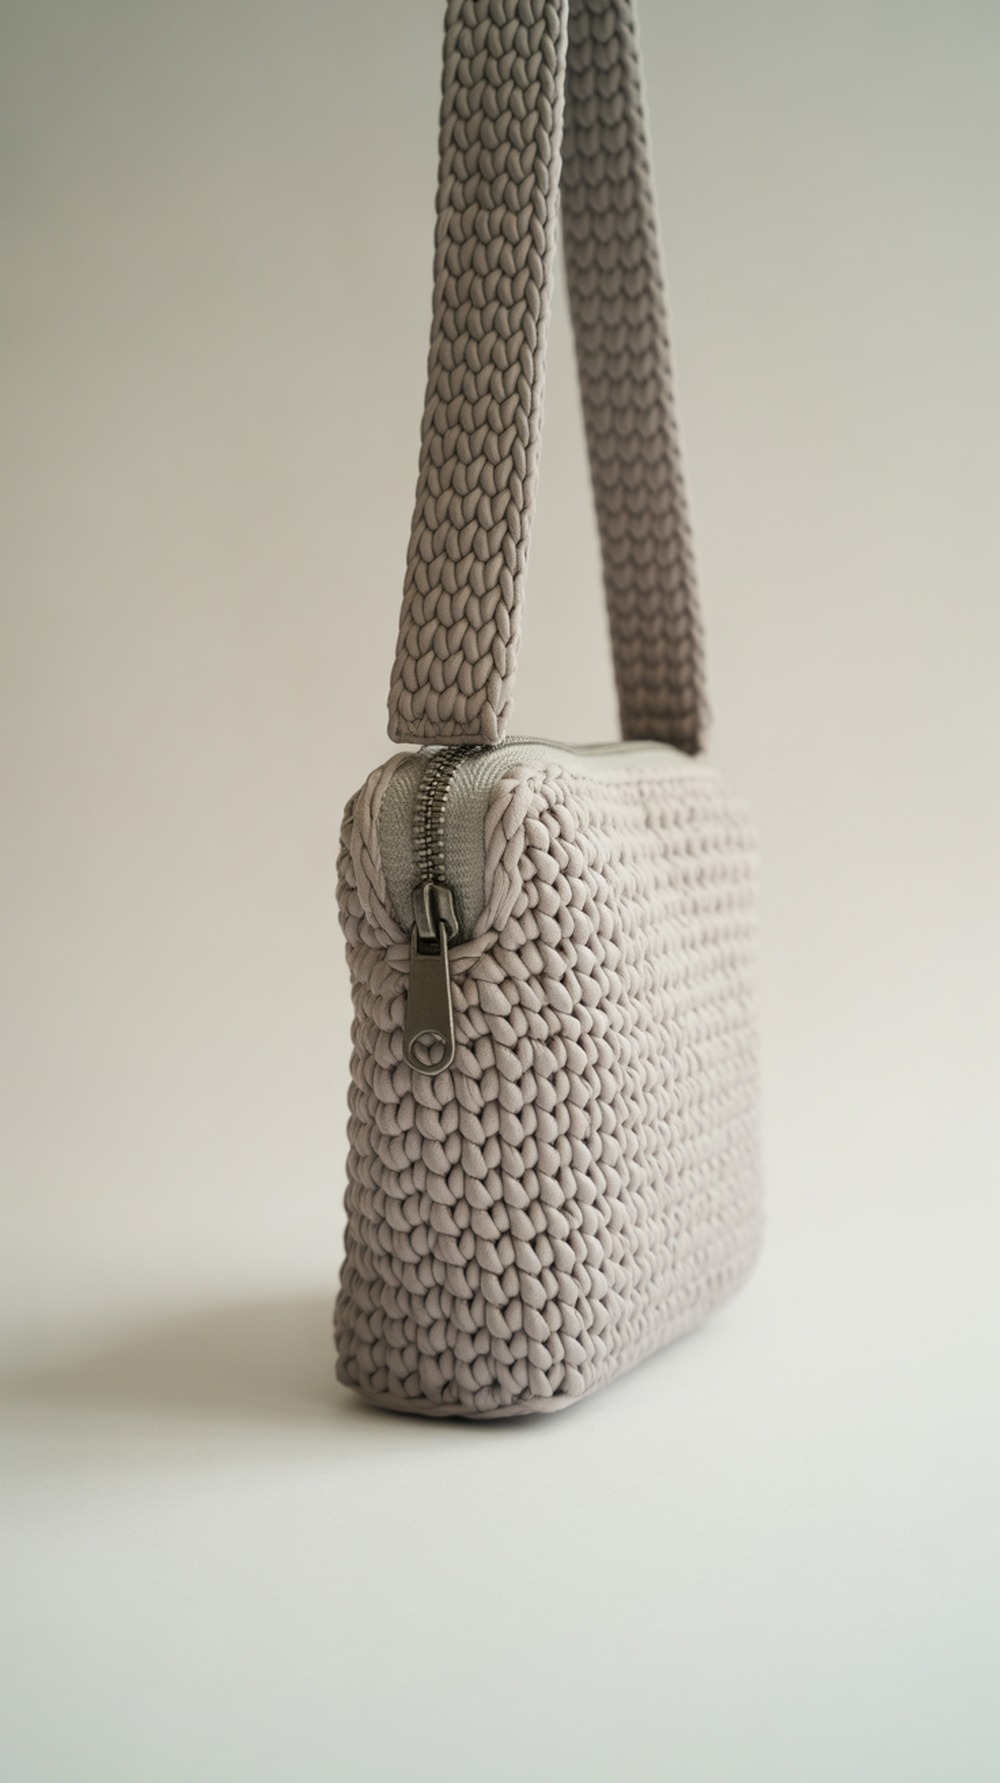
A modern herringbone bag pattern you can scale down to a compact crossbody. Work fewer stitches for width, fewer repeats for height, then add a recessed zipper or a simple zip along the top edge. The dense texture resists snags and stretches less with a crossbody strap. Action tip: line with canvas for a boutique, structured feel. Tutorial
Supplies: worsted/bulky yarn, 5.5–6.5 mm hook, zipper, canvas lining, D-rings
Why it’s great: free, flexible pattern with clean texture
Herringbone Hipster Bag
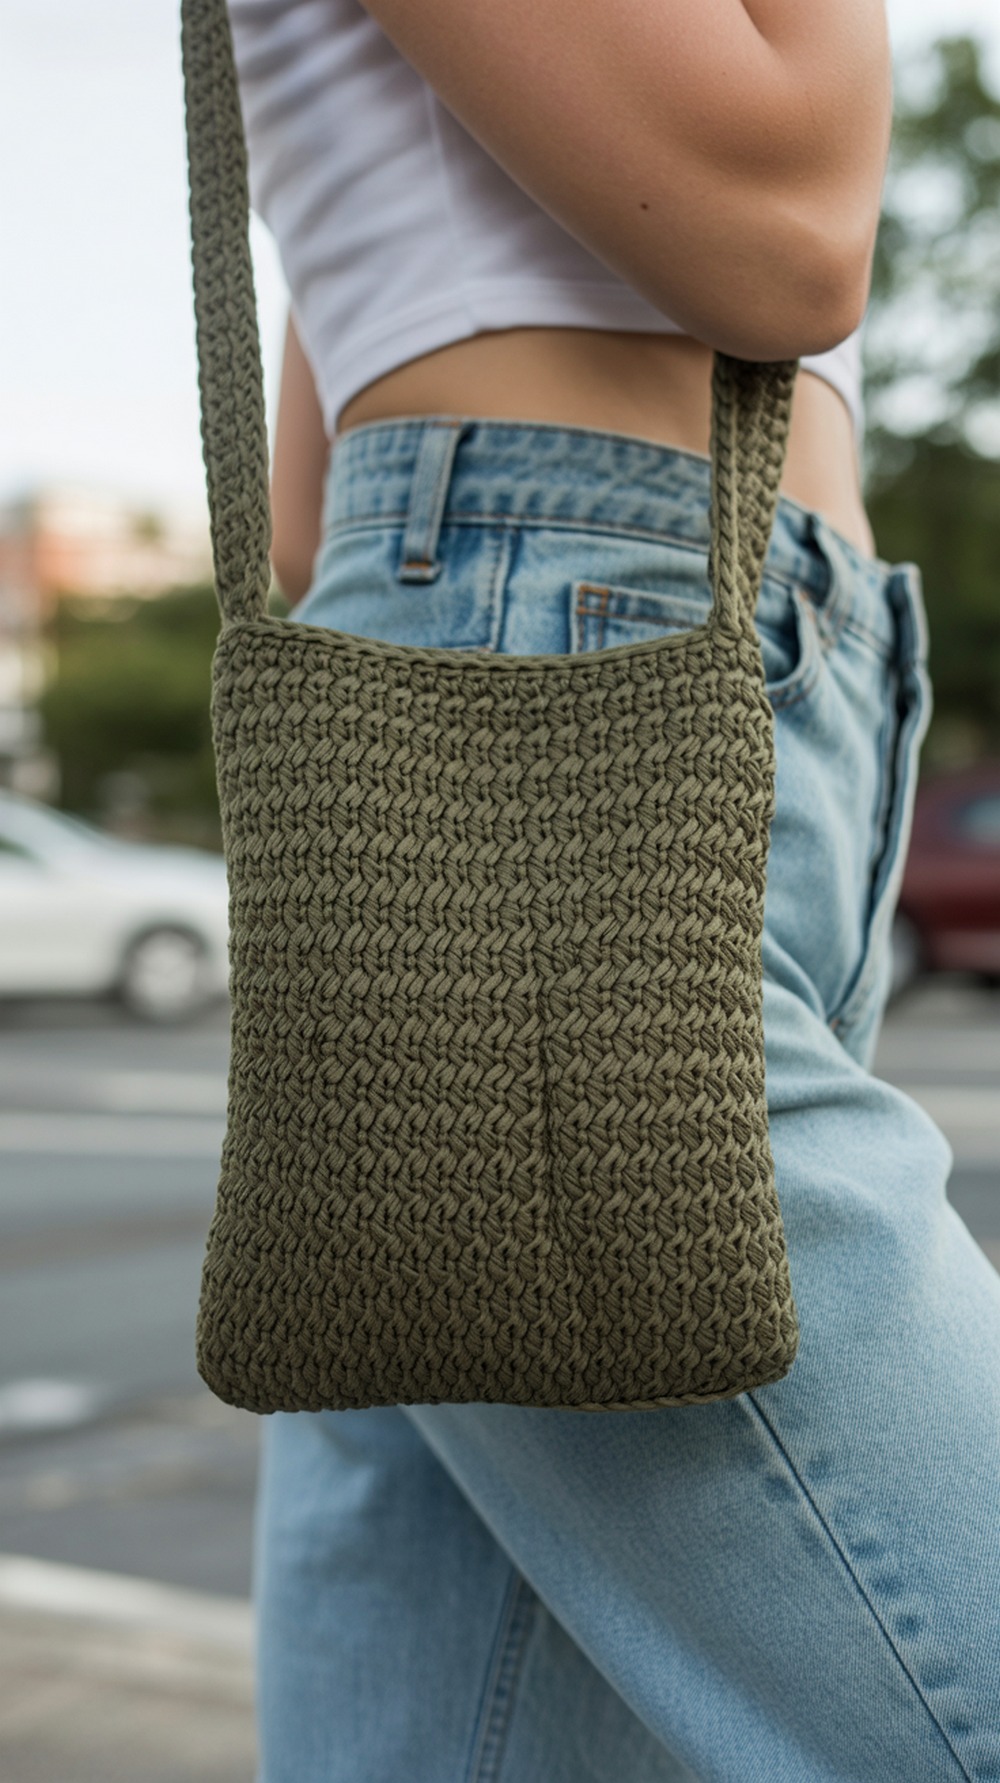
Designed for HHDC with a dense, no-lining fabric, this hipster-style crossbody is quick to make and easy to customize. Add a zipper under the top edge (or a recessed panel) for a secure city-ready pouch. The pattern includes a companion video for tricky steps. Action tip: measure your strap to body ratio—aim for a slightly shorter strap than you think; herringbone can relax with wear. Tutorial
Supplies: super bulky yarn, 8.0 mm hook, zipper, strap hardware, needle & thread
Why it’s great: crossbody silhouette that takes a zipper upgrade well
Conclusion
Start with one small win—Idea 1’s boxy notions case or Idea 4’s wristlet—and you’ll lock in your stitch tension and zipper confidence fast. From there, any of the crossbody variations are just a couple of tabs and a strap away. Dense herringbone fabric plus a clean zipper equals everyday durability with a polished, store-bought look. Bookmark this list for your next gift sprint, and share your favorite make—your future self (and your bag shelf) will thank you.
FAQs
What yarn works best for home-use pouches and bags?
Cotton, cotton-blend, or firm polyester cord. They show herringbone texture, resist pilling, and won’t felt against a zipper tape.
Machine wash or hand wash? Drying tips?
If unlined cotton: gentle cold wash in a mesh bag, reshape, and air-dry flat. Lined or raffia/paper yarn bags: spot-clean only and air-dry.
How do I scale a pattern up or down?
Adjust foundation width for device width; add/subtract row repeats for height. Keep stitch multiple intact and recheck zipper length before sewing.
Which fibers are safest for kitchen/bath or heat?
100% cotton for splash-zones; avoid heat exposure with synthetics or raffia. Never iron nylon zippers—steam lightly around them instead.
Best joins/edgings for durability?
Slip-stitch joins and single-crochet edgings. For straps, use tight HHDC bands or i-cords, and reinforce D-ring tabs with extra stitches.
Typical time and yardage?
Small zip pouches: 80–150 yds, 1–3 hours. Phone crossbody: 120–220 yds, 2–4 hours. Structured minis: 200–350 yds, 4–6 hours.
Any photo tips for finished projects?
Shoot in soft window light, at 45° to the pouch. Focus on the zipper and stitch. Keep props minimal and colors neutral to highlight texture.
Fixing curling, stretching, or wavy edges?
Steam-block pieces flat, downsize hook for the last two rows, and baste the zipper before stitching to eliminate waves. Add canvas lining if stretching persists.