A crochet pumpkin beret can look like subtle autumn headwear, a rounded harvest pumpkin, or a full Halloween statement piece. The biggest differences are not simply orange shades. Crown width, vertical texture, slouch, band structure, stem size, leaves, vines, and optional brims all change how the finished hat sits and how strongly it reads as a pumpkin.
Exact pumpkin-beret video tutorials are limited, so this collection is intentionally transparent. Some sources teach an actual pumpkin beret, several teach pumpkin-specific hat shaping or toppers, and others provide useful beret constructions that can support an original pumpkin adaptation. That gives you more genuinely different options without treating a close-fitting pumpkin beanie as if it were automatically a beret.
Quick List
- Subtle Segmented Crochet Pumpkin Beret
- Sculpted Round Crochet Pumpkin Beret
- Folded-Band Crochet Pumpkin Beret Adaptation
- Newsboy-Brim Crochet Pumpkin Beret Hybrid
- Leaf-and-Vine Crochet Pumpkin Beret Adaptation
- Halloween Crochet Pumpkin Beret Adaptation
- Full-Rounded Crochet Pumpkin Beret Adaptation
- Petite-Topper Crochet Pumpkin Beret Adaptation
- Classic Smooth-Crown Crochet Pumpkin Beret Adaptation
- Measurement-Led Crochet Pumpkin Beret Adaptation
- Made-to-Measure Crochet Pumpkin Beret Adaptation
- Raised-Line Crochet Pumpkin Beret Adaptation
- Puff-Texture Crochet Pumpkin Beret Adaptation
- Puff-and-Rib Crochet Pumpkin Beret Adaptation
- Defined-Rib Crochet Pumpkin Beret Adaptation
Start With the Beret Shape Before Adding Pumpkin Details
A beret needs a deliberately wider crown that eventually transitions toward a smaller opening around the head. That relationship is what separates the silhouette from a basic beanie. When a source below teaches a pumpkin hat rather than an actual beret, use it for pumpkin-specific ideas such as ribbing, stems, leaves, color placement, or topper proportions—not as permission to add random increases to its crown.
The safer planning route is to establish a beret construction that already fits the intended wearer, then decide how strongly the pumpkin theme should appear. Changing crown width, yarn weight, tension, band size, and decorative details at the same time makes fit problems much harder to diagnose.
Decide Whether Texture or Decoration Will Create the Pumpkin Look
Pumpkin identity can come from structural ribs, a rounded silhouette, orange color, a green topper, or a combination of those signals. You do not need every detail at once. A beret with strong vertical ridges may need only a small stem, while a smooth classic beret can use a more noticeable leaf or vine to make the seasonal idea clear.
Yarn surface matters here. Smooth yarn generally keeps post stitches and raised lines easier to see, while very fuzzy fibers can soften segmentation. At the other extreme, fabric that is too rigid can keep a wide beret crown from settling naturally. If you substitute yarn, compare the resulting drape and stitch definition before assuming the original silhouette will remain unchanged.
Check the Opening While Wearing the Beret, Not Only While It Lies Flat
A wide crochet crown can look perfectly proportioned on a table while still slipping, squeezing, or sitting too upright when worn. The head opening is therefore a more useful fit checkpoint than crown diameter alone.
Also consider the intended wearing angle. A centered pumpkin crown emphasizes symmetry, but a traditional beret is often shifted to one side. That tilt affects where a stem, vine, face, or brim appears. Finish the main hat first whenever possible, try it in the position you actually plan to wear it, and then judge embellishment placement. If a tutorial provides its own sizing or gauge guidance, use those figures only for that creator’s original construction unless you independently recalculate an adaptation.
1. Subtle Segmented Crochet Pumpkin Beret
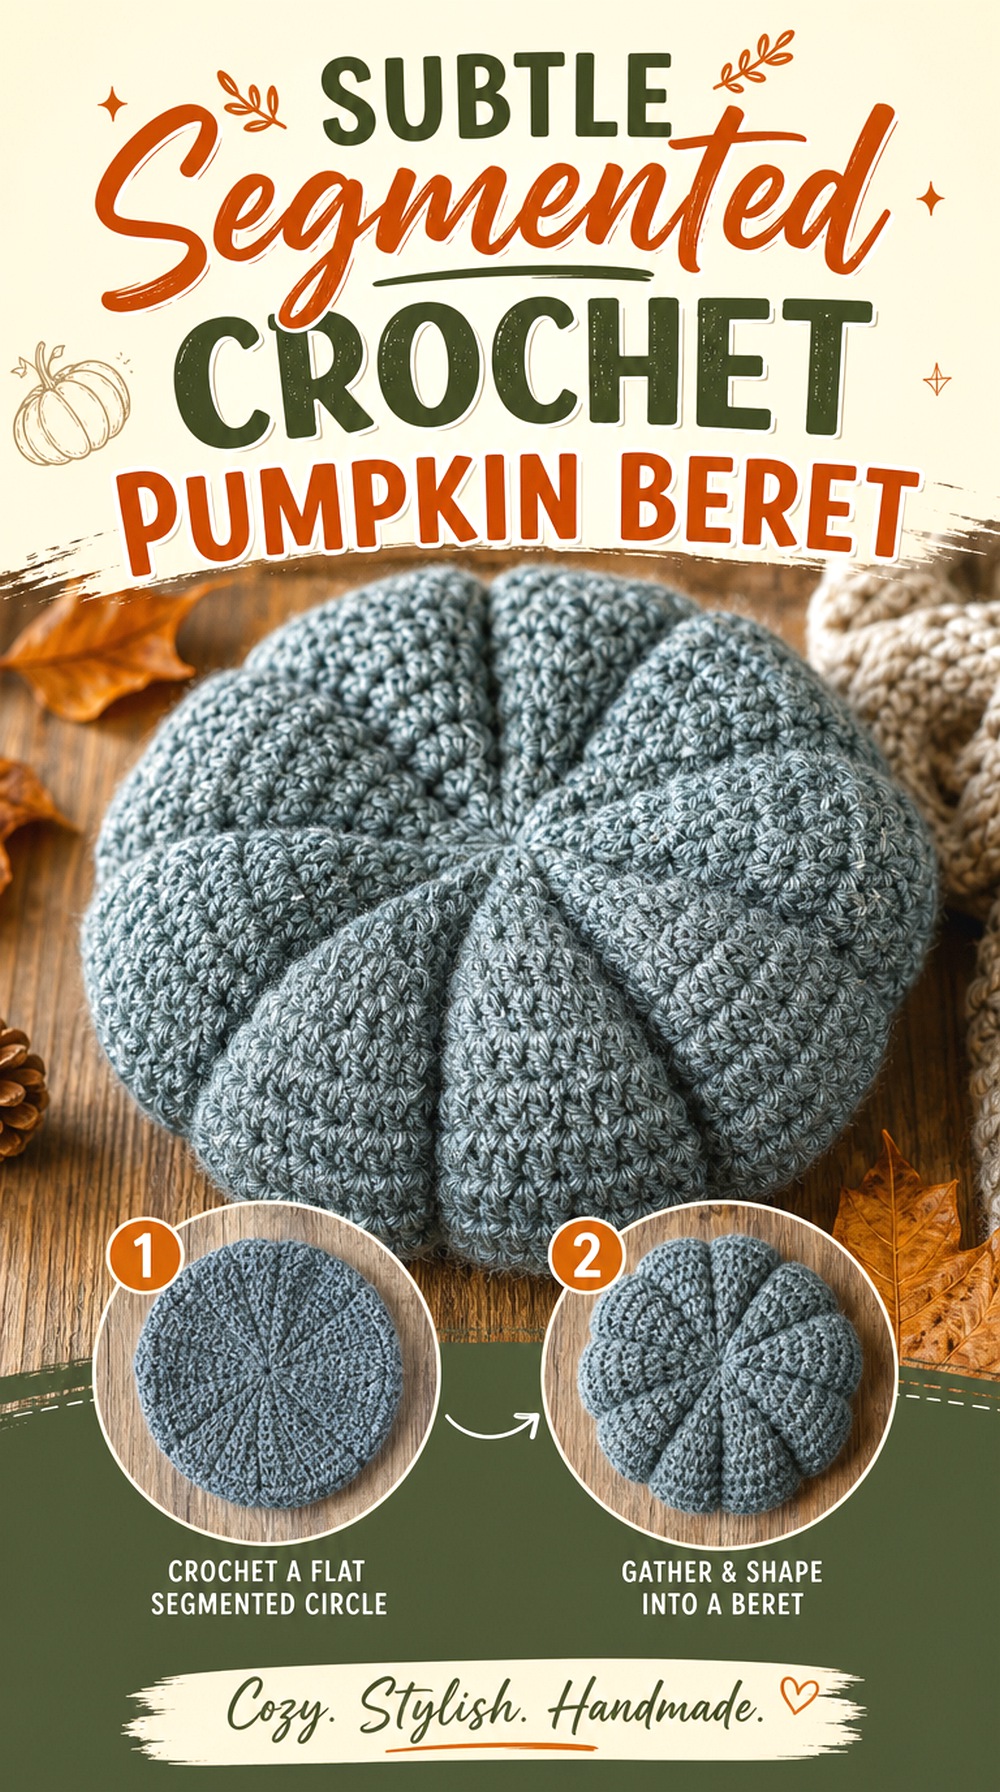
This version keeps the pumpkin idea inside the actual crown structure rather than depending on a large novelty decoration. Slow Crochet’s finished beret has visible pumpkin-like segmentation while maintaining a wearable rounded silhouette, making it one of the closest matches for readers who want the seasonal theme without turning the hat into a costume prop.
It is particularly useful for rust, terracotta, muted orange, cream, or other autumn palettes where texture needs to communicate the pumpkin. Because the source is already an actual pumpkin beret, it requires less conceptual conversion than the adaptation projects later in the list.
The Vertical Lines Do Most of the Visual Work
Strong crown divisions allow you to keep the topper restrained. If your yarn hides texture, adding more decoration will not necessarily solve the problem; it can simply make the crown busier. Check a small sample under normal lighting and make sure raised or recessed lines remain visible before committing to a low-contrast color.
A Small Stem Preserves the Beret Silhouette
A compact crown accent keeps attention on the segmented shape and lets the beret sit at an angle more naturally. If you enlarge or heavily stuff a topper, check the finished hat while worn because additional weight at the center can change the way a soft crown falls.
Read the Creator’s Video Note Before Starting
The creator’s description specifically mentions an editing mix-up in the displayed round numbering. That does not make the tutorial unusable, but it is a good reason to review the video and accompanying information before crocheting directly along with it.
Original Tutorial and Creator Credit
Creator: Slow Crochet
2. Sculpted Round Crochet Pumpkin Beret
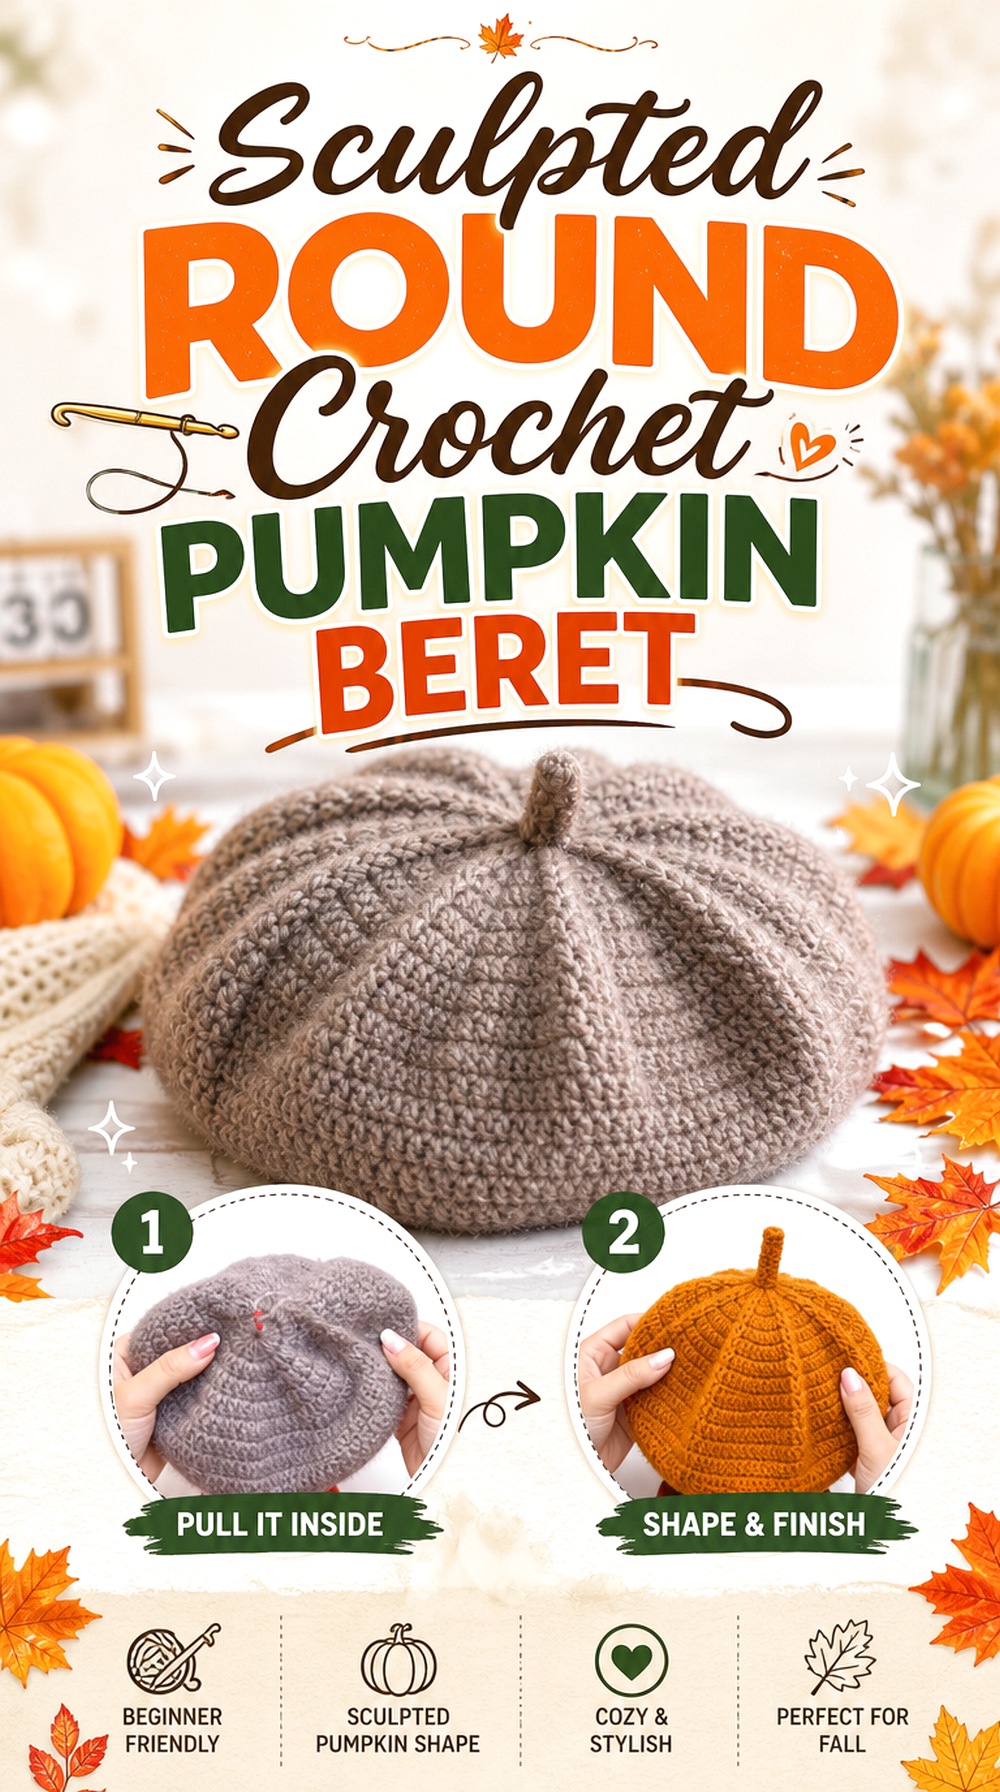
For a more obvious pumpkin shape, this direction gives the crown greater visual presence. The anxin_crochet source is specifically presented as a pumpkin beret tutorial, so the finished result already combines the two important ingredients: a broadened beret-like crown and clear pumpkin styling.
This option makes sense when silhouette matters more than added faces, oversized vines, or contrasting trim. The fuller crown can stand on its own as the seasonal feature. If you plan to alter yarn or proportions, preserve the visual transition between the broad upper section and the part that actually holds the hat on the head.
More Crown Volume Needs Controlled Shaping
A fuller pumpkin is not simply a larger circle. Excess width without a clean transition toward the opening can produce rippling or an awkward collapse. Make fit changes one at a time and compare the crown both flat and on the intended wearer before deciding that it needs more volume.
Clean Definition Helps a Sculpted Pumpkin Read From a Distance
When the shape itself is the main attraction, softened stitch definition can make the crown look like a generic orange hat. A smoother yarn surface tends to preserve visible shaping better than a highly fuzzy one. Color can reinforce the theme, but structure should still be recognizable without relying exclusively on bright orange.
Keep Crown Decorations Secondary
A small contrasting stem or leaf can finish the pumpkin reference. Several large additions, however, may compete with the rounded silhouette that distinguishes this project. Complete the main crown first and evaluate whether extra decoration actually improves the finished balance.
Original Tutorial and Creator Credit
Creator: anxin_crochet
3. Folded Band Crochet Pumpkin Beret Adaptation
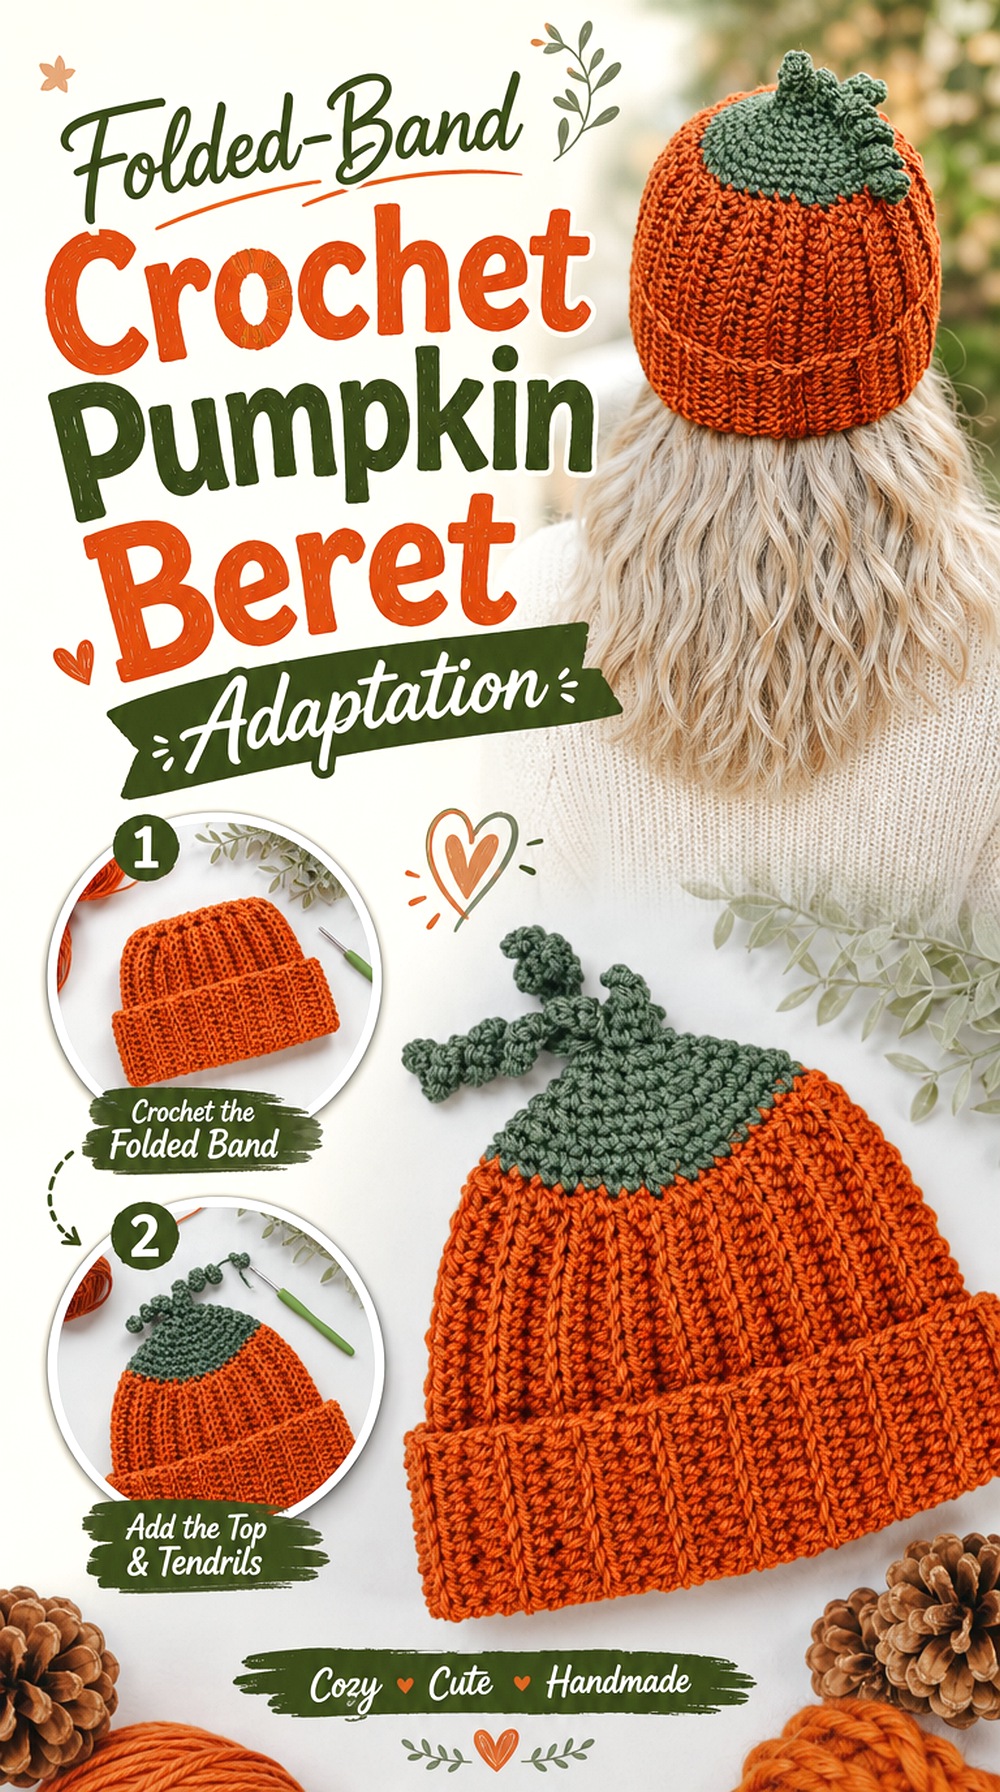
A substantial ribbed lower edge creates a very different pumpkin beret from the narrow bands seen on many classic styles. The Turtle Trunk’s source is a pumpkin beanie rather than a beret, but it demonstrates a strong ribbed fabric, contrasting green pumpkin details, and sizing information across several age ranges. The creator identifies six sizes from newborn through adult.
For a beret interpretation, transfer the visual concept rather than the original beanie proportions. A wider upper crown would need its own beret shaping, while the pronounced lower band can become the feature that makes this option distinct.
A Heavier Band Changes How the Crown Tilts
A folded or substantial ribbed edge visually anchors the bottom of the hat. That can make the finished piece feel more structured and less airy than a traditional narrow beret opening. Try the beret at your preferred angle before deciding how deep or visually dominant you want the lower edge to appear.
Green Top Details Need to Work With the Wearing Angle
The source includes a pumpkin topper, stem, and vine treatment. On a wider beret, a centered green feature can appear off-center once the crown is shifted to one side. Mark your preferred front and wearing angle before permanently positioning adapted decorations.
Original Tutorial and Creator Credit
Creator: The Turtle Trunk
4. Newsboy Brim Crochet Pumpkin Beret Hybrid
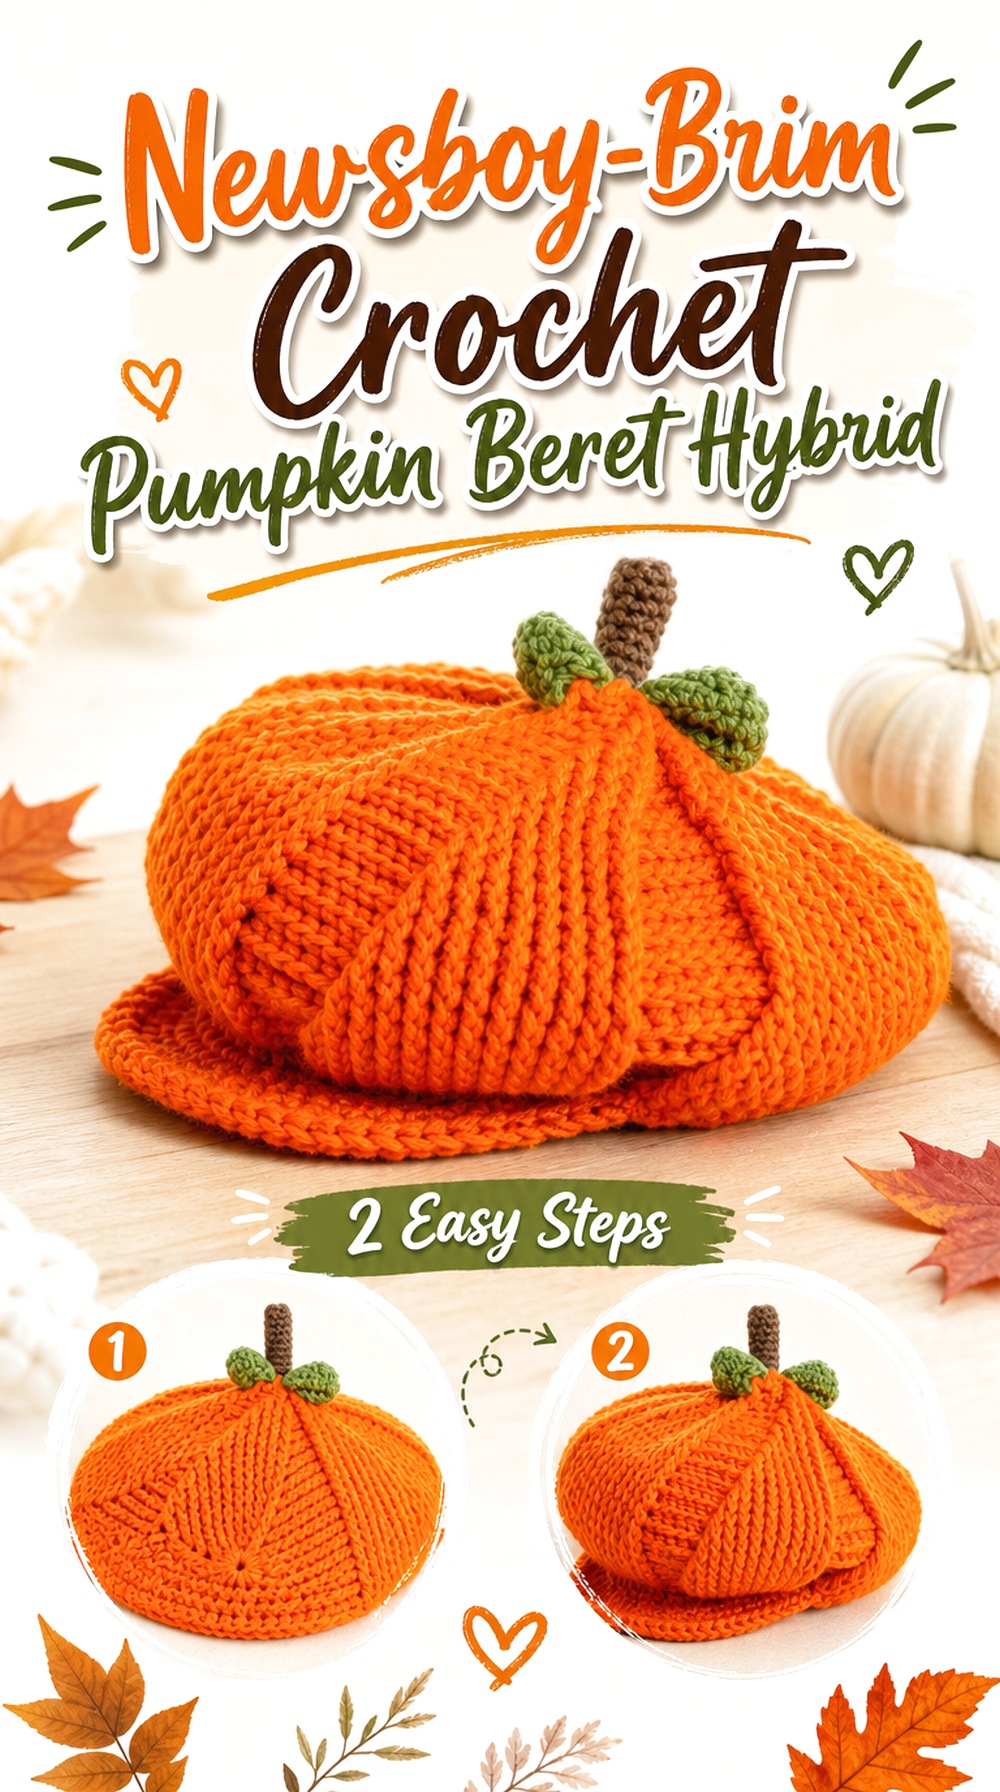
Adding a projecting bill creates the most directional silhouette in this collection. The Crochet Crowd tutorial teaches an adult pumpkin newsboy hat with a stem, leaf, and front brim, so it is not a conventional French-style beret. It does, however, provide a strong reference for a pumpkin crown paired with a structured front feature.
Think of this as a hybrid: retain the wider rounded impression associated with a beret while allowing the bill to fix a permanent front. It suits readers who want practical shading or cap-like styling more than the ability to rotate the hat freely.
The Brim Determines the Front Before Anything Else
A classic beret can be shifted around the head, but a newsboy bill establishes orientation immediately. Pumpkin ridges, leaf placement, and any decorative stem should therefore be checked in relation to that front edge. Finish or mock up the brim position before deciding where prominent crown details belong.
Structure Matters More at the Lower Edge
A projecting brim cannot behave exactly like a soft, draping crown. If you substitute materials, consider whether the fabric holds the intended outline rather than choosing solely by softness. A brim that becomes too limp will change the character of the whole hybrid.
Original Tutorial and Creator Credit
Creator: The Crochet Crowd
5. Leaf and Vine Crochet Pumpkin Beret Adaptation
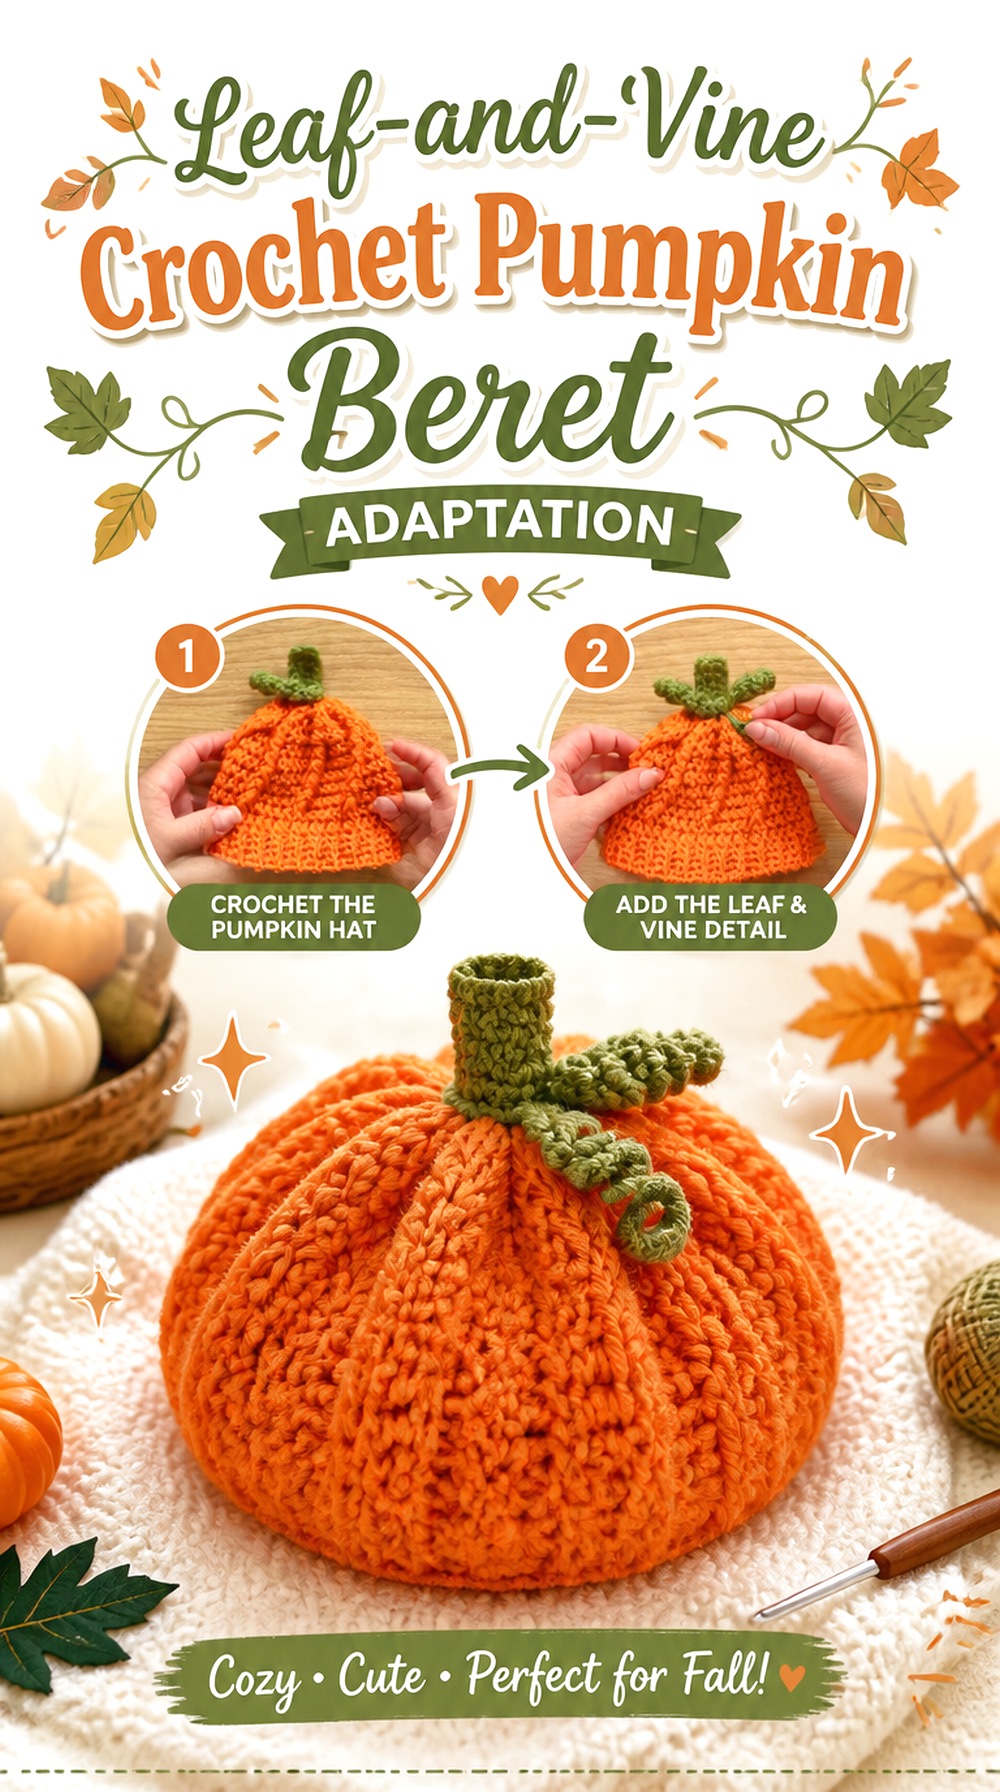
This idea moves attention toward the top view of the beret. Blue Star Crochet’s pumpkin-hat tutorial features leaves and curling vines along with the pumpkin styling, making it a practical visual reference when the greenery should be nearly as important as the orange crown. The source itself teaches a pumpkin hat, so use a separate beret framework for the wider silhouette.
A broad beret crown gives those decorations more visible surface area than a close beanie. That creates room for asymmetrical styling, but it also makes balance more important because leaves can cover the texture that establishes the pumpkin shape.
Leave Enough Crown Visible Around the Greenery
Leaves are most effective when they frame the center rather than hiding every ridge beneath them. Place the finished beret at its normal wearing angle and temporarily position decorative pieces before sewing them down. This makes it easier to judge whether the pumpkin still reads clearly from the front and side.
Long Vines Can Change Movement and Storage
A loose spiral or extended vine creates more movement than a short fixed stem. That can be charming for costume styling but less convenient when the hat is folded into a bag or stored between seasons. Decide whether you want a dramatic dangling element or a compact crown treatment before committing to scale.
Original Tutorial and Creator Credit
Creator: Blue Star Crochet | Veronika Cromwell
6. Halloween Crochet Pumpkin Beret Adaptation
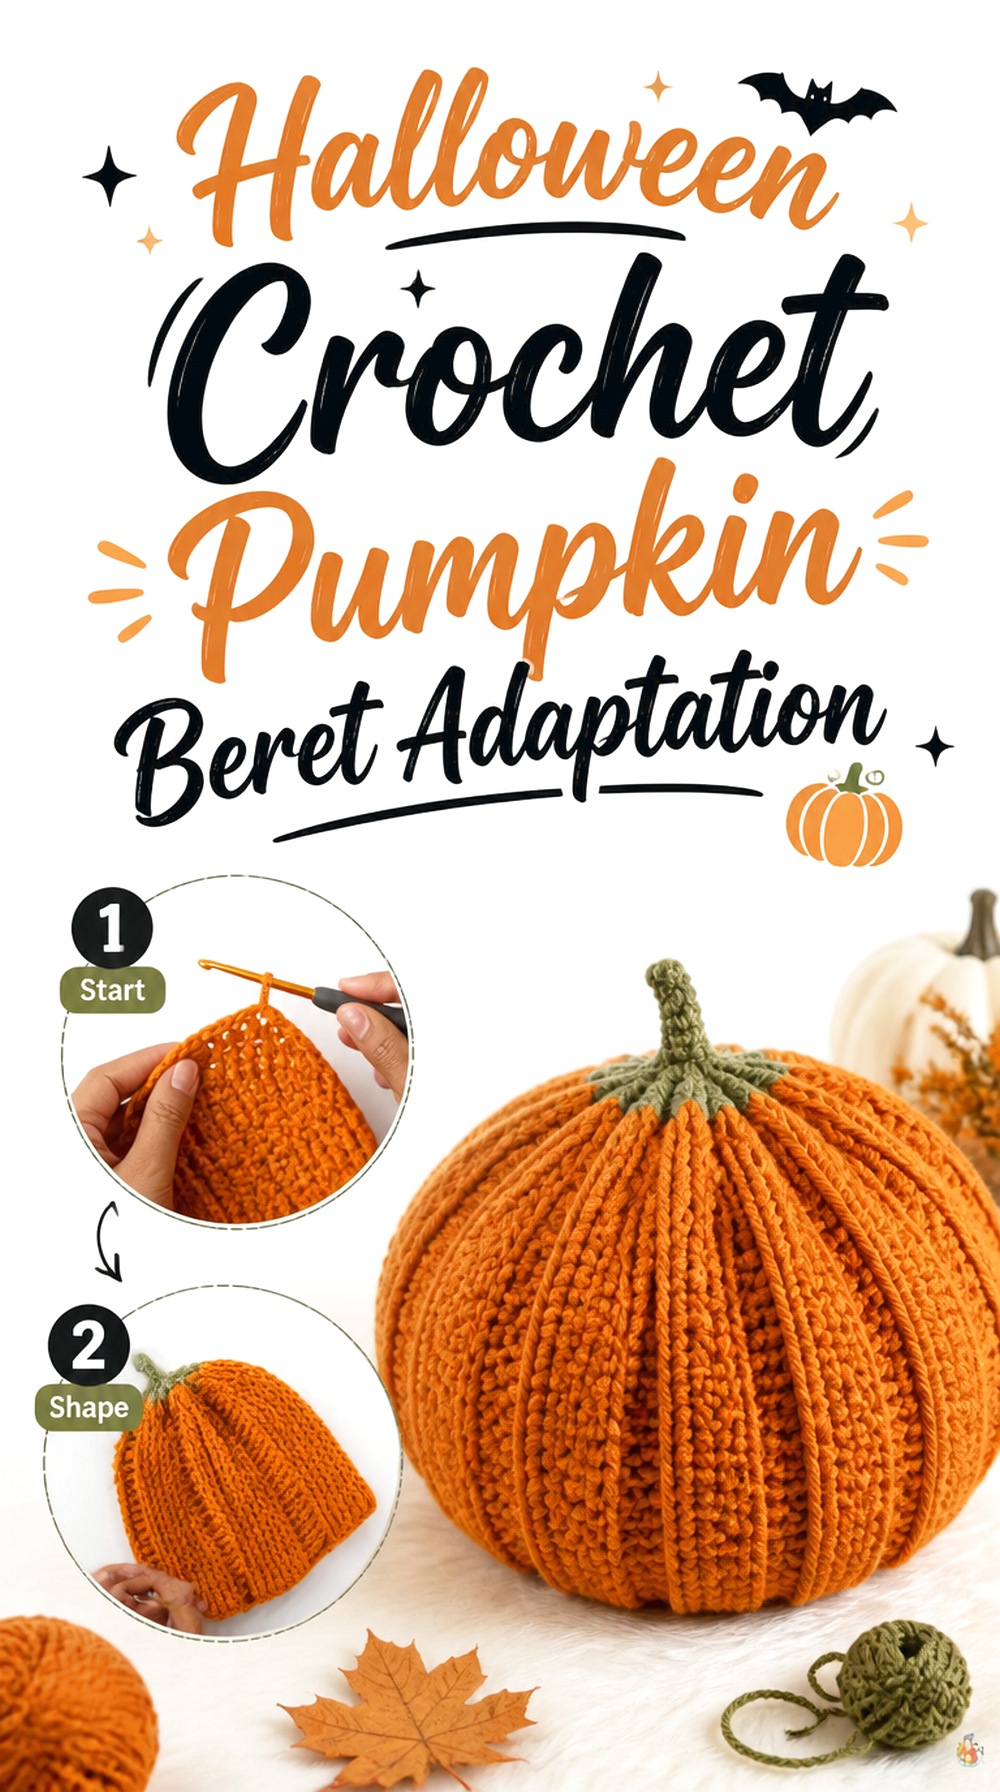
Sirin’s Crochet provides a clearly Halloween-focused pumpkin hat reference. For a beret version, the useful editorial direction is to keep the stronger seasonal identity while changing the underlying silhouette from close-fitting hat to wider crown.
This project belongs at the costume-ready end of the collection. Saturated pumpkin colors and obvious green top details can make it instantly recognizable, while a wider beret crown introduces more fashion-oriented shape. The source does not itself teach that conversion, so establish the beret’s fit and crown spread separately rather than widening the pumpkin-hat instructions by guesswork.
Decide Whether Halloween or General Fall Is the Priority
Bright orange and contrasting green push the project toward costume styling. Rust, brown-orange, cream, mustard, or muted sage can soften that effect without eliminating the pumpkin idea. Make the palette decision early because it influences whether extra embellishment is necessary.
Stop Adding Details Once the Theme Is Clear
A pumpkin beret can quickly collect stems, leaves, vines, faces, patches, and other Halloween elements. Add the essential crown detail first and then check the finished hat from several angles. Negative space can make textured pumpkin sections easier to recognize.
Original Tutorial and Creator Credit
Creator: Sirin’s Crochet
7. Full Rounded Crochet Pumpkin Beret Adaptation
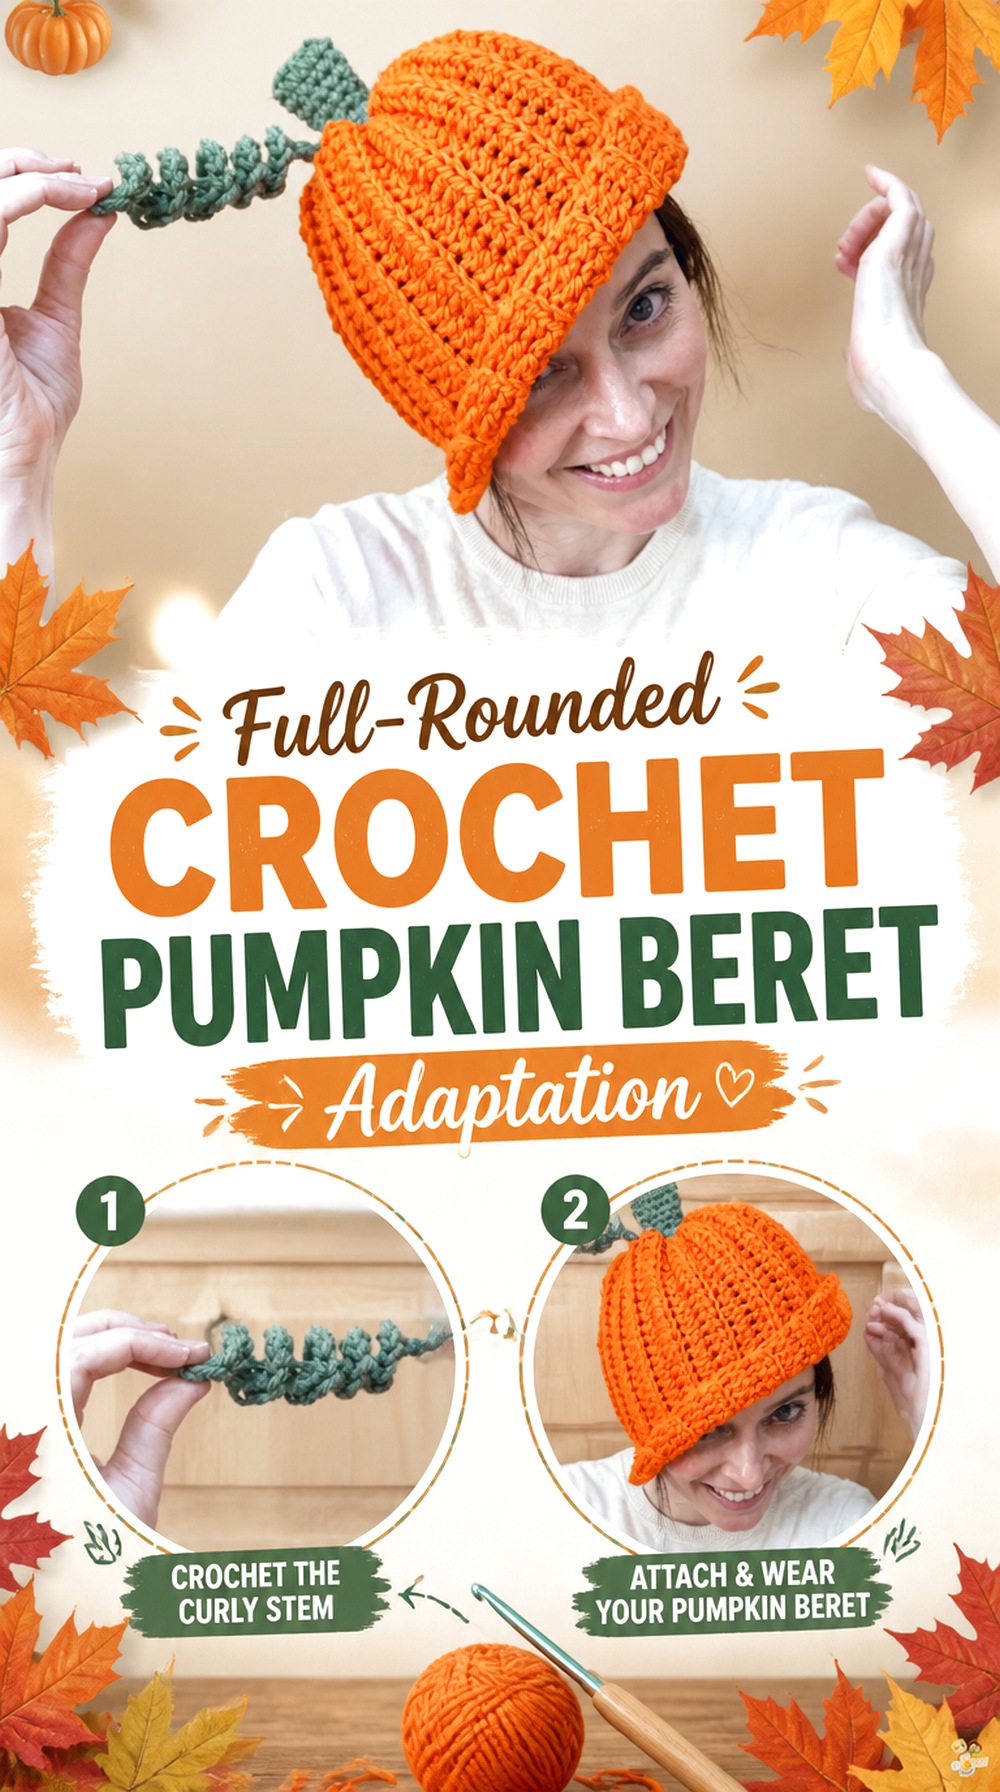
Jayda InStitches’ pumpkin hat provides a useful reference for creating a clearly recognizable rounded pumpkin impression. The source is presented for both kids and adults, but the original silhouette remains a pumpkin hat rather than a beret.
For this idea, let overall roundness carry more of the seasonal identity than extra decorations. Combine that visual language with a properly established beret framework so the upper crown has intentional spread and the opening remains controlled. This direction fits someone who wants an unmistakable pumpkin but prefers not to add a jack-o’-lantern face or a large cluster of leaves.
Roundness Should Come From the Framework, Not Random Increases
Extra fullness needs to be planned within the beret construction. Simply adding stitches to a separate pumpkin-hat formula can create waves or excess fabric in the wrong area. Work from a beret shape you understand and treat the source as guidance for the pumpkin’s visual character.
Simple Top Details Let the Silhouette Stay Dominant
If the rounded crown already looks convincingly pumpkin-like, a modest stem may be enough. This keeps the hat easier to tilt and avoids loading the crown with decoration that hides the shape you worked to create.
Original Tutorial and Creator Credit
Creator: Jayda InStitches
8. Petite Topper Crochet Pumpkin Beret Adaptation
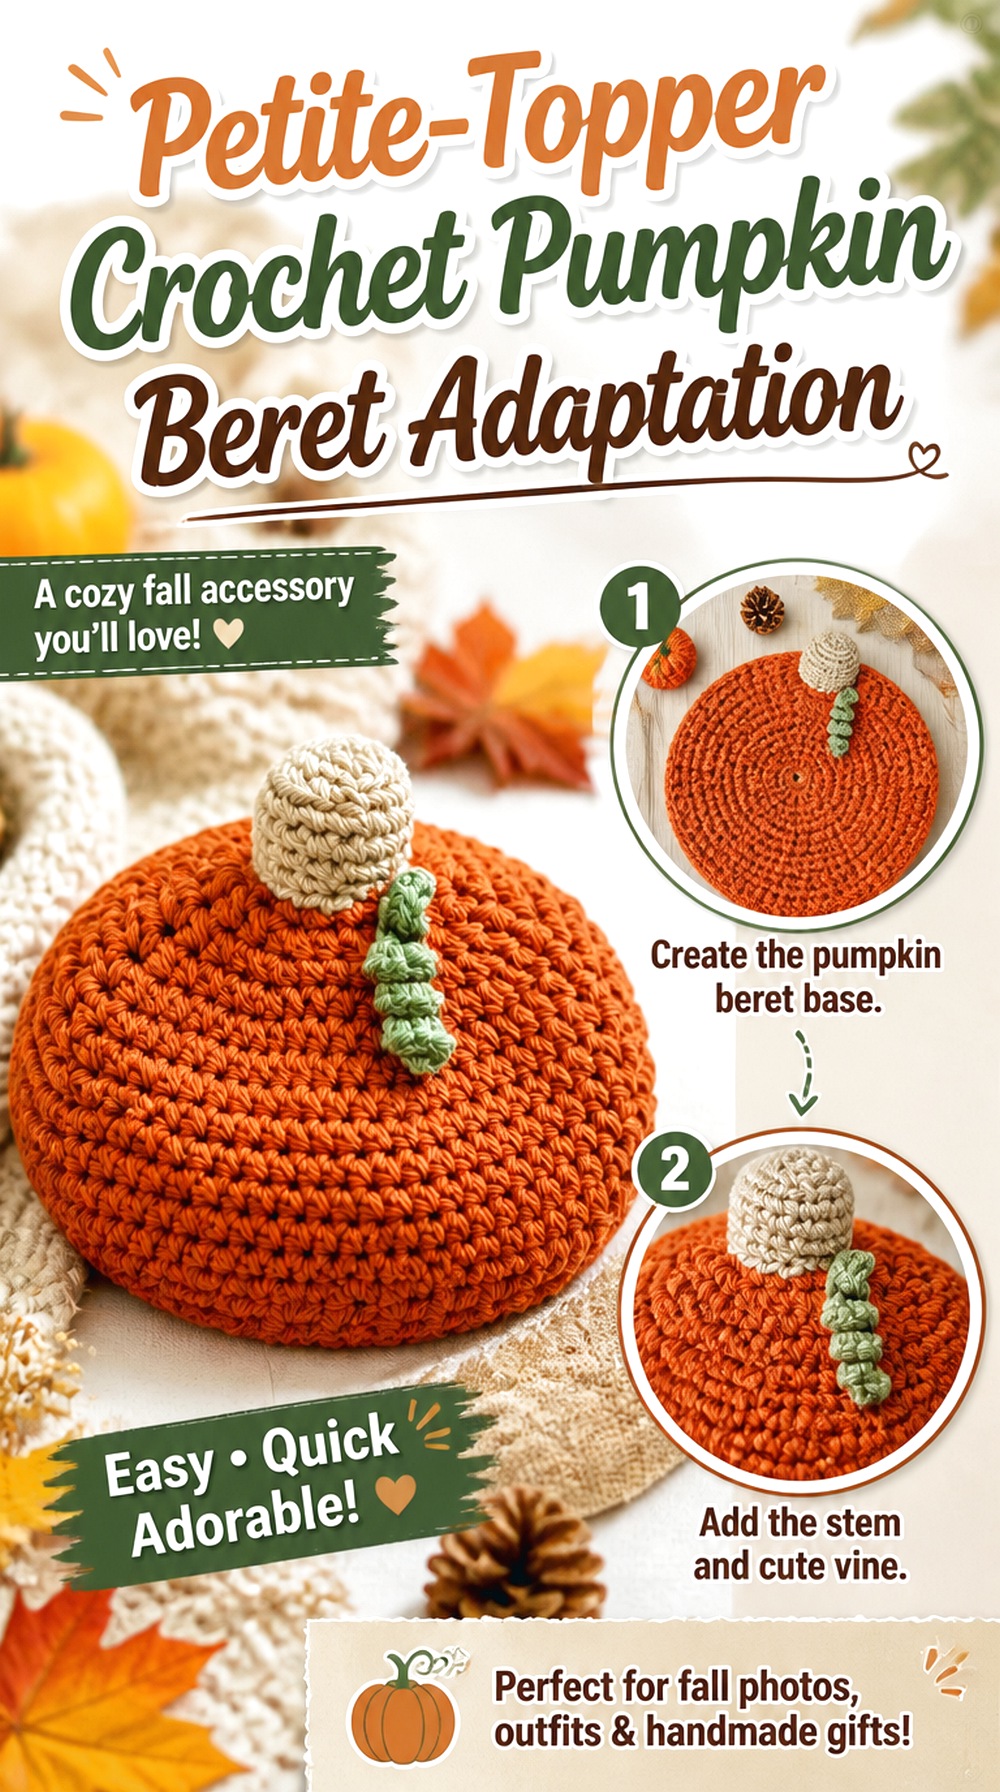
A smaller crown accent can make a pumpkin beret feel more delicate than the large-stem novelty styles. Storybook Crochet’s source teaches a baby pumpkin hat in four baby-size ranges and uses orange, brown, and green elements. It is not an adult beret tutorial, so none of its sizing should be transferred directly to an adult adaptation.
The useful design takeaway is scale. A compact topper can suggest a pumpkin without visually weighing down a soft beret crown. This also creates an option for anyone who prefers a restrained top view rather than sprawling leaves or long vines.
Small Decorations Still Need Secure Finishing
Reduced size does not make an attachment automatically secure. If the finished piece is intended for a baby or young child, avoid loose detachable embellishments and assess the completed hat for the intended use. Do not assume a decorative component is child-safe simply because it appears in a craft tutorial.
Adult and Baby Proportions Should Stay Separate
The source’s sizing belongs to its baby-hat construction. For an adult beret, establish the opening and crown dimensions independently. You can borrow the visual proportion of a compact pumpkin topper without copying measurements from a completely different headwear size.
Original Tutorial and Creator Credit
Creator: Storybook Crochet
9. Classic Smooth Crown Crochet Pumpkin Beret Adaptation
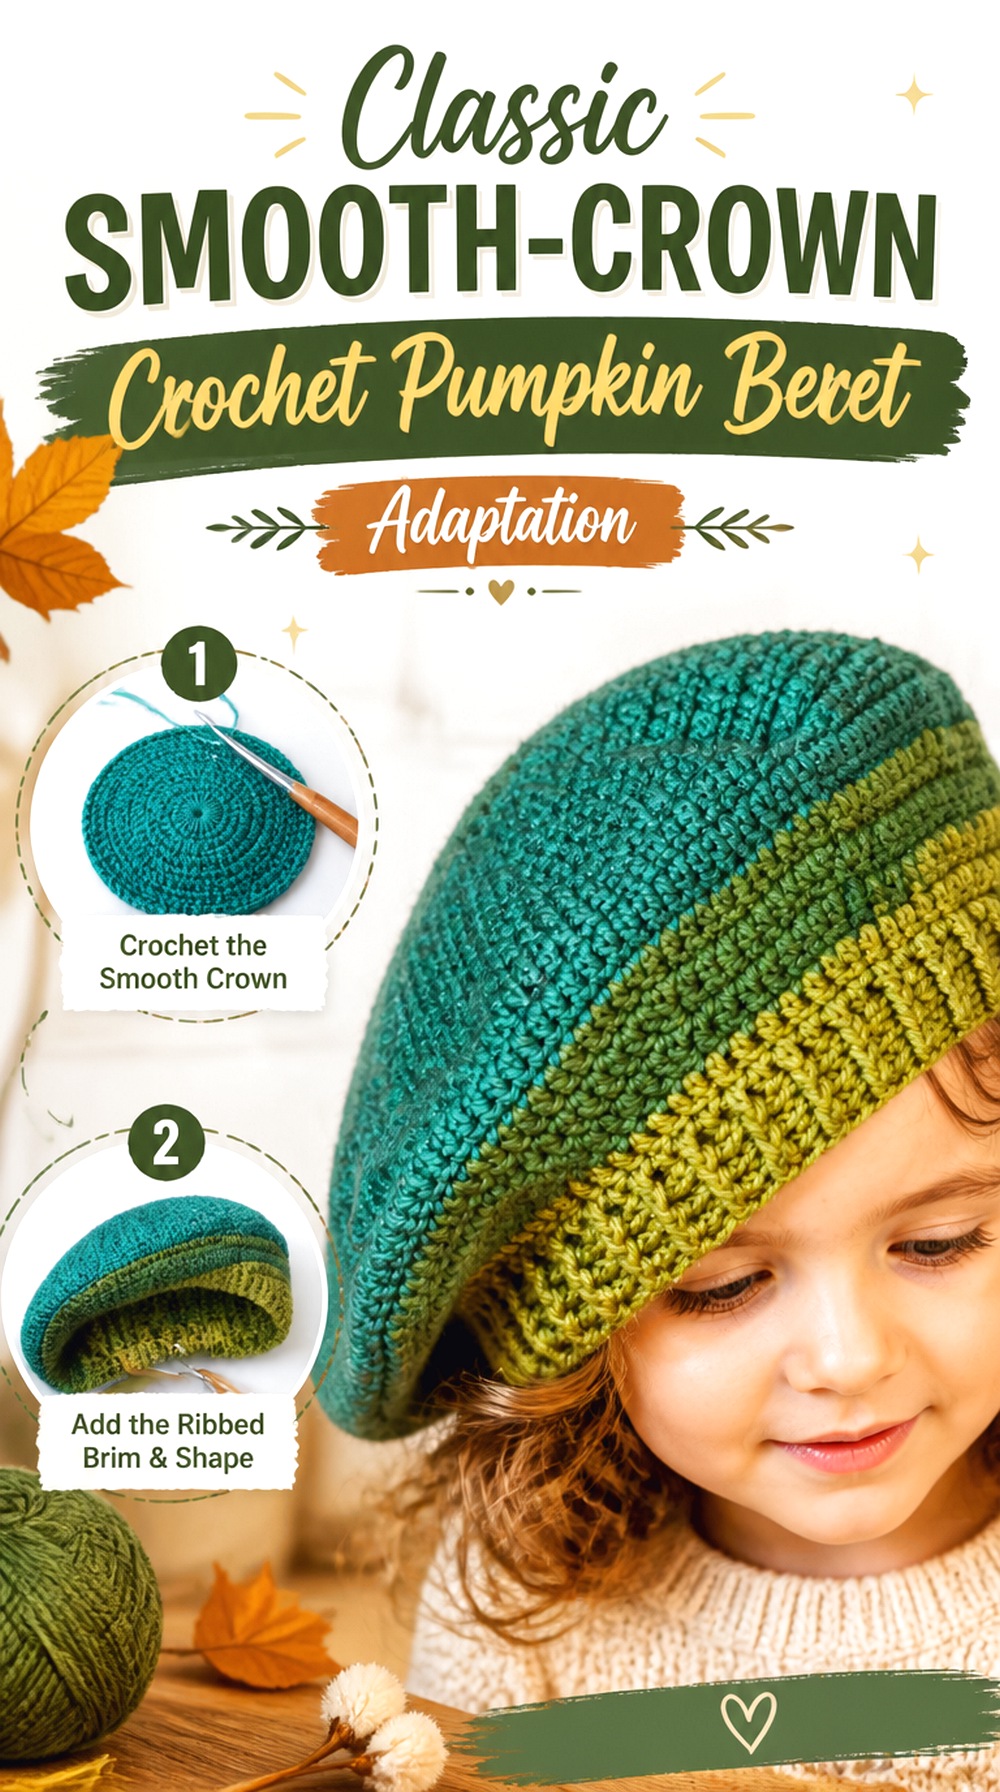
Not every pumpkin beret needs built-in ridges. Winding Road Crochet’s beret tutorial provides a clean traditional framework that can support a more minimal pumpkin interpretation based on autumn color and a small crown accent. The creator’s accompanying information covers a range of sizes from preemie through adult.
This direction is valuable when you want the hat to look like a beret first and a pumpkin second. A smooth orange, rust, cream, or green crown can work with a restrained stem or leaf without becoming heavily sculptural.
A Smooth Crown Makes Color More Important
Without deep pumpkin ribs, the palette carries more responsibility. A rich harvest shade plus a contrasting crown detail can communicate the theme while preserving a classic silhouette. If you choose cream or muted green, make the topper distinctive enough that the seasonal reference does not disappear entirely.
Traditional Beret Drape Gives You More Styling Freedom
A relatively clean crown can be shifted left, right, or slightly backward without fighting a rigid pumpkin shape. Decide where the topper looks best after establishing your preferred tilt instead of assuming the geometric center of the hat will always be the visual center when worn.
Original Tutorial and Creator Credit
Creator: Winding Road Crochet
10. Measurement Led Crochet Pumpkin Beret Adaptation
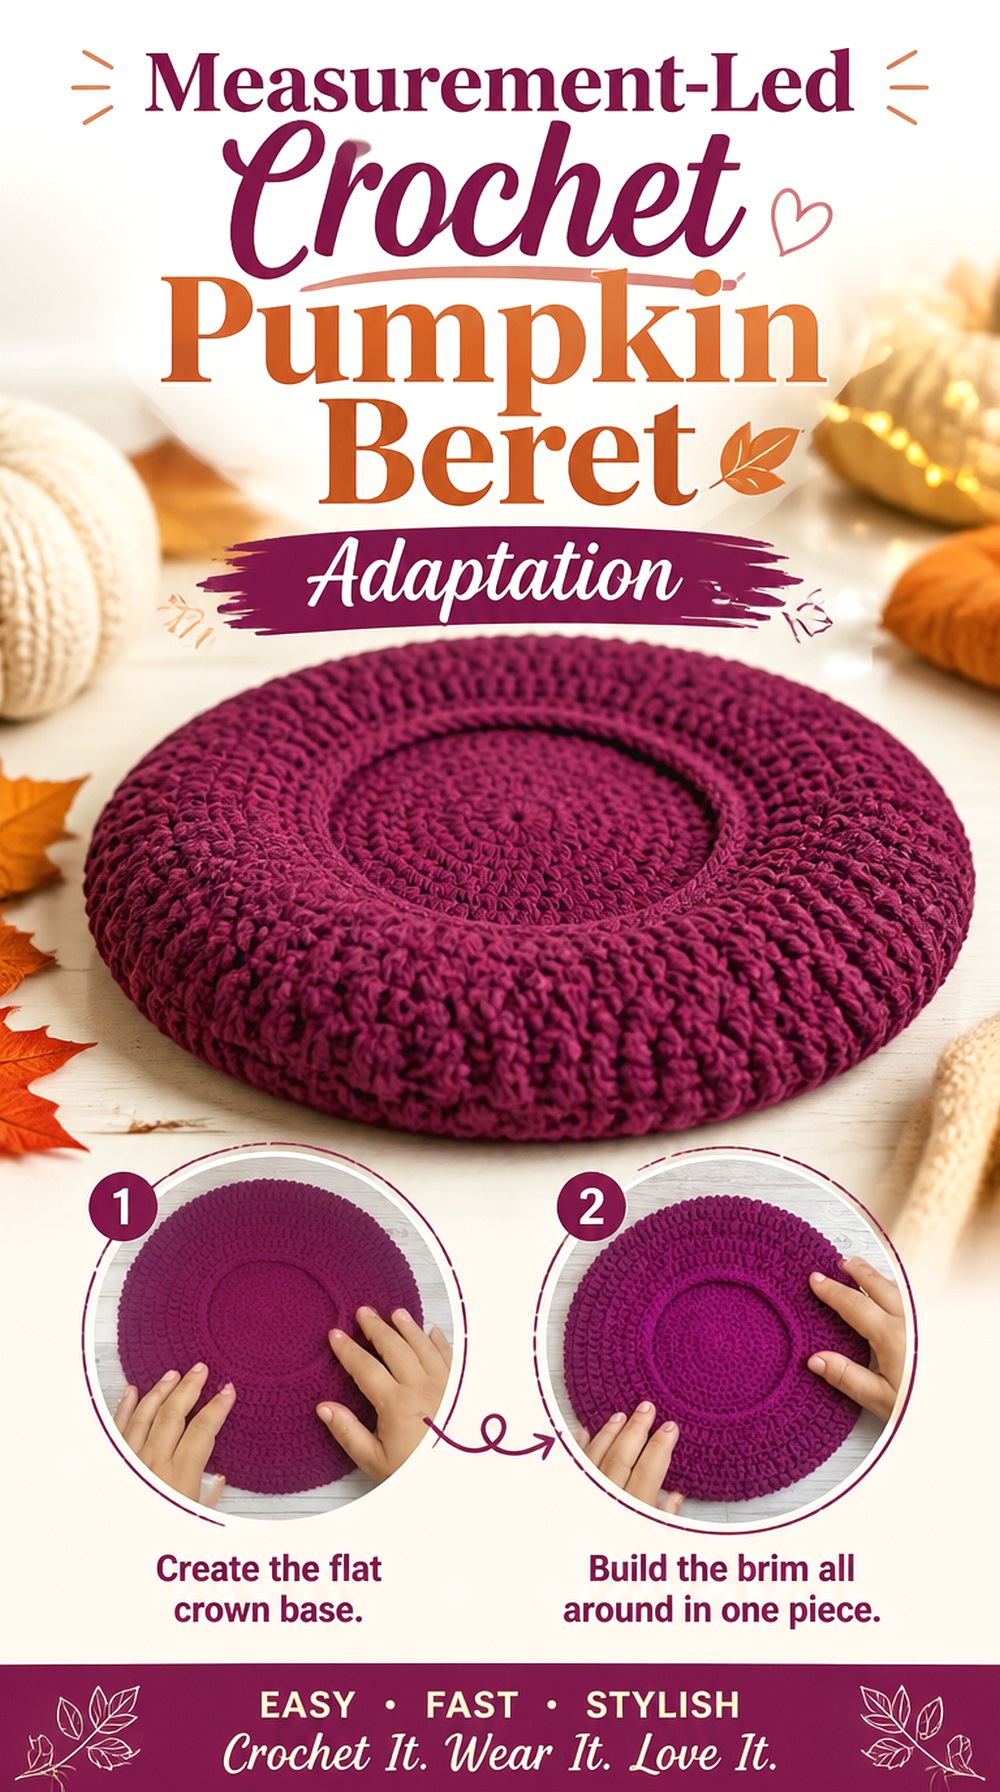
Crochet con Sole’s basic beret tutorial focuses on establishing a recognizable beret shape while discussing measurements and adapting the project to different sizes. That makes it a useful starting point when fit control matters more to you than copying a fixed seasonal silhouette.
For the pumpkin version, build the beret fit first and add seasonal identity through color, raised surface details of your own design, or a compact topper afterward. This approach is particularly useful when the intended wearer does not match a convenient standard size.
Measure the Opening Separately From Crown Fullness
The widest part of a beret and the section that actually sits around the head perform different jobs. If you want a dramatic pumpkin crown, do not let that change distract you from the opening measurement. A visually impressive crown is not useful if the finished hat continually slips.
Adapt One Variable at a Time
If you change yarn, hook, crown fullness, and decorative treatment simultaneously, a poor fit becomes difficult to troubleshoot. Establish the basic beret first, then introduce pumpkin modifications in stages so you can see which change affects drape or stability.
Original Tutorial and Creator Credit
Creator: Crochet con Sole
11. Made to Measure Crochet Pumpkin Beret Adaptation
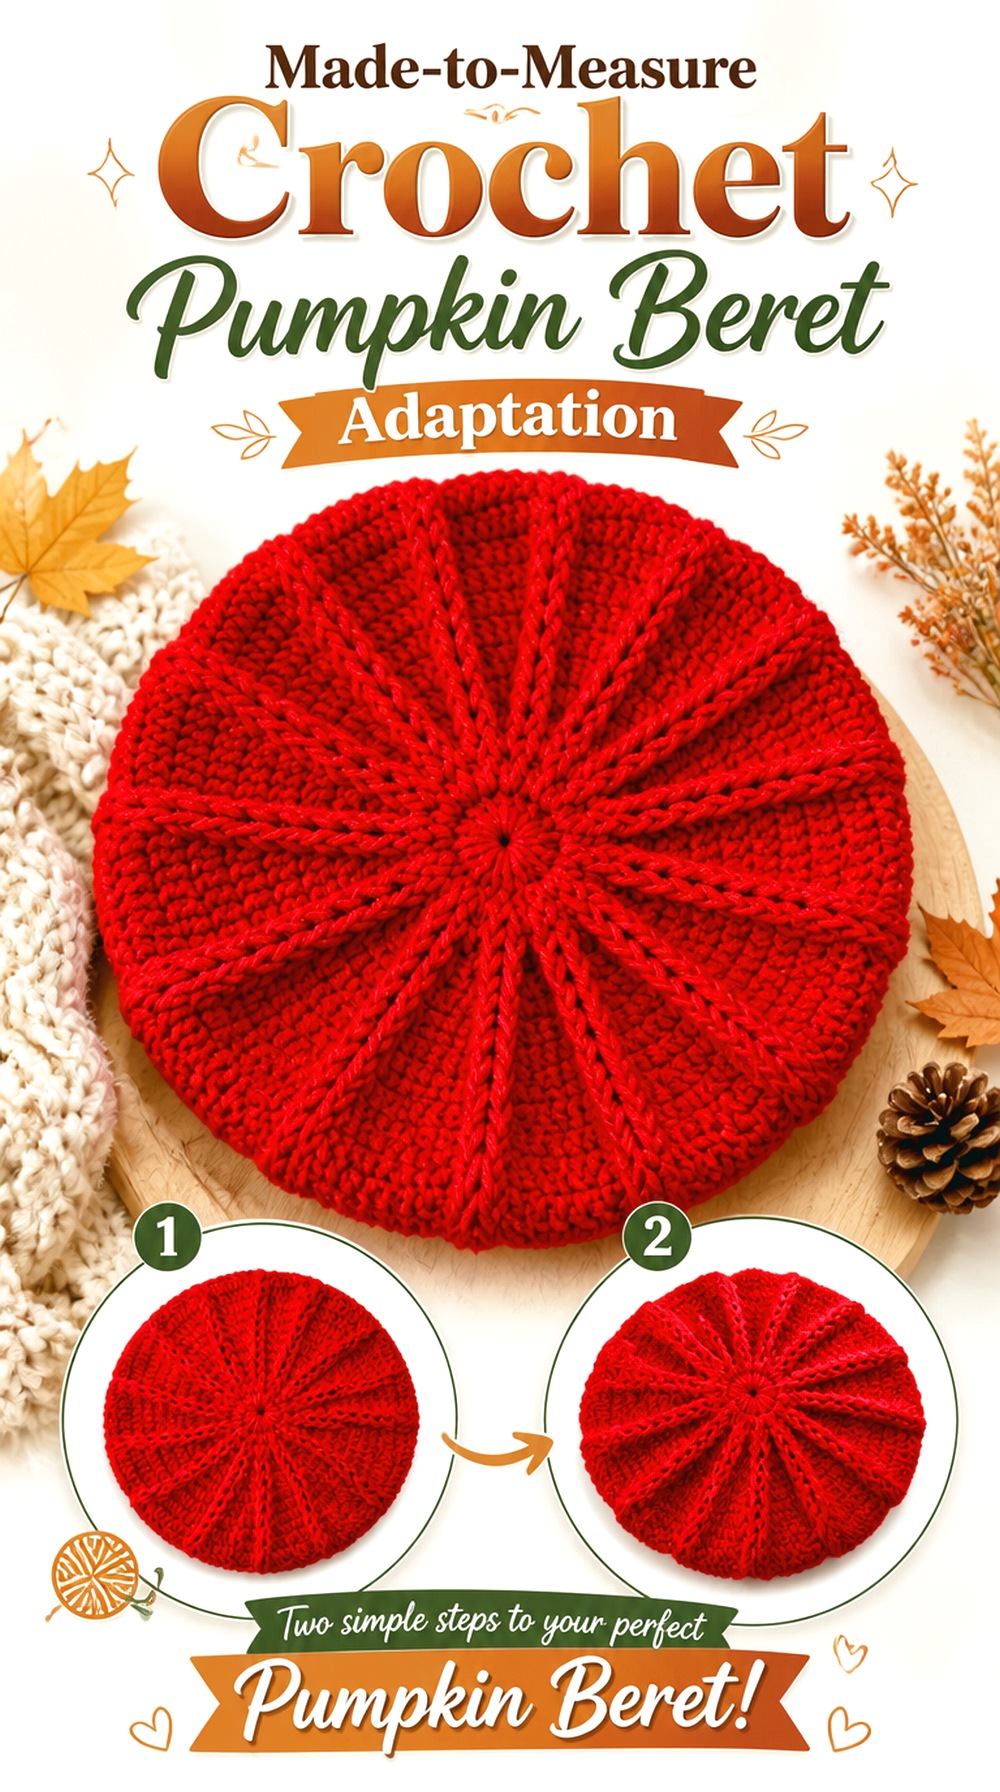
AC Crochets presents a measurement-based beret and notes that the tutorial can be worked with different yarn sizes using an appropriate hook. That flexibility makes it useful when your pumpkin concept starts with a particular yarn you already like rather than with a fixed material list.
This version works well for a wardrobe-oriented pumpkin beret because you can choose the fabric characteristics first: softer for more drape, firmer for a more defined crown, or smoother when visible pumpkin texture is the priority.
Yarn Substitution Changes More Than the Gauge
A thicker, loftier yarn can make the crown look fuller and more sculptural, while a lighter fabric may fall closer to a traditional beret. Even in a measurement-led construction, compare drape as well as dimensions. Reaching the correct opening does not guarantee the crown will behave the way you expect.
Use a Topper to Control How Seasonal It Feels
A detachable-looking novelty effect is not necessary. A small permanently secured stem, one leaf, or even a short brown crown accent can keep the result fall-oriented without overwhelming the base beret. Check the final proportion while the hat is worn.
Original Tutorial and Creator Credit
Creator: AC Crochets
12. Raised Line Crochet Pumpkin Beret Adaptation
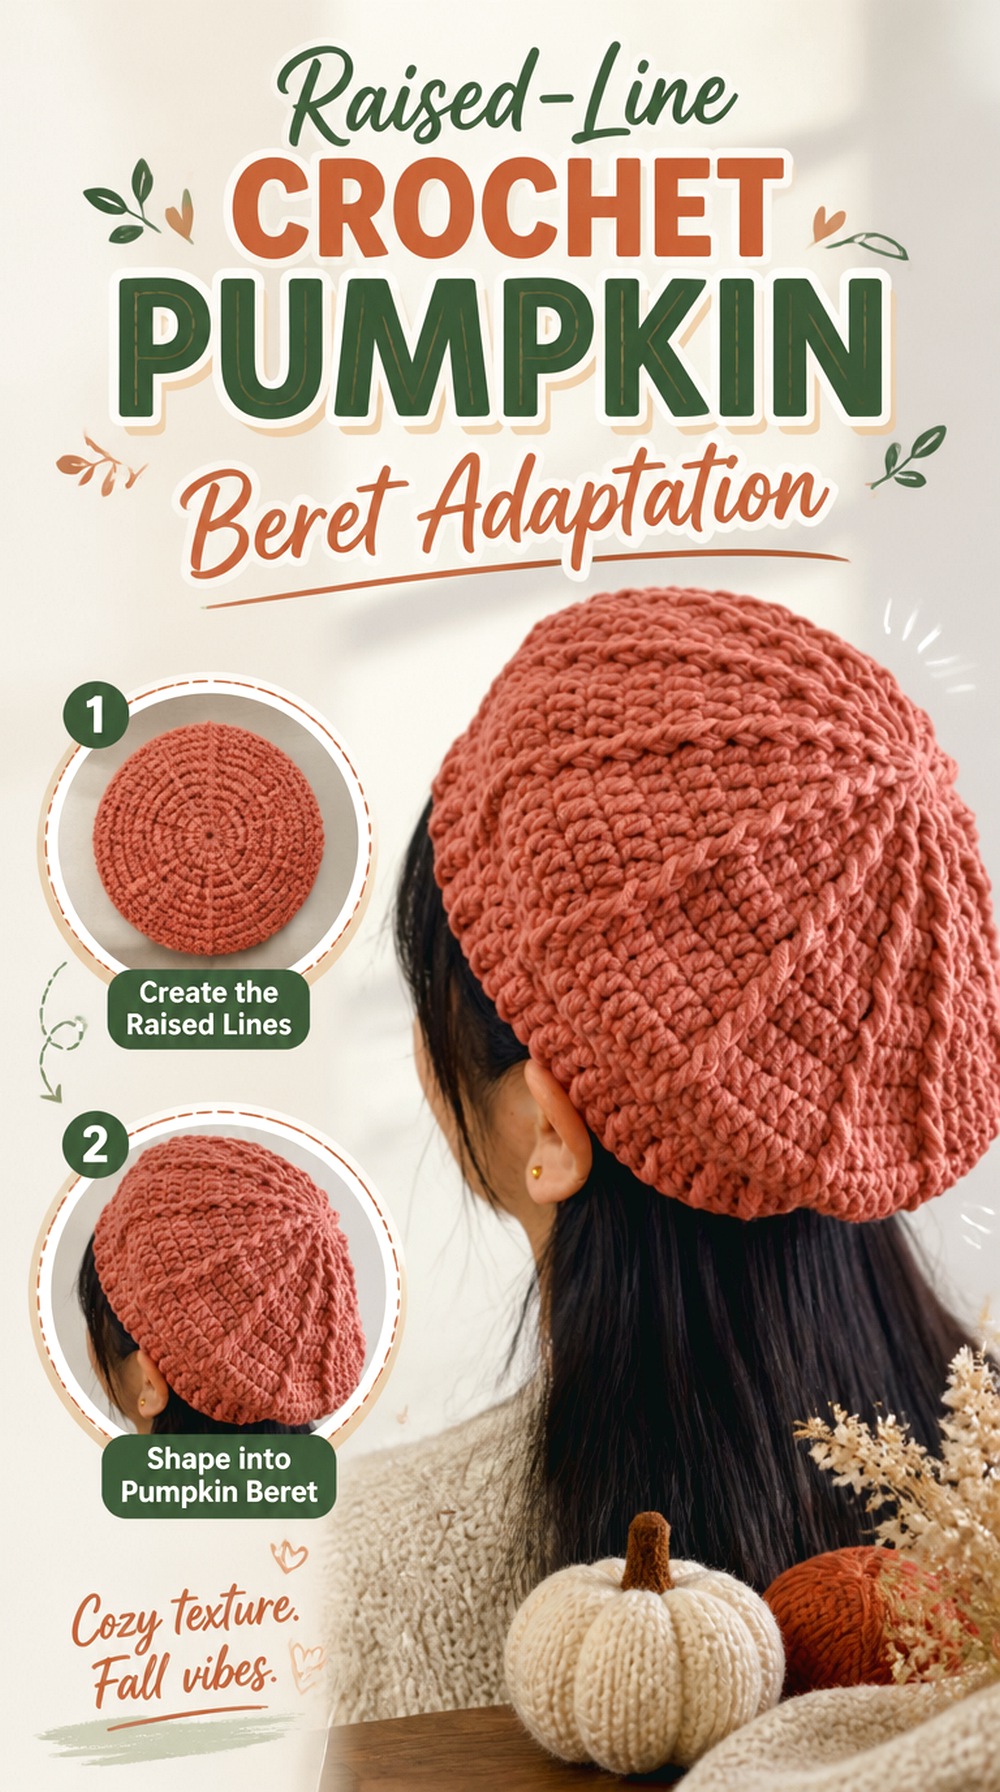
Vivi Crochet’s beret uses visible front-post detailing across the crown, which makes the source particularly relevant to pumpkin styling. Those raised structural lines already provide a visual language that can be pushed toward pumpkin segmentation through color and restrained crown finishing.
Unlike a smooth beret that depends strongly on orange yarn, this adaptation can make surface texture do part of the work. It is a useful choice for deeper rust, brown-orange, cream, or even green pumpkins where the crown divisions need to remain visible.
Keep the Raised Lines Visually Organized
Pumpkin segmentation looks strongest when the structural lines appear intentional rather than randomly interrupted. If you alter the original construction, be cautious about changes that disturb the visual rhythm. Follow the creator for the beret itself and treat seasonal finishing as a separate layer.
Variegated Yarn Can Compete With the Texture
Frequent color changes can visually break up raised crown lines. If the post-stitch structure is the main pumpkin signal, a solid or gently changing shade may let it read more clearly. Swatch first if you are unsure how much visual movement your yarn introduces.
Original Tutorial and Creator Credit
Creator: Vivi Crochet 🌷
13. Puff Texture Crochet Pumpkin Beret Adaptation
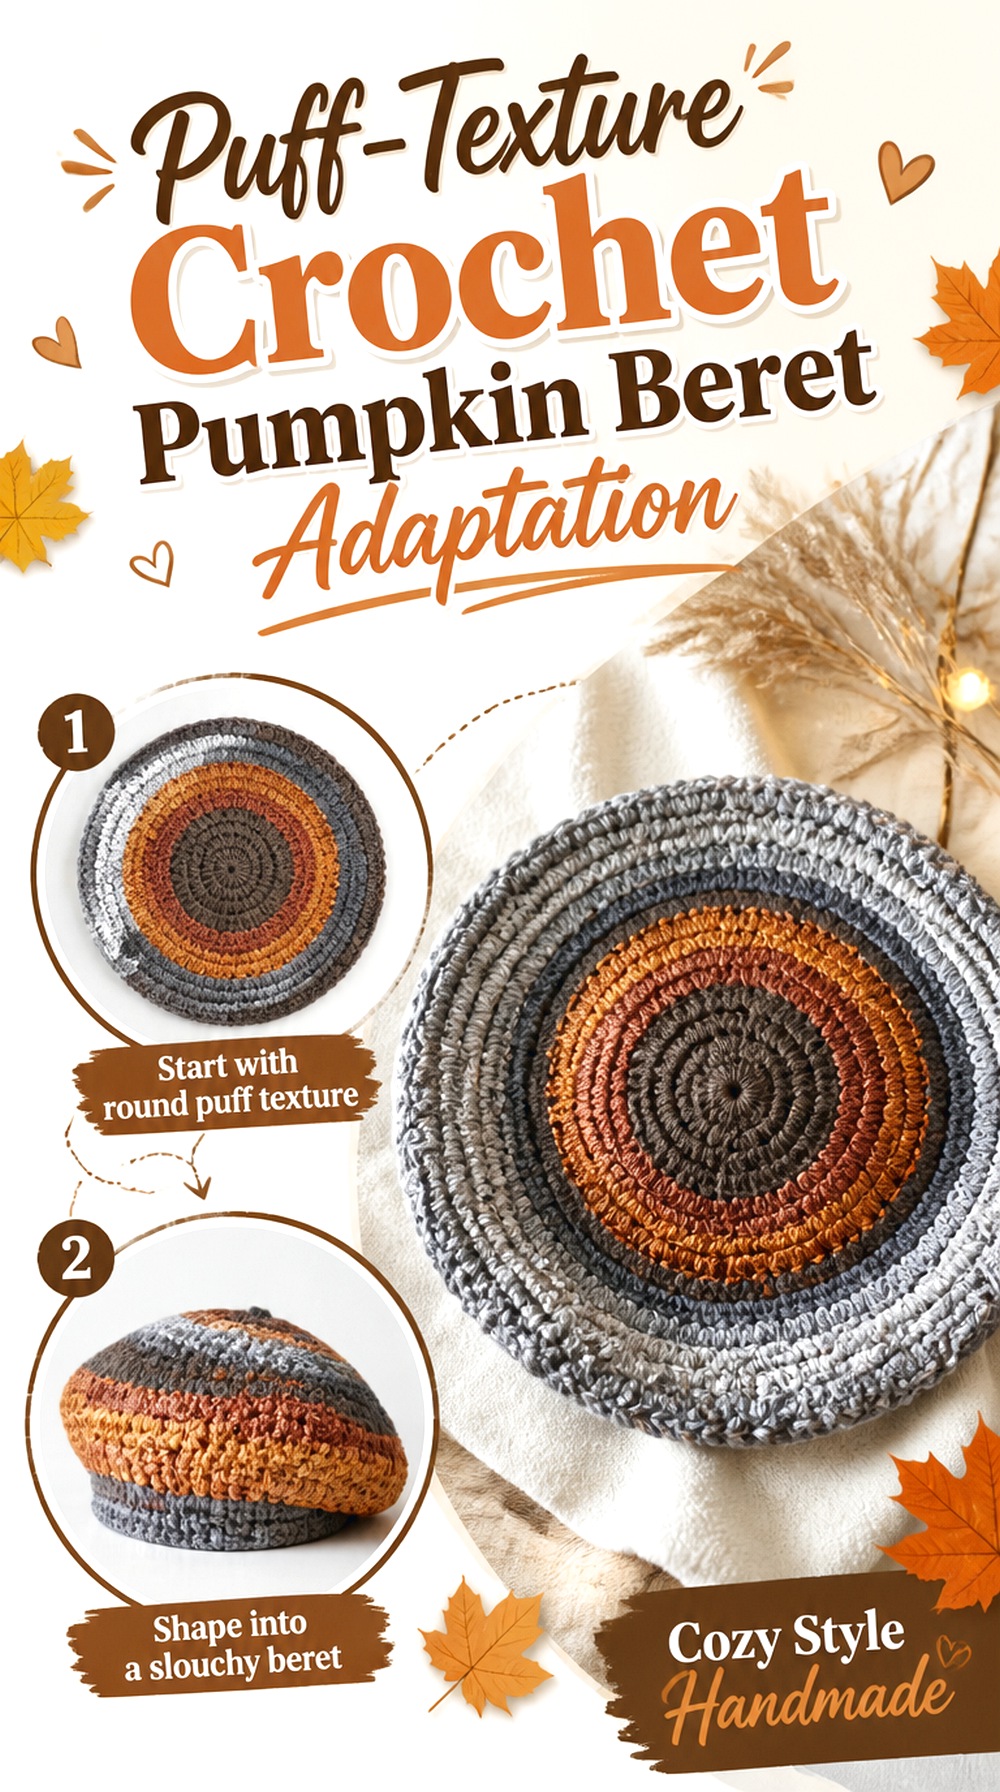
Meladora’s Creations for Crochet teaches a slouchy beret featuring puff texture alongside other stitches. That creates a softer, more tactile pumpkin direction than the sharply segmented options earlier in the collection.
Instead of trying to imitate straight pumpkin ribs, let the textured surface suggest a bumpy heirloom squash or decorative autumn pumpkin. A slouchier crown also makes this version feel more relaxed and fashion-oriented, which can be useful if you want seasonal texture without a literal fruit-shaped hat.
Puff Texture Adds Visual and Physical Volume
Raised stitch clusters can make fabric appear heavier than a smooth crown even when the overall dimensions are similar. Consider whether you want the texture spread across the whole beret or concentrated visually through color placement. Avoid adding a large topper until you see how substantial the crown already feels.
Slouch Softens the Pumpkin Geometry
A relaxed beret will not keep perfectly rigid divisions when tilted. That is part of the appeal here. Choose this direction when you prefer an organic squash-like surface rather than a symmetrical costume pumpkin.
Original Tutorial and Creator Credit
Creator: Meladora’s Creations for Crochet
14. Puff and Rib Crochet Pumpkin Beret Adaptation
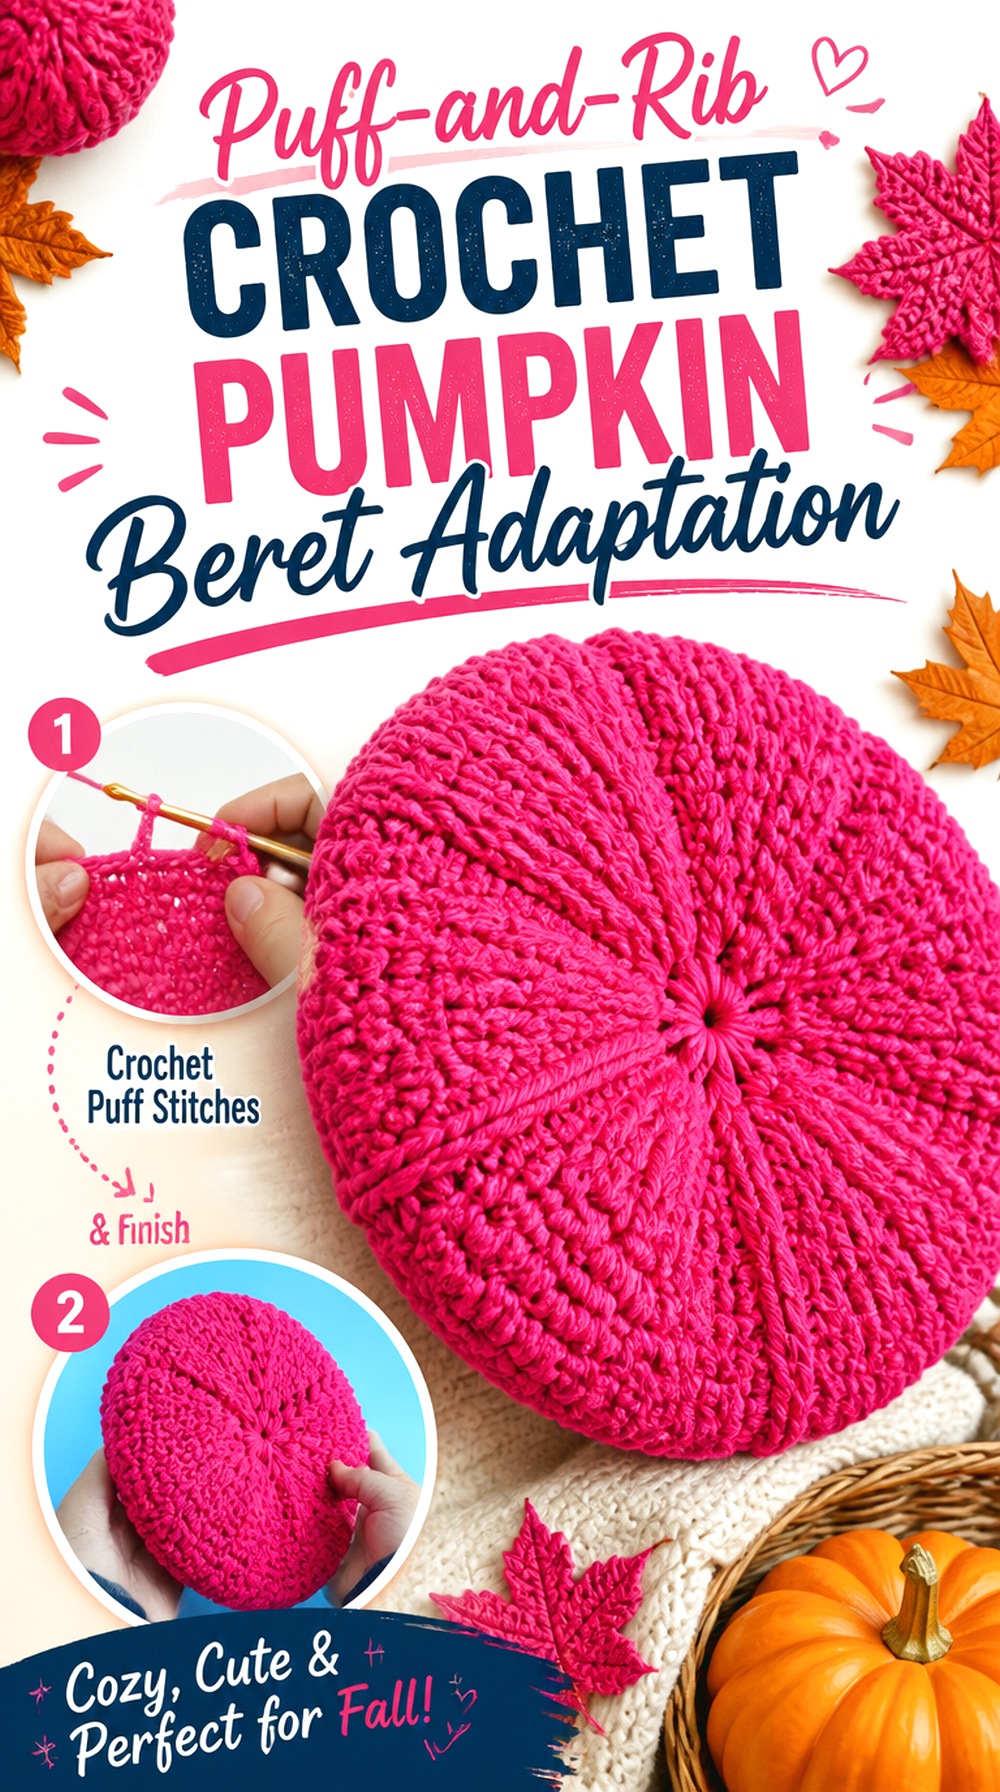
The crochet-crosia beret combines puff-style texture with a defined ribbed band, giving this idea a useful contrast between a decorative upper crown and a visually anchored opening. The tutorial is presented as a beret-hat project and includes size discussion in its accompanying information.
For pumpkin styling, the puffs can provide raised surface interest while the lower ribbing keeps the hat from becoming uniformly bulky. This direction sits between the smooth classic adaptations and the deeply sculpted pumpkin berets.
Keep the Band Quieter Than the Crown
If both the opening and upper crown use competing textures or strong color contrasts, the hat can lose a clear focal point. Let the ribbed band frame the face while concentrating most of the pumpkin character above it.
Puff Placement Can Suggest an Heirloom Pumpkin
Not every pumpkin has perfectly straight ribs. A textured crown can feel more botanical and less cartoon-like, especially in earthy orange, ochre, moss, or cream. A small brown or green crown accent may be enough to finish the idea.
Original Tutorial and Creator Credit
Creator: crochet-crosia
15. Defined Rib Crochet Pumpkin Beret Adaptation
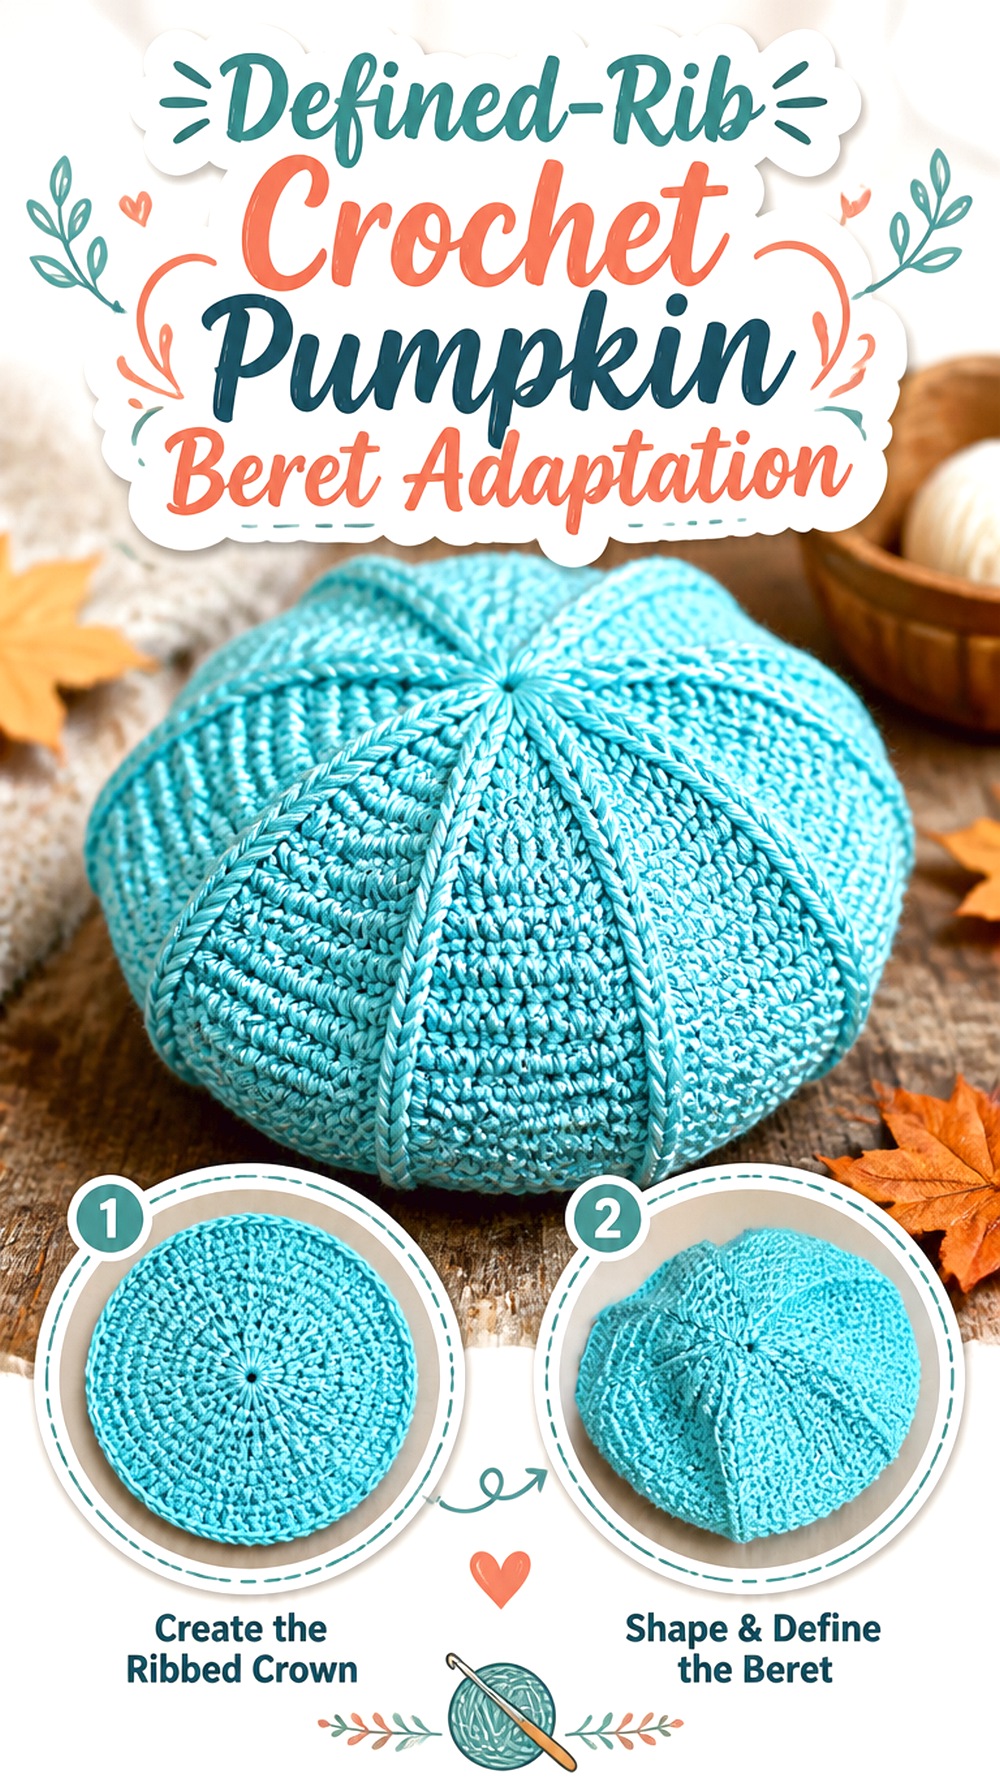
Lenysea’s beret tutorial uses front-post work among its techniques, making it another strong construction reference for readers who want the crown texture itself to suggest pumpkin divisions. The tutorial is framed for advanced beginners familiar with the required basic techniques.
This version can become a cleaner, more graphic pumpkin beret than the puff-textured alternatives. Use a smooth fall-colored yarn, preserve the definition of the raised lines, and keep the crown topper compact enough that it does not compete with the structural surface.
Strong Ribbing Works Well With a Restrained Palette
When the crown already has obvious lines, several contrasting colors can become unnecessary. One main pumpkin shade plus a small stem or leaf often gives the texture more room to show. Cream and muted green can also work when you want a less literal orange pumpkin.
Check the Crown After It Settles
Raised texture can look different once the fabric is worn and pulled into a tilted beret shape. Judge the line spacing and overall pumpkin impression on the head, not only while the piece lies flat. That is especially important before deciding whether additional embellishment is needed.
Original Tutorial and Creator Credit
Creator: Lenysea
Which Crochet Pumpkin Beret Direction Should You Choose?
| If you want… | Start with… | Main thing to watch |
|---|---|---|
| The closest match to an actual pumpkin beret tutorial | Subtle Segmented or Sculpted Round | Preserve the crown-to-opening proportions |
| A strong Halloween statement | Halloween or Newsboy-Brim | Keep decorations balanced with the wearing angle |
| Leaves and vines as a focal feature | Leaf-and-Vine | Avoid covering the crown texture |
| A quieter everyday fall accessory | Classic Smooth-Crown or Made-to-Measure | Let color and one small topper carry the theme |
| Strong pumpkin-like vertical definition | Raised-Line or Defined-Rib | Choose yarn that keeps the texture visible |
| A softer, less geometric pumpkin | Puff-Texture or Puff-and-Rib | Account for extra visual volume and slouch |
| A prominent lower edge | Folded-Band | Make sure the heavier band still allows the desired tilt |
Conclusion
The most convincing crochet pumpkin beret does not have to be the most decorated one. Choose the Subtle Segmented or Sculpted Round options when you want a tutorial already centered on an actual pumpkin beret. Pick Raised-Line, Defined-Rib, or Puff-and-Rib when texture should create much of the pumpkin effect, and use the Classic Smooth-Crown or Made-to-Measure versions for a quieter fall accessory.
The pumpkin-hat sources are most useful when a particular stem, vine, brim, or rounded silhouette inspires your adaptation. Keep their original sizing separate from your beret framework, and use the original tutorials for exact construction details.
Frequently Asked Questions
Can I turn any crochet pumpkin beanie into a beret?
Not simply by making the crown wider. A beret needs intentional crown spread followed by shaping toward a smaller head opening, while a beanie usually stays closer to the head. Use pumpkin-beanie tutorials for visual ideas such as ribs, stems, leaves, or color treatment, then apply those ideas to a beret construction whose fit you have established separately.
How do I make a crochet pumpkin beret look less like a Halloween costume?
Reduce the strongest novelty signals. Skip a jack-o’-lantern face, keep the stem relatively small, and consider rust, terracotta, ochre, cream, brown, or muted green instead of saturated orange. A recognizable beret silhouette also helps. Texture can suggest a pumpkin quietly, allowing the hat to work with ordinary fall clothing rather than only costume outfits.
Should the pumpkin ribs run straight when the beret is worn tilted?
Not necessarily. A beret changes orientation when shifted to one side, so lines that appear perfectly vertical while the piece is flat may angle when worn. What matters is whether the overall segmentation looks intentional. Try the hat at the angle you prefer before deciding where to place a stem, leaf cluster, or other directional feature.
What type of yarn helps pumpkin texture show clearly?
Look for enough stitch definition to keep post stitches, ridges, or puff texture visible. Very fuzzy yarn can blur those details, while an overly rigid fabric may stop the crown from draping naturally. There is no universal best fiber or weight for every tutorial, so compare the creator’s material information and make a small sample when substituting something substantially different.
How can I keep a wide pumpkin beret from slipping?
Treat the head opening as a separate fit checkpoint from the widest crown measurement. Follow the sizing or measurement guidance associated with the beret construction you choose, then try the hat on before adding heavy crown decorations. If you change yarn or hook size, reassess the opening rather than assuming the original fit information still applies unchanged.
Should I attach leaves and vines before or after checking the beret fit?
After the main hat is fitted is usually the more useful planning order. A beret often sits at an angle, so decorations positioned while the crown is lying flat can appear misplaced once worn. Temporarily position the stem, leaves, or vines while wearing the finished crown, then judge their scale and orientation before securing them permanently.