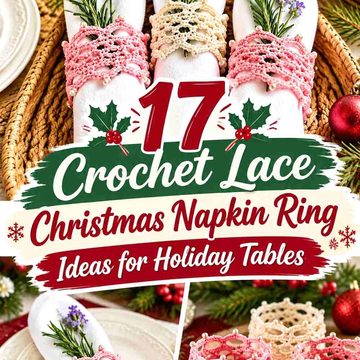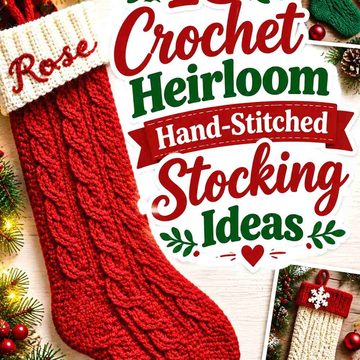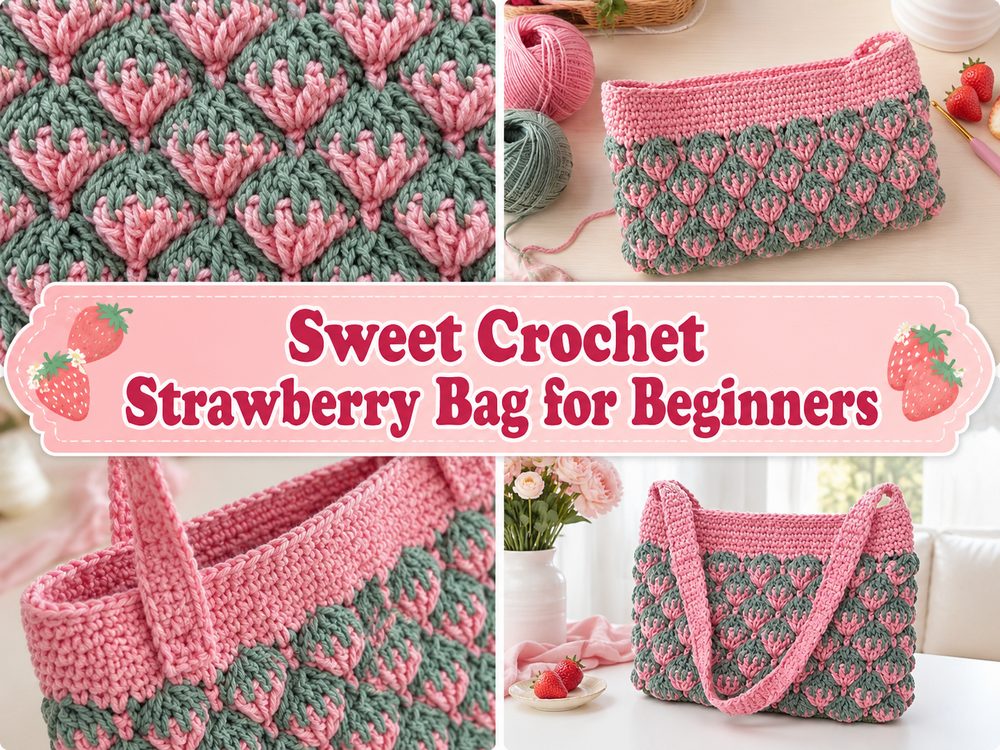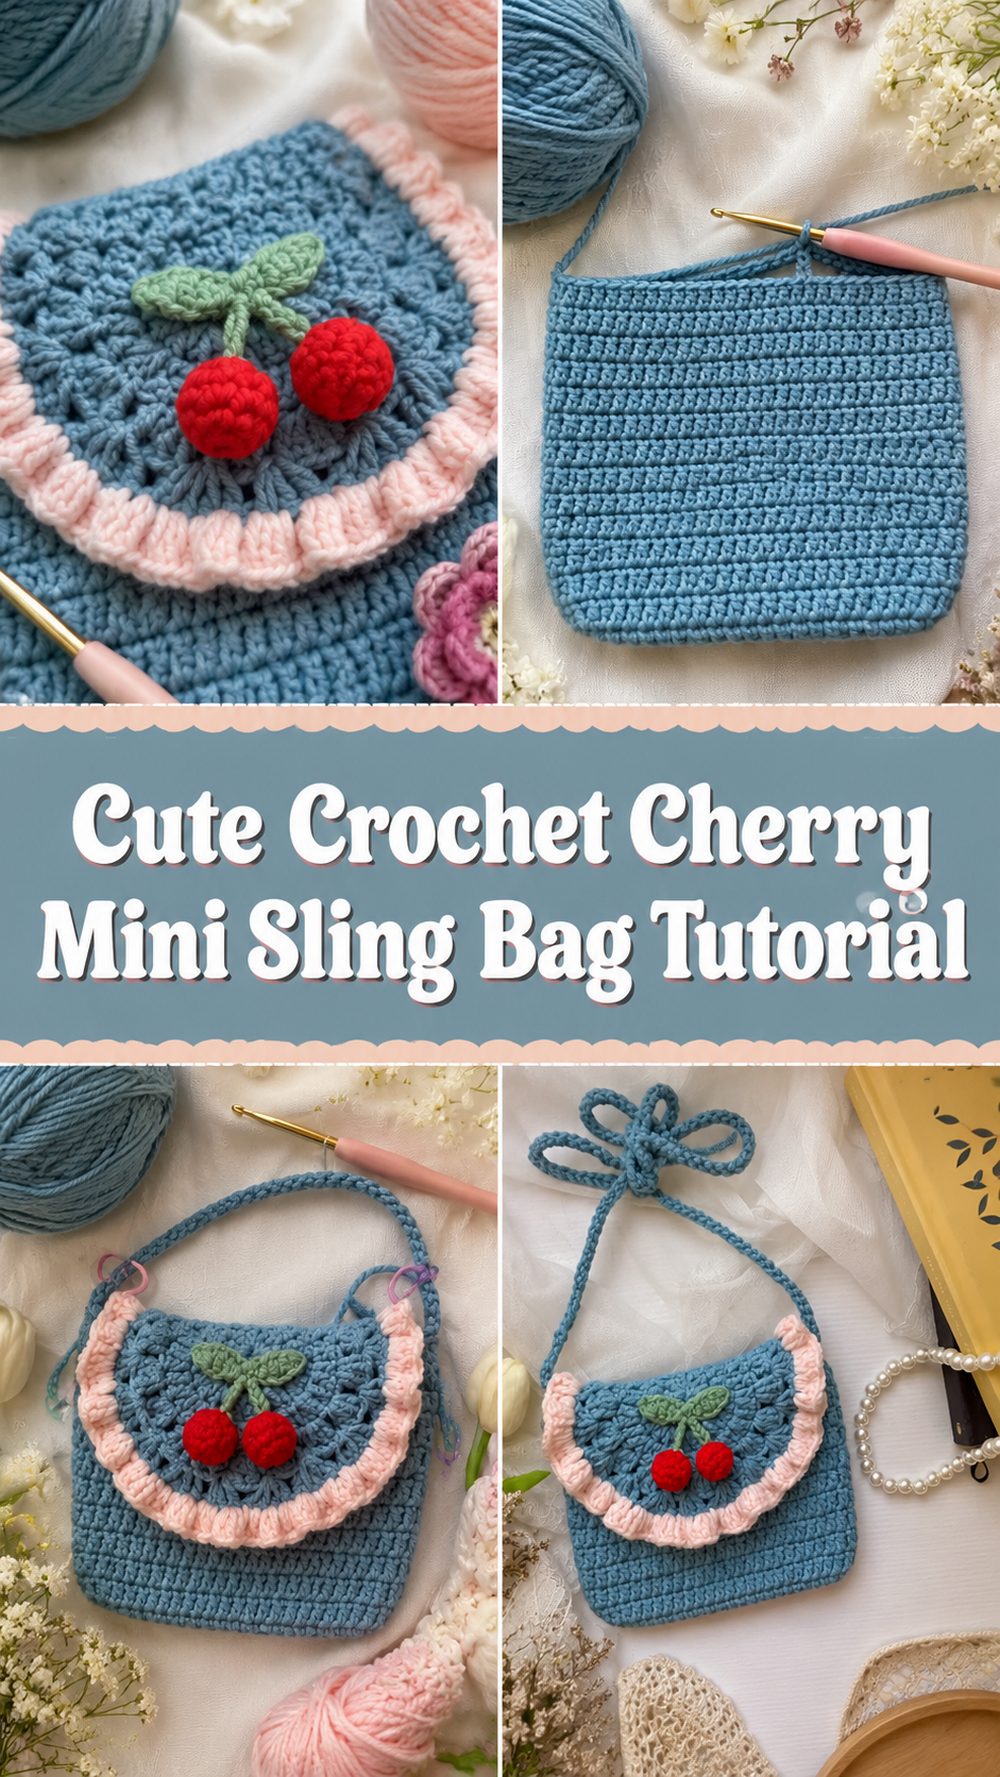
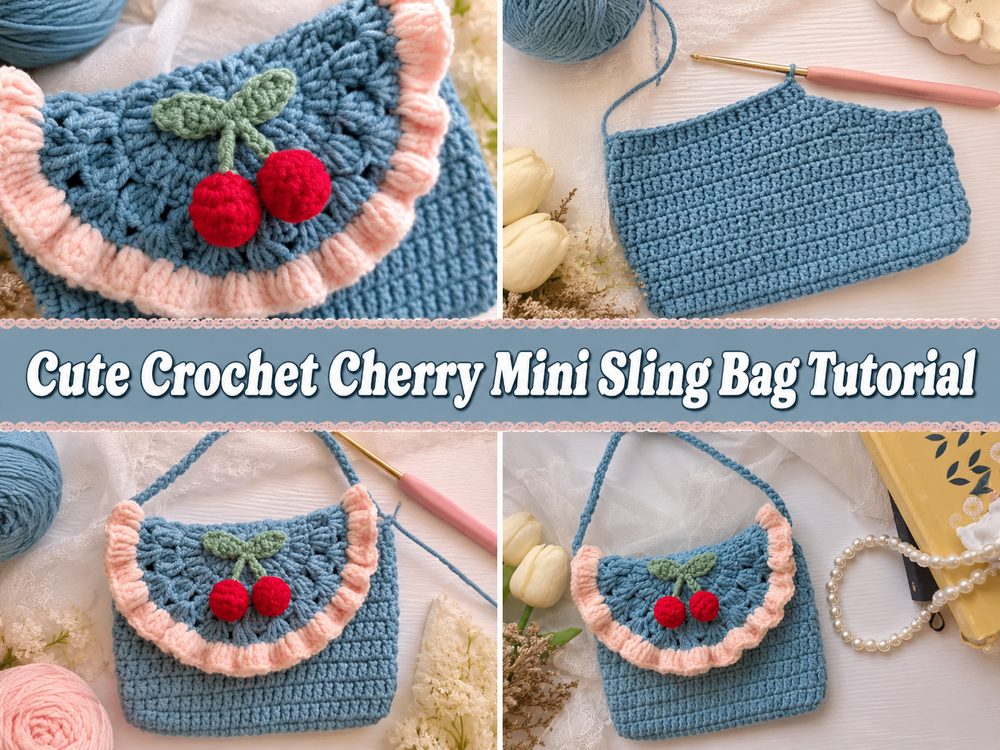
If you love playful crochet accessories, this cherry mini bag is such a fun project to make. It has that sweet handmade look that feels both cute and practical, and it works beautifully as a small everyday sling bag for light essentials. The design in the tutorial creates a compact bag with a strap and a cherry detail that gives it a cheerful, youthful style. It is the kind of project that feels satisfying because you get to build the bag itself and then finish it with a decorative cherry touch. This one is especially nice for anyone who enjoys small bags, kawaii-style crochet, or quick wearable projects that still look special when finished. The tutorial presents it as a mini sling bag with an attached strap and cherry accent.
Why You’ll Love This Project
This project is lovely because it gives you a finished bag that is small, stylish, and full of personality. The cherry detail makes it feel playful, while the simple bag shape keeps it useful and easy to wear. The video also shows it as a mini sling bag, so it is a nice choice when you want something compact rather than oversized.
Materials Needed
- Yarn for the bag body
- Yarn in cherry colors for the decoration
- Yarn for the strap if you want contrast
- Crochet hook
- Scissors
- Yarn needle
- Stitch marker if needed
The selected tutorial appears to use multiple yarn colors for the bag and cherry details, and the strap is worked separately before being attached.
Best Yarn for This Project:
A smooth yarn with good stitch definition works best for this kind of mini bag. Cotton or a cotton blend is a great option if you want the bag to hold its shape a little better and feel less stretchy. If you want a softer, cuter look, a light acrylic or soft blend can also work nicely. Since this is a small structured accessory, try to use a yarn that is not too fuzzy so the cherry detail stays clear.
Skill Level:
Easy to confident beginner. The project looks very manageable for someone who already knows how to chain, work basic stitches, and seam pieces together. Since the strap is added separately and the bag is folded and joined, it helps if you are comfortable following construction steps carefully.
Size and Fit Guide:
This is a mini bag, so the easiest way to adjust the size is by changing the width or height of the main piece before folding and seaming. You can also make the strap shorter for a shoulder bag feel or longer for a true crossbody fit. Before joining everything, hold the piece up and check whether it looks large enough for the items you want to carry.
Stitches Used:
The YouTube search snippets do not show every stitch used in full detail, so it is safest to expect basic construction stitches such as:
- Chain
- Slip stitch
- Likely basic bag stitches for the body
- Seaming with slip stitch
The tutorial clearly includes chaining for the strap and slip stitching for joining.
How to Make It
Step 1: Start the Main Bag Piece
The tutorial begins by creating the main bag section first. This is the part that forms the body of the mini sling bag. Work your foundation carefully and keep your tension as even as possible so the shape stays neat. Since this is a small bag, neat edges make a big difference in the final look.
Step 2: Build the Bag Body
Continue crocheting the main panel until it reaches the size shown in the tutorial or until it looks right for the mini size you want. Because this design is later folded and joined, you want the panel to have a clean, balanced shape. If your edges start pulling in or flaring out, pause and check your stitch consistency before going further. The search result for the tutorial shows that the finished piece is folded during assembly, so the body is made as a flat section before construction is completed.
Step 3: Shape It Into a Bag
Once the main section is finished, fold the piece into bag form. This is one of the most important moments in the project because it turns the flat crochet into something wearable. Line up the sides as evenly as you can so both edges match neatly. The tutorial snippet specifically shows the piece being folded and then sewn with slip stitch, which suggests a simple, beginner-friendly assembly method.
Step 4: Join the Sides
After folding, make a slip knot, insert your hook into the stitches, and seam the piece together with slip stitch. This creates the side join and gives the little bag its shape. Try not to pull too tightly while joining, or the seams may pucker. A relaxed but secure seam usually looks best.
Step 5: Crochet the Strap
The bag uses a separate strap, and the YouTube snippet shows a long chain being made for it before attaching. That means you can easily adjust the strap length to suit your style. Keep it shorter for a shoulder bag, or make it longer for a sling or crossbody feel. When crocheting straps, firm tension helps them feel stronger and less stretchy over time. The search preview mentions a long chain for the strap and then attaching it to the bag.
Step 6: Attach the Strap Securely
Once the strap is the right length, attach it neatly on both sides of the bag. Make sure both ends are even before fastening them down. This is worth checking twice, because uneven placement can make the bag sit awkwardly when worn. Reinforce the joins well, especially if you plan to carry small everyday items inside.
Step 7: Add the Cherry Detail
The cherry decoration is what gives this bag its cute finished look. The tutorial search preview points to a cherry tutorial link, which suggests the cherry element is made separately and then added to the bag.
You can sew the cherry motif onto the front once your bag is assembled. Place it in the center or slightly lower on the front panel, depending on the look you like best. If you are making two cherries with stems or leaves, pin them in place first so you can check the arrangement before sewing.
Step 8: Finish and Tidy Up
After assembly, secure the yarn, weave in all loose ends, and check the seams, strap joins, and cherry placement. The finished bag should look small, cute, and neatly shaped, with the cherry detail standing out clearly on the front. Since it is a mini sling bag, it is best for carrying light items and adding a handmade pop of charm to an outfit.
Helpful Tips
- Keep your tension even so the folded bag lines up properly.
- Count your rows or check both sides often for symmetry.
- Test the strap length before attaching both ends permanently.
- Sew the cherry detail on only after the bag is fully shaped.
- Weave in ends securely, especially near the strap area.
- If the bag feels too soft, use a firmer yarn next time.
Common Mistakes to Avoid
- Making the main panel uneven, which can affect the fold
- Pulling the slip-stitch seam too tight
- Attaching the strap at uneven heights
- Making the strap too stretchy
- Sewing the cherry embellishment on crooked
- Forgetting to check the size before assembly
Customization Ideas
You can have a lot of fun with this project. Try a cream, pink, or pastel bag body for a sweet coquette look, or go brighter if you want something more playful. You can make the strap longer, shorten the bag for a tiny purse feel, or add a button, zipper, or lining if you want more structure. A pair of cherries, a tiny leaf, or even a bow can make the front look extra cute.
Style Ideas
This cherry mini bag would look adorable with casual summer outfits, denim, simple dresses, or soft feminine looks. It is also a sweet handmade gift for a teen, a friend who loves cute accessories, or anyone who enjoys small statement bags. Because it is compact, it works nicely as a light day-out bag or a fun photo-ready accessory.
Care Instructions
Hand wash gently in cool water if needed. Press out extra water without twisting the bag. Lay it flat to dry and reshape the body and strap while it is still damp. Avoid high heat, especially if your yarn is synthetic.
Time Needed
This may take a few hours depending on your speed, yarn, strap length, and how detailed you make the cherry decoration.
Conclusion
This crochet cherry mini bag is one of those projects that feels cheerful from start to finish. It is small, cute, and very easy to personalize with your own color choices and preferred strap length. If you enjoy making wearable crochet pieces with a playful twist, this is a lovely one to try. Take your time with the shape, make sure the strap feels comfortable, and have fun adding the cherry detail that makes the whole bag pop.
FAQs
Is this beginner-friendly?
Yes, it looks suitable for beginners who already know basic crochet stitches and simple seaming.
Can I adjust the size?
Yes. You can make the body panel larger or smaller before folding and joining it.
What yarn is best for this bag?
Cotton or a smooth yarn with good stitch definition works especially well for small bags.
Can I make it into a shoulder bag instead?
Yes. Just shorten the strap before attaching it.
How do I make it sturdier?
Use a firmer yarn, tighter tension, and consider adding a lining for extra support.