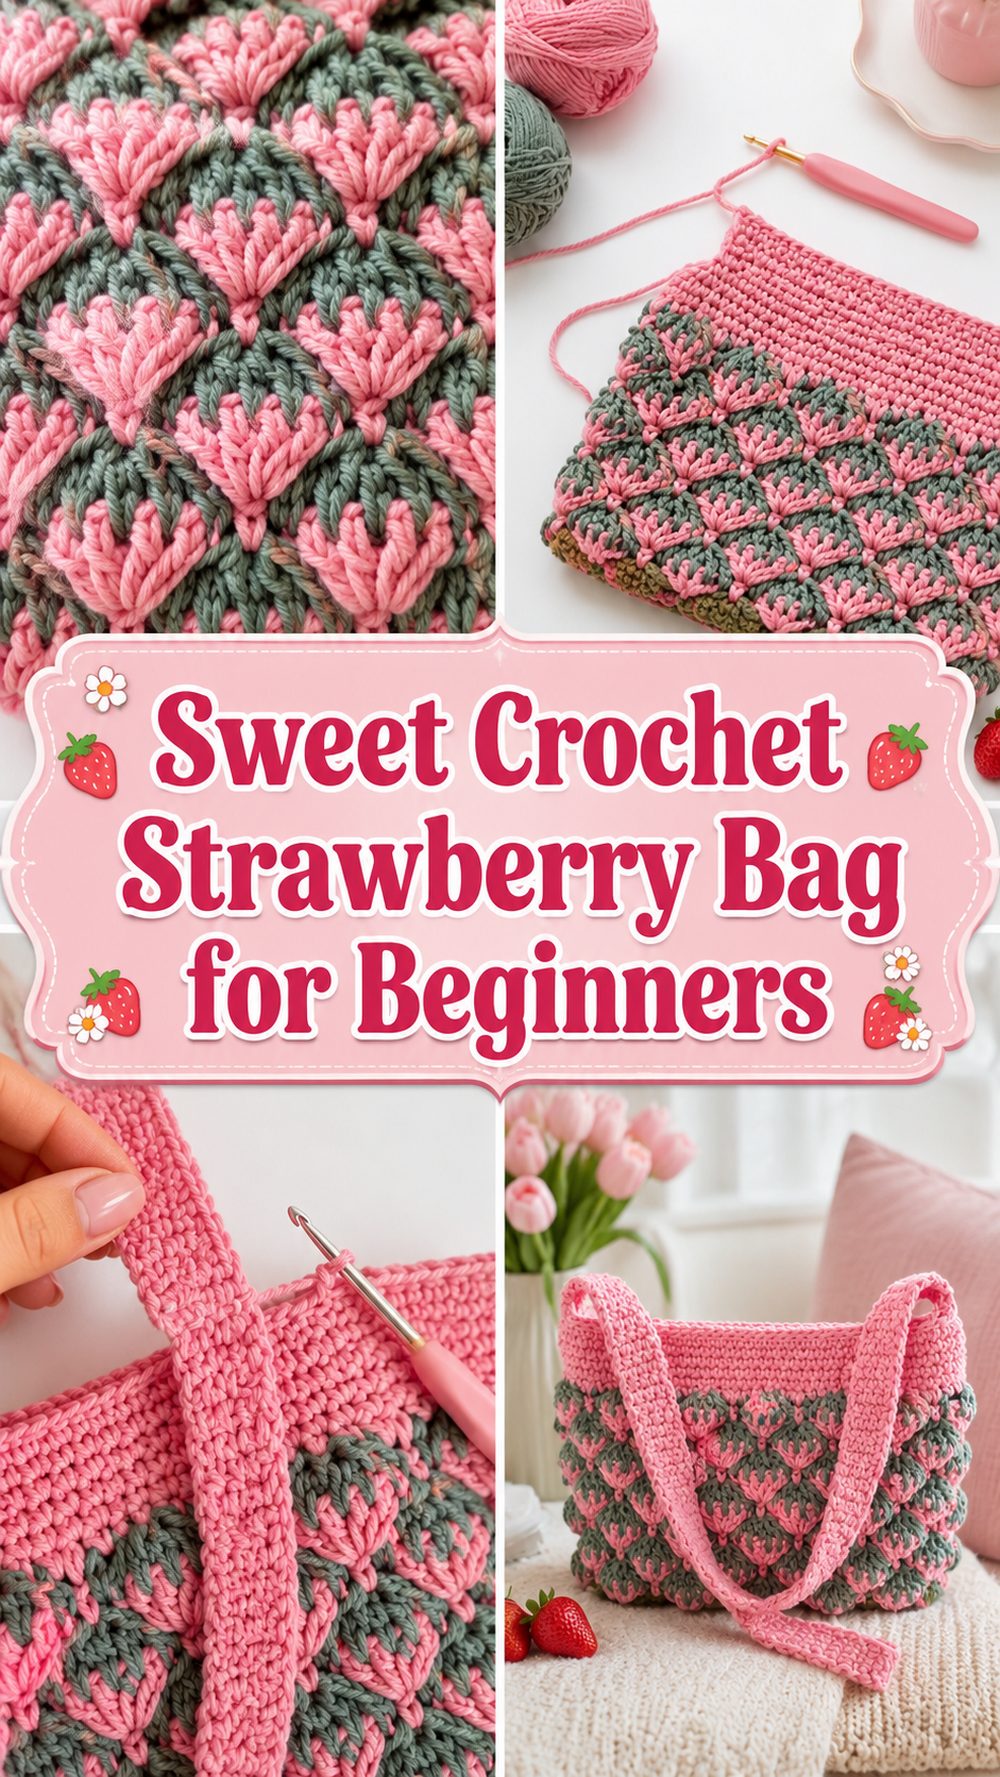
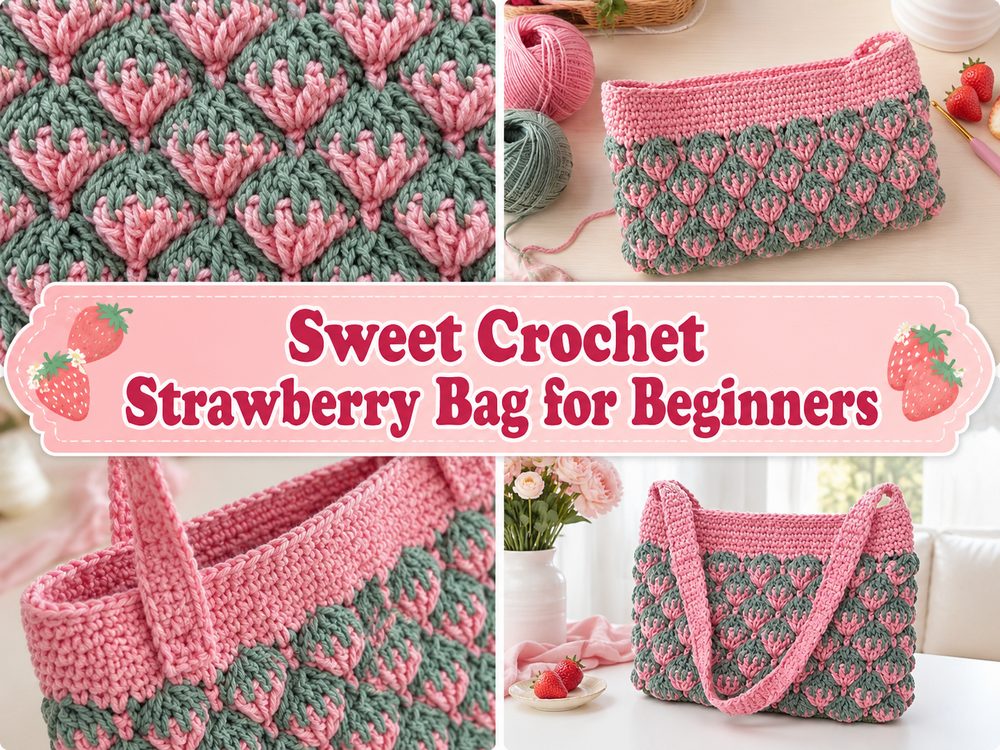
A crochet strawberry bag is one of those projects that feels cheerful the whole way through. It is cute, playful, and practical, with just enough shaping and color change to make it interesting without feeling too hard. This style of bag works beautifully as a small everyday purse, a fun gift, or a handmade accessory for spring and summer. What makes it especially enjoyable is the way the strawberry look comes together little by little, from the rounded body to the leafy top details. The tutorial I selected is a step-by-step beginner strawberry bag lesson, so it is a lovely choice for crocheters who want something charming and wearable without getting stuck in overly complicated construction.
Why You’ll Love This Project
This project is fun because it gives you a bag that feels both useful and full of personality. The strawberry shape makes it stand out, but the overall construction is still simple enough for a beginner-friendly project. It is the kind of crochet make that feels creative, giftable, and easy to enjoy.
Materials Needed
- Yarn in strawberry-inspired colors
- Crochet hook
- Scissors
- Yarn needle
- Stitch markers
- Measuring tape
- Optional strap or handle hardware, depending on your finishing style
- Optional button, zipper, or drawstring detail for closure
Use a yarn and hook size that matches your desired fit and texture.
Best Yarn for This Project
A smooth yarn usually works best for a strawberry bag because it helps the shape look neat and lets the color changes show clearly. Cotton is a great choice if you want a tidy finish with a bit more structure. A cotton blend can also work nicely if you want the bag to feel slightly softer. Since the strawberry look depends on color and shape, yarn with very fuzzy texture can hide the details, so cleaner stitch definition usually gives the nicest result.
Skill Level
This project is beginner-friendly. The selected tutorial is presented as a step-by-step bag tutorial for beginners, which makes it a good option for anyone comfortable with basic stitches and ready to try a small shaped accessory.
Size and Fit Guide
You can adjust the size of a strawberry bag quite easily by changing the width of the base or continuing the body a little longer before finishing. If you want a mini purse, keep the body compact. If you want more room for daily essentials, continue until the bag feels practical for your needs. It also helps to test the strap length before finishing so the bag sits where you want it to.
Stitches Used
- Chain
- Slip stitch
- Single crochet
- Basic increases for shaping
- Joining stitches
- Color changes for the strawberry design
The exact stitch counts are best followed from the tutorial itself, but the overall construction is a simple beginner bag with shaping and finishing details.
How to Make It
Step 1: Start the Base
The bag begins with the foundation that creates the bottom shape. This is an important stage because it affects how wide the finished strawberry bag will be and how nicely it sits once completed. Try to keep your first stitches even and not too tight. A neat base makes the rest of the shaping much easier and helps the bag look balanced from the start.
Step 2: Build the Strawberry Body
Once the base is ready, the main body is worked upward. This is where the project starts to look exciting because the rounded fruit shape begins to appear. Keep your tension steady as you work so the body grows evenly. If one area is noticeably tighter or looser, the bag can become lopsided. Since this is a small bag, even small tension changes can affect the final shape.
Step 3: Shape It Gently as You Go
The strawberry look comes from a soft rounded body rather than a plain square or rectangle. As you continue, pay attention to how the bag is growing. You want both sides to stay even and the overall shape to feel full but neat. If you are not following exact counts word for word, focus on the visual balance. The bag should look symmetrical and roomy enough for the small items you plan to carry.
Step 4: Change to the Green Top
One of the cutest parts of this project is the leafy top section. When you change to the green yarn, take your time so the transition looks clean. A tidy color change makes a big difference in a fruit-themed project like this. The green section gives the bag its recognizable strawberry character, so it is worth slowing down a little to keep it neat and even.
Step 5: Create the Opening
Once the body has reached the size you want, the opening is shaped and finished. This part should still look attractive, but it also needs to be practical. A very tiny opening can be cute, but it should still be easy to use. If you want extra security, this is a good point to think about adding a closure detail such as a button, zipper, or drawstring-style finish.
Step 6: Add the Strap
The selected tutorial is for a crochet crossbody-style strawberry bag, so the strap is an important part of the finished look. Work the strap neatly and check the length before attaching it permanently. A strap that is too long can overpower a small shaped bag, while one that is too short may not sit comfortably. Try the bag on before final finishing so you know it hangs where you want it to.
Step 7: Refine the Shape
Before you call the project finished, hold the bag up and look at the overall shape. Make sure the body feels balanced, the top detail sits nicely, and the opening looks neat. If the stitches seem a little uneven, gentle blocking or reshaping by hand can help the bag settle into a cleaner form.
Step 8: Finish the Details
Weave in all loose ends carefully, especially around the color-change areas. Small novelty bags like this look best when the finishing is tidy. If you are adding a closure or decorative touch, keep it simple so the strawberry design stays the star of the project. The final bag should look playful, polished, and easy to wear.
Step 9: What the Finished Bag Should Look Like
The finished piece should have a rounded red body, a neat green top, and an overall shape that clearly feels strawberry-inspired. It should be cute enough to stand out, but practical enough to use as a small purse or fun accessory. The selected tutorial presents it as a beginner crossbody bag, so the finished result has both a playful and wearable feel.
Helpful Tips
- Use smooth yarn so the strawberry colors show clearly.
- Keep your tension even for a more balanced shape.
- Use stitch markers if you want cleaner shaping.
- Test the size before finishing the opening.
- Check strap length by trying the bag on.
- Weave in color-change ends carefully for a neater final look.
Common Mistakes to Avoid
- Making the starting stitches too tight
- Letting one side grow more than the other
- Using fuzzy yarn that hides the strawberry details
- Rushing the color change at the top
- Making the bag opening too narrow to use comfortably
- Attaching the strap before checking the length
Customization Ideas
You can keep the classic red-and-green strawberry look or try softer pink, cream, or pastel shades for a sweeter version. You could make it as a mini crossbody, a small hand-held purse, or even a gift pouch by shortening the strap. A tiny bow, seed details, or decorative button can also make it feel more personal.
Style Ideas
This bag looks lovely with simple summer outfits, casual dresses, denim, or playful handmade looks. It is especially cute for spring outings, picnics, casual weekends, or gifting. Because it has a crossbody feel, it can be worn practically while still acting like a fun statement accessory.
Care Instructions
Hand wash gently if needed and lay the bag flat to dry. Avoid rough handling if the strap or decorative details are delicate. If the bag loses shape a little after use, lightly reshape it by hand while drying. Store it flat or lightly stuffed to help it keep its form.
Time Needed
This may take a few hours depending on your speed, yarn choice, bag size, and finishing details.
Conclusion
A crochet strawberry bag is such a cheerful little project to make. It is cute, useful, and full of personality, but still simple enough to feel approachable for a beginner. You can adjust the size, strap, and colors to suit your own style, and the finished piece has that lovely handmade charm that makes crochet accessories so fun to wear.
FAQs
1. Is this project beginner-friendly?
Yes. The selected tutorial is presented as a beginner step-by-step strawberry bag tutorial.
2. What yarn is best for a crochet strawberry bag?
Smooth cotton or a cotton blend usually works very well because it keeps the shape neat and shows the colors clearly.
3. Can I make the bag bigger?
Yes. You can enlarge the base and continue the body until it reaches the size you want.
4. Can I make it into a crossbody bag?
Yes. The selected tutorial specifically presents the project as a crochet crossbody bag.
5. Is this bag more decorative or actually useful?
It can be both. It is playful and decorative, but it can also hold small everyday essentials depending on the size you make.