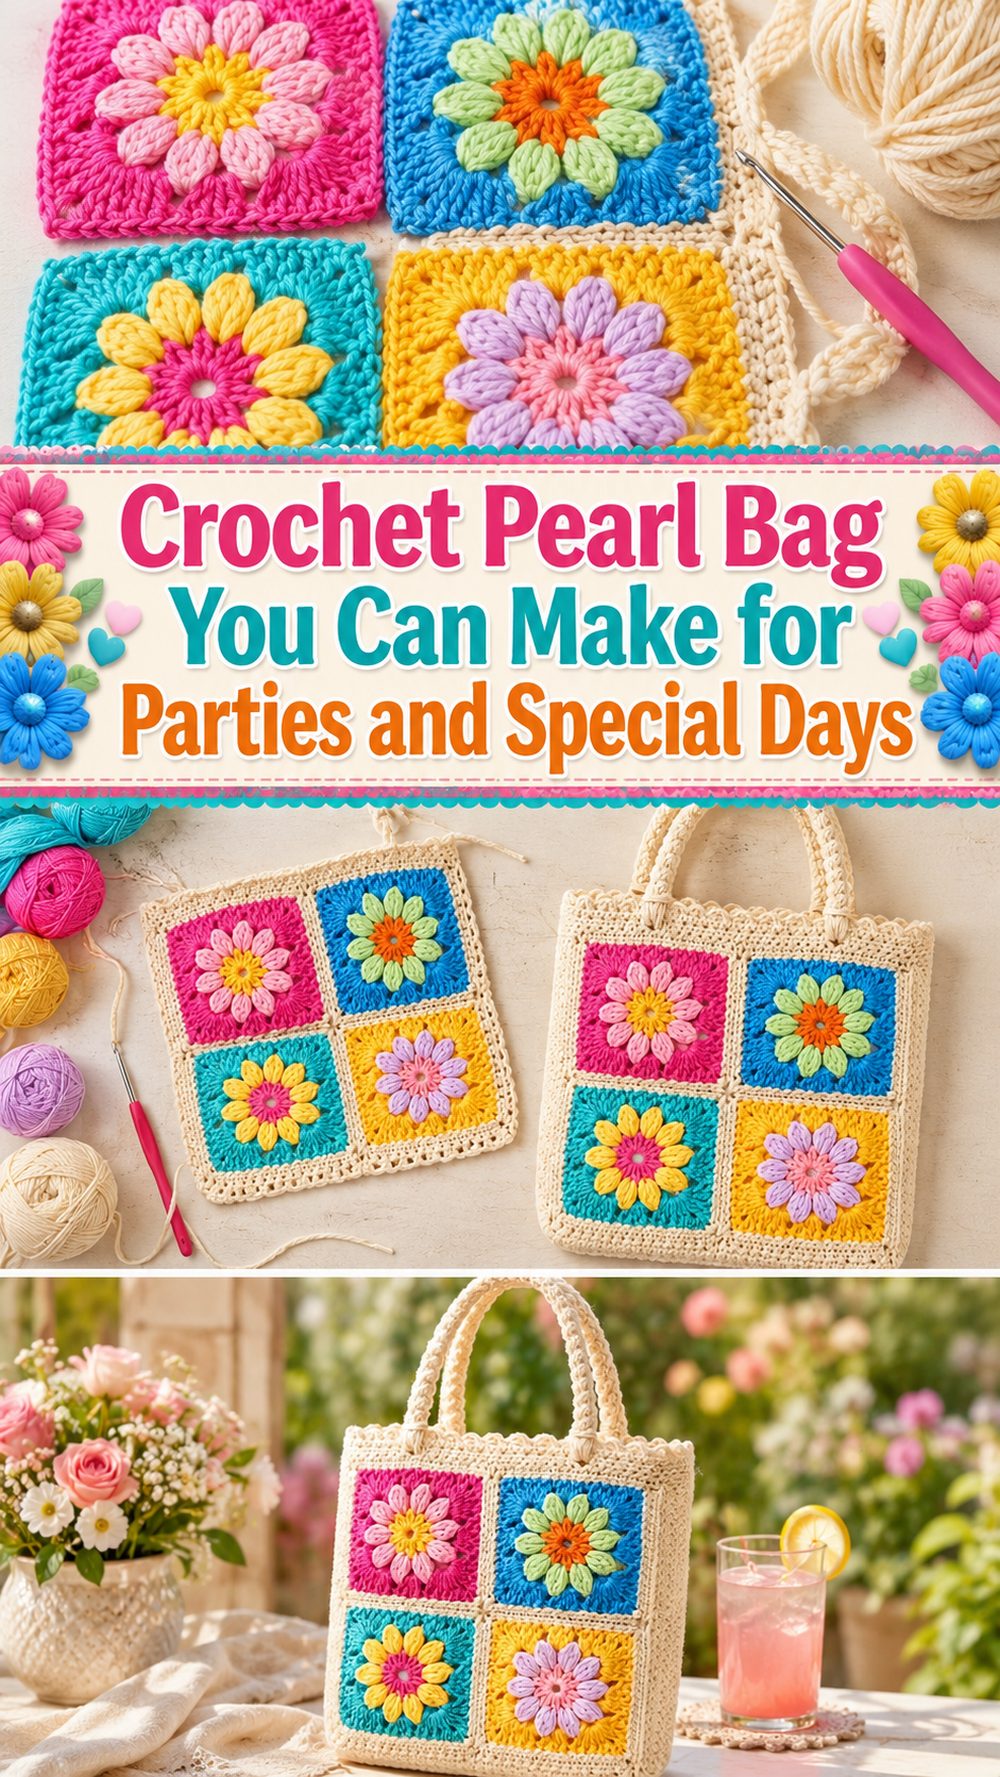
A crochet pearl bag is one of those projects that instantly feels a little more special than an everyday make. It has the softness of yarn, the charm of handmade texture, and that polished look that pearls bring to the finished piece. This style of bag is lovely when you want something pretty enough for events, dinners, festive outfits, or gift giving, but still enjoyable to create with your own hands. The tutorial I selected teaches a pearl crochet bag designed to look elegant and premium while using simple yarn and pearls, making it a beautiful option for anyone who wants a handmade accessory with a dressier finish.
Why You’ll Love This Project
This project is fun because it gives you that dressed-up handbag look while still feeling personal and handmade. The pearls make the bag look elegant, and the crochet texture keeps it warm, creative, and unique. It is a satisfying project if you enjoy making accessories that look fancy but still feel approachable.
Materials Needed
- Yarn
- Crochet hook
- Pearl beads or faux pearls
- Scissors
- Yarn needle
- Stitch markers
- Bag handle or strap if you want a different finishing style
- Optional lining for a cleaner inside finish
- Optional clasp, magnetic button, or closure
Use a yarn and hook size that matches your desired bag structure and texture.
Best Yarn for This Project
A smooth yarn usually works best for a crochet pearl bag because it helps the stitches look neat and lets the pearl details stand out clearly. Cotton is a great option if you want the bag to hold its shape nicely. A cotton blend can also work well if you want a little softness without losing too much structure. Try not to use yarn that is too fuzzy, because the pearls can get visually lost in the texture. A cleaner yarn surface usually gives this kind of elegant bag a more polished result.
Skill Level
This project is best for confident beginners or easy intermediate crocheters. The bag itself is very manageable, but adding pearls and keeping the shape neat takes a little patience. If you are comfortable with basic crochet and do not mind paying attention to details, you should enjoy this one.
Size and Shape Guide
A pearl bag can be made in a smaller evening size or a slightly roomier everyday mini bag. The easiest way to adjust the size is by changing the width of the base and continuing the body until it reaches the height you like. If you want a compact clutch-style look, keep the shape smaller and neat. If you want more room, build a slightly wider base and taller body. When working a structured bag, it helps to check the shape often so it stays balanced and does not lean or stretch unevenly.
Stitches Used
- Chain
- Slip stitch
- Basic crochet stitches for building the bag body
- Joining stitches
- Pearl or bead placement as part of the decorative design
How to Make It
Step 1: Start the Base
The bag begins with the foundation, which creates the size and structure of the bottom section. This first stage matters because it affects how roomy the bag will be and how well it holds its shape later. Keep the starting stitches even and try not to make the foundation too tight, especially if you want the bag to sit flat and look neat. If you are aiming for a compact pearl purse, keep the base relatively small and balanced. A tidy base makes the rest of the project much easier.
Step 2: Build the Bag Body
Once the base is ready, the body of the bag is worked upward. This is the part where the project starts to feel exciting because the shape becomes more visible with every round or row. Try to keep your tension even so the sides look smooth and the bag does not pull in unexpectedly. Since this style is meant to look refined, neat edges make a big difference. The body should feel steady enough to support the pearls without becoming floppy.
Step 3: Add the Pearl Details
The pearls are what give this bag its elegant personality. As the decorative sections are added, the project changes from a simple crochet bag into something much more polished and eye-catching. The main thing here is consistency. Keep the pearl placement neat and evenly spaced so the design looks intentional rather than crowded. If you are working with faux pearls or beads, take your time and make sure they sit nicely against the crochet fabric. This part may require a slower pace, but it is also the most rewarding because the bag starts to look truly special.
Step 4: Keep the Shape Balanced
As you continue, pause now and then to check that the bag stays symmetrical. A pearl bag looks best when both sides match and the top edge remains straight. If one side feels taller or the pearls seem uneven, it is much easier to fix that earlier rather than waiting until the end. For structured bags, this step is especially important. A beautiful material choice can only do so much if the body shape is not clean.
Step 5: Create the Upper Edge
After the main body reaches the height you want, the top section is finished neatly. This might include simple edging, a more polished top band, or preparation for attaching the handle or closure. Keep this part firm enough to support daily handling. Since pearl bags are often used for special occasions, a neat upper edge helps the whole piece look more finished and premium.
Step 6: Add the Handle or Strap
Depending on the bag style, the handle may be crocheted, attached separately, or finished with a short elegant strap. This is where you can decide whether you want a little hand-held purse, a mini shoulder bag, or a compact statement piece. Make sure the handle feels secure before you finish. If the bag is small and decorative, even a short handle can look lovely. If you want it more practical, a longer strap can make it easier to wear.
Step 7: Finish the Closure
A closure helps the bag feel complete and more useful. Some crocheters like a magnetic button, some prefer a flap, and others keep the top simple depending on the overall look. Whatever method you use, make sure it suits the bag shape and does not pull the fabric awkwardly. The closure should feel easy to use and should not hide the pearl detail too much.
Step 8: Weave In Ends and Refine the Look
Once the crochet and pearl work is complete, weave in all the loose ends carefully. This step is small, but it really changes how polished the bag looks. If needed, gently shape the bag with your hands so the structure sits nicely. A lining can also make the inside look cleaner and help the bag feel sturdier. The finished result should look elegant, tidy, and special enough for dressy outfits while still showing the charm of handmade crochet.
Step 9: What the Finished Bag Should Look Like
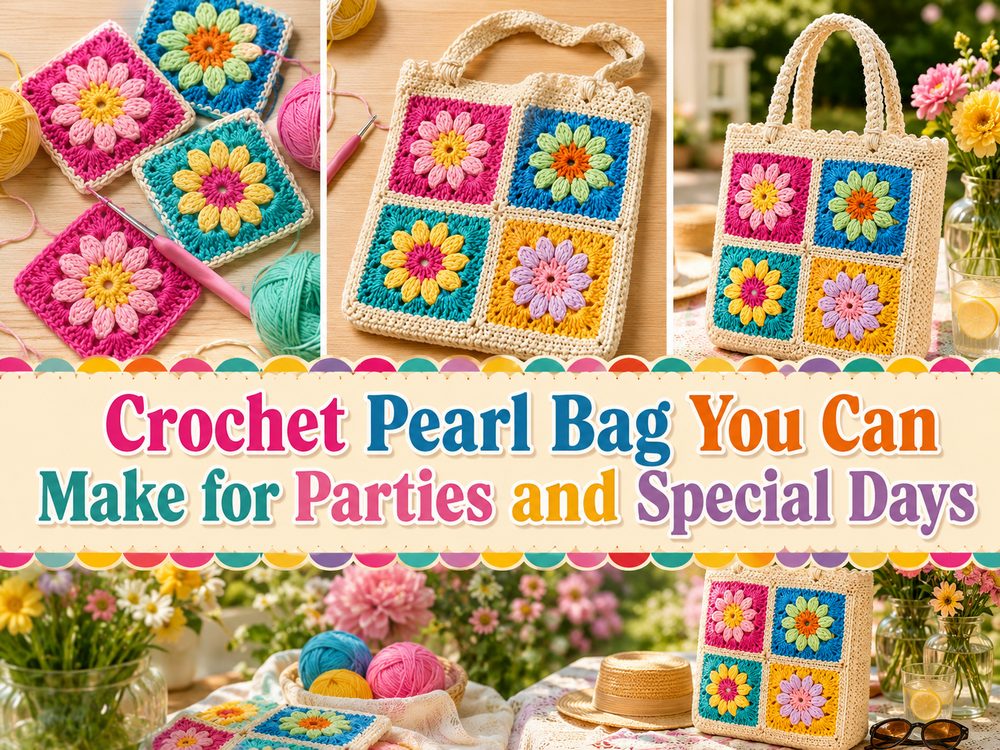
The final bag should have a neat, balanced shape with pearls that stand out beautifully against the crochet fabric. It should feel decorative without looking overcrowded. The overall look is feminine, polished, and perfect for occasions when you want a handmade accessory that feels a bit more elevated than an everyday tote.
Helpful Tips
- Use a smooth yarn so the pearls show clearly.
- Keep your tension even for a cleaner shape.
- Check pearl spacing often while you work.
- Use stitch markers if you want straighter sides and cleaner corners.
- Add a lining if you want the bag to feel more structured.
- Test the handle strength before calling it finished.
Common Mistakes to Avoid
- Making the foundation too tight
- Using yarn that is too fuzzy for pearl details
- Placing pearls unevenly
- Letting the sides of the bag grow out of balance
- Skipping reinforcement on the handle or top edge
- Leaving ends loose inside the bag
Customization Ideas
You can make this bag in soft cream, beige, black, blush, or pastel shades for a really pretty finish. A light neutral color often makes pearl details stand out beautifully. You could also make it as a mini evening purse, a bridal-style bag, or a sweet gift bag for special occasions. Change the handle style, add a flap, include a bow, or line the inside with satin or cotton if you want it to feel even more polished.
Style Ideas
A crochet pearl bag looks lovely with dresses, traditional outfits, simple partywear, or even plain jeans and a nice top when you want the bag to be the standout piece. It works especially well for weddings, dinners, festive gatherings, birthdays, and handmade gifting. Because it has that elegant pearl finish, it can make even a simple outfit look more dressed up.
Care Instructions
Handle the bag gently, especially if the pearl details are decorative rather than heavily reinforced. Spot clean when possible, or wash very carefully by hand if the yarn allows it. Let it dry flat and avoid strong heat. Store it stuffed lightly with tissue or soft fabric so the shape stays nice.
Time Needed
This may take a few hours depending on your speed, the bag size, and how much pearl detail you add.
Conclusion
A crochet pearl bag is such a beautiful project when you want to make something that feels both handmade and refined. It is creative, stylish, and surprisingly versatile once finished. You can keep it simple and elegant or make it more detailed depending on your taste. If you enjoy crochet accessories and want a project that feels special from the very beginning, this is a lovely one to try.
FAQs
1. Is this pearl bag beginner-friendly?
Yes, for a confident beginner. The crochet itself is manageable, but the pearl detail takes a little extra care.
2. What yarn works best for a crochet pearl bag?
A smooth cotton or cotton-blend yarn usually works very well because it helps the bag keep its shape and shows the pearls clearly.
3. Can I make the bag bigger?
Yes. You can widen the base and continue the body until you reach the size you want.
4. Do I need to line the bag?
Not always, but lining can make the inside look cleaner and help the bag feel more structured.
5. Is this bag only for special occasions?
Not at all. It looks lovely for parties and festive wear, but you can also style it with simple everyday outfits when you want something pretty and handmade.